
Desk-top Bookshelf Build Process
 Return to main project page
Page 8 of 10
Posted 7th July 2026
I wasn't expecting to have much time in the workshop for a few weeks but I managed an hour or so tonight and reached a major milestone.
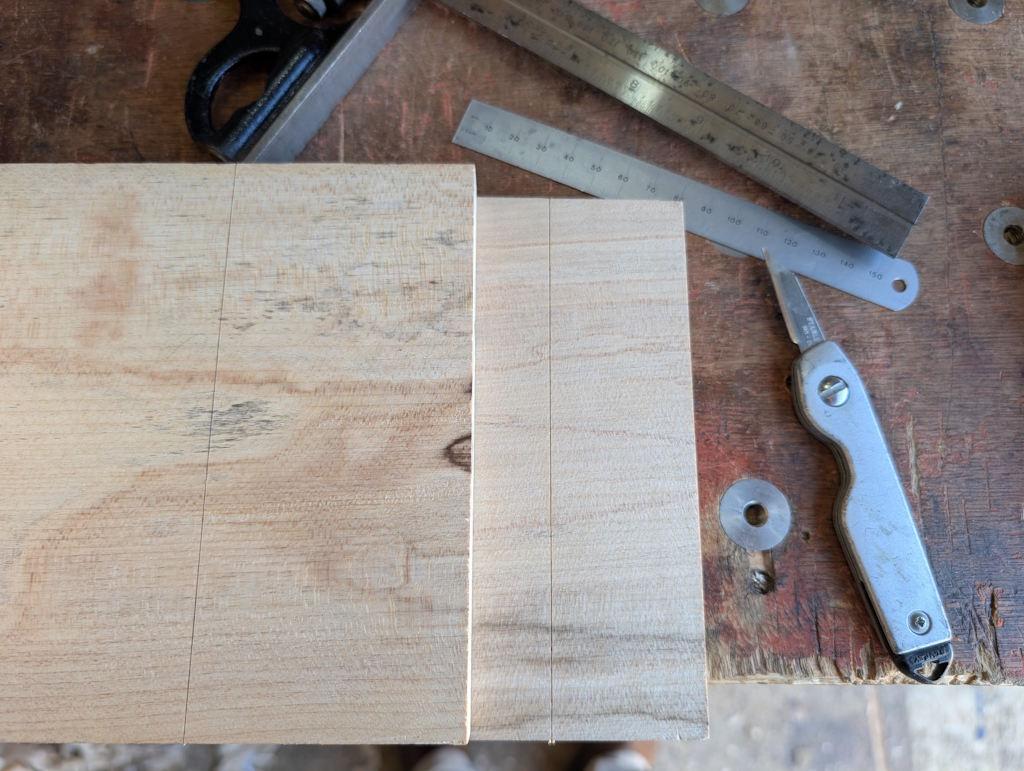
The first job was to do a little bit of simple maths to work out offsets and then to scribe a couple of lines on the ends of the two parts:
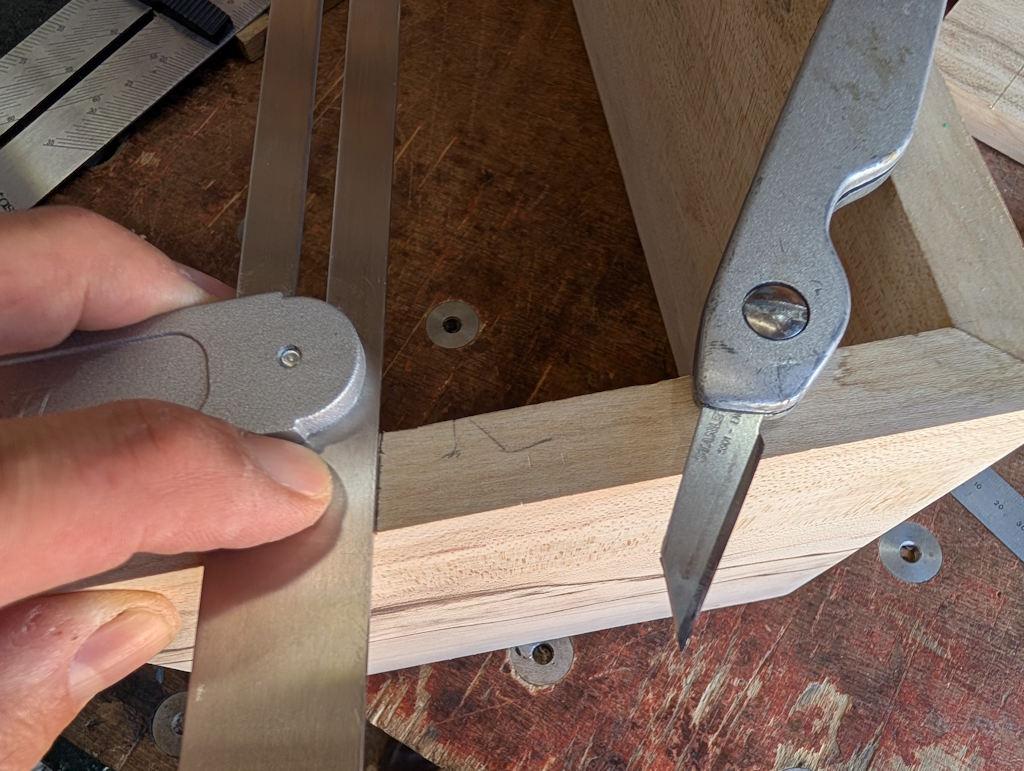
After setting up a sliding bevel to 10°, I could transfer the marks all the way around the outside (checking and double checking I was pointing the bevel in the right direction):
I decided to be brave and saw directly to the line, so after pulling out my cross-cut Dozuki, I took a deep breath and started sawing. I worked across the narrow edge first and then gradually lowered the saw to cut down the face, without cutting (at least very much) into the face on the far side:
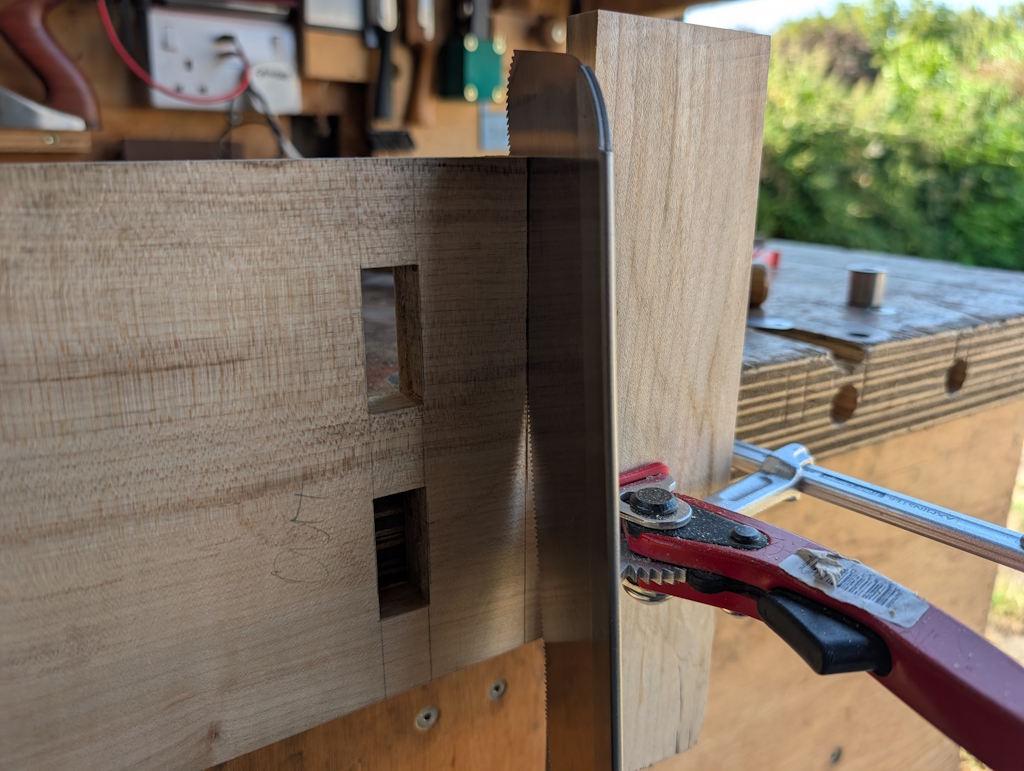
I managed to keep to the line (despite the constant flow of sawdust into my eyes as a result of the big fan I had blasting air at me to help cool the workshop down a bit) so I was really pleased with that. After doing the first edge and face, I flipped the board over and did the other side to separate the parts. There was a slight notch where the two saw cuts met, but it was minor enough that it would be easy enough to plane away.
For the other part, the workholding was a bit more complicated and I had to pull out my (infrequently used) hold-fasts as they can grip taller things than the usual ratcheting ones I use. This was the set-up for the cutting the first face...
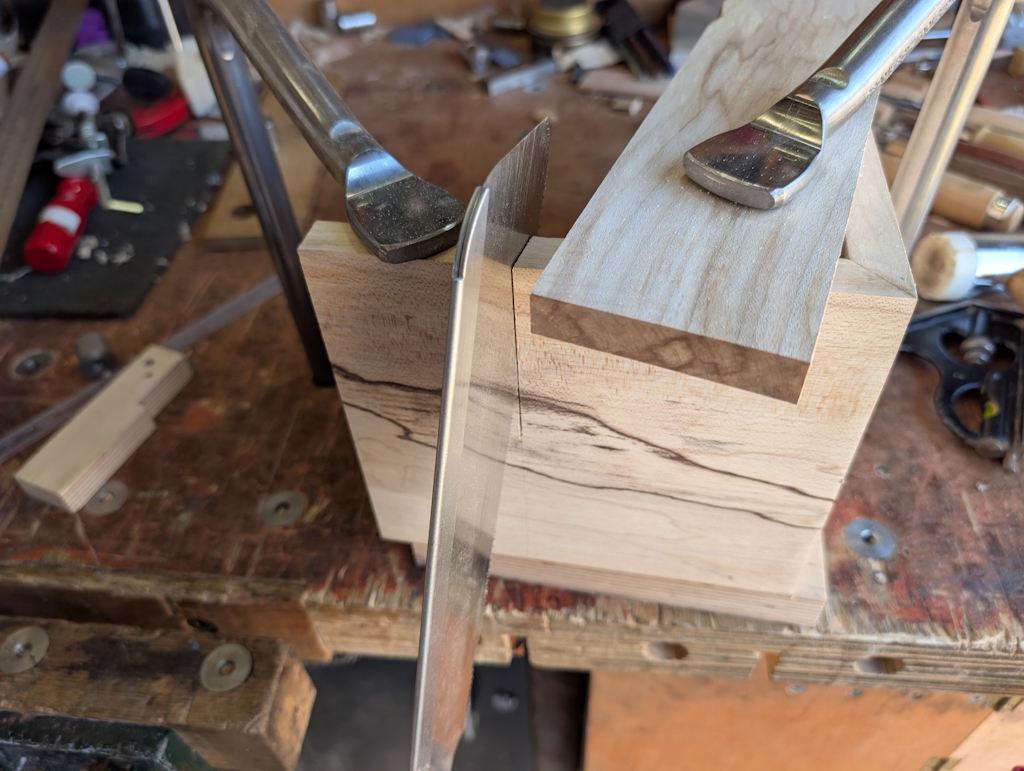
... and this is what it looked like after finishing the second face cut:
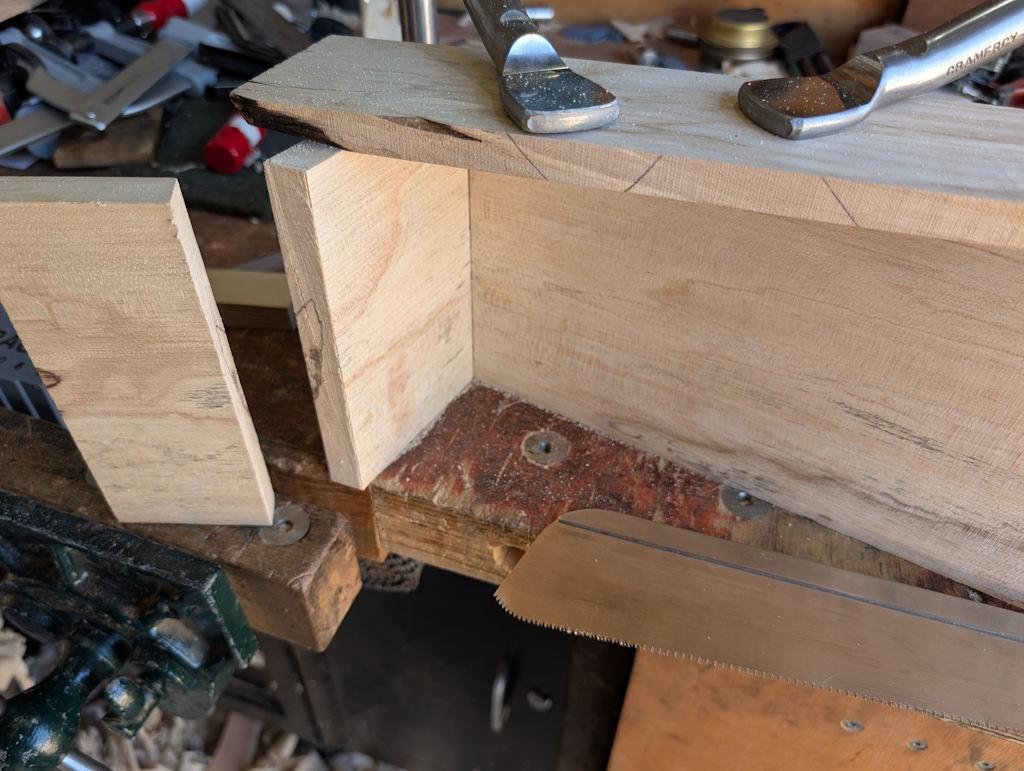
I was even happier with that one, with only a very faint mark where the two saw cuts met.
To help plane the end-grain, my 3D-printer had made a little ramp for the shooting board:
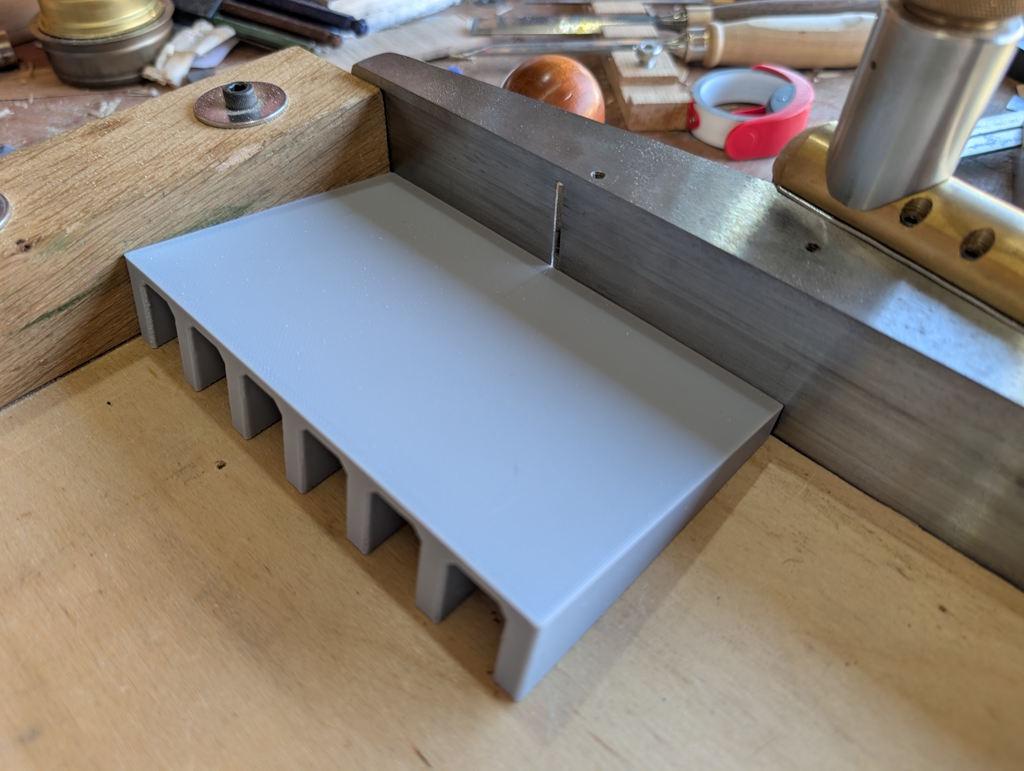
The ribs on the bottom are just to speed up the printing time (it took about an hour and a half to print).
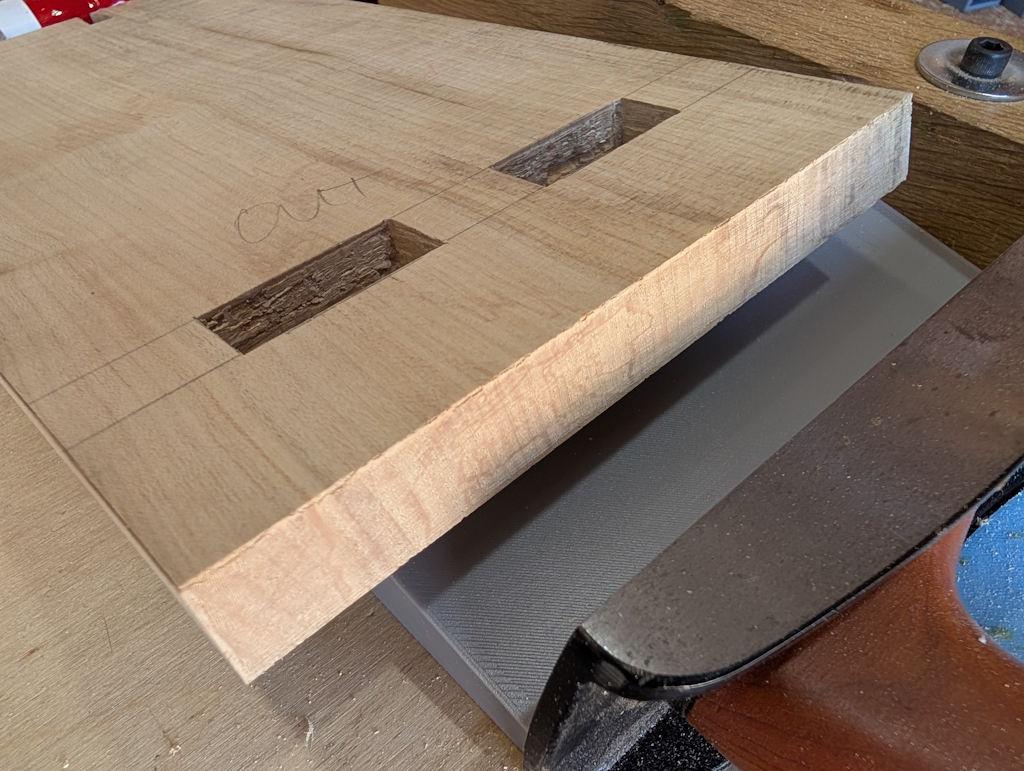
Shooting the end made it look this, with just the barest sign of the knife line still visible:
Earlier in the week, I'd put one of the wedges into the 3D printer and used its laser to burn my logo into the face. That took a bit of thought to get the angle right: I wanted the logo to be upright when the final assembly is complete. I clamped it in place on the bed with some magnets:
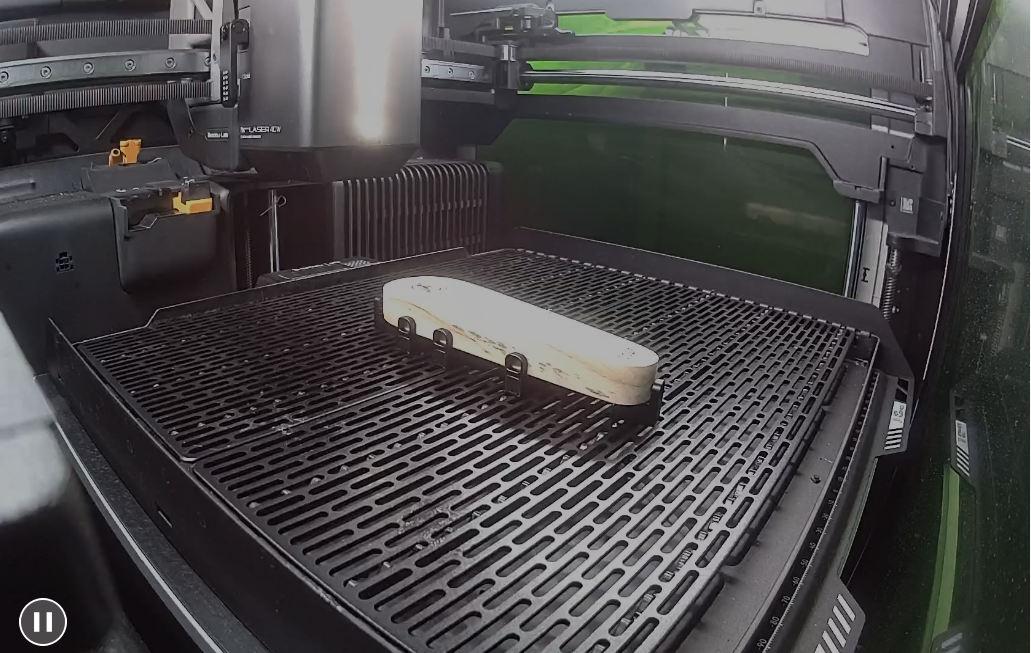
Then used the built-in camera to get a birds-eye photo. I could then use an image editor to measure the angle of one of the sides and hence calculate the angle that the logo needed to be rotated by.
I usually leave a planed finish on the stuff I make and rarely do any sanding but for this project I decided I'd run the random orbital over everything as I was feeling a bit nervous of messing up that secret mitre dovetail. Everything had been previously smoothed out with a smoothing plane, so I went straight to 240 grit and it didn't take long to run it over everything.
With that, the parts are all (probably) ready for assembly:
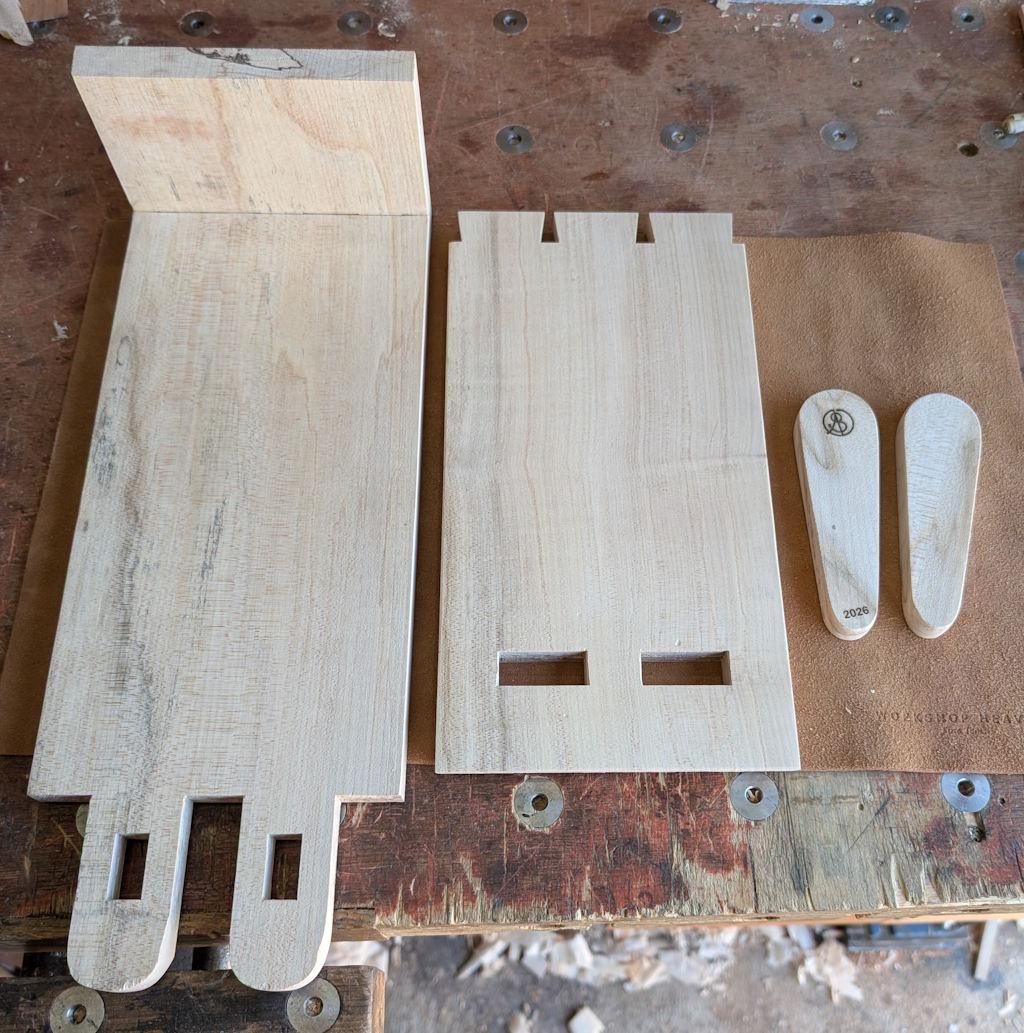
I decided to do a dry assembly first so I could see how it looks. I'm planning to glue the mortice and tenon joint together and then glue the wedges in: there's no real reason why this ever needs to come apart. I guess you could call this the big reveal of what it's going to look like, starting with what will eventually be the back view:
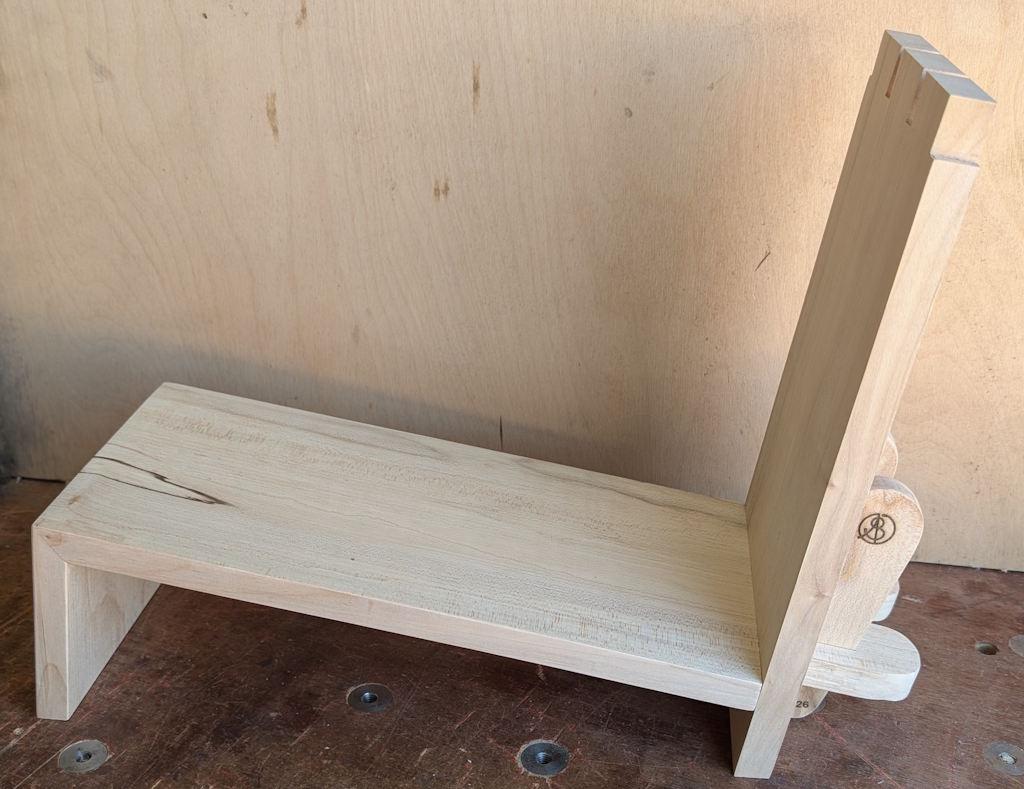
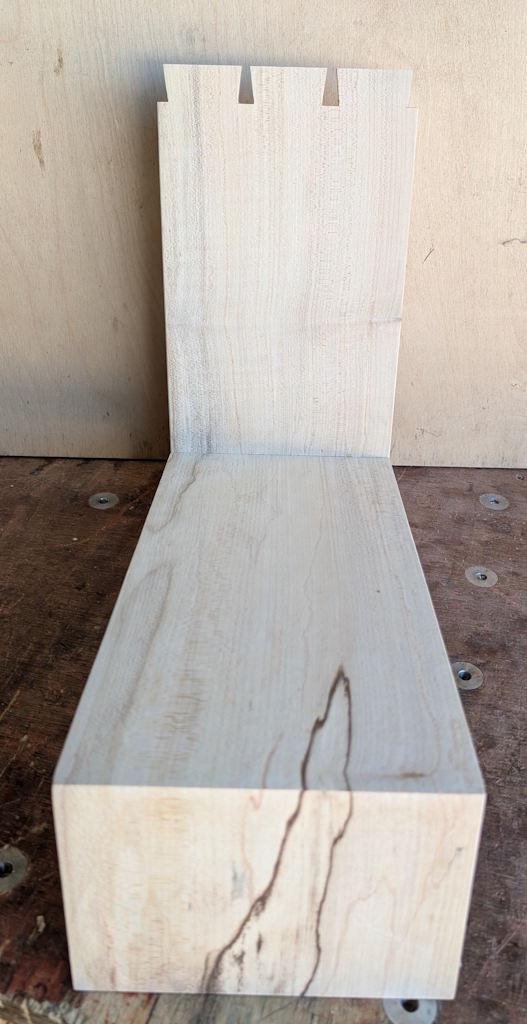
End-on you can see the grain flowing all the way along (most of which will eventually be hidden!):
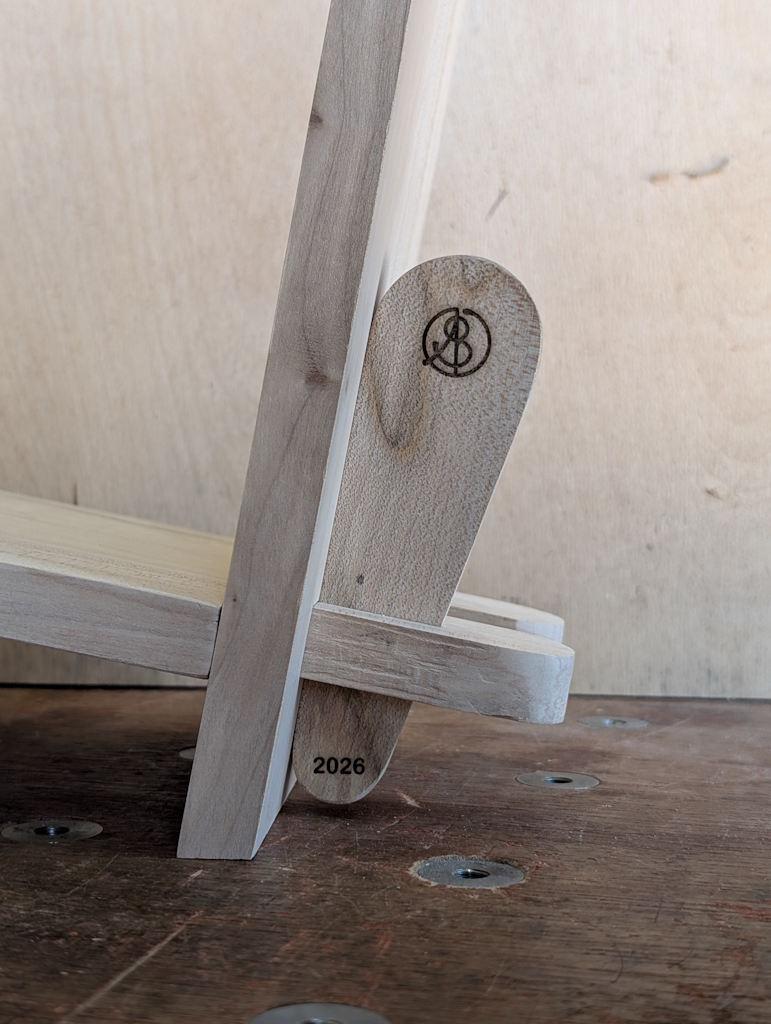
I was happy to see the logo and the year ended up parallel with the bench:
Just in case you haven't figured out what it's for, this is a little test with a few of my favourite woodworking references:
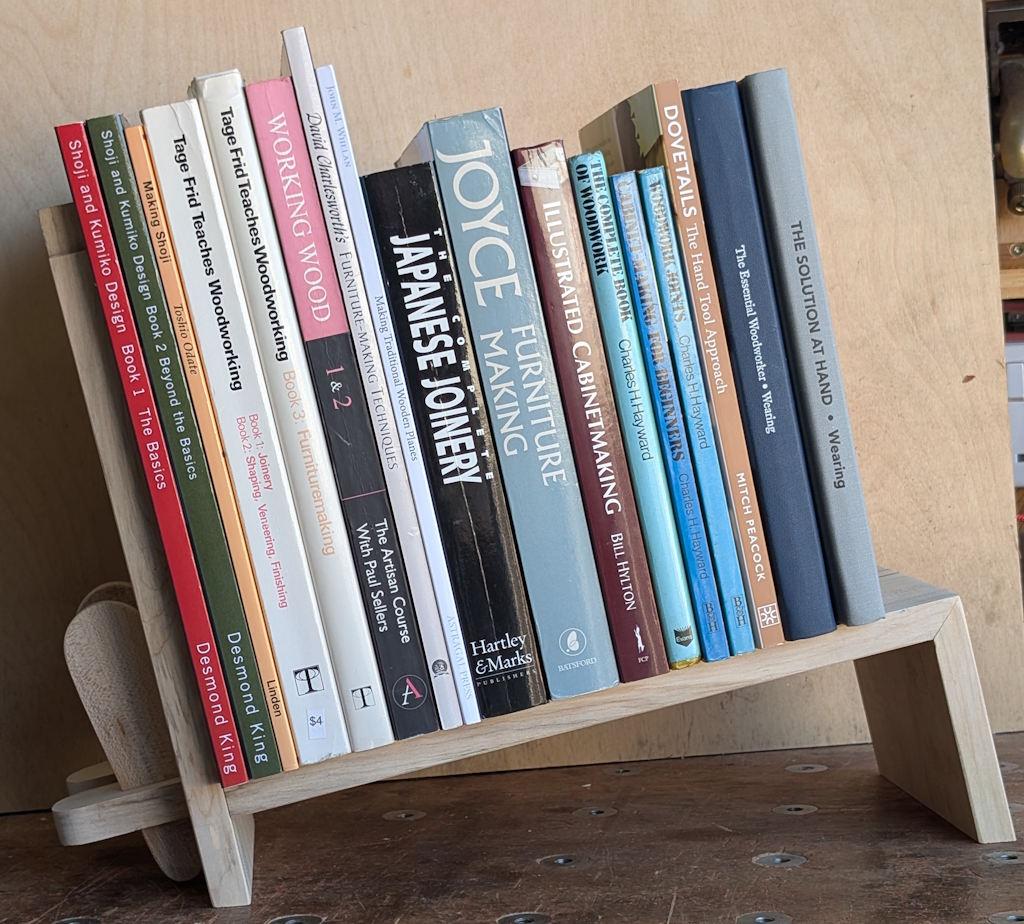
Once it's glued together and oiled, it'll be heading for my desk at work, so will end up with far less interesting tomes on it!
I had been pondering adding some shape to the ends of the feet (perhaps just cutting a curve out of the middle or doing that and chamfering the corners), but seeing it together I quite like what it looks like at the moment. This is the sort of thing I initially had in mind:
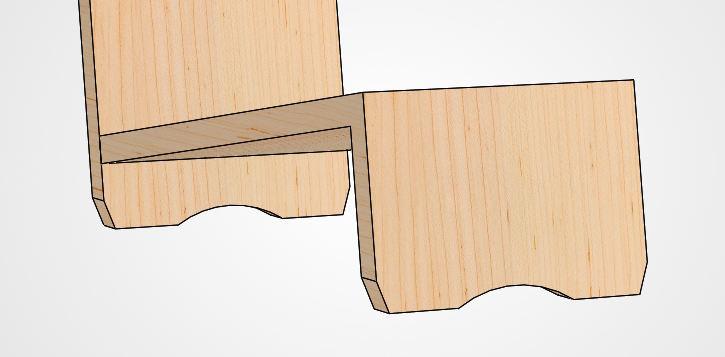
I'd welcome any thoughts on whether that would be a good addition or not (although I reserve the right to make my own mind up). One advantage of leaving the ends square is that I wouldn't have to worry about getting a good finish on a curved bit of end-grain!
Page 8 of 10
This website is free and ad-free, but costs me money to run. If you'd like to support this site, please consider making a small donation or sending me a message to let me know what you liked or found useful.