
Desk-top Bookshelf Build Process
 Return to main project page
Page 9 of 10
Posted 8th July 2026
Someone on the woodworking forum suggested I put my logo on the front wedge as well so it can be seen. I pondered on that idea overnight and decided to go for it.
I brought the second wedge in, used some magnets to clamp it in place on the 3D printer's bed, spent some time tweaking angles to make sure it would be vertical when fitted and then hit go.
Unfortunately, I completely messed up the "tweaking angles" bit, copying the orientation of the rear wedge despite the fact it should have been mirrored. When placed like this on the sheet of paper, the two logos should be aligned:
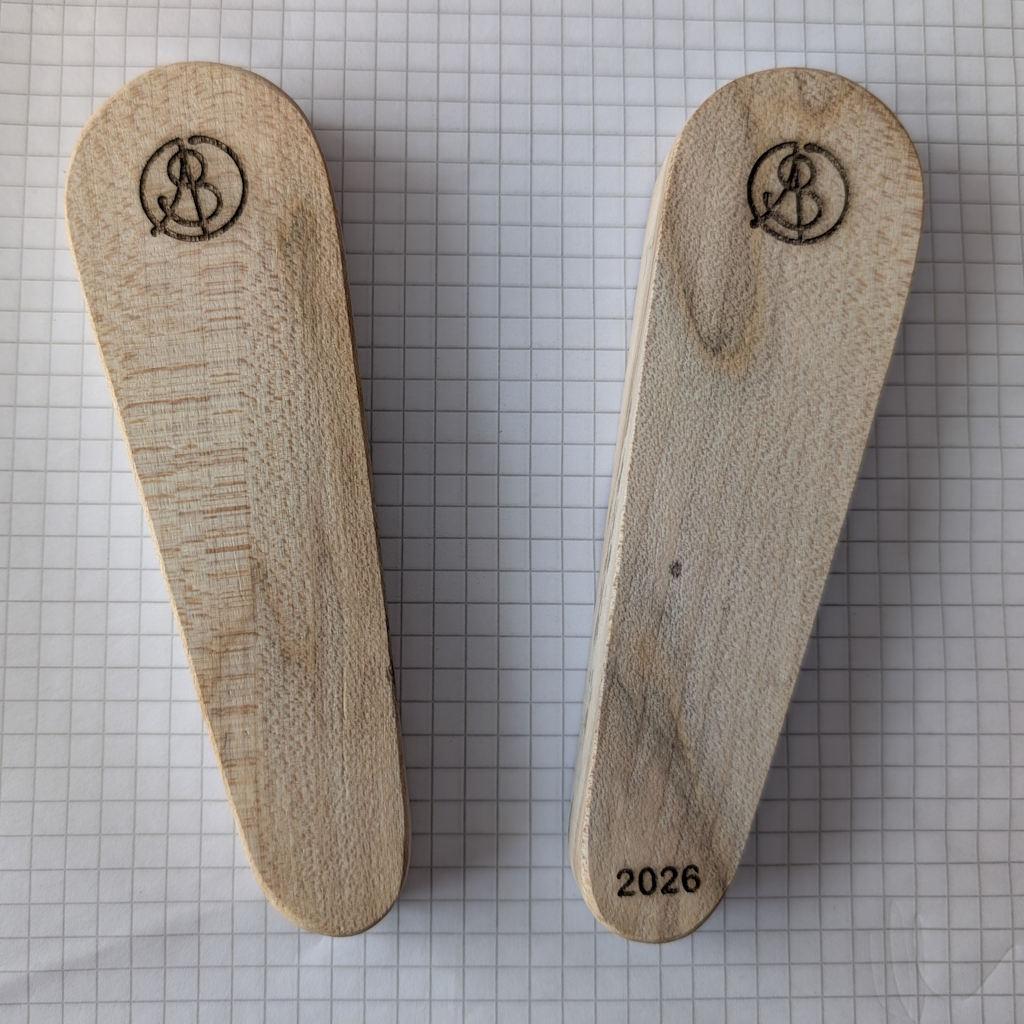
"Fiddlesticks" quoth I (or words to that effect). There was no way I was going to be able to live with a logo on the wonk like that, so I just bit the bullet and made a new wedge. This time I used the same method as on the rear wedge and added a piece of masking tape with a pencil line (drawn in situ) showing which way's up:
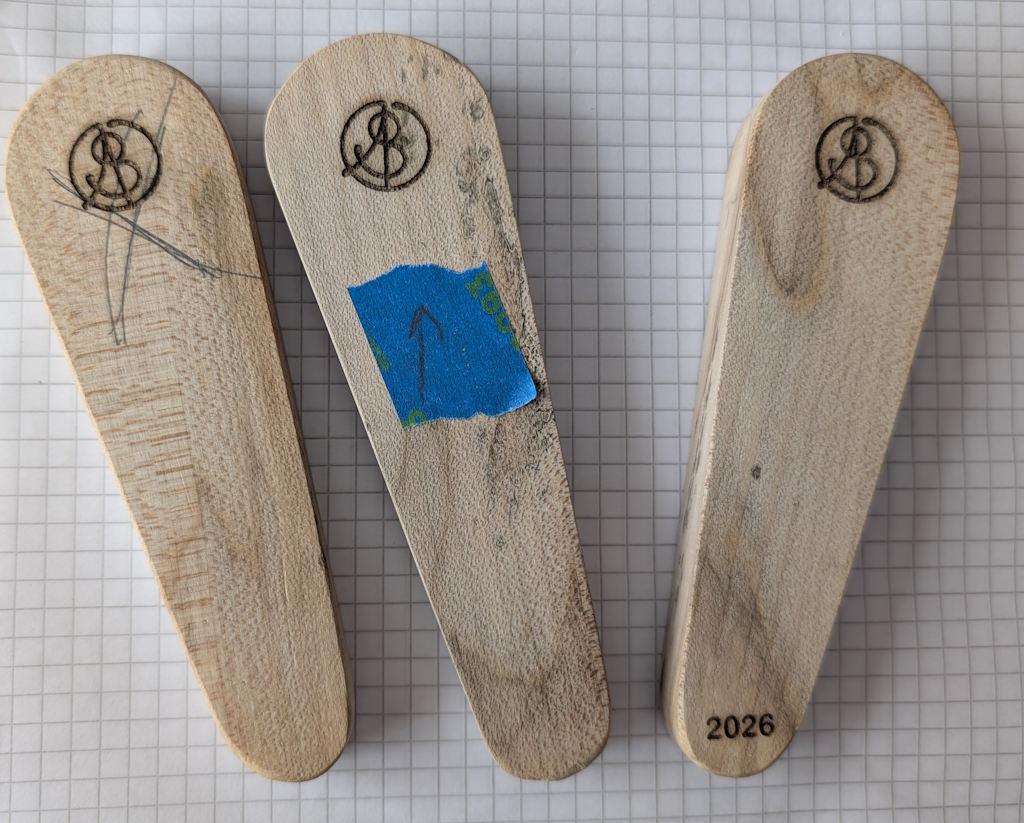
Test fit to confirm I got it right this time:
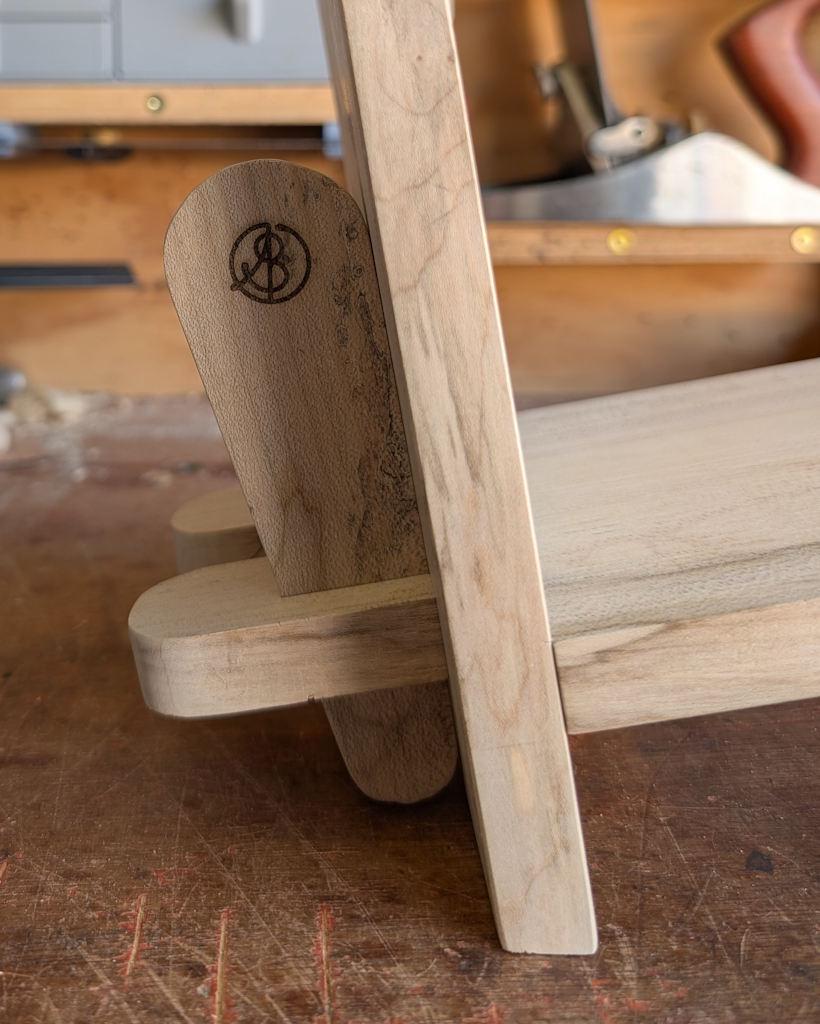
Phew.
Since taking that photo I removed the wedges, shimmied it apart enough to get at the sides of the tenons that'll be inside the joint, added a little glue and then pushed it back together. A little glue was also added to the edge of each wedge where they touch the upright and then they were tapped home. The glue (Titebond 1) seemed to be skinning over in seconds (perhaps due to the heat?) so I had to work quite quickly but there wasn't much to glue and wasn't much to assemble. The wedges do duty as clamps so it was one of the simplest glue-ups I've ever done.
Once the glue has set, I'll tidy up all the edges (probably just with some 240 grit sandpaper) and then give it a few coats of Mike's Magic Mix.
Page 9 of 10
This website is free and ad-free, but costs me money to run. If you'd like to support this site, please consider making a small donation or sending me a message to let me know what you liked or found useful.