Garden Table Build Process
Page 11 of 38
Posted 4th April 2025
After a thoroughly enjoyable little "side-quest" on Sunday afternoon preparing some more blanks for the edge pieces, I needed to make a decision on what to do about the troublesome joinery. I could ditch the idea of bridle joints completely (which would make my life a lot easier) or I could sacrifice some more bits of wood and keep practising.
I'd wondered about having a go at some simpler versions of the joint (with the boards joining at 90° and with narrower boards and hence a much smaller lap area), but at the end of the day I'm going to have to master the joint in the big and angled form if I'm going to use it on the table.
Looking at the remains of the two boards that I've been practising with, I realised that there was just enough material left to have one more go. Workholding might be a bit awkward, but I can possibly manage if I put a bit of scrap in the gap from a previous attempt.
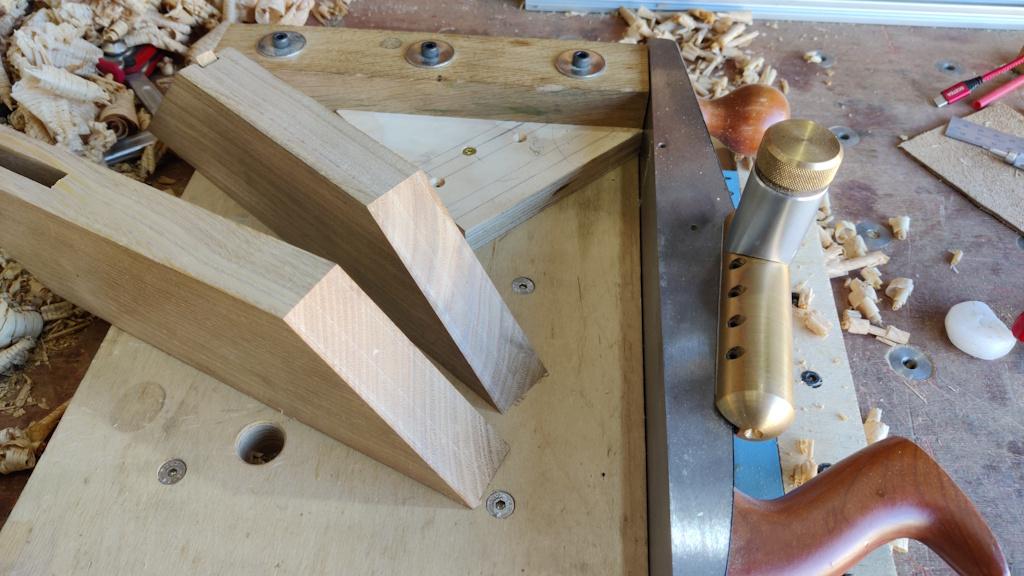
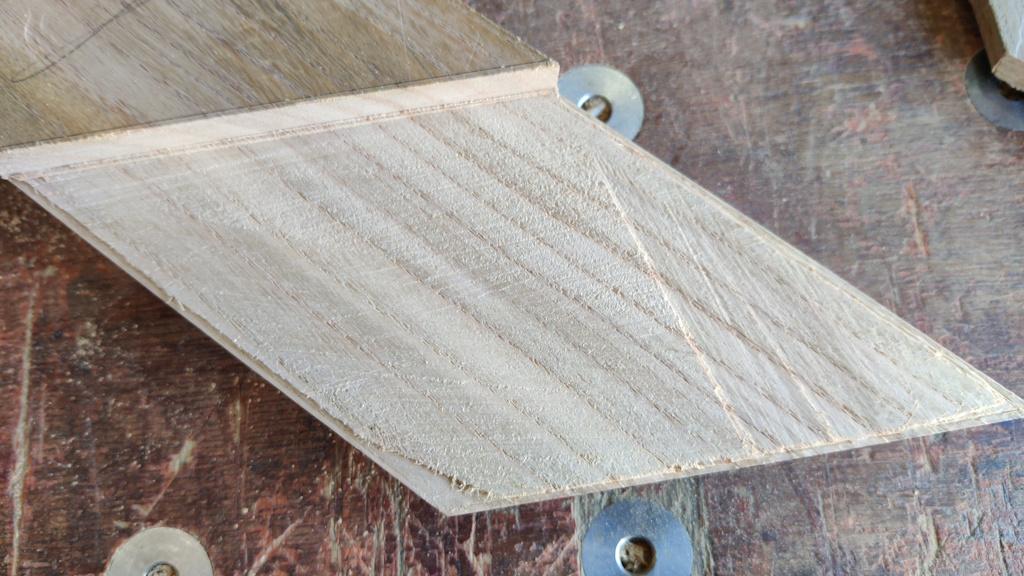
I felt it was important that I work in a slightly different way this time (what with the previous attempts not working) so the first thing I did differently this time was to shoot the ends at the correct angle as the first operation:
That's not a big change (or much work), but it means that the knife marks I make on the end grain will be in the right place when the joint goes together. Leaving a few millimetres overhanging as I did on the previous attempts means I have to pair (or saw) very accurately for at least the first few millimetres.
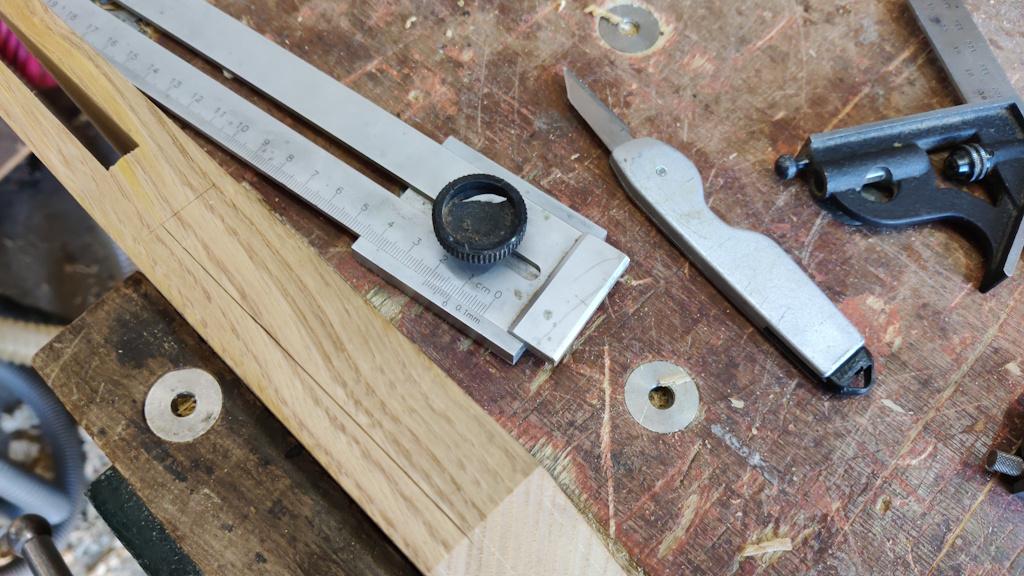
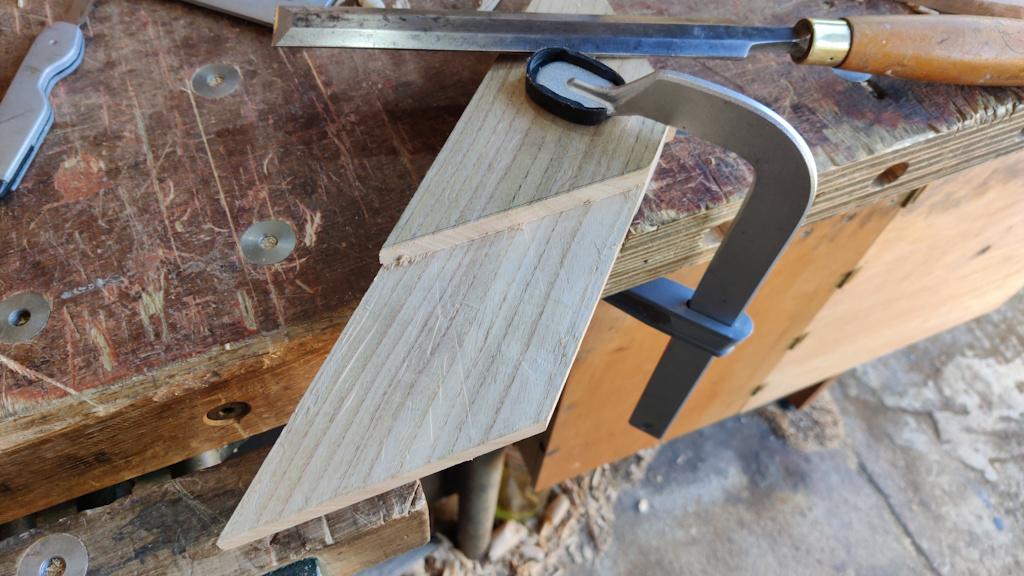
I used a different approach to marking this time as well, using my edge gauge marking thing and a knife:
This can obviously only be used for one setting at a time (as I only have one of them), but that's fine as I can mark one edge on all (both in this case) of the boards at the same time and then move onto the other edge. The advantage of it is that it gives a lot more control while not slowing down the process much (as long as the board can be clamped as you need two hands). The knife gets pressed against the side of the gauge and then both are moved along the board together, resulting in a line getting cut.
I find it a lot easier to mark different depths of cut using this method than I do with a marking gauge. On the side (different on each board) where the waste was on the free side of the gauge, I used the knife to make a fairly deep line. On the side where the waste was hidden under the gauge (and hence I was cutting on the "keep" side of the line), I marked a very faint knife line:
I could then remove the gauge and deepen the faint line but with the bevel hanging over the waste side.
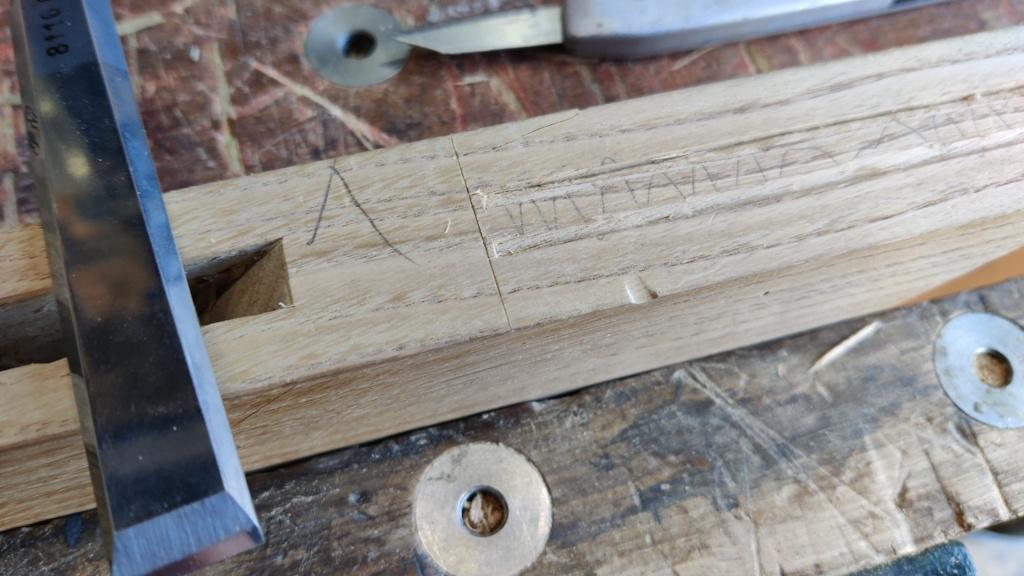
The next change to the process was to cut some "knife walls" with a chisel (and, in some places, an extra pass with the knife):
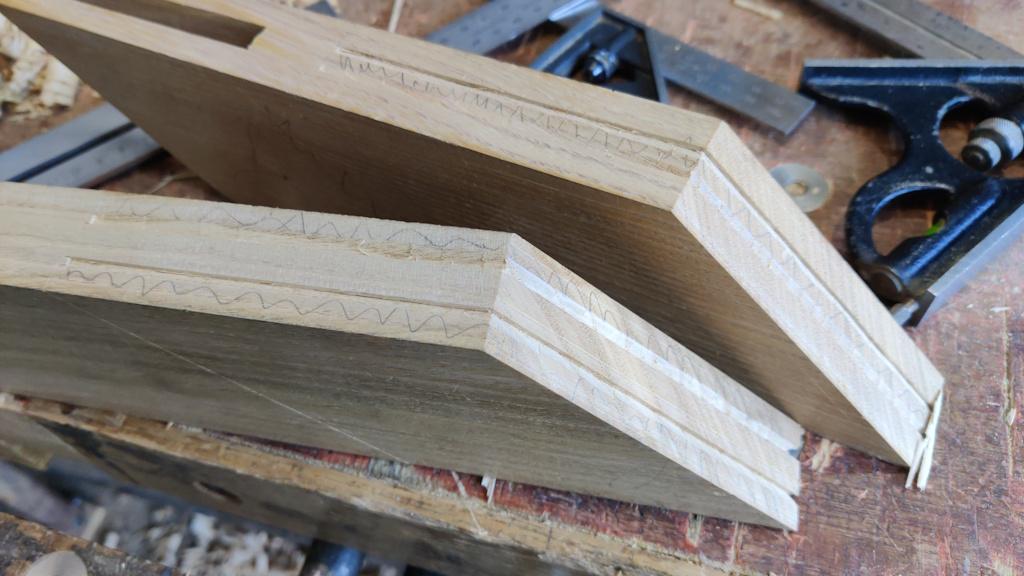
These knife walls result in the knife marked position being quite deep in the boards, but with the chiselled bit being on the waste side:
The knife wall serves two purposes. Firstly, if I'm brave enough to saw to the line, the knife wall guides the saw as it starts. Secondly (and arguably more importantly), it means that I have a well-defined edge and any paring away that happens starts safely inside the line and hopefully doesn't have a negative effect on what the closed joint looks like.
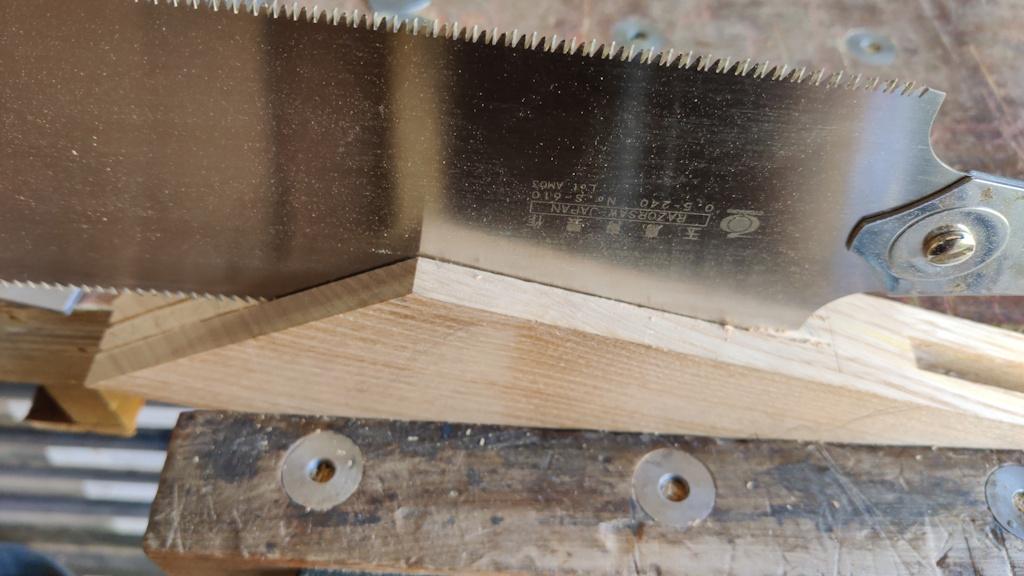
For the first saw cut (down one of the sides of the socket), I decided to be brave and try sawing to the line (with the knife wall hopefully helping me saw in the right place):
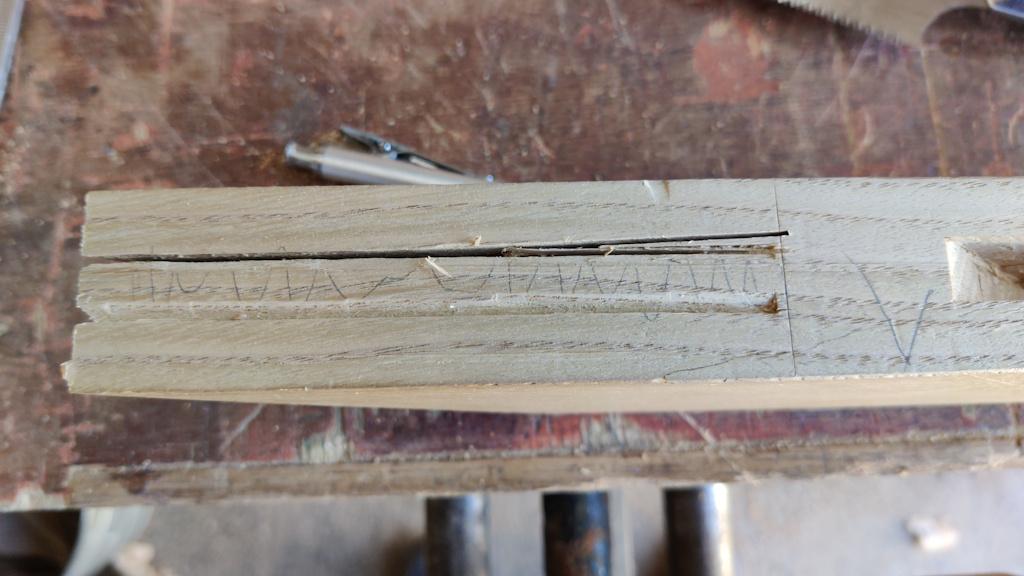
That seemed to go mostly okay, but on the third saw cut (where I tried to remove the triangle left by the two cuts following the three knife walls), the saw wandered at the end of the cut on the side that I couldn't see while sawing:
It's not the end of the world as there are a couple of mitigating factors here: firstly this is only a practice piece, but also that face will be hidden inside the joint (hence choosing it as the one I wouldn't be able to see when doing that final cut), so the damage should be hidden when the joint goes together.
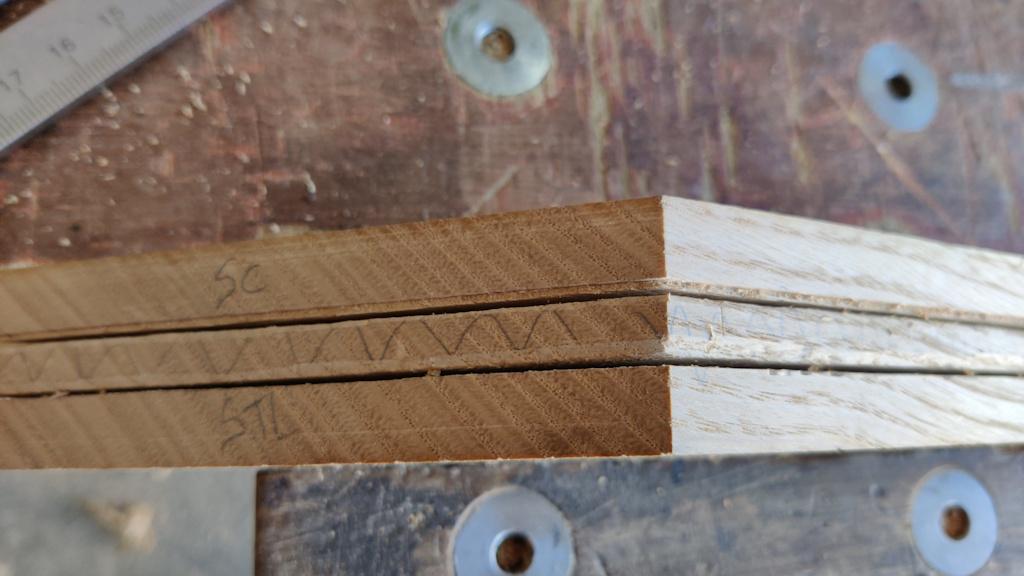
Nevertheless, I decided to saw away from the line when cutting the other side of the socket:
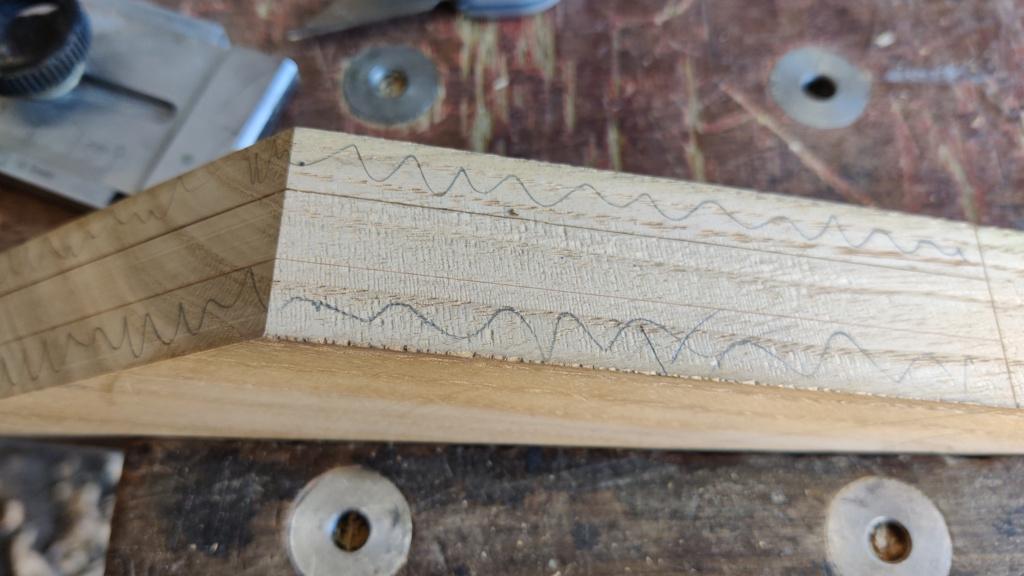
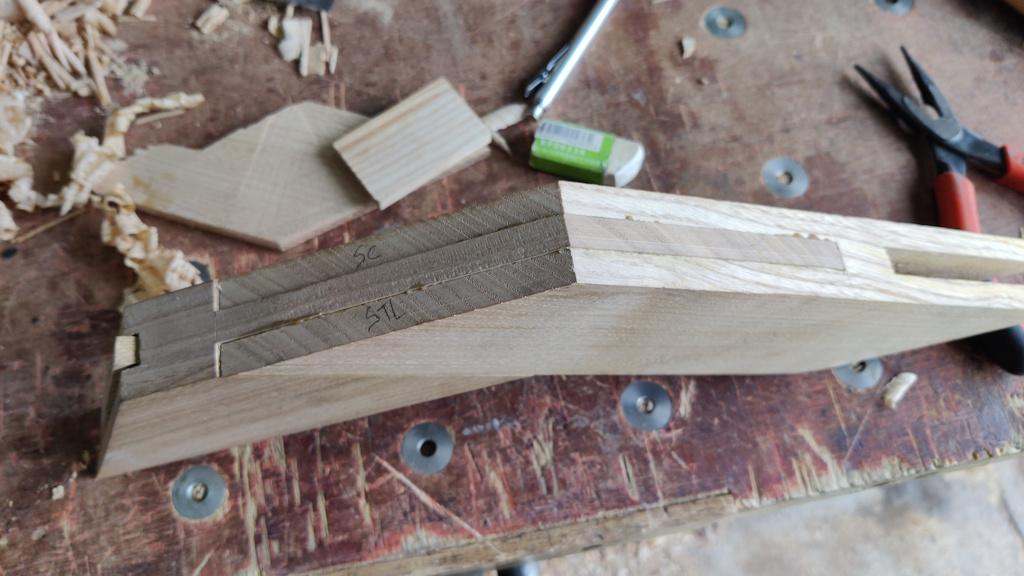
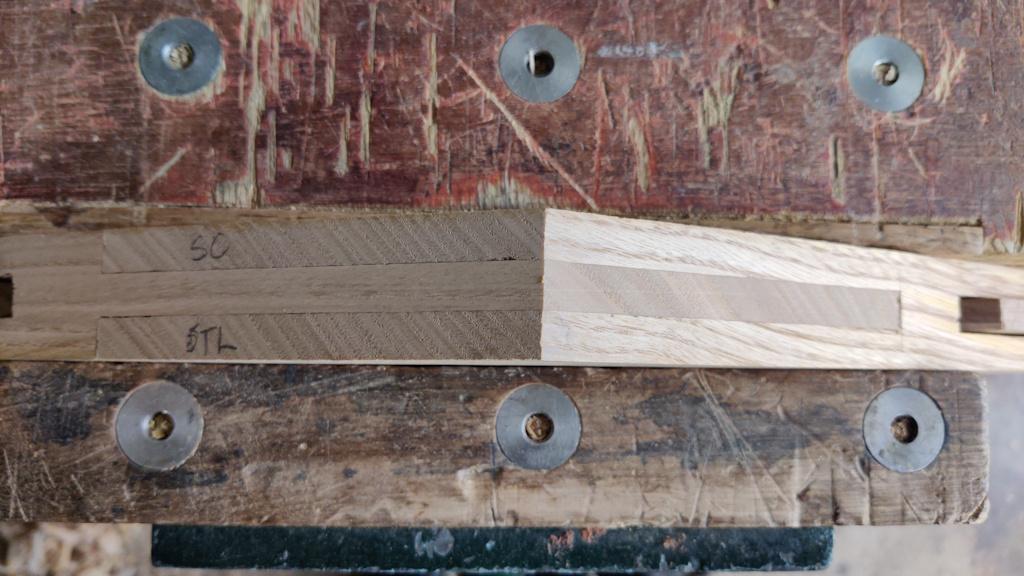
You'll notice in that image that I've also marked the two sides as "STL" for "sawn to line" and "SC" for "sawn clear [of the line]". That was so that I could inspect the resulting joins after assembly and see which one produced a better result.
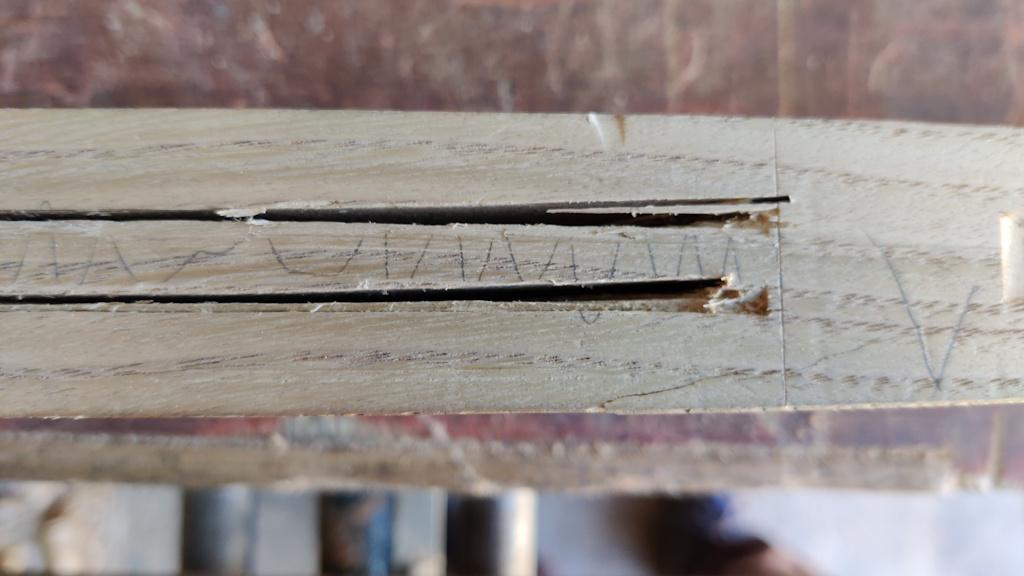
The hidden face also gained a wandering saw kerf on that third cut, but this time it wandered into the waste:
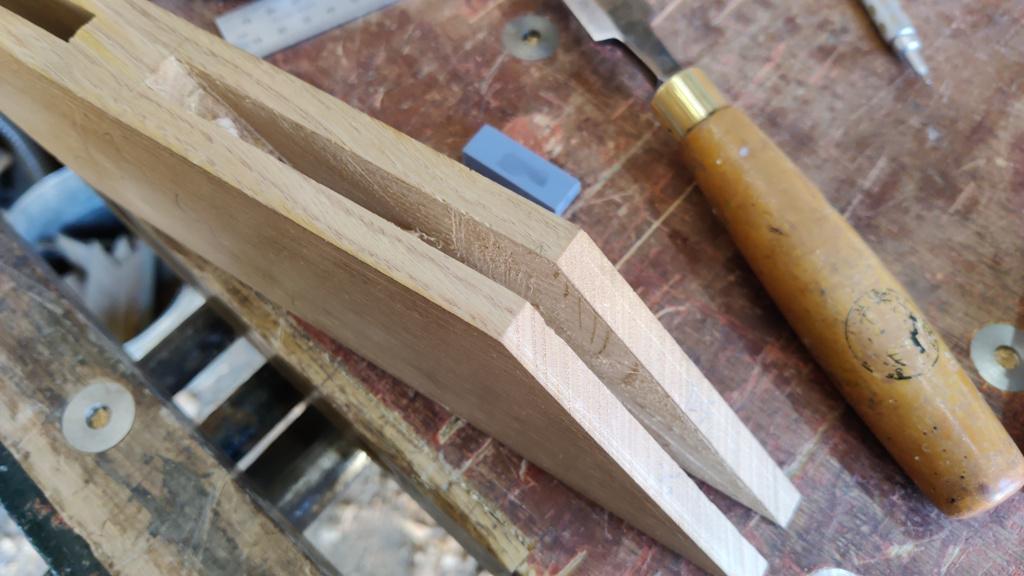
The next job was to pare away the waste in the socket. Through blind luck careful planning (ahem), the side that I'd sawn away from the line (and hence which had more material to remove) was also the side that had the grain direction oriented such that paring from the end was nice and easy. That does of course mean that the comparison between the "to line" and "clear of the line" faces isn't entirely fair.
A bit of paring needed to be done on the other face, despite having tried to saw right on the line, but the amount of paring was minimal.
The cheeks of the tenon were sawn off in much the same way as before, keeping a millimetre or so clear of the lines and using the Ryoba for the rip cuts and the cross-cut Dozuki for the cross-cuts:
To remove the waste in between the knife walls, I decided to just do it by paring rather than trying to use a shoulder, rebate or router plane. I figured it was good practice with the chisel if nothing else. One side had to be pared from the end in and the other from the shoulder out, but in this case the 45° angle helped as for the outward paring I could start at the acute angled point (top-right of the photo below) and easily work out.
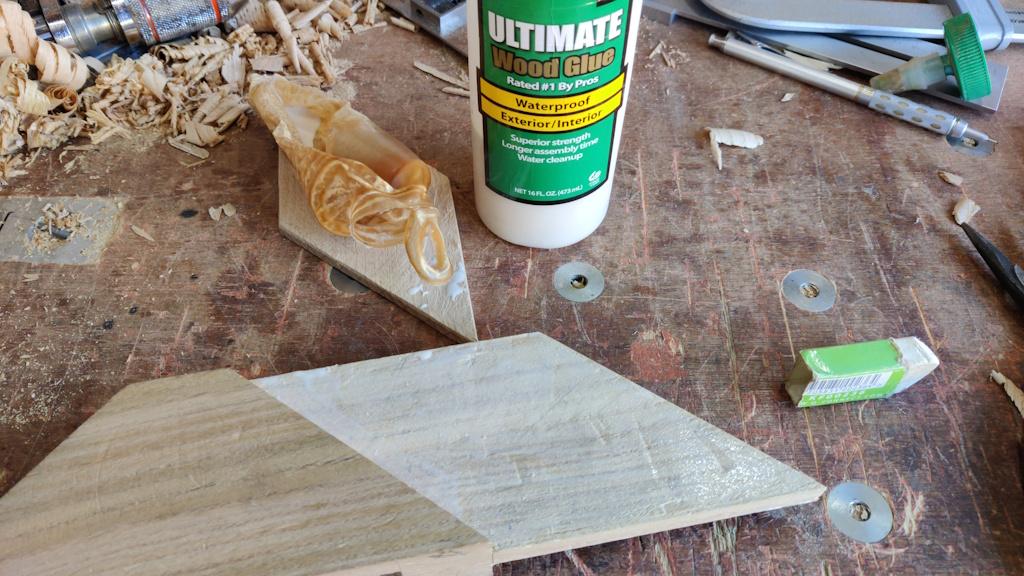
Given that there was definitely not enough material left to use this test piece for another attempt (there's only about 20 mm of solid wood between the previous joint attempt and this one), I figured I might as well glue the joint together and see how it will look "for real" rather than just clamping the faces together and planing them. I dug out my old bottle of waterproof glue (as this will be an outdoor project in the end and I might as well do the tests with the same glue), dug out the rather impressive crust that had formed over the sides of the bottle (you can see the removed crust sitting on the off-cut to the left of the bottle in the next photo) and applied glue with a brush to both big faces of the tenon and both big faces of the socket:
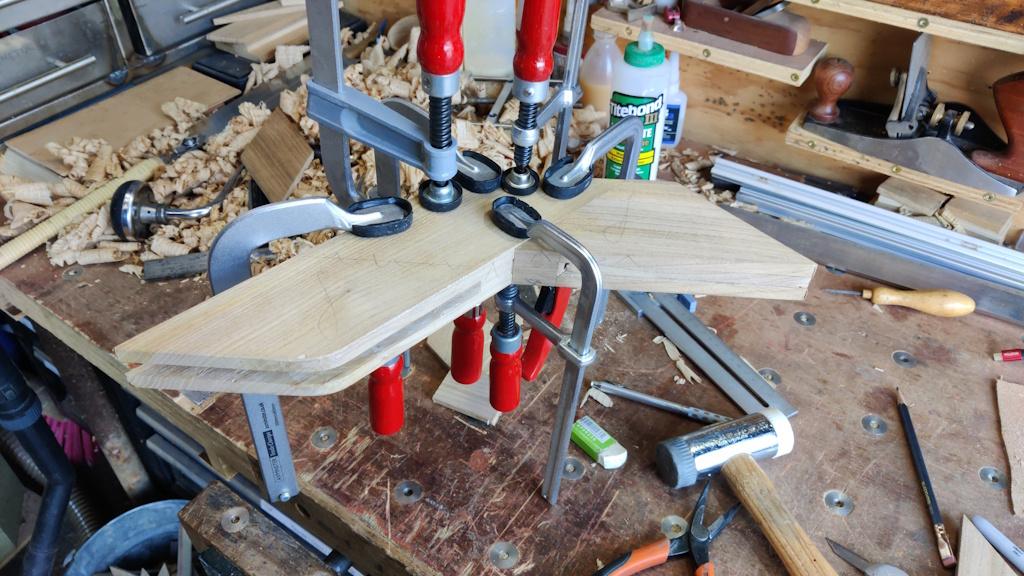
I then did the normal thing of throwing as many clamps as I could fit onto the joint:
It came out of the clamps today and this is what it looked like:
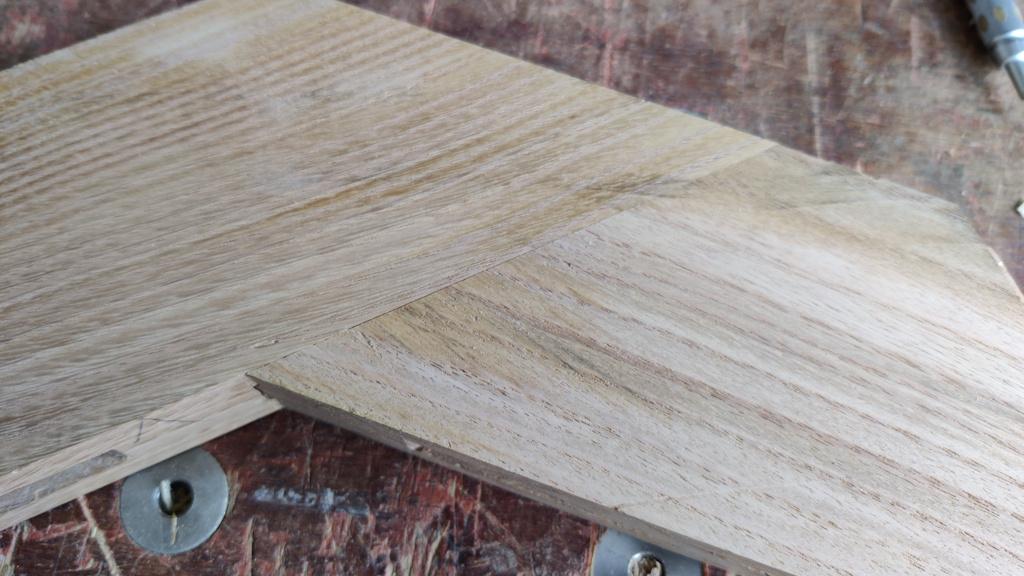
Holding it for planing the faces was rather awkward given how small the pieces are and how they've got great big slots cut in the ends from previous attempts, but I managed to get there (using a 50° blade in a bevel-up plane giving a 62° cutting angle as the grains were opposing on the two pieces). The face side looked okay to me (if you ignore the dirty mark from where I clamped it in the vice afterwards to plane the edge - note to self: clean your vice!)
For convenience I used the same high angle plane to do the edges and then I remarked the sawn-to-line and sawn-clear sides:
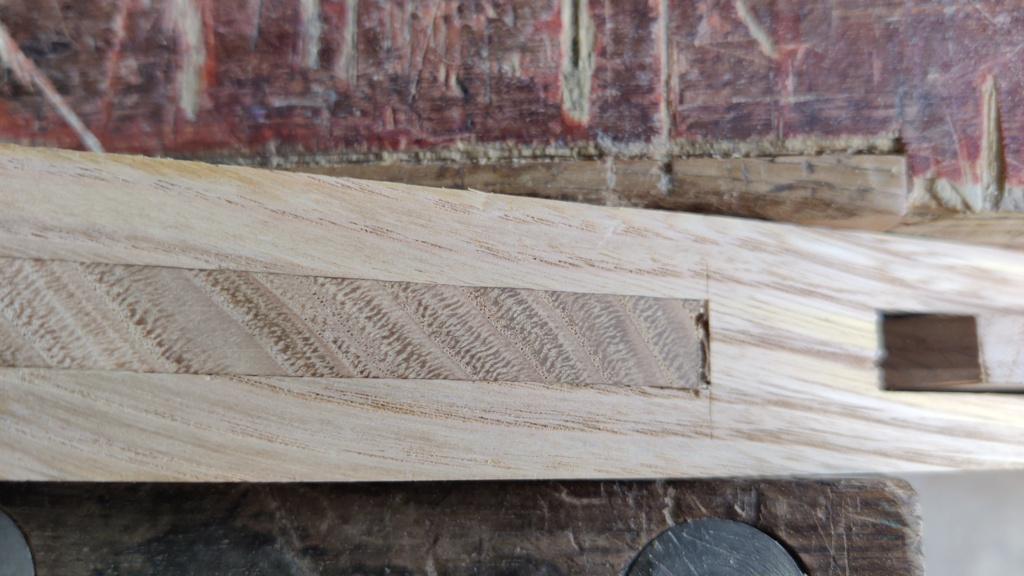
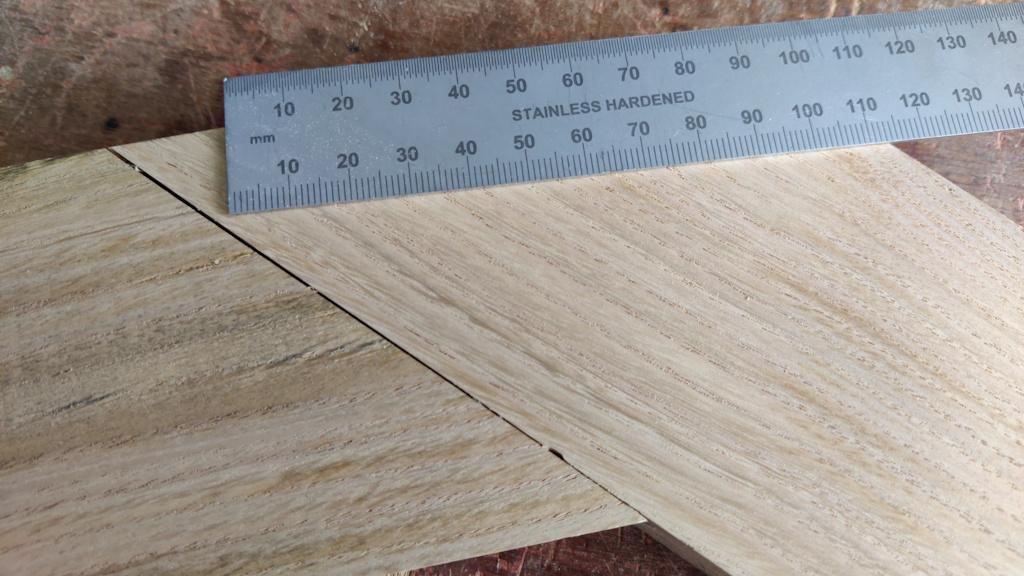
That is miles better than my previous attempts so I'm really pleased with that. It's not perfect, especially down in the corner...
... but that should be easy enough to deal with if it happens on any of the real parts. I'm pretty sure the reason for that is bad marking up: it's a little awkward ensuring that the two shoulder lines on either side of the tenon piece are along the same line and I got it a bit wrong this time, as you can see by the shoulder line on the non-face side:
Nevertheless, that's fairly easy to sort out (I already have a simple plan for doing that better in future).
Overall, it feels like the knife wall thing makes enough of a difference for bridle joints to be viable. As for sawing to the line, I'm a little on the fence at the moment but I'll ponder it over the next few days (as I won't have much workshop time for a while). The "sawn clear" side looks marginally better than the "sawn-to-line" side, but there's not much in it. For the tenons, I'll definitely saw clear (as I did on both parts of this test piece) as it's relatively easy (and quite enjoyable) to clear up the excess with a chisel. For the sockets it's quite a lot quicker (and quite a lot less hassle) to saw to the line so I can see an advantage there. Knowing that the third face will be hidden in the joint also gives me a bit more confidence as I can see the other two faces clearly when doing the two saw cuts that could affect them.
Page 11 of 38
This website is free and ad-free, but costs me money to run. If you'd like to support this site, please consider making a small donation or sending me a message to let me know what you liked or found useful.

 Return to main project page