Garden Table Build Process
Page 12 of 38
Posted 11th April 2025
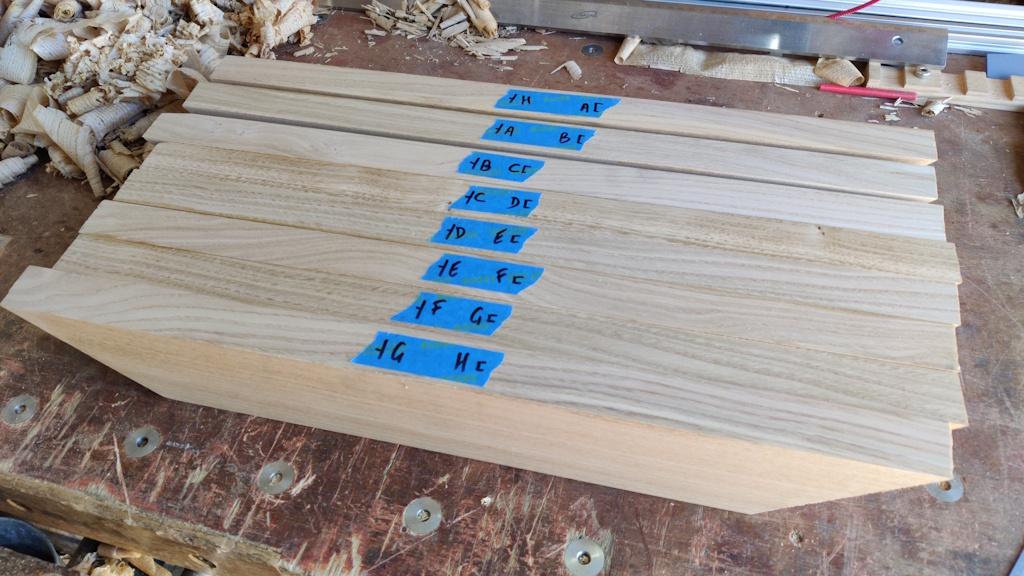
During a few evenings this week, I spent a bit of time preparing the rim planks, including the new two. The first thing I did was plane all of the faces and edges again to remove all the knife lines I put in the wrong place a week or so ago. I then re-labelled them all, with the labels on the inner edge this time so I can use the outside edge as the reference edge without the tape getting in the way.
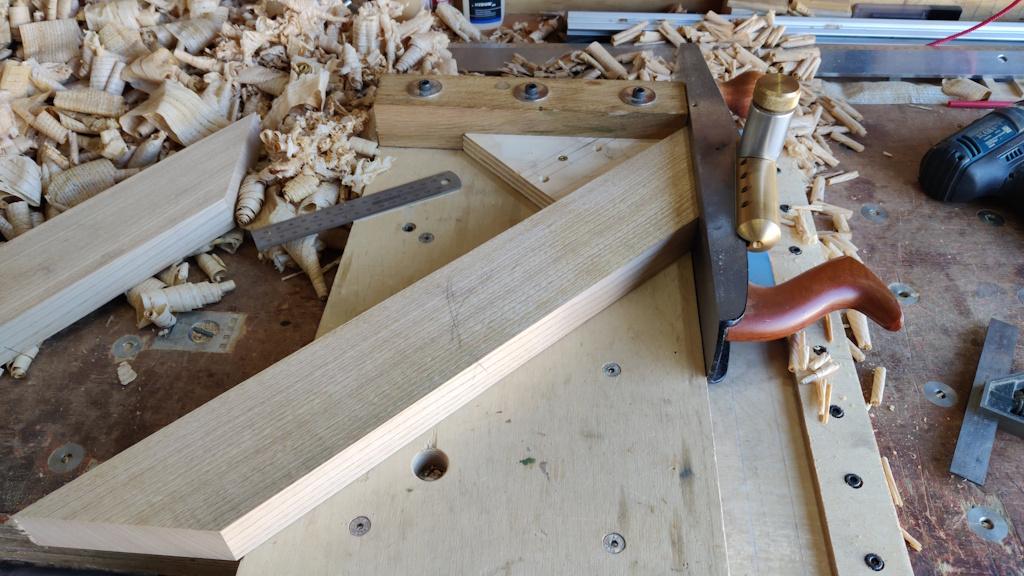
To keep things as simple as possible, I also shot all the planks down to the same length and with a nice clean 45° angle on the end:
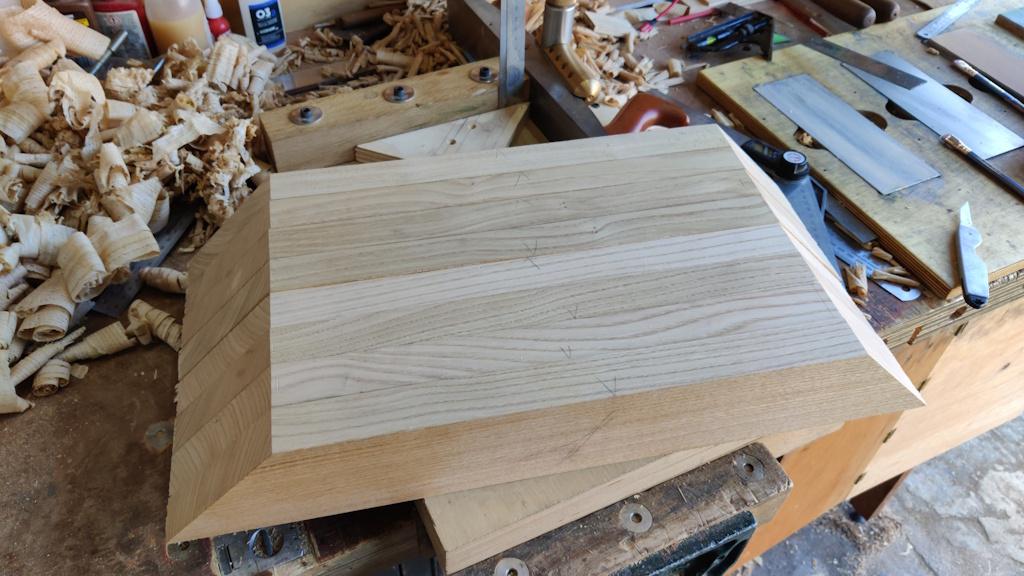
That gave me a little pile of planks, all exactly the same length (which should help produce a regular octagon rather than a wonky one) and approximately the same thickness and width (but with up to a millimetre variation as I didn't think it was that critical at this point).
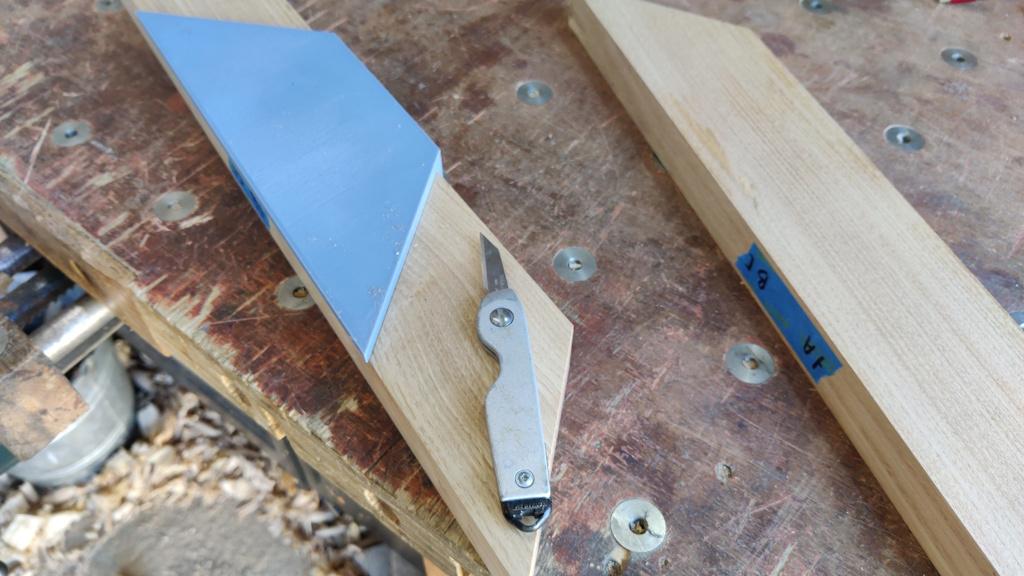
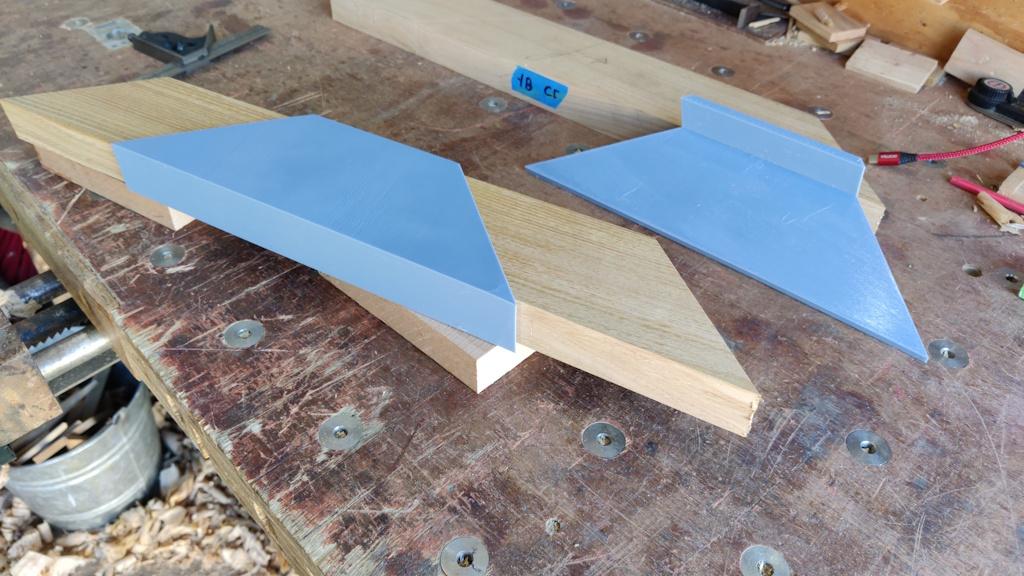
I (well, the 3D-printer) had made a gauge to help mark these long mitres and ensure that when I go round the corner (on both sides) I'm in exactly the right place, so I used that on the first board...
... and then used the other similar one to transfer the mitre lines down onto the other edge:
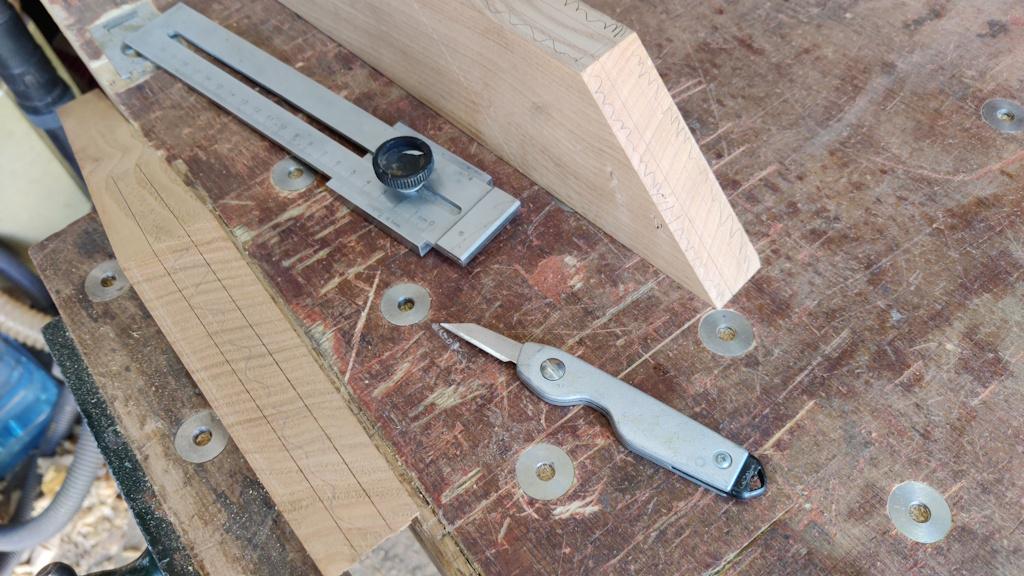
As on the last attempt, I used my edge distance gauge thing (referenced off the face side) to mark the thickness of the bridle joint. This time I didn't bother doing just a light mark on the side where the waste was under the gauge (and deepening it when the gauge was removed), I just trusted in the fact that the knife has a thin blade and it'd probably be okay.
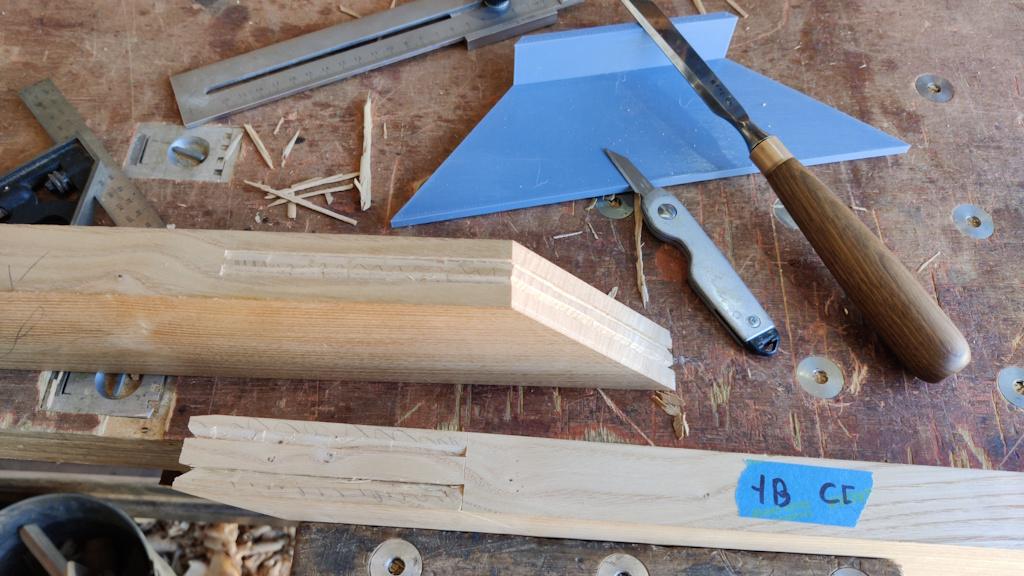
Knife walls were prepared as before:
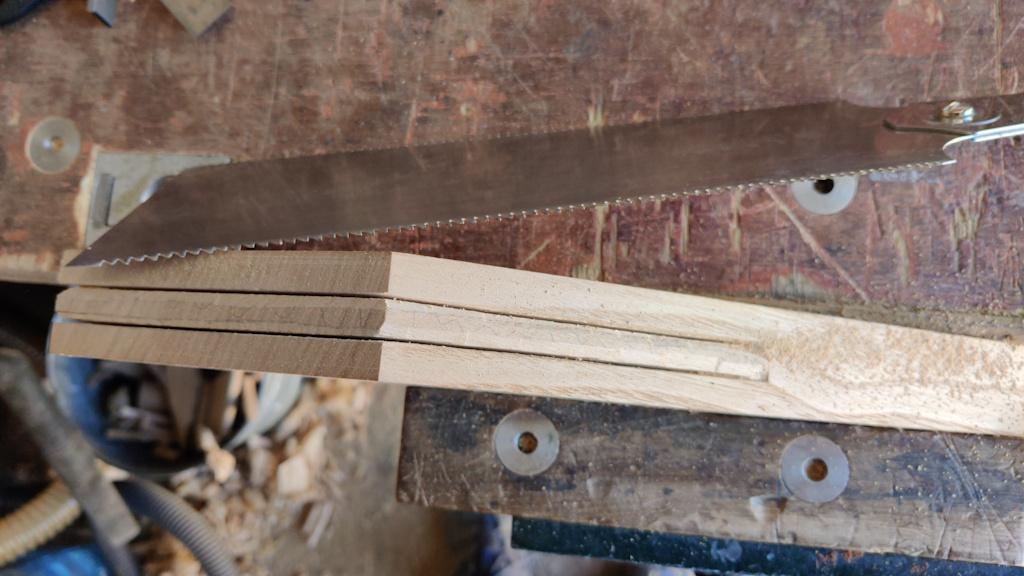
On the socket piece, I sawed straight to the line:
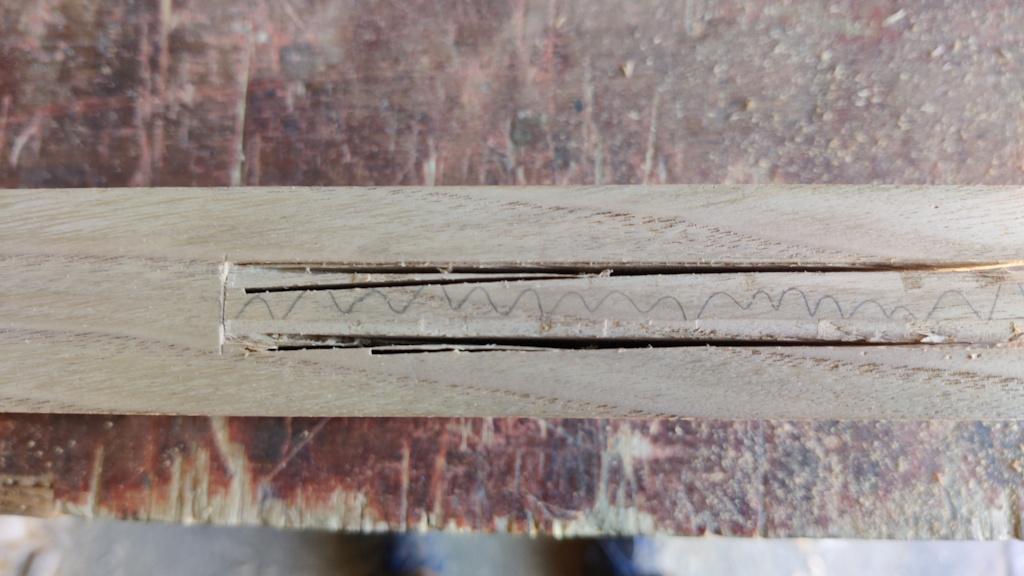
As before, on the edge I can't see when doing the third cut, the saw wandered a little bit (but it's not the end of the world as that edge will be hidden inside the joint):
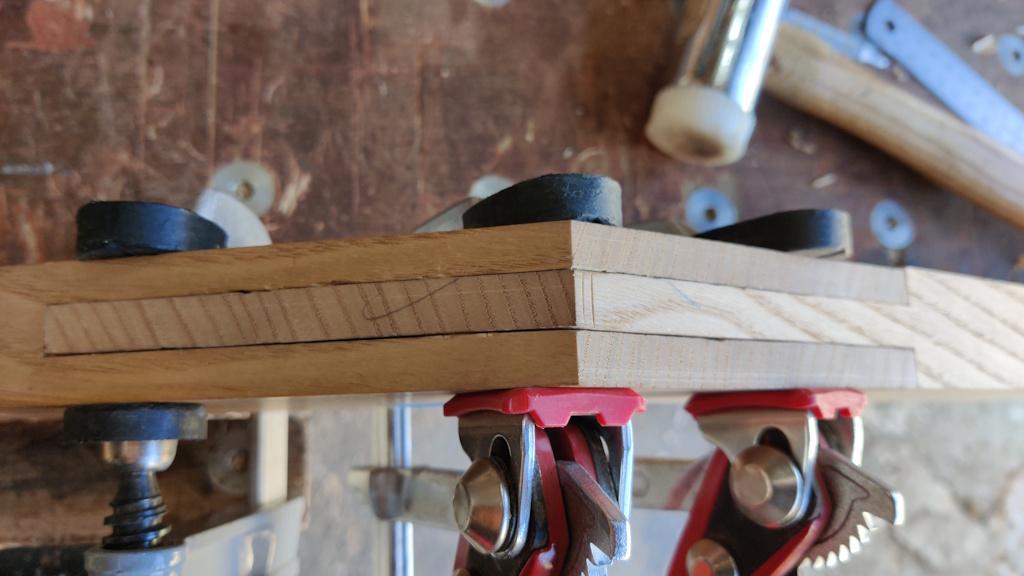
On the tenon, I sawed away from the line and pared to fit. Paring to fit took a long time as I had to keep tweaking things. When it finally went together as well as I thought it was ever going to, I put some clamps on it and took this photo:
It's far from perfect, but I think I'm going to call it good enough. It'll end up being a very expensive table if I keep having to make new planks to replace each pair after every attempt at a bridle joint!
I'm still not really happy with the process of cutting the joint. It took me most of the afternoon to cut a single bridle joint and even then it wasn't that good. I'm tempted to have another go with the bandsaw for the rip cuts: if I can get that cutting accurately enough then it'd hopefully not require as much time spent paring and tweaking. The risk is, of course, that I give myself a very quick and efficient method of creating more firewood!
I'm beginning to regret learning how to cut bridle joints on a 45° angle and with such a big mating area.
Page 12 of 38
This website is free and ad-free, but costs me money to run. If you'd like to support this site, please consider making a small donation or sending me a message to let me know what you liked or found useful.

 Return to main project page