Garden Table Build Process
Page 16 of 38
Posted 21st April 2025
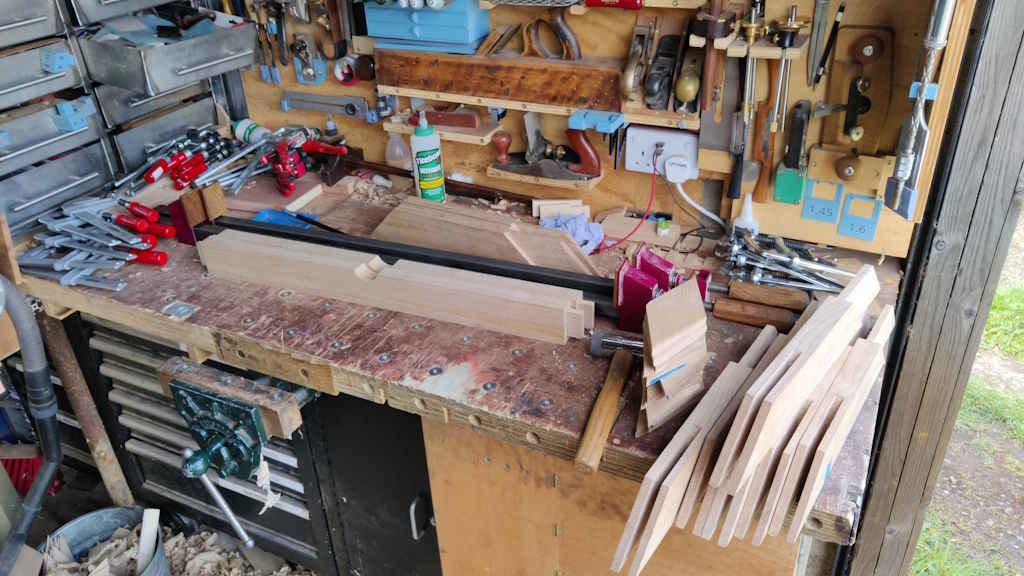
Just before lunch, I'd gone round all the bridle joints once more and was feeling like it was time to glue the frame together. I got everything I could think of I might need together (including those parallelogram bits of sweet chestnut to act as clamping pads):
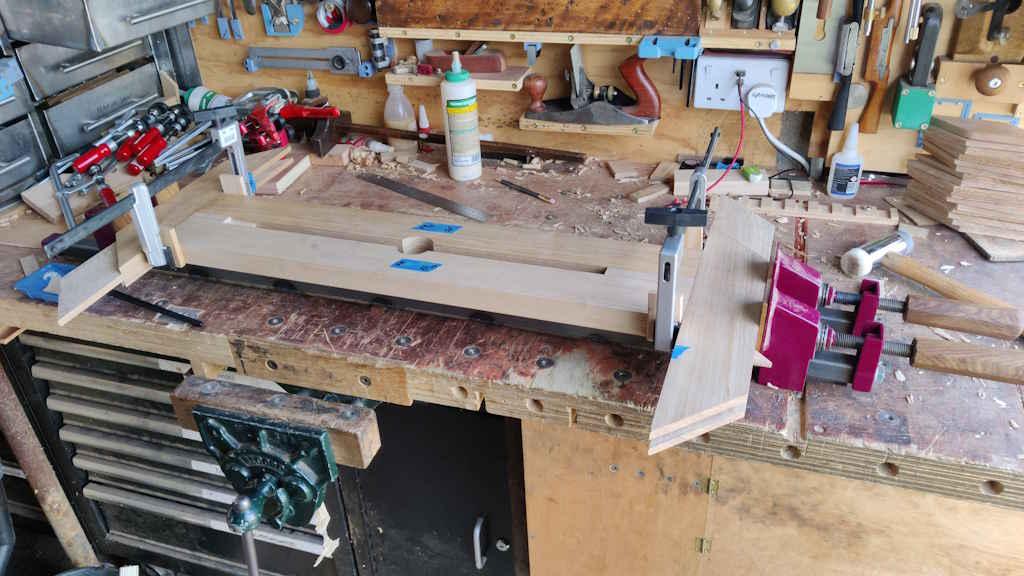
I started by gluing the mortice and tenon-joints together and getting them clamped in place. I shoved the bits of plywood from earlier in between them and clamped them together as well as having clamps along the length. The plywood bits will make sure that any gaps along the length of the tenon (which was just marked up with a pencil) won't result in the bars being off-parallel and will also ensure the spacing is right such that the central circle is still circular. Probably unnecessary, but I figured it can't hurt.
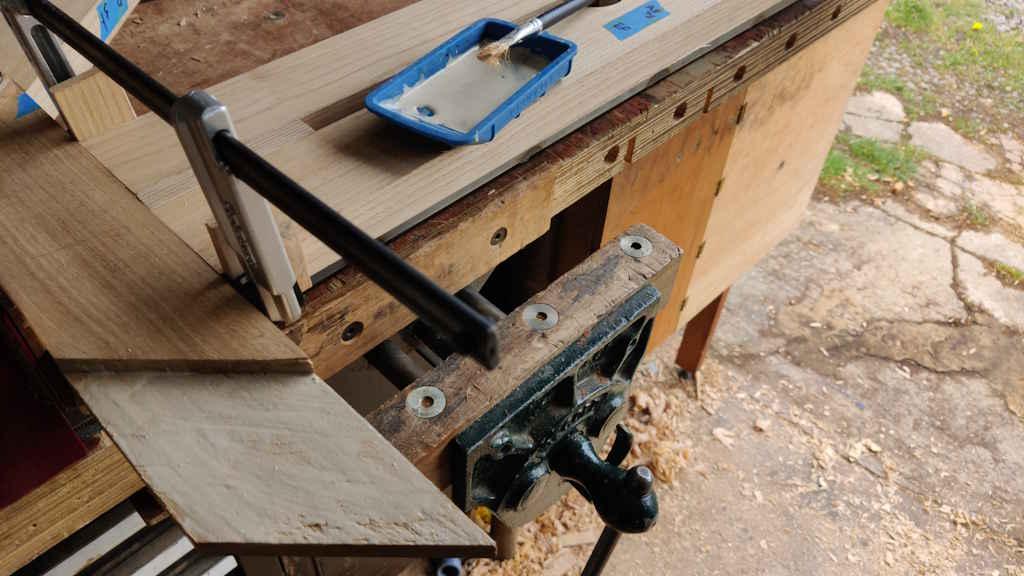
After that, there was a lot of gluing, using more glue in a single glue-up than I ever have before. Each bridle joint got a generous dousing of glue on both the outside surfaces of the tenon (which were easy)...
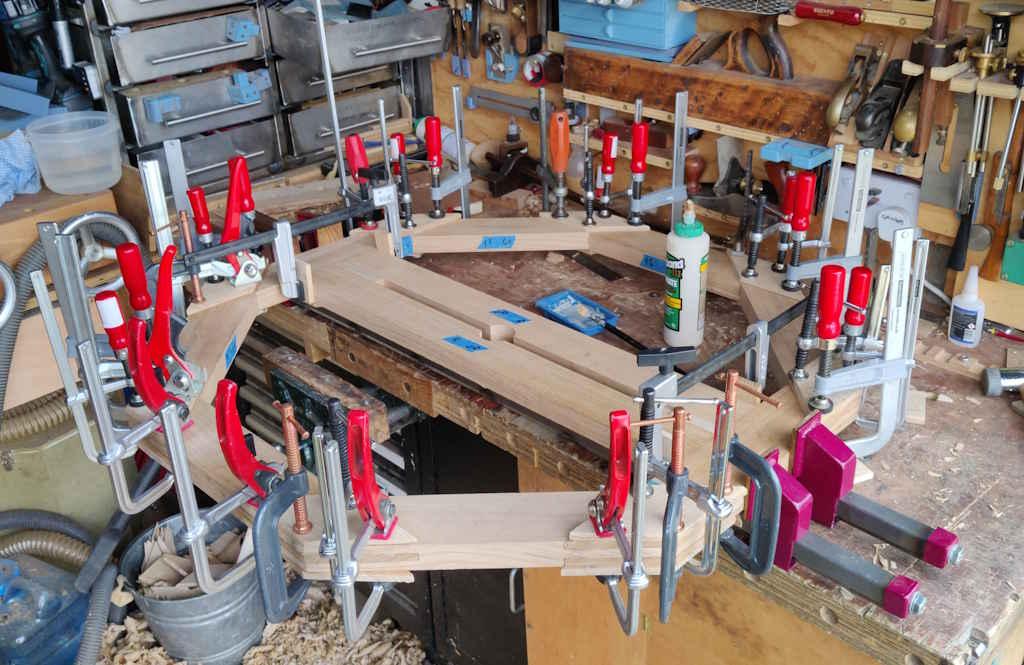
... and the inside surfaces of the socket, which were a bit more awkward and didn't do my (cheap Lidl) paintbrush much good! As each half went together, I put one clamp on each corner of the parallelogram clamping pads (which, conveniently, each had one nice smooth planed surface to press against the table). I suspect that 36 clamps in one go is probably a record for me:
I'll leave that now to dry fully. I could probably un-clamp it all by now (three-ish hours after the glue-up), but I think it's better to just leave it until fully dry. I probably won't get much more time on the project until the next bank holiday in a couple of weeks' time so you'll have to wait until then to see how it came out.
I need to plane the faces and the edges of the assembly, but I'll probably leave that until I've fitted all the slats (which I'm intending to do with dovetail half-lap joints, hence being able to do them after gluing the rest of the frame together). The next job will therefore be lots and lots of planing of rough sawn timber to give me something to use to make those slats.
Page 16 of 38
This website is free and ad-free, but costs me money to run. If you'd like to support this site, please consider making a small donation or sending me a message to let me know what you liked or found useful.

 Return to main project page


