Garden Table Build Process
Page 15 of 38
Posted 21st April 2025
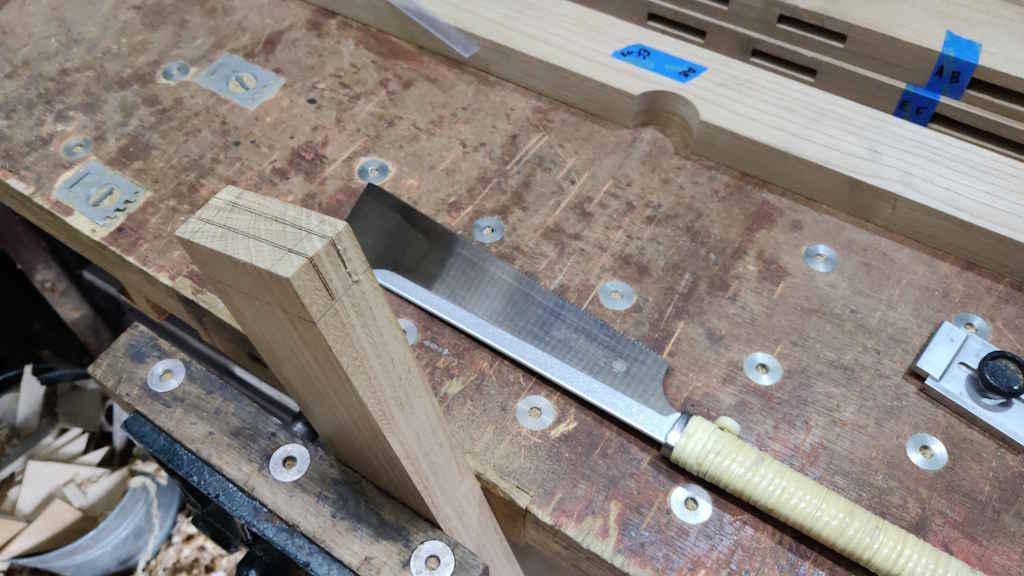
Cutting the tenons was a fairly quick process. After marking the thickness with the two gauges I used yesterday, it was just a case of lots more sawing and paring. For the first one, I sawed a little way away from the line:
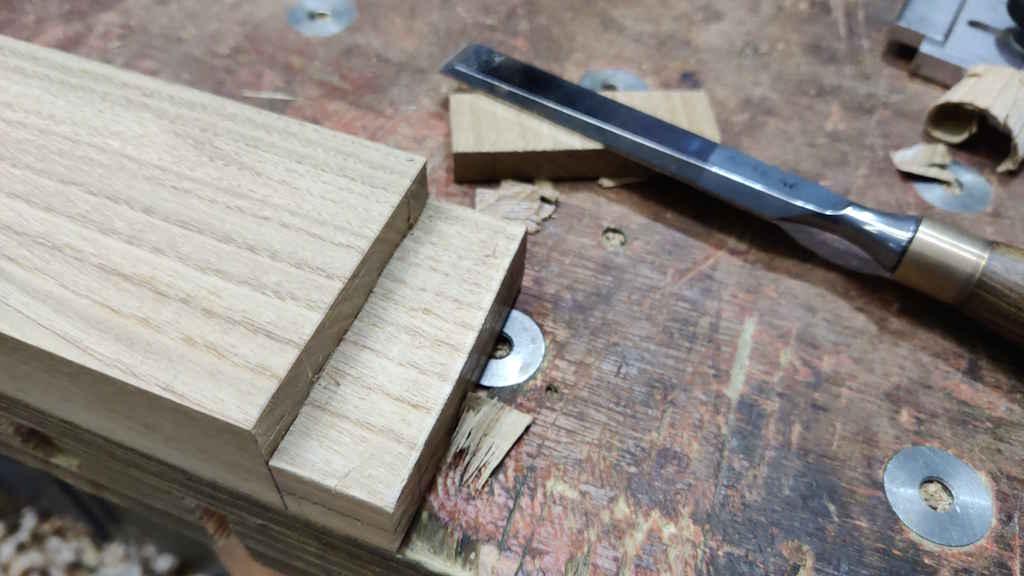
I also sawed away from the line on the shoulder, so I had to pare both the shoulder and the face, but that was pretty quick:
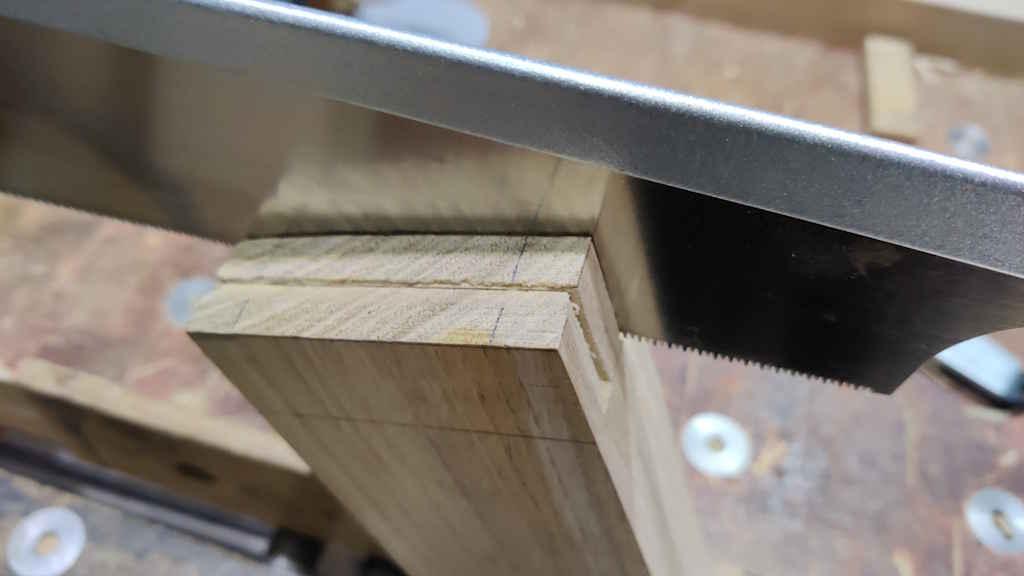
For the second one, I decided to make a knife wall and try sawing directly to the line:
That worked okay, but I think the process of creating the knife wall was slower than just cutting a little way from the line and then paring, so I went back to the first method on the other ones. The fit was better on the ones where I cut a little away from the line as well (although the one where I cut to the line was okay).
I didn't take any photos of the 90° saw cuts to remove the ends of the tenons, but you can see the pencil lines in the other photos so I'm sure you can imagine what that entailed. I didn't use knife lines for those (I just cut along the pencil line) as I don't think the position is that critical.
With the tenons cut, I thought it was a good time for a test fit:
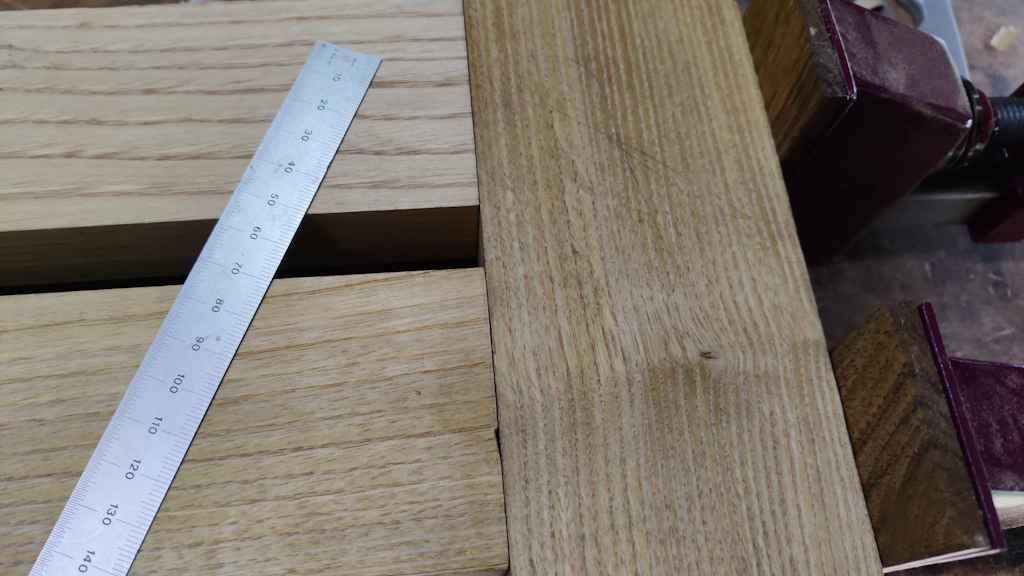
Irritatingly, when I was chiselling the shoulder line on one of the pieces (on the face side), the air compressor pump kicked in and made me jump, resulting in the chisel jumping just as the mallet was coming down. Hopefully I'll be able to fill the little gap in after it's all glued together:
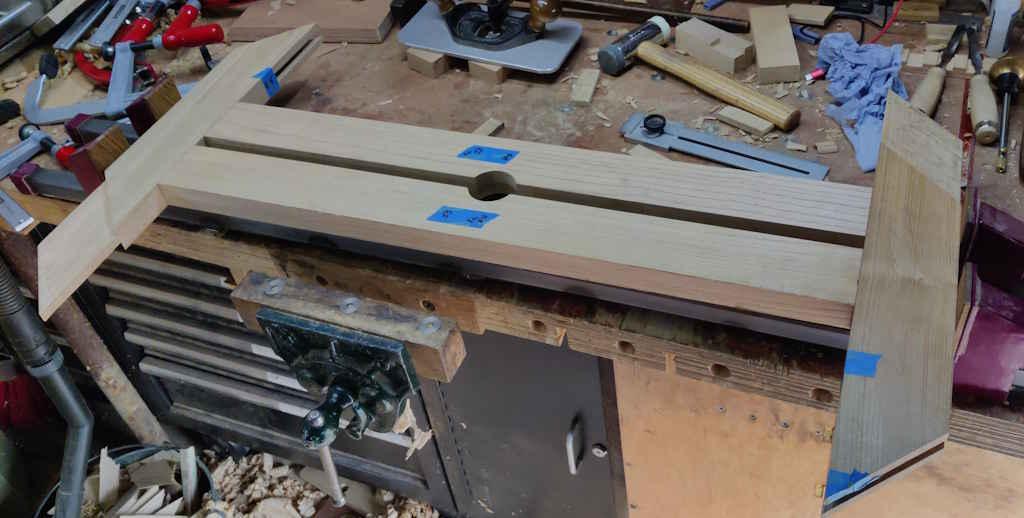
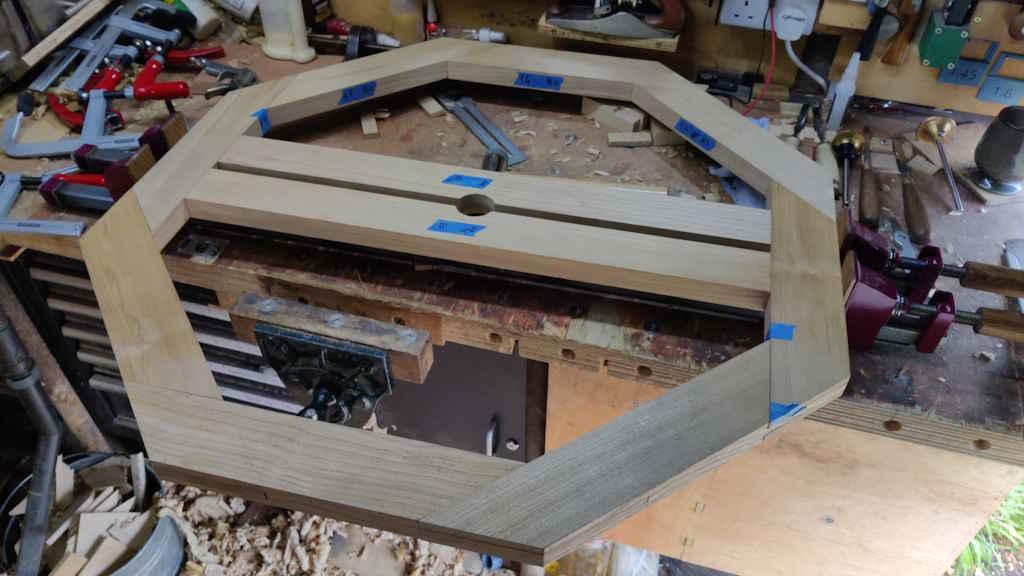
With the mortice and tenons assembled, I thought I might as well push all the bridle joints together as well and see how it's looking:
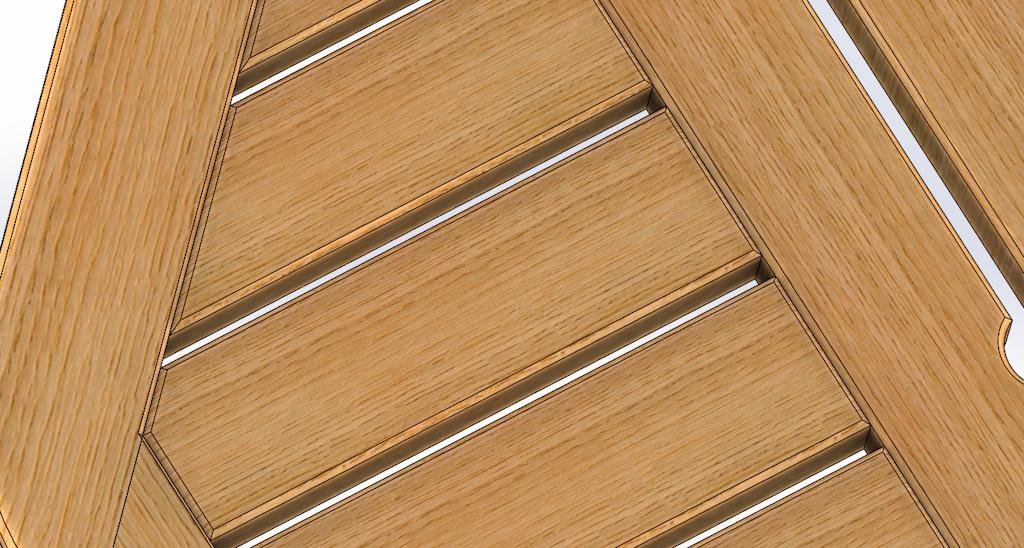
I still want to go back round all those bridle joints and check I'm happy with the fit: I think I got better at gauging how good the joints were as I did more of them so the earlier ones might benefit from a little bit of extra tweaking. With that done I need to make a decision about whether to chamfer all the edges before gluing it together. If chamfering, I also need to decide whether to chamfer the joints (which would make planing the top a heck of a lot easier but might give little channels for water to sit in). The chamfering might also expose any gaps where I've undercut shoulders I guess. I'd welcome any thoughts anyway.
This is what I mean by chamfering the joints:
Page 15 of 38
This website is free and ad-free, but costs me money to run. If you'd like to support this site, please consider making a small donation or sending me a message to let me know what you liked or found useful.

 Return to main project page