Garden Table Build Process
Page 22 of 38
Posted 16th May 2025
I haven't had much time in the workshop over the past couple of weeks, but this afternoon was clear so I thought it would be good to make a bit of progress on the table top. I've decided to go with the original-ish design (with parallel side slats rather than the angled ones in the corner pockets). Therefore, the next slats to go in are the ones either side of the existing ones. These are relatively simple as the dovetails are still fairly conventional.
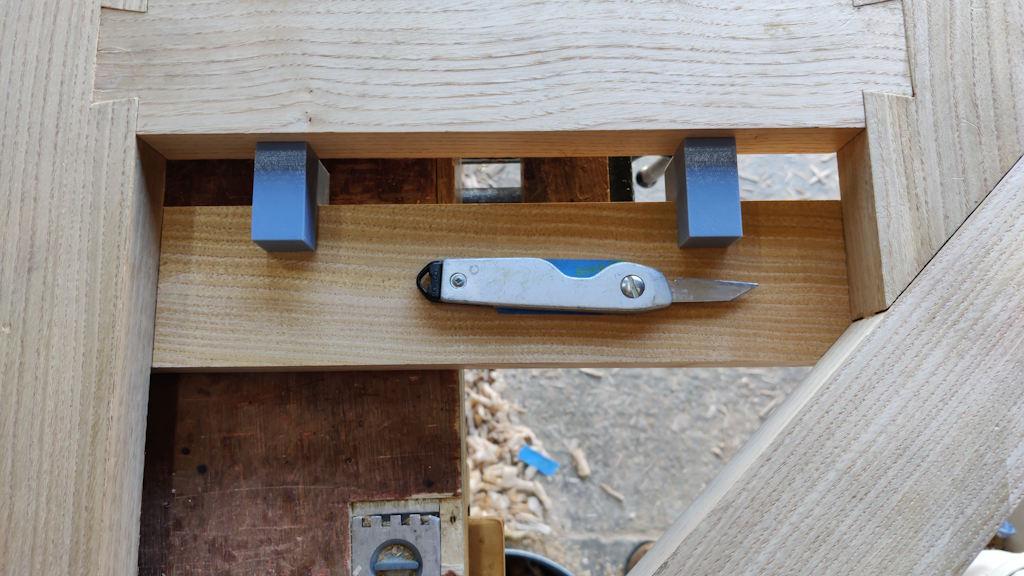
I started by marking the shoulder lines as before, but just using the simple spacers to keep everything evenly spaced and parallel:
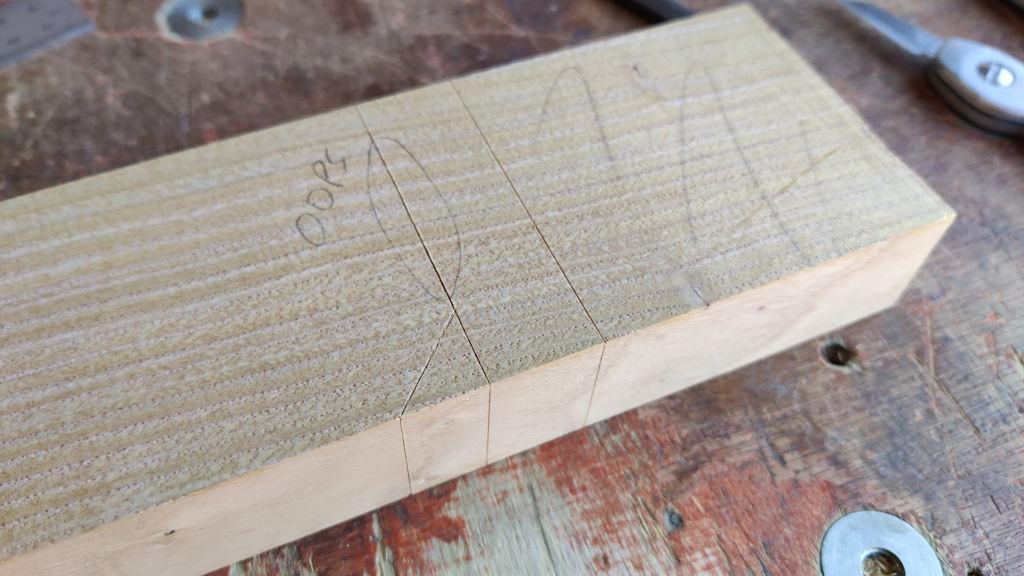
Unfortunately I had a moment of stupidity and did this on the underside face (with the table top upside down) rather than the top face (with the table the right way up). That meant that I'd scribed a line across the bit of dovetail that would remain after cutting out:
Not the end of the world though. I could have just grabbed another bit of wood and had another go, but I figured that it'll probably get planed down later and even if it doesn't, it's on the underside of the table so doesn't really matter.
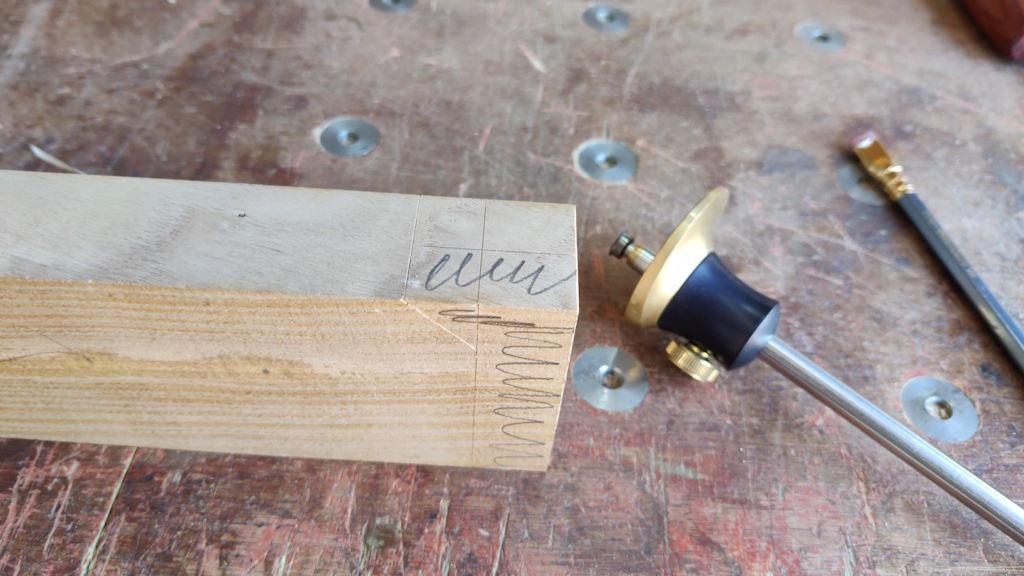
Marking the depth was done in the same way as before:
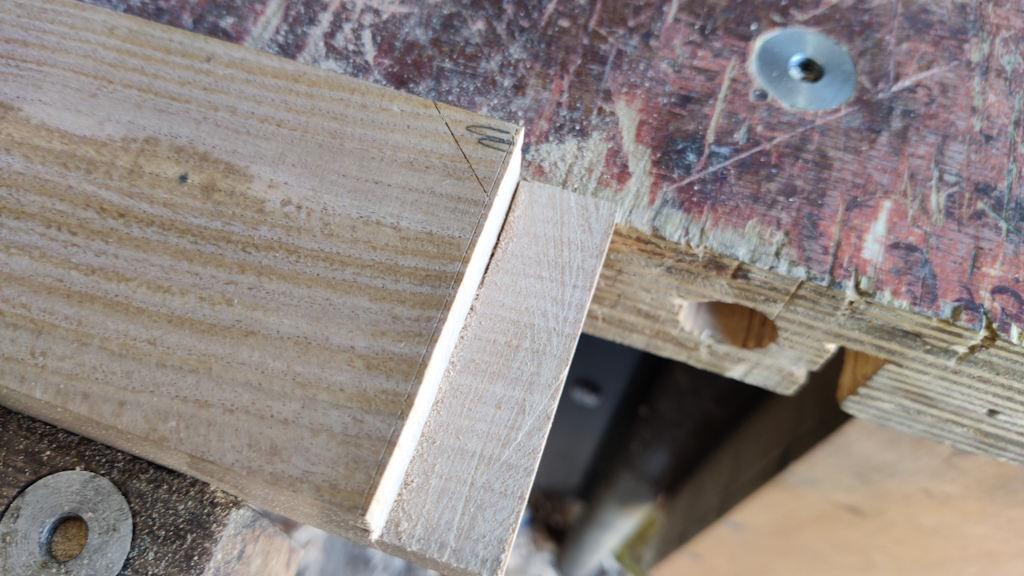
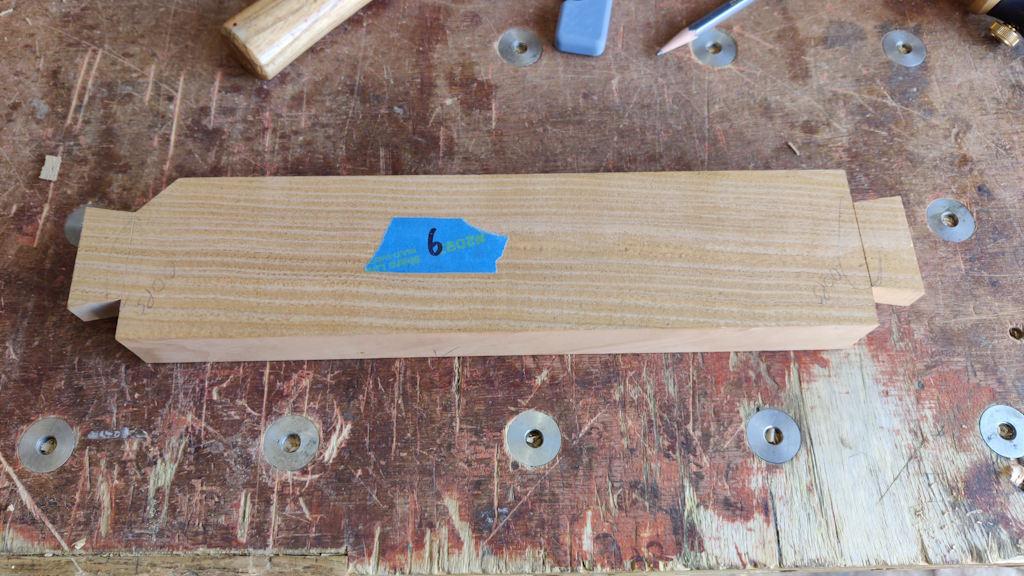
Then I roughly sawed the ends, initially ignoring the little corner bit:
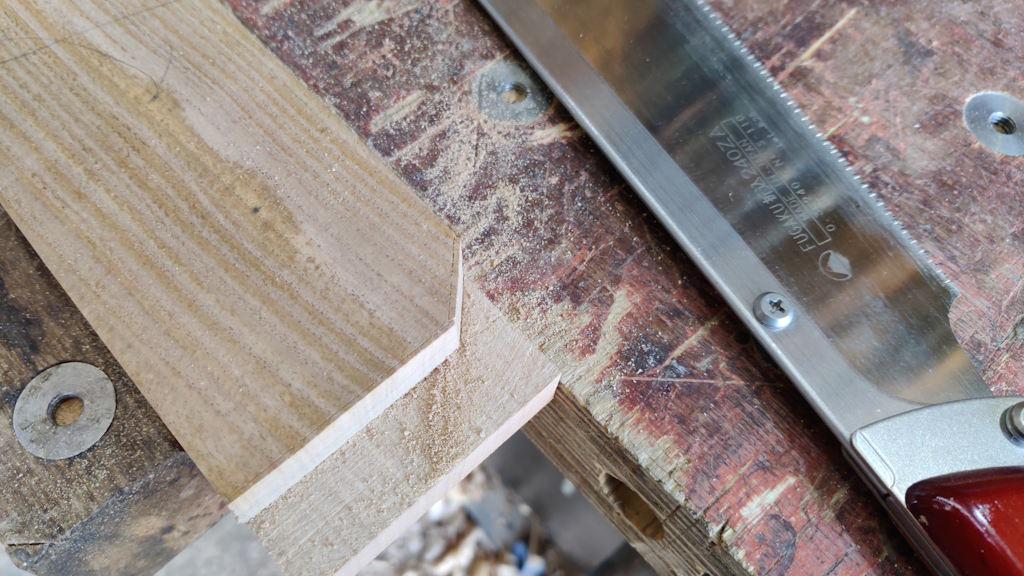
The corner bit then got sawn off as well:
Then it was just more chisel & router plane time to shape the plank:
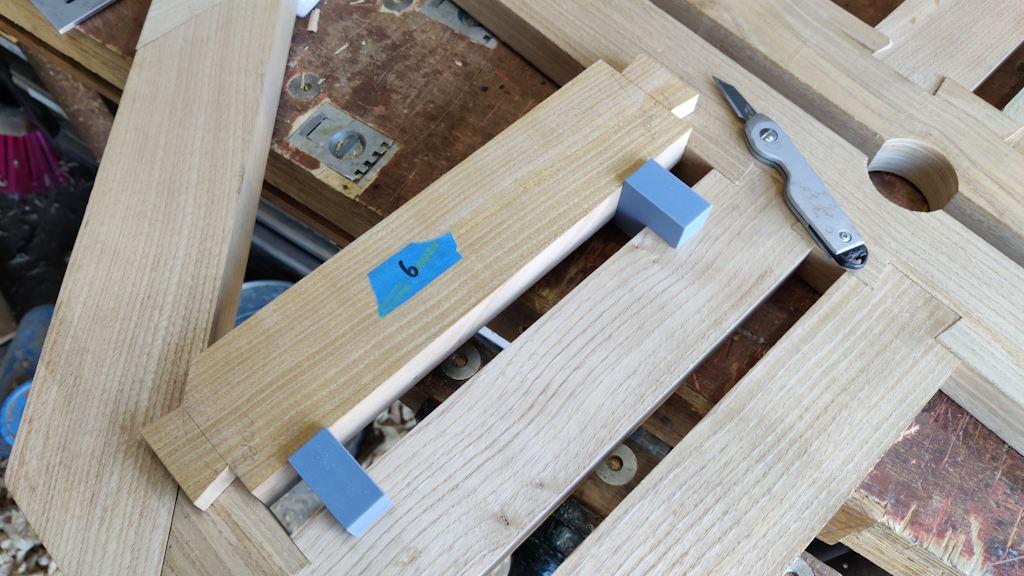
The little spacers were used again to hold it in the right place to mark the pocket locations:
The process was then much the same as before to chisel out the waste and fit the first plank:
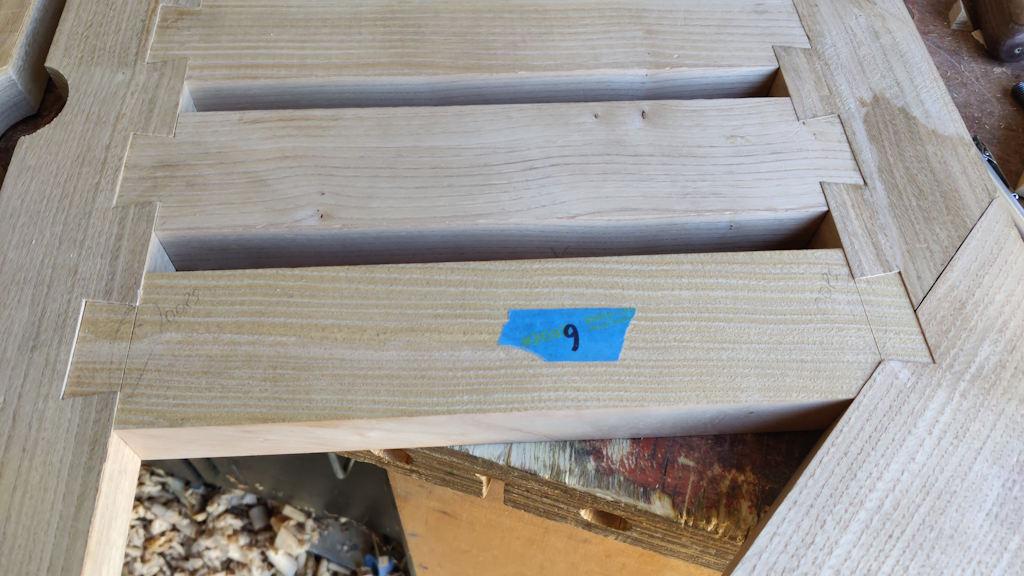
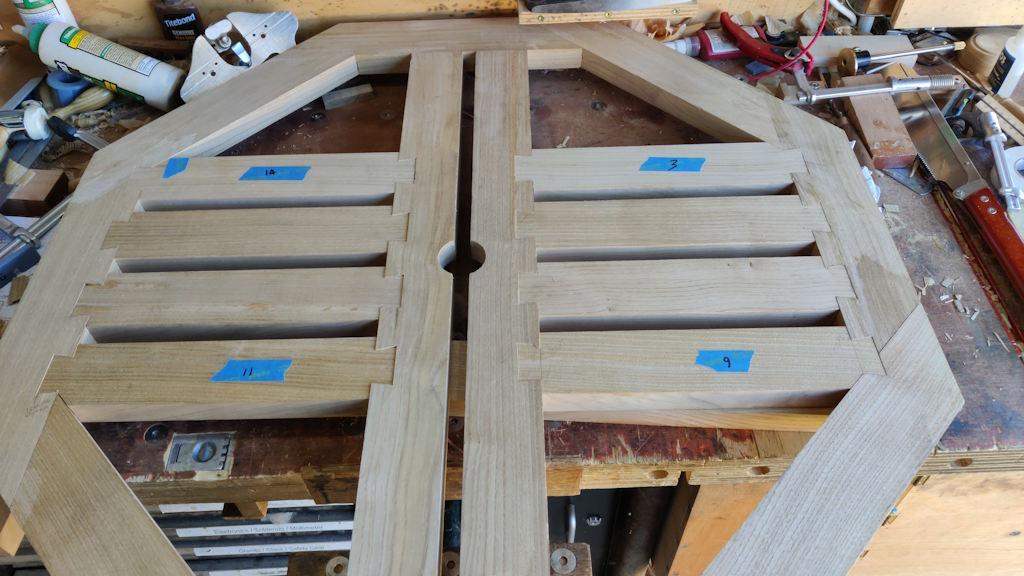
For the other three similar ones, the process was basically the same, except that I marked the shape on the correct side for these ones and also that I did all the various operations three times (once on each plank) before moving onto the next plank. That made for quite an efficient process and I fairly quickly got to the point of having all four fitted:
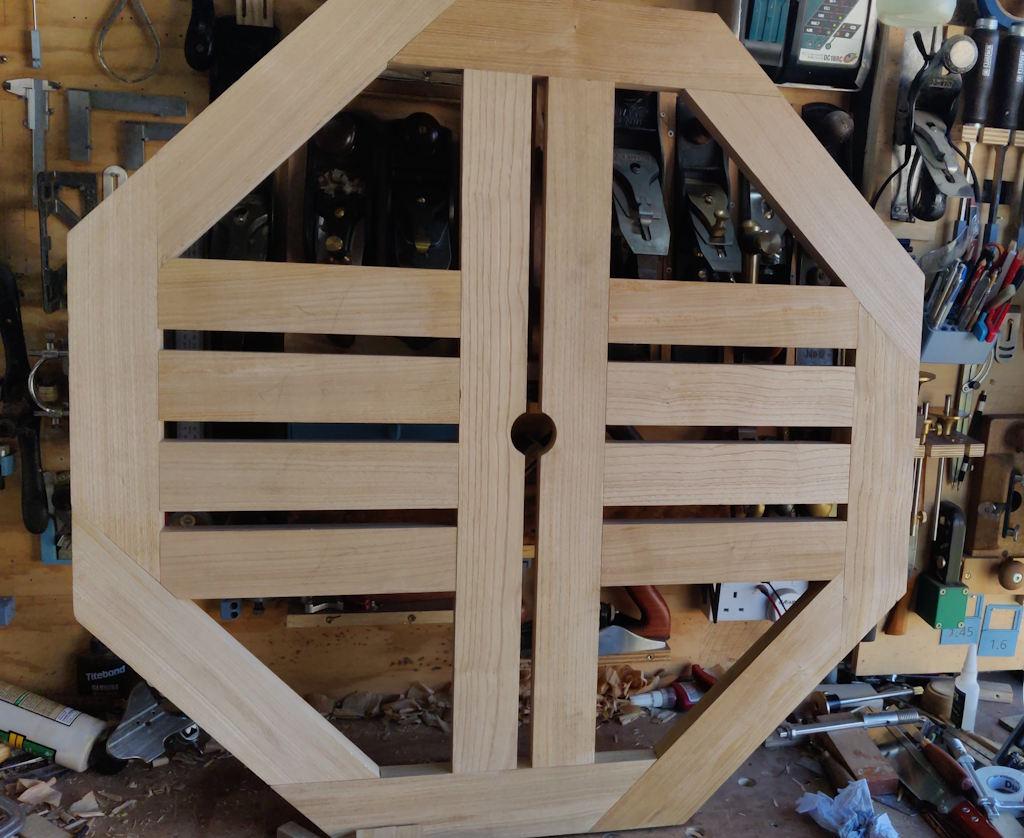
I haven't glued them in yet as I think it'll make sawing the sides of the remaining dovetail pockets a lot easier if I remove those planks to give my arm a bit more space to work in. This is what the table looks like now:
Next will be to work on the planks with the angled ends, for which I'm currently 3D-printing a little marking gauge to make things nice and easy to layout consistently.
Page 22 of 38
This website is free and ad-free, but costs me money to run. If you'd like to support this site, please consider making a small donation or sending me a message to let me know what you liked or found useful.

 Return to main project page