Garden Table Build Process
Page 23 of 38
Posted 25th May 2025
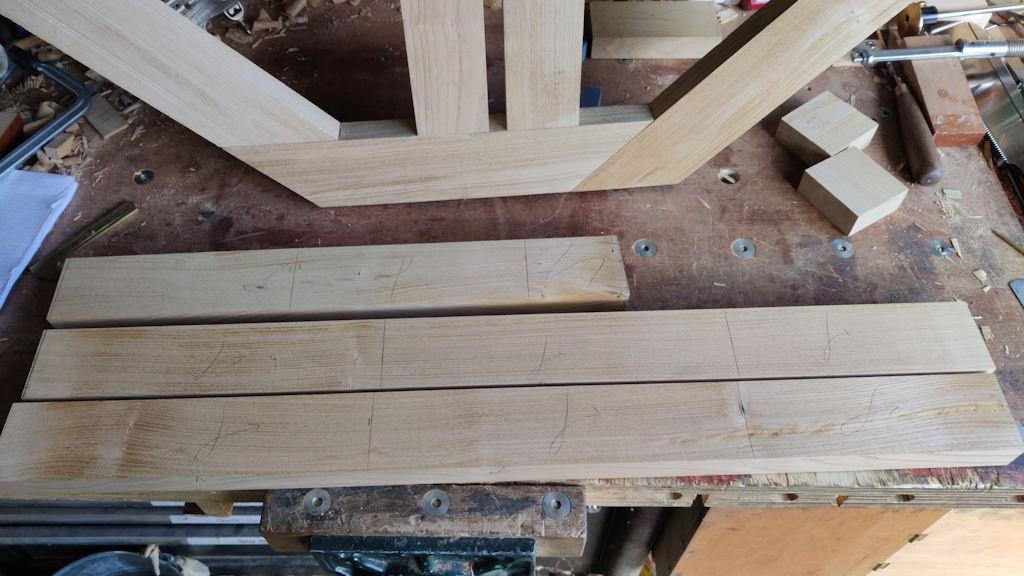
My time in the workshop has been a bit intermittent again, but I've been gradually working on the remaining slats. I started by picking out a few of the planks I'd prepared and marking up suitable lengths ready for chopping up:
The process from there was fairly similar to before. On the first one, I marked the shoulders (using the 3D-printed spacers) as before:
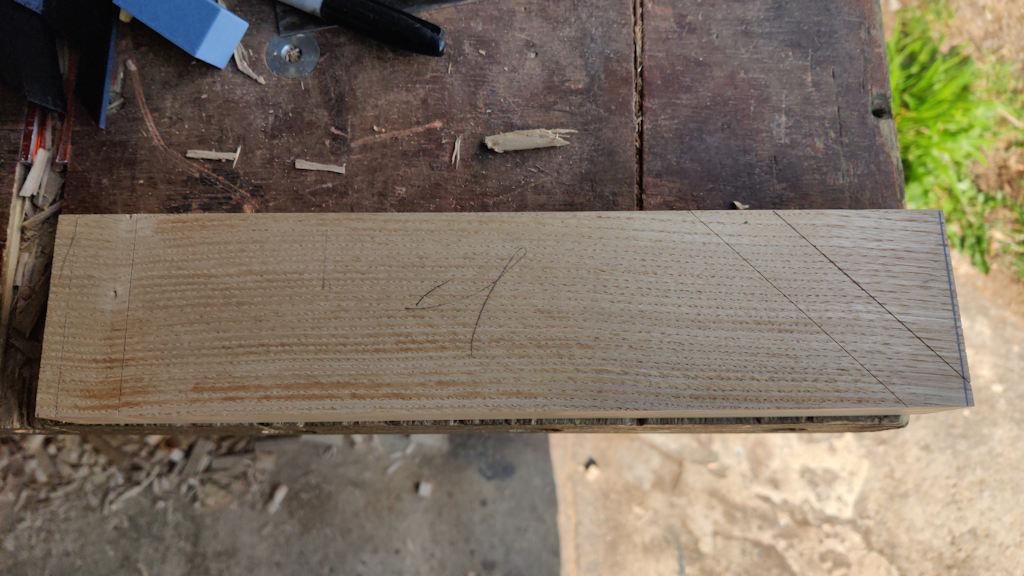
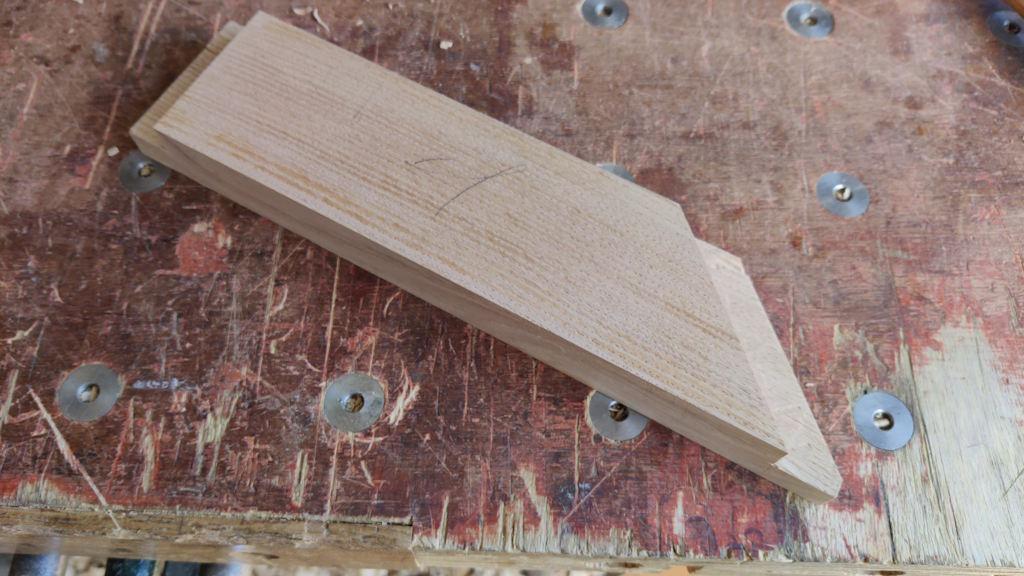
I then added 20 mm onto each end and then sawed the ends off:
On the later ones, I shot one end square, then marked a square shoulder line 20 mm in, then lined that up with the table to mark the angled shoulder line. That seemed a slightly quicker way of doing it, but it didn't make much difference.
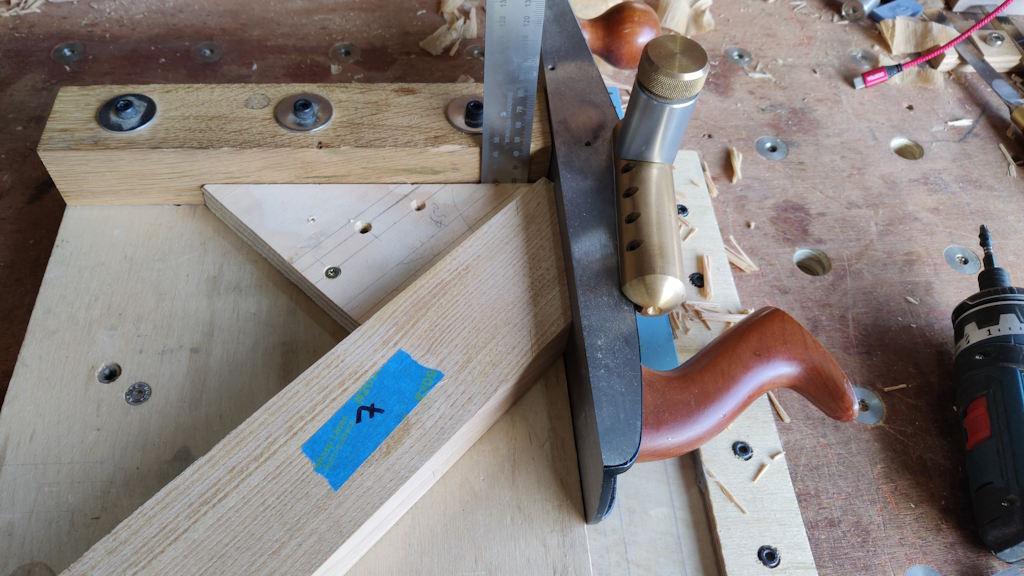
For the angled ends, I decided to stick with a planed (on the shooting board) end, but as it was about 45° I screwed a little plywood angle block to my shooting board. The angles weren't guaranteed to be exactly 45° (as they're marked off the table rather than with a gauge), so I fixed the angle block a millimetre or so away from the main fence and then I could adjust the angle by inserting a steel rule somewhere along the back edge:
Strictly speaking, the ends don't have to be parallel with the shoulder line, so I could have just shot the ends at 45°, but it didn't add much time to make them parallel.
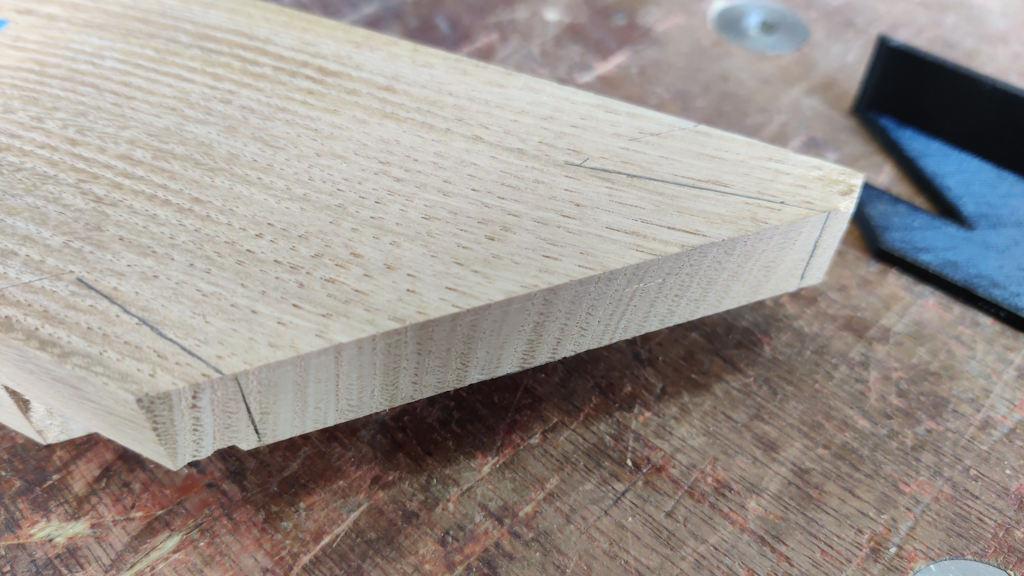
The next step was to mark the depths and saw / chisel / router plane the half laps:
After the first one, I realised that router planing the angled lap would be much easier if the grain direction was such that it would give a smooth finish when planed towards the outer point (i.e. if the grain ran from left-to-right in the photo above). In that direction, there's a much bigger surface for the router plane to sit on. All the remaining pieces were oriented that way round.
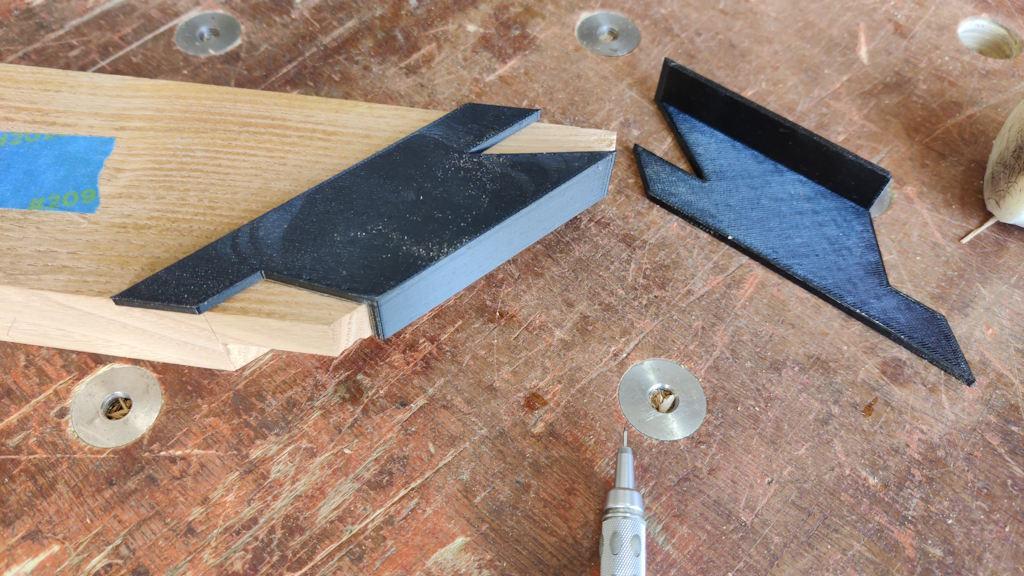
The dovetails are very slightly offset from the centre (as that seems to make them look a bit better, although no-one will ever see them as they'll be under the table!). As I had eight of them to do, I thought it was worth printing out a couple of little gauges to make marking them up very quick and easy:
The gauges sit on the end of the plank and can be easily centred (as the little "wings" are about the same width as the planks) and then a pencil can be used to draw the shape of the cut-out:
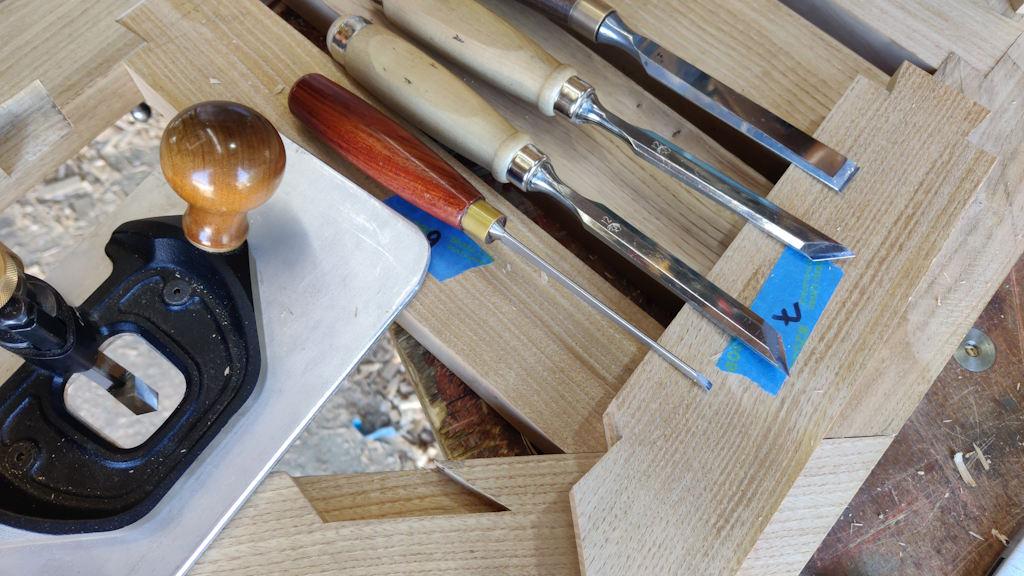
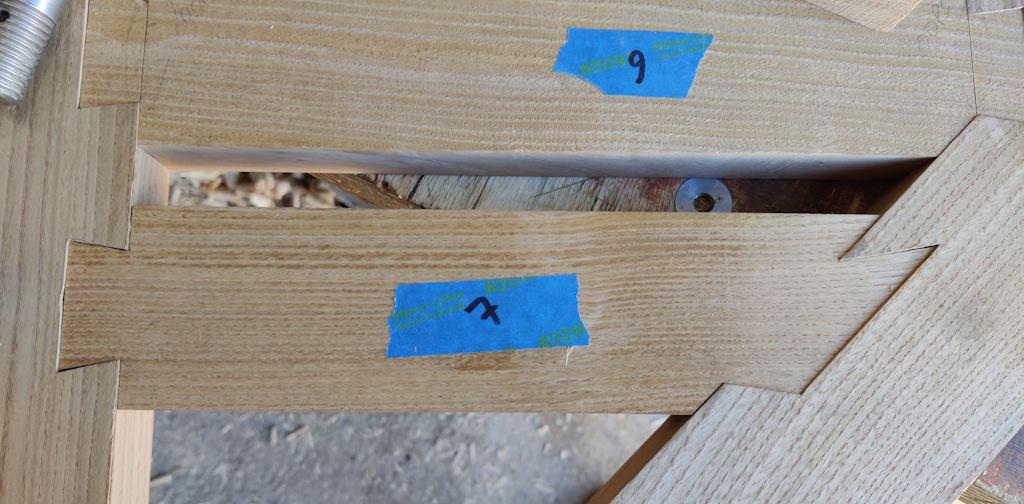
They can then be chopped out as before. After transferring the marks to the body, I then needed to chop out the sockets. The angled ones were quite a lot more faff than the simple sockets, but the process was made a bit easier by bringing out my skewed chisels and a 3 mm dovetail chisel. I also used the pointy tip on the router plane to help get as far into the corners as possible:
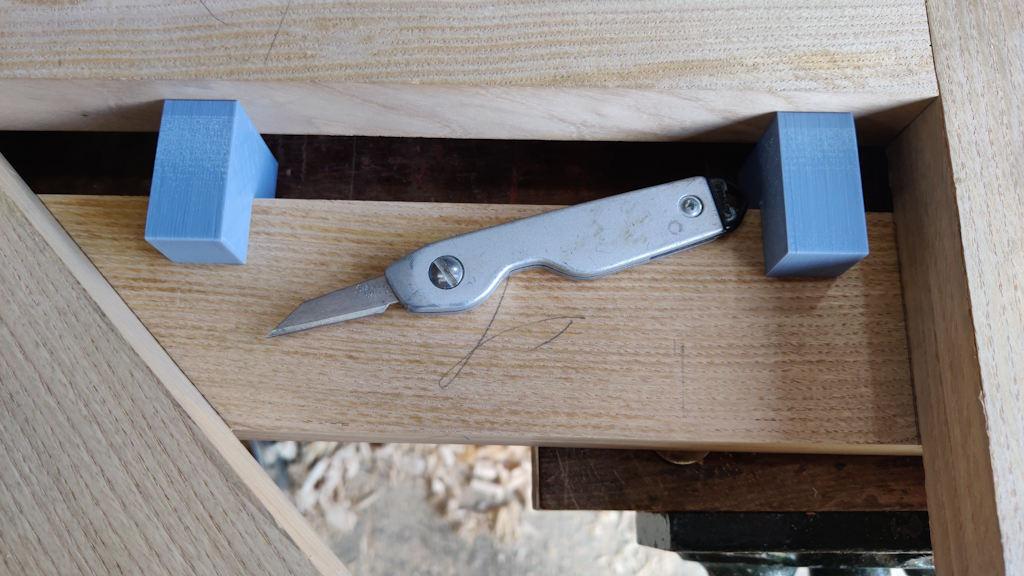
Even with those, I still ended up using a knife to cut the very last little bit in the acute corner (on both the socket and the acute corner on the tail board).
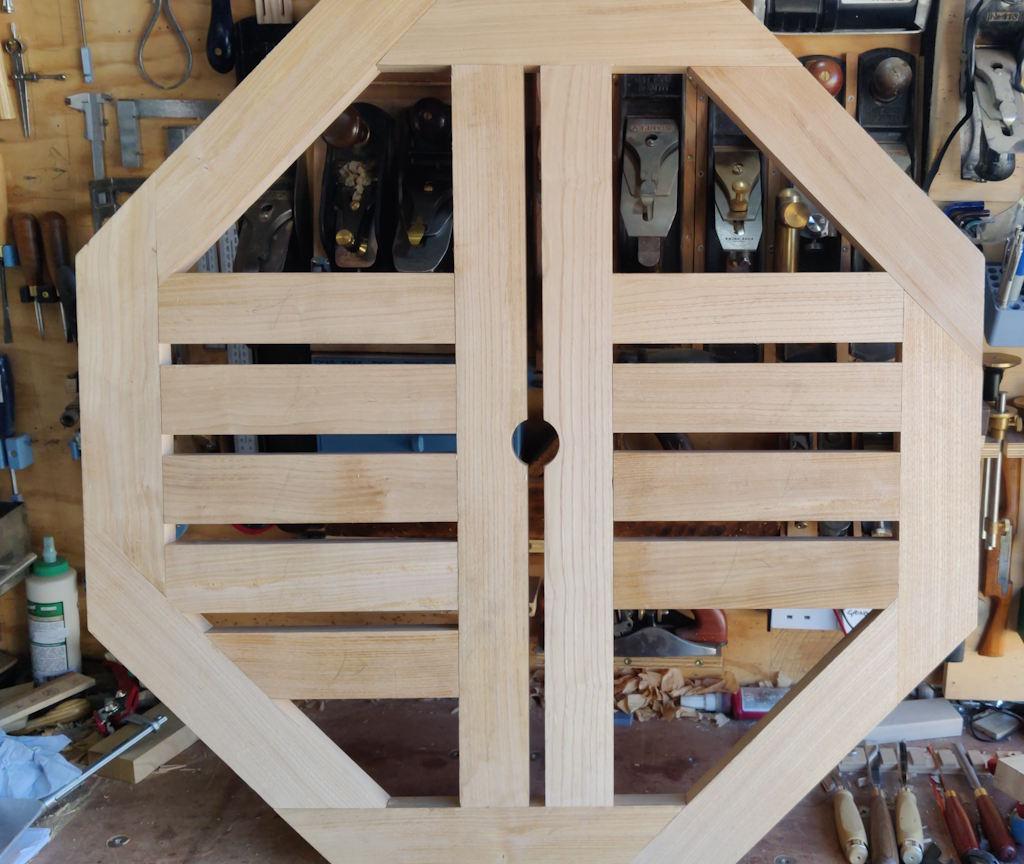
The first one in place:
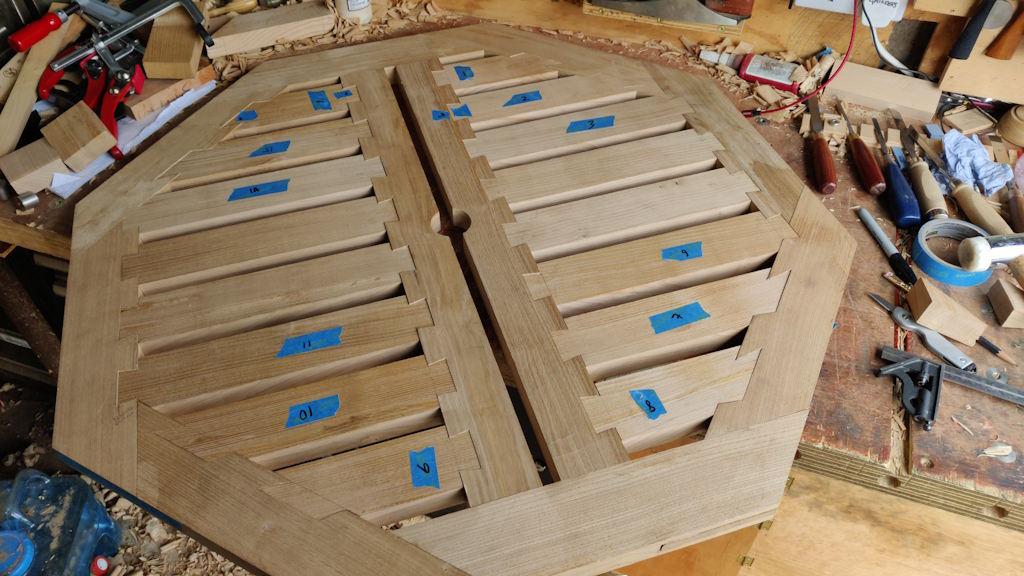
Still a long way to go:
I didn't take much in the way of photos of the remaining pieces as it was just more of the same (with the addition of another, home-shaped, skew chisel with a more extreme skew). There are some little gaps here and there, but given I'd never cut a dovetail half-lap before embarking on this project, I'm quite pleased with how they all came out. Time will tell whether they remain in place or if the boards fall out if/when the glue fails.
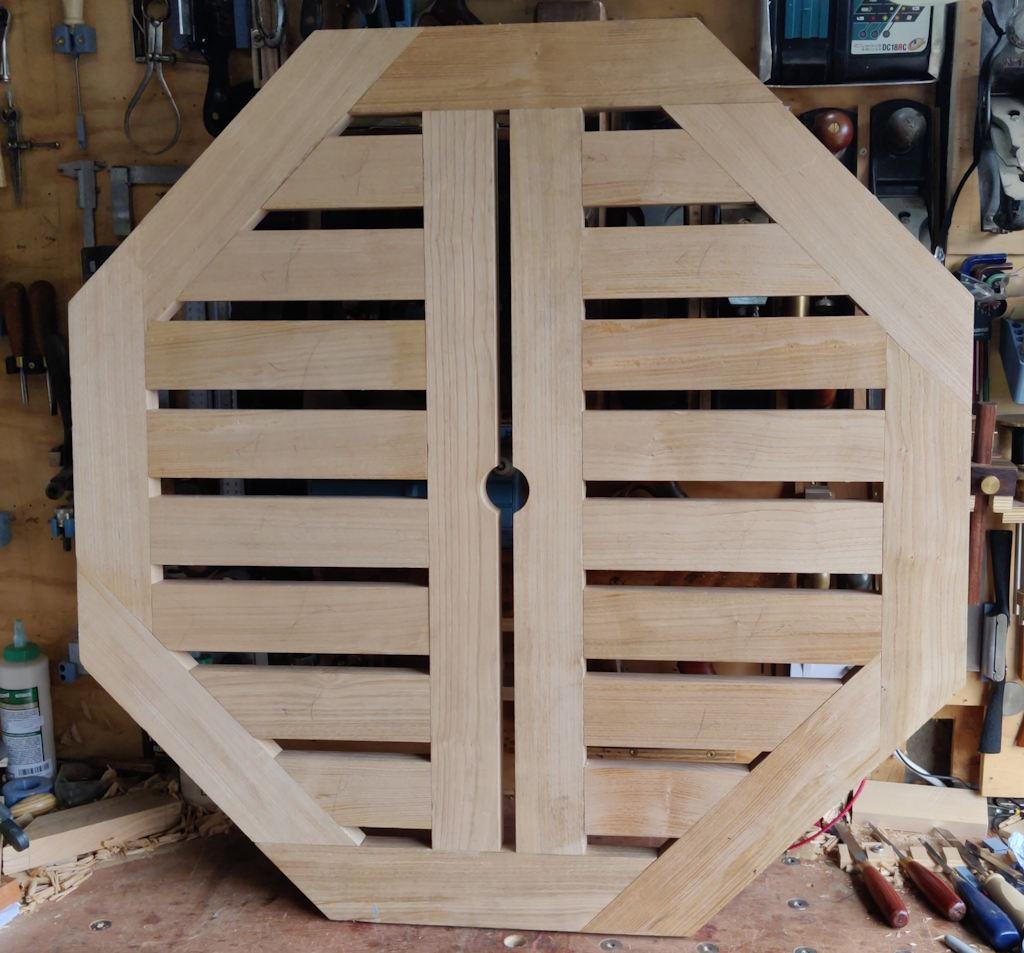
I haven't glued them in place yet, but it's definitely looking much more like a table top now:
The next job is to get started on the base. I've got an idea for the design of this, but I have no idea whether I'm going to be able to do it with the tools I have available. There's also a lot more work needed on the details of the design, but I'll worry about then when I've worked out whether it's even possible!
Page 23 of 38
This website is free and ad-free, but costs me money to run. If you'd like to support this site, please consider making a small donation or sending me a message to let me know what you liked or found useful.

 Return to main project page