Garden Table Build Process
Page 27 of 38
Posted 1st June 2025
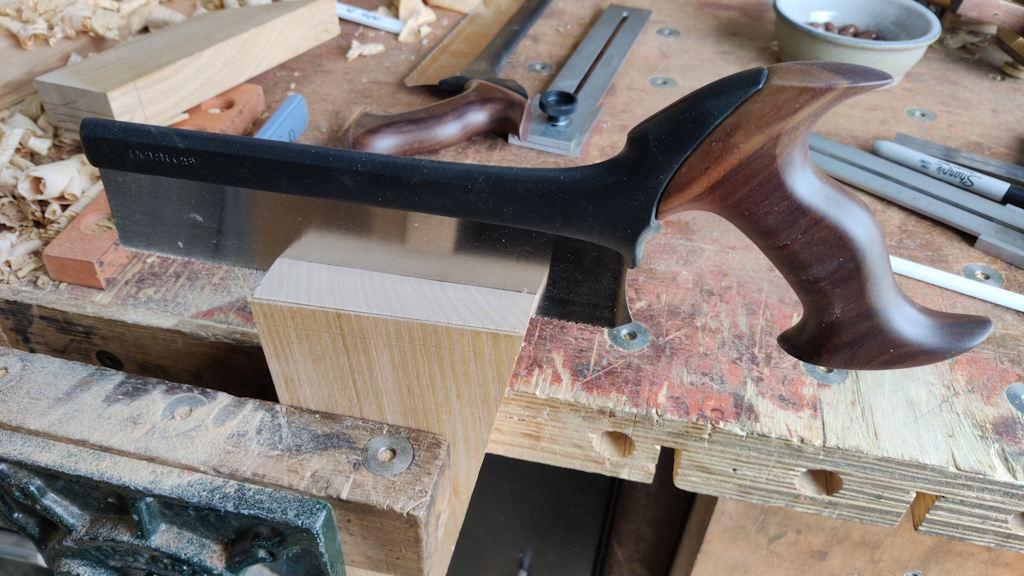
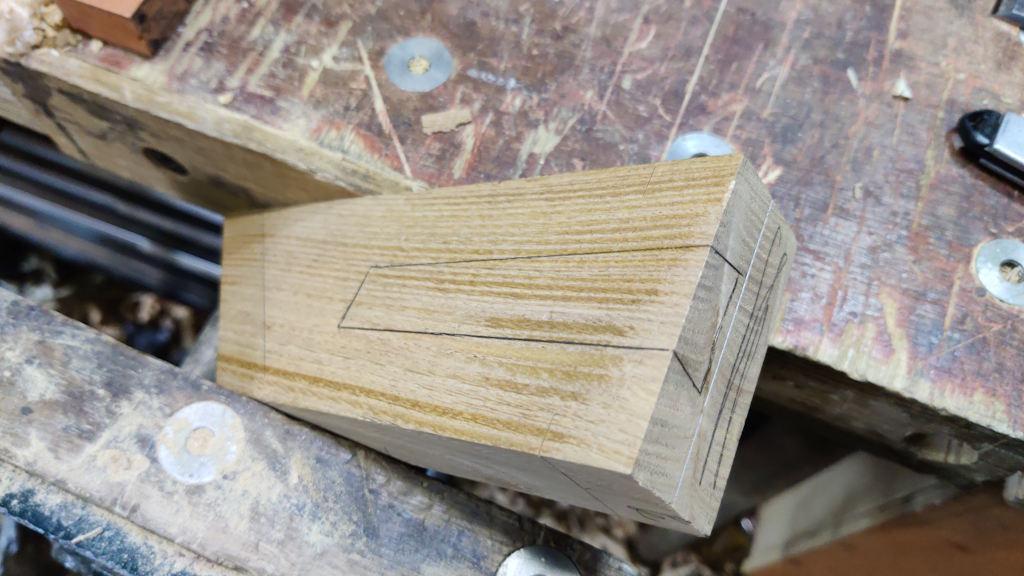
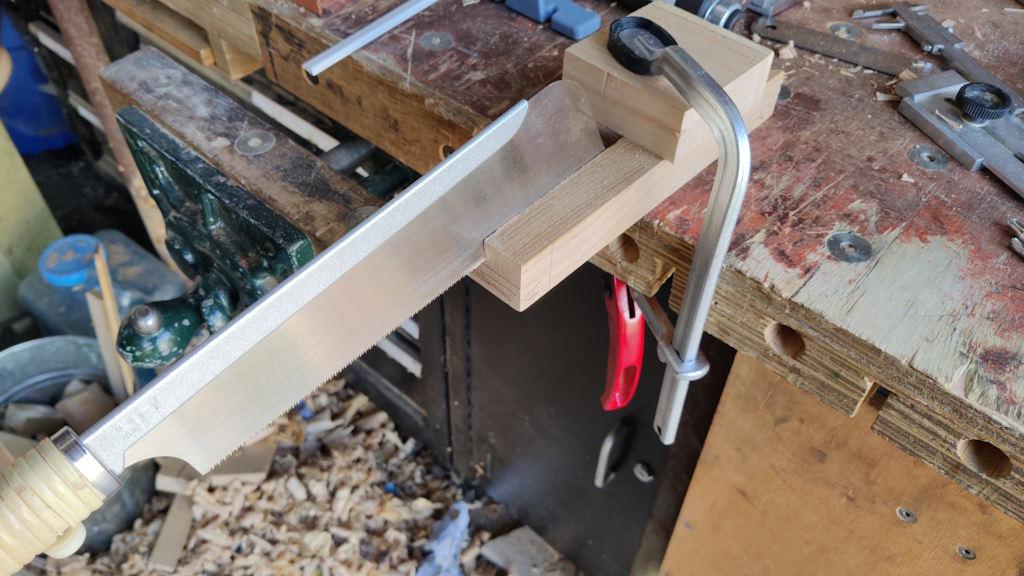
After lunch I got going on the first joint. I started by using a Western rip saw to cut (working directly on the line):
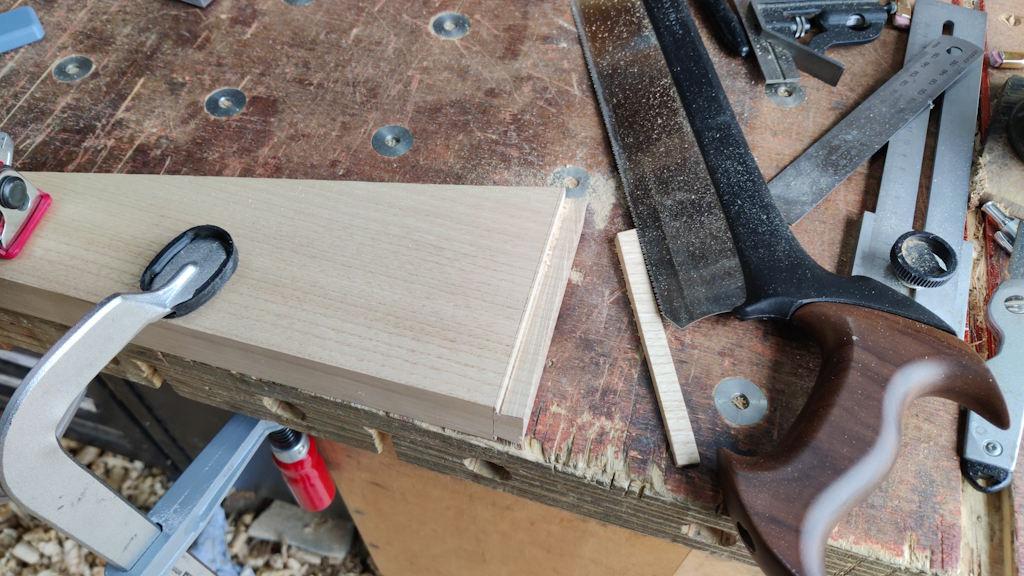
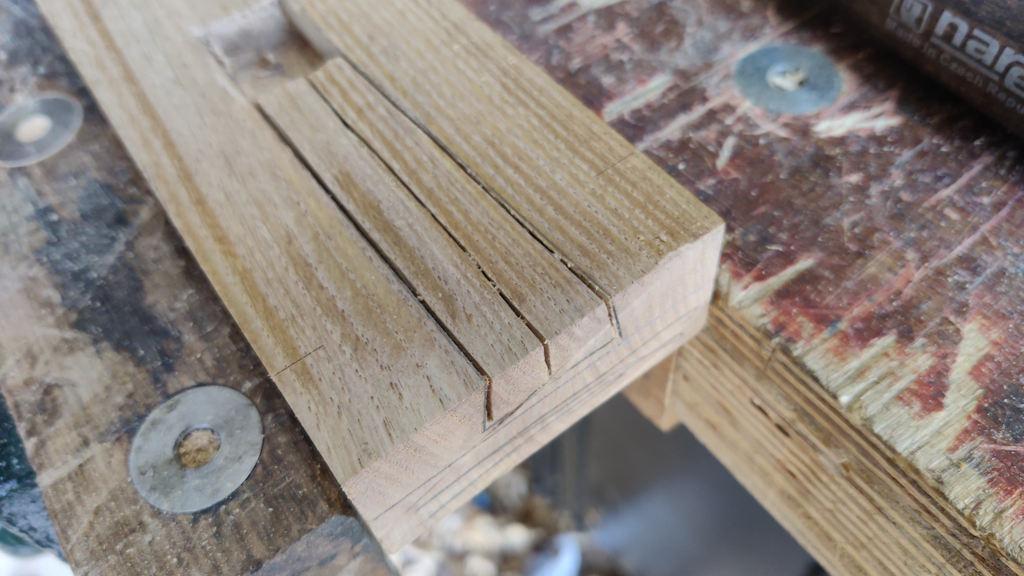
I found that really hard work; perhaps my rip saw needs sharpening (not that I've used it much since I bought it). For the shoulder line I did my usual thing of sawing slightly away from the line...
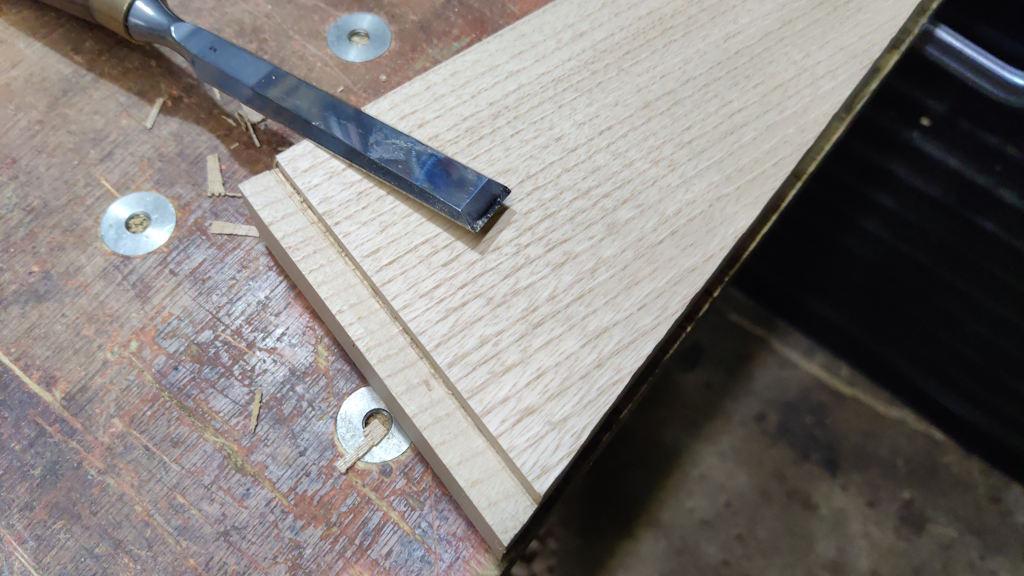
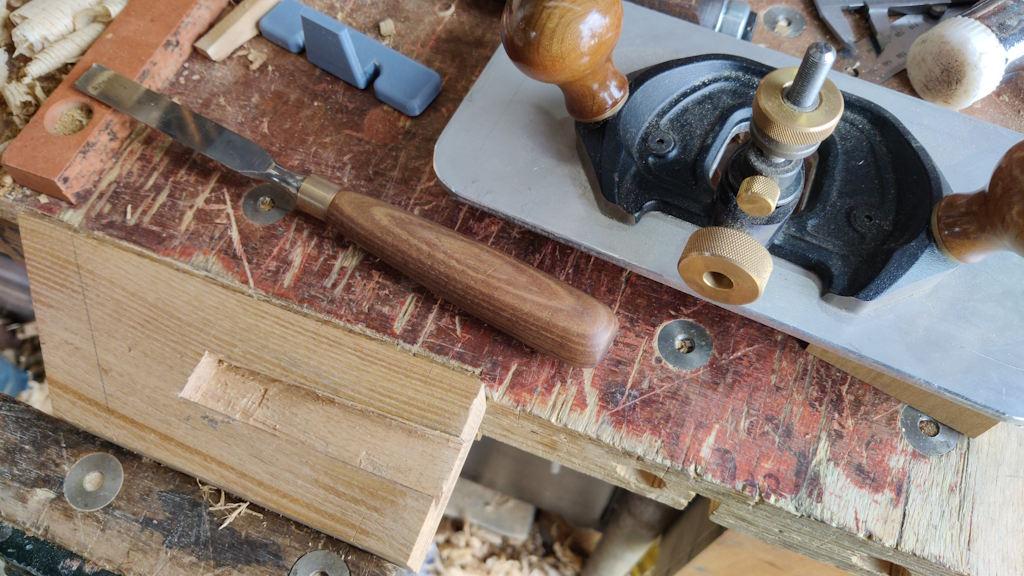
... and then having a pleasant few minutes chopping with a chisel (one of my favourite jobs):
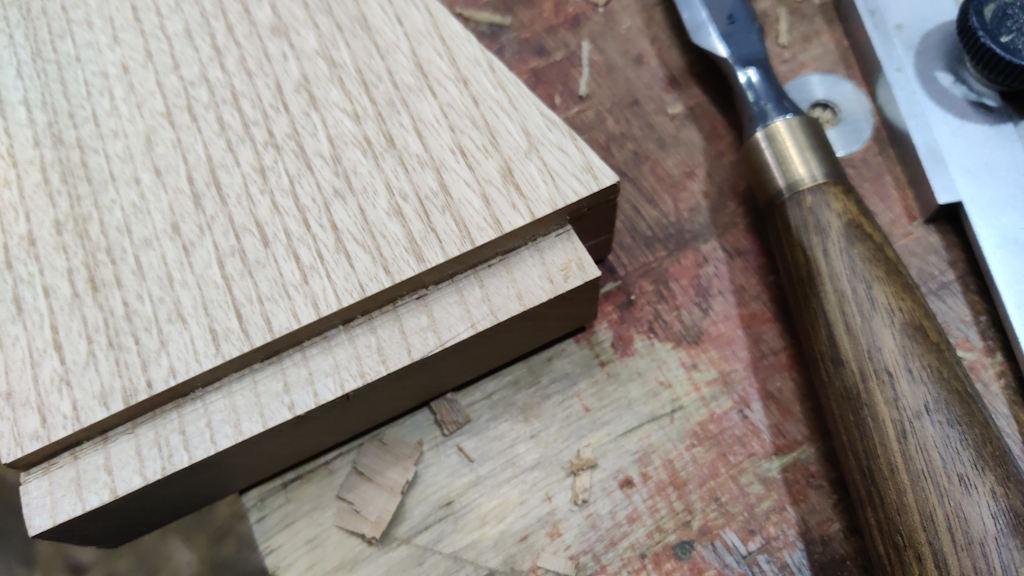
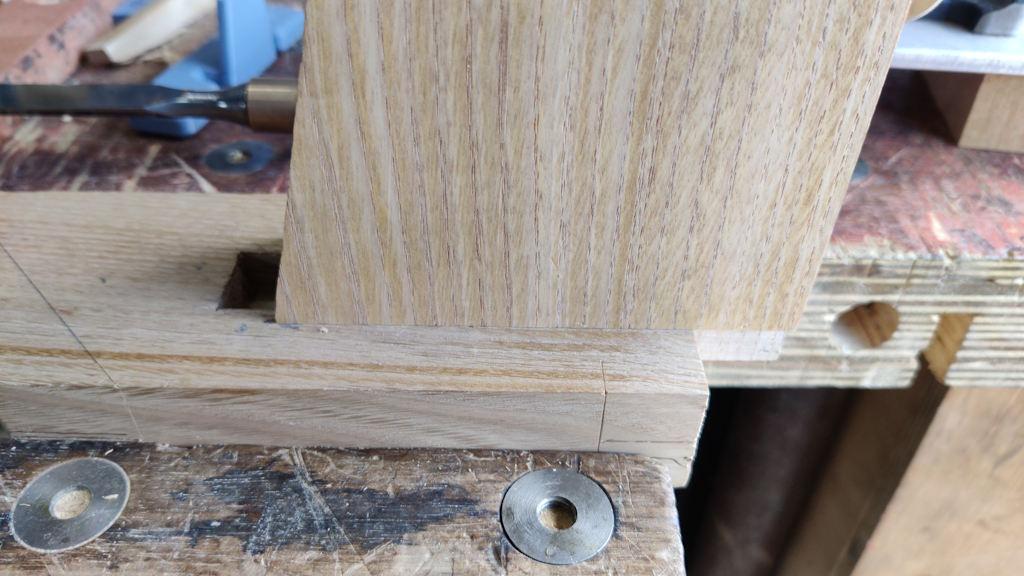
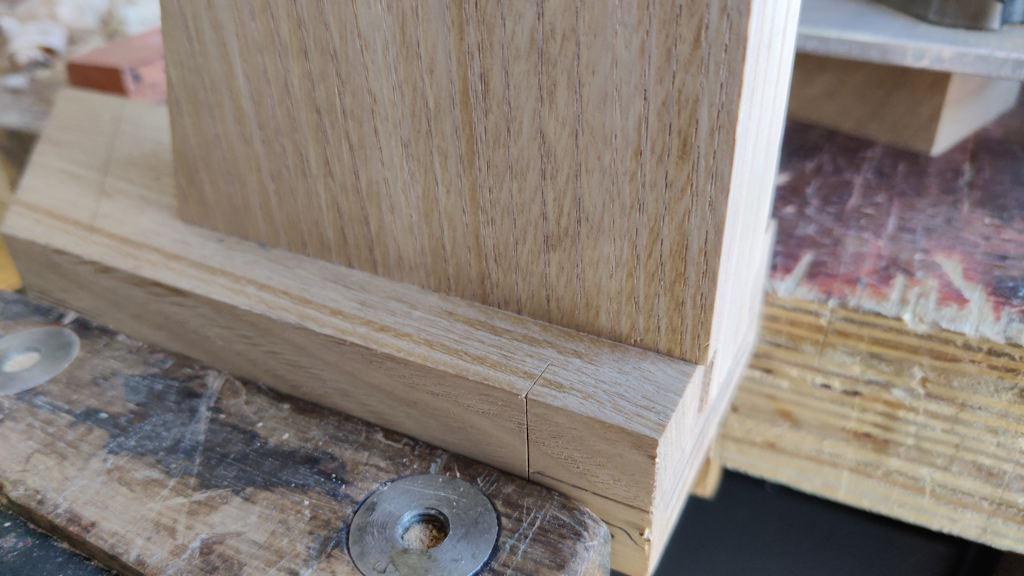
I also cut a shoulder at the bottom end of the tail, again sawing slightly clear of the shoulder line and tidying up with a chisel:
As I was a little concerned about splitting wood (and, for that matter, just generally making a mess of the joinery!), I decided to start by cutting a socket in an off-cut. This was one of the bits that I was going to use for a slat, but messed up marking it out:
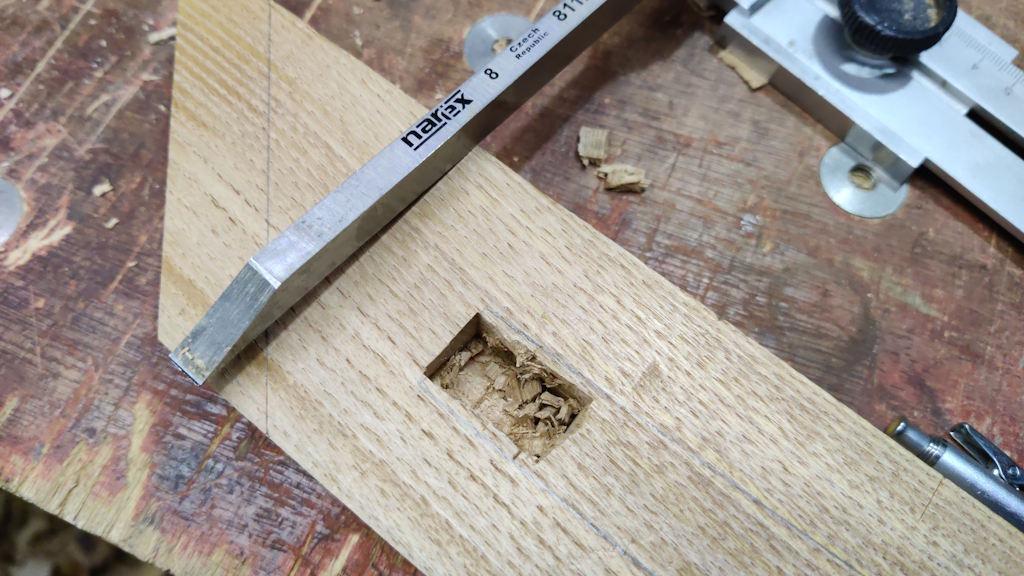
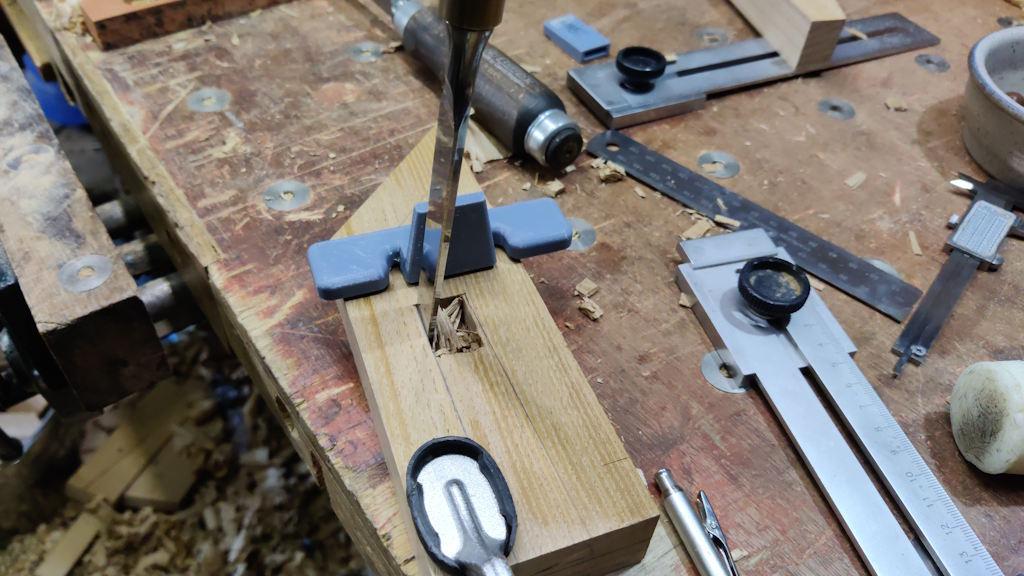
I started by chopping a clearance pocket using an 8 mm mortice chisel:
To cut the taper angle, I plonked my dovetail gauge upside down on the off-cut and eye-balled the angle:
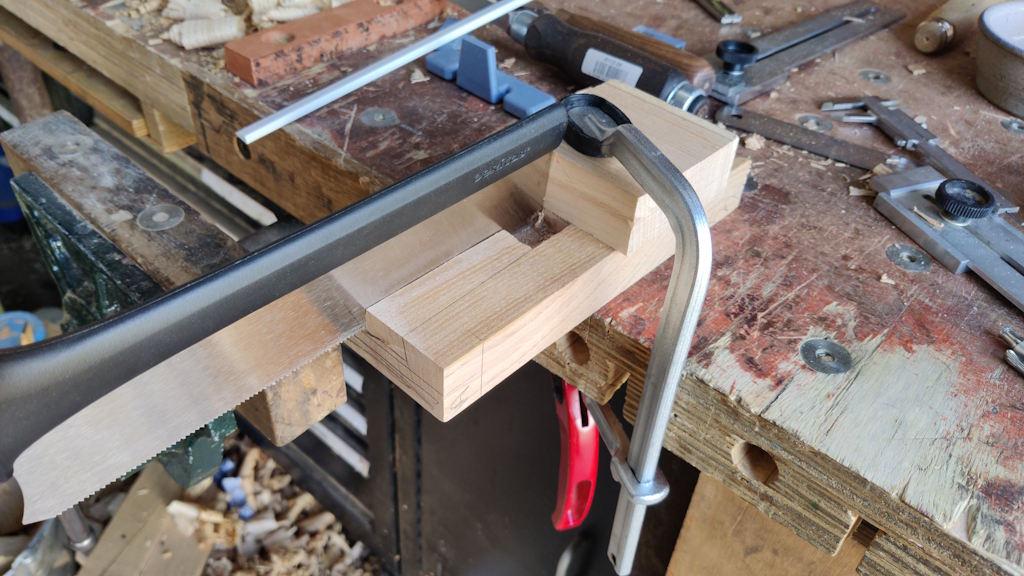
For the first side of the socket I used a western saw:
From then on, I switched to a Dozuki, which I generally prefer (and I found it much easier for this joint):
I also added a middle saw cut to help with removing the waste:
The first bit of waste was removed with an 8 mm chisel and then I switched to the router plane to get down to the right depth. The grain direction on this scrap was the wrong way round and the grain fairly steep, so the surface at the bottom of the socket left a bit to be desired but I guess that's not the end of the world.
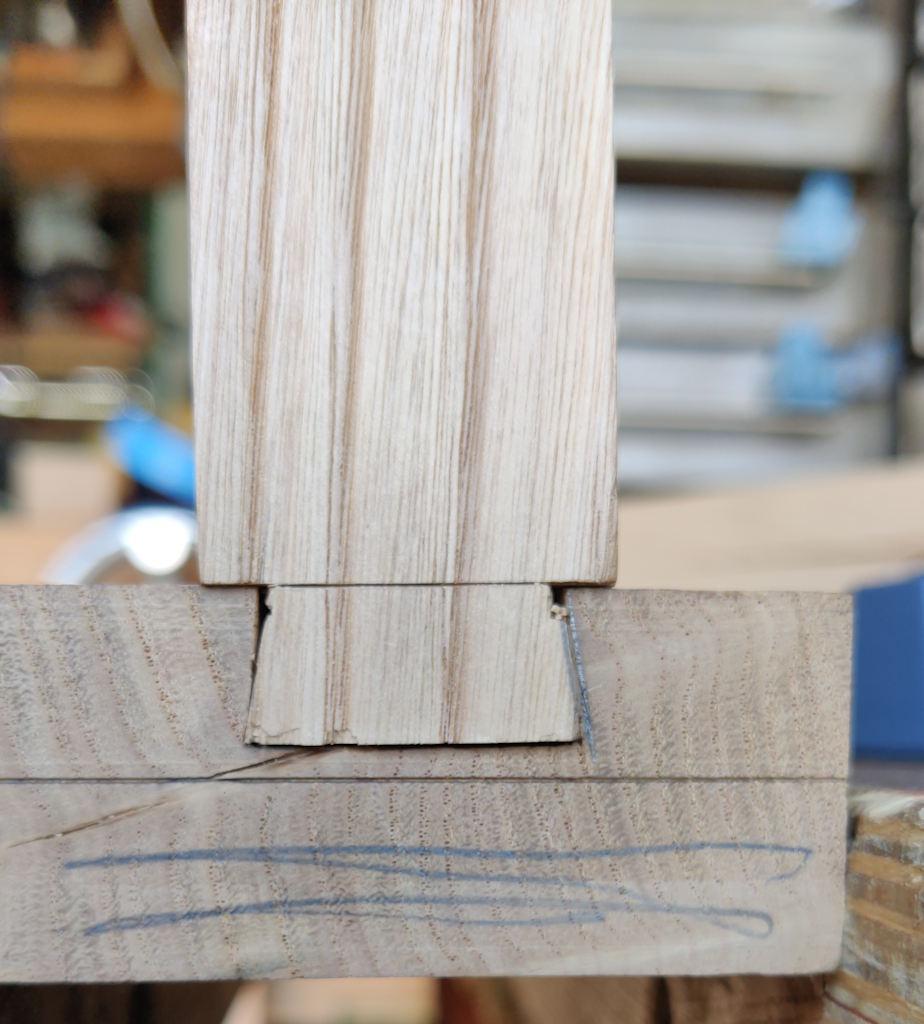
The first attempt at fitting wasn't too bad:
For this one I decided to tweak the socket. In general I'd tweak the tail instead, but since this is a scrap off-cut, it made more sense to tweak the socket and then I wouldn't remove too much from the tail (that will be tweaked later to fit the column). After a few goes at tweaking I got a good fit:
However, the taper angle wasn't quite right, so there's a bit of play if you try to rock the arm from side to side. With lots of glue in the pocket, that probably wouldn't matter too much, but it was a bit disappointing.
When I cut the sliding dovetail housings on the shelf unit I made for my other half, I used a jig (basically a plank of wood with a 1:6 angle planed on one edge). I'd considered using the jig again here but (a) I couldn't find it and (b) I thought it would be good to have a go at doing the joint freehand. What it actually meant was that I spent much longer tweaking the fit (including, rather unsuccessfully, trying to tweak the taper angle to get a match between the two parts). Overall, I think it took a lot longer and also made for a poorer joint. No doubt if I was better at eye-balling angles it wouldn't have been such a problem!
Page 27 of 38
This website is free and ad-free, but costs me money to run. If you'd like to support this site, please consider making a small donation or sending me a message to let me know what you liked or found useful.

 Return to main project page