Garden Table Build Process
Page 26 of 38
Posted 1st June 2025
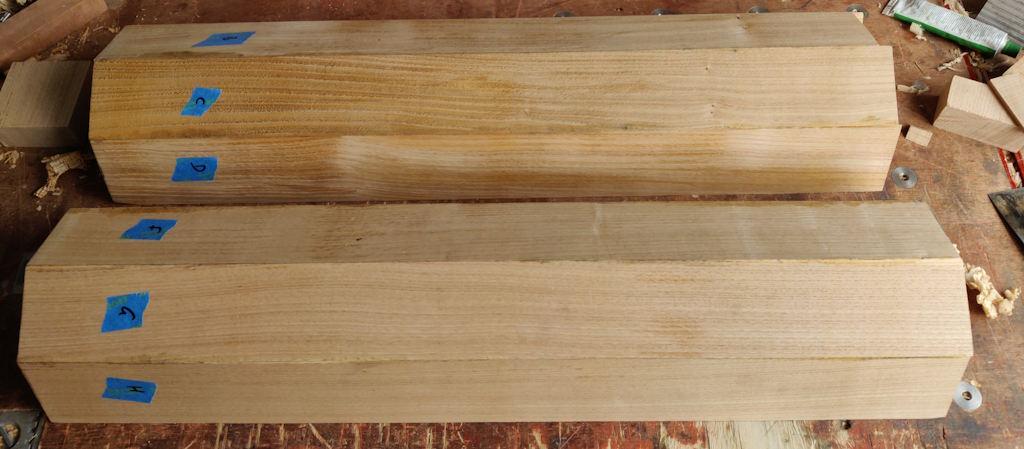
Following an excellent suggestion from the woodworking forum I frequent, I decided to glue the shaft together in two halves and then (when the glue was dry) tweak the fit before gluing the two halves together. I'd wondered about cutting each piece to length before gluing them together, but in the end I decided to leave that until later (partly because I still haven't decided exactly how long the column needs to be!)
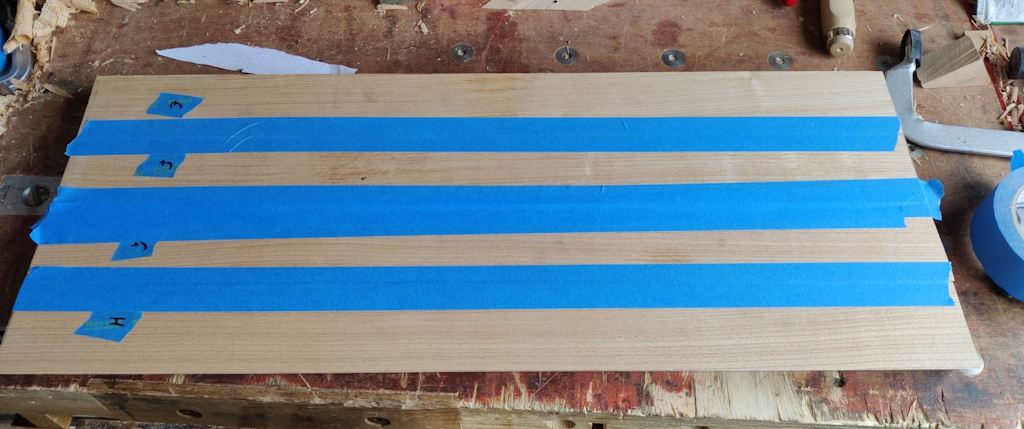
I applied some masking tape along the long edges:
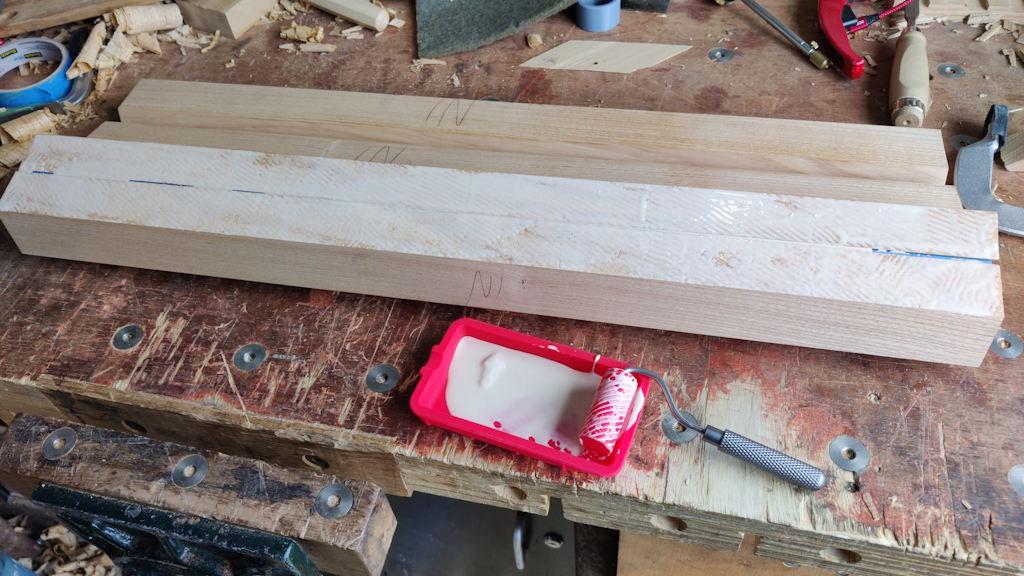
Then used a recently acquired little silicone glue roller to apply glue along the edges:
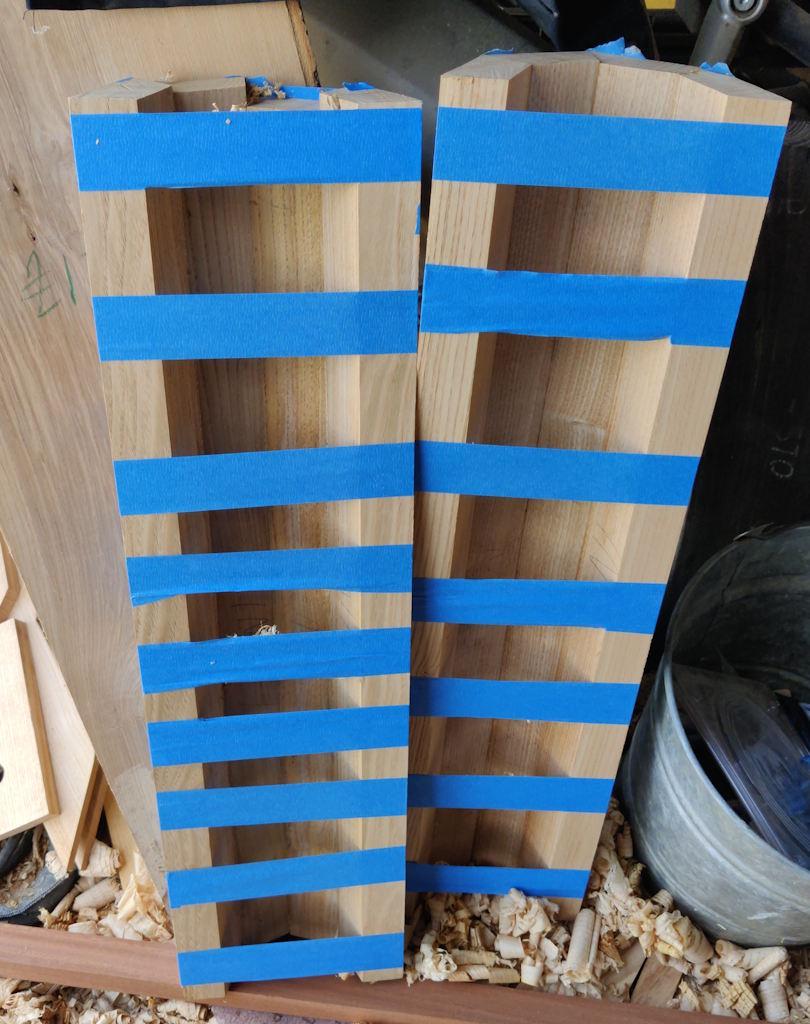
The pieces then got taped together:
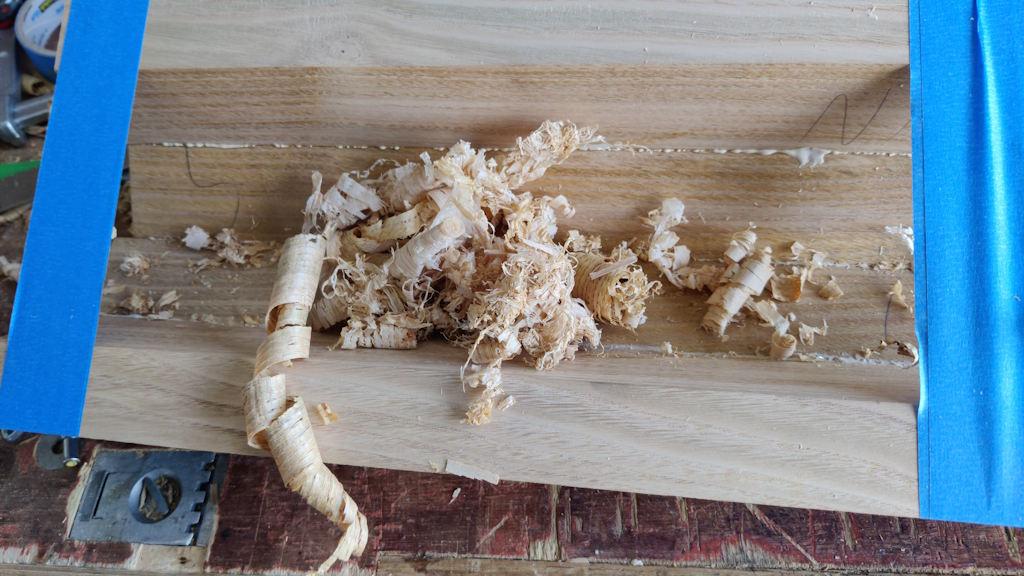
After applying the first three bits of tape to hold it in place, I used some plane shavings to scrub out the bulk of the squeeze-out:
The two halves were then left to dry out overnight.
While I was in a gluing frame of mind, I also dismantled the table top, applied glue and then reassembled it, but I didn't take any photos of that as they would look very much like the ones I posted earlier in this thread.
The next morning, I removed all the masking tape:
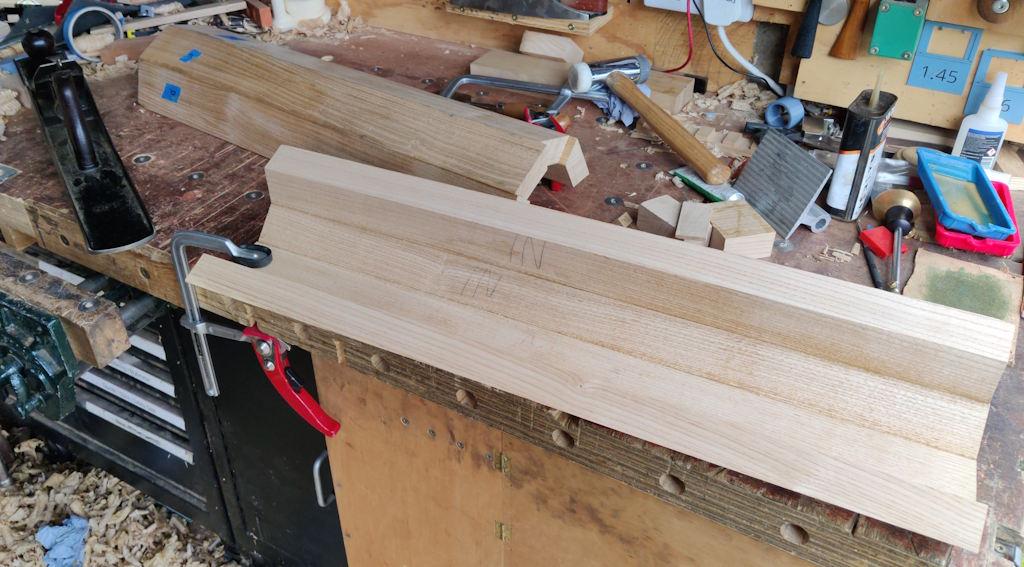
After offering the two halves up to each other, I could see that they needed a tiny bit of adjustment to get good mating faces. For a while I pondered finding a way to support the halves on a corner (so that I could plane the edges horizontally), but in the end I just clamped the parts to the bench and planed at an angle:
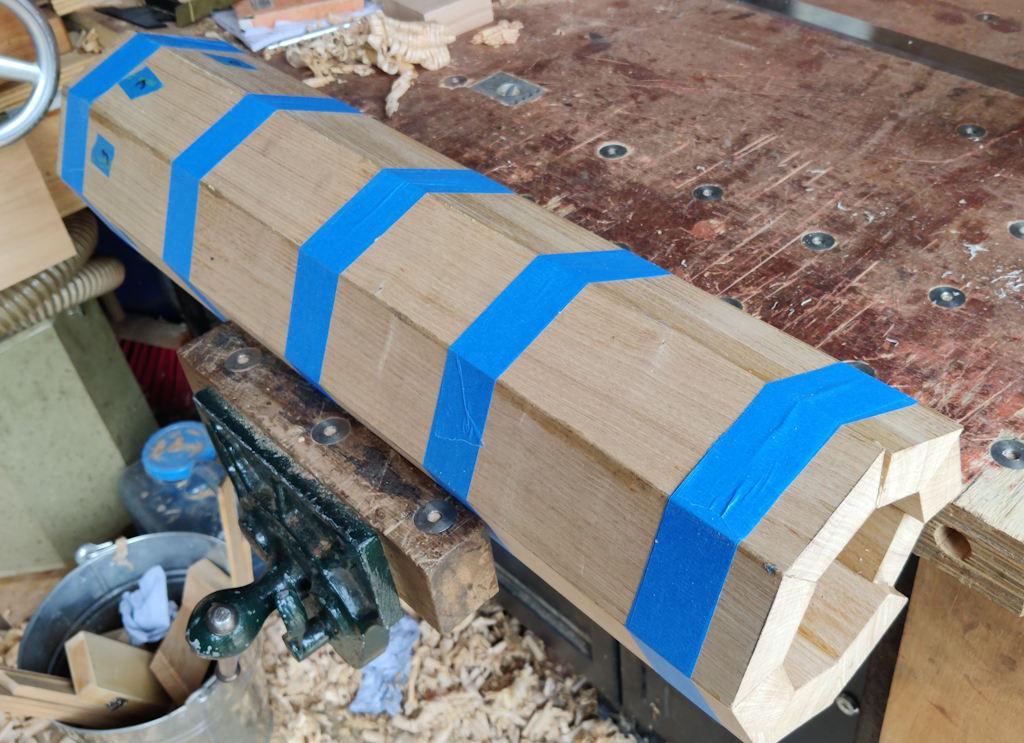
The two halves could then be glued and taped together:
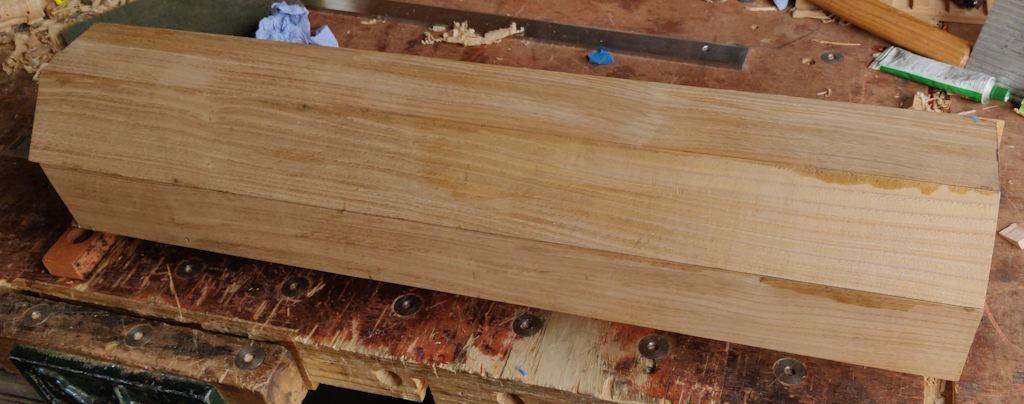
After leaving them overnight again, I stripped off all the masking tape:
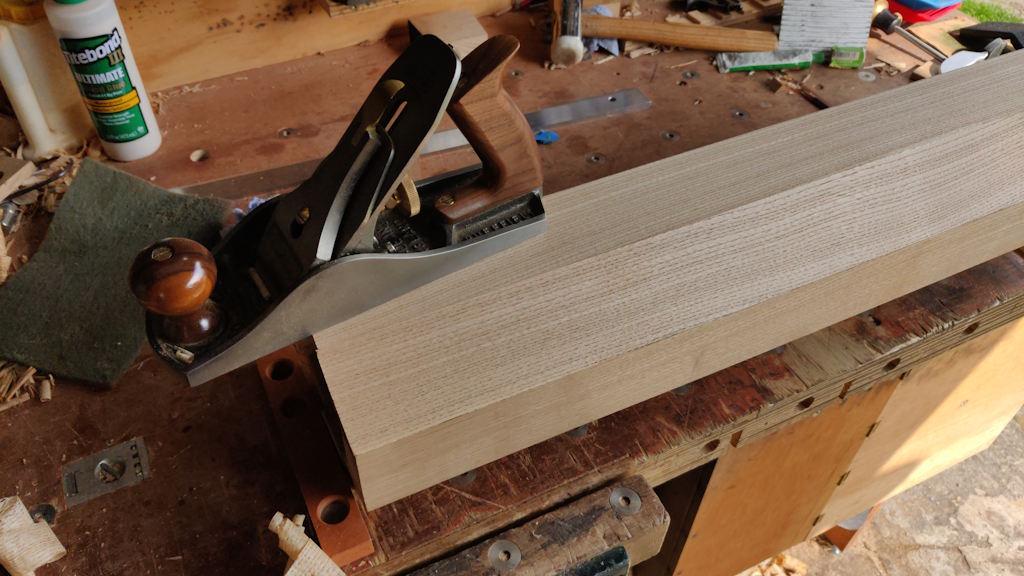
There was a bit of squeeze-out and a few blemishes, so it seemed a good time to pass a plane over the outside surfaces. I'd very carefully arranged all the planks so that the planing direction was the same (i.e. towards the top or towards the bottom, but not both), but hadn't made a note of which way that was. Having looked at the assembled column I realised that the edges were of course no longer visible (having been glued together), so I couldn't work out the grain direction. Not a big deal: I just had to guess and see whether there was any tear out. I got it right first time, but if I hadn't I just would have had to flip it round and then I would have known the correct direction for all the remaining sides.
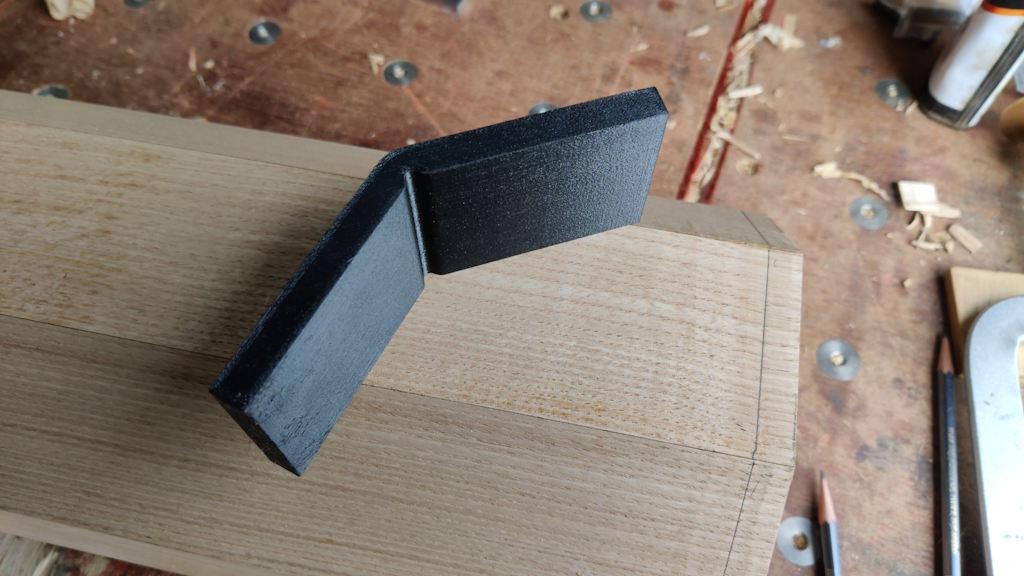
I'd 3D-printed a little marking gauge to help cutting the ends of the column. For now I've only cut one end:
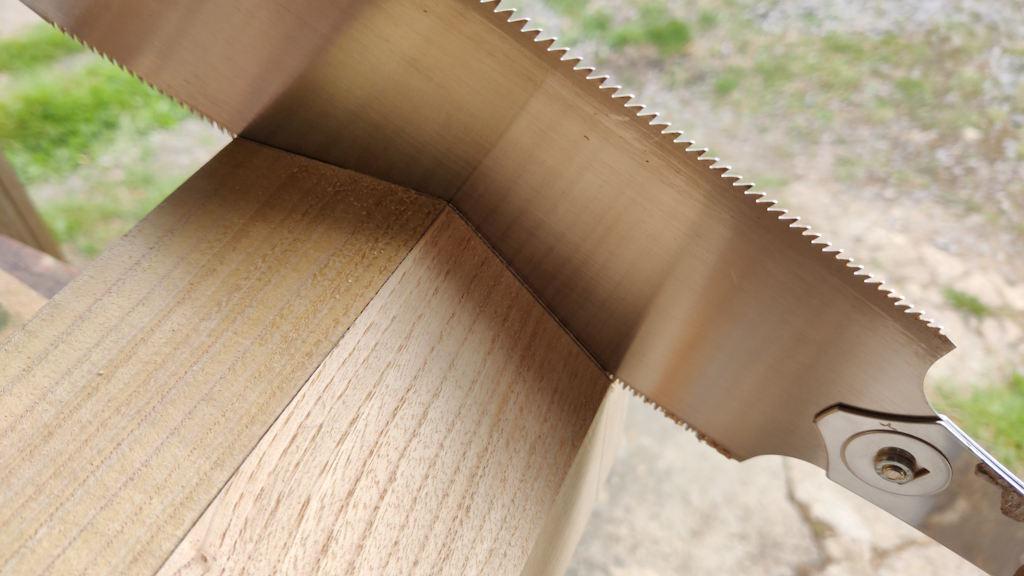
After marking it up, I noticed a bit of a nasty blemish on one of the corners, so I moved the line further along a bit and marked it out again. I then clamped the column to the bench and sawed all the way round, working on two edges at a time and sawing down to this point:
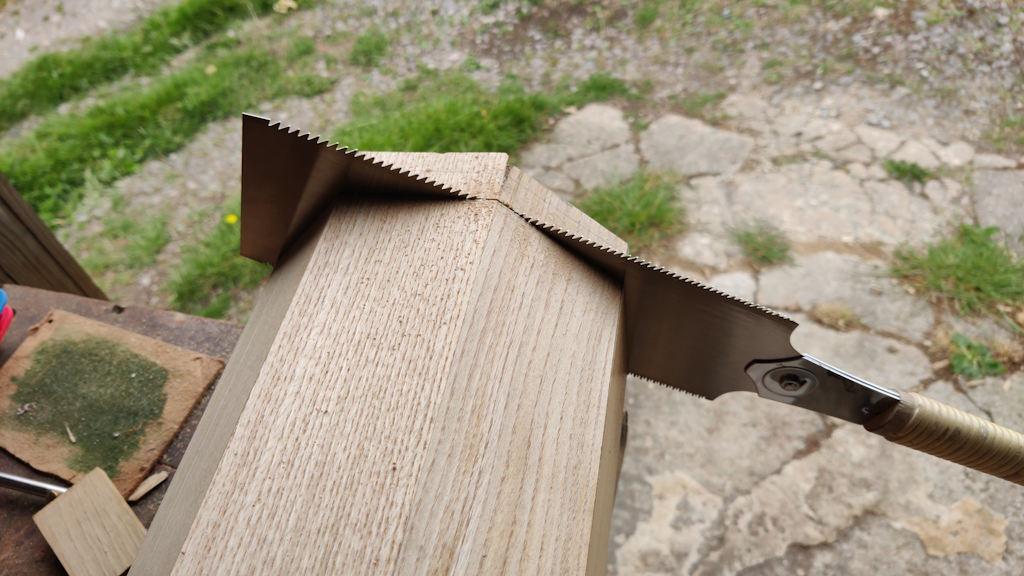
After I'd gone all the way round, I sawed down until I'd got to the half-way point, keeping an eye on four edges at a time:
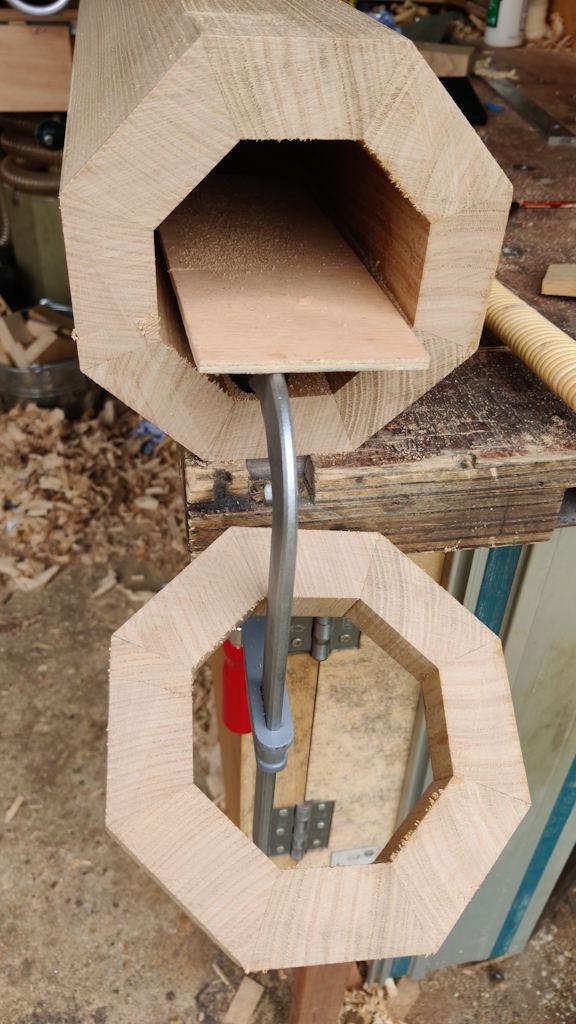
Finally, I shoved a scrap bit of plywood into the hole in the column (to stop the saw from falling onto the F-clamp) and then finished the cut:
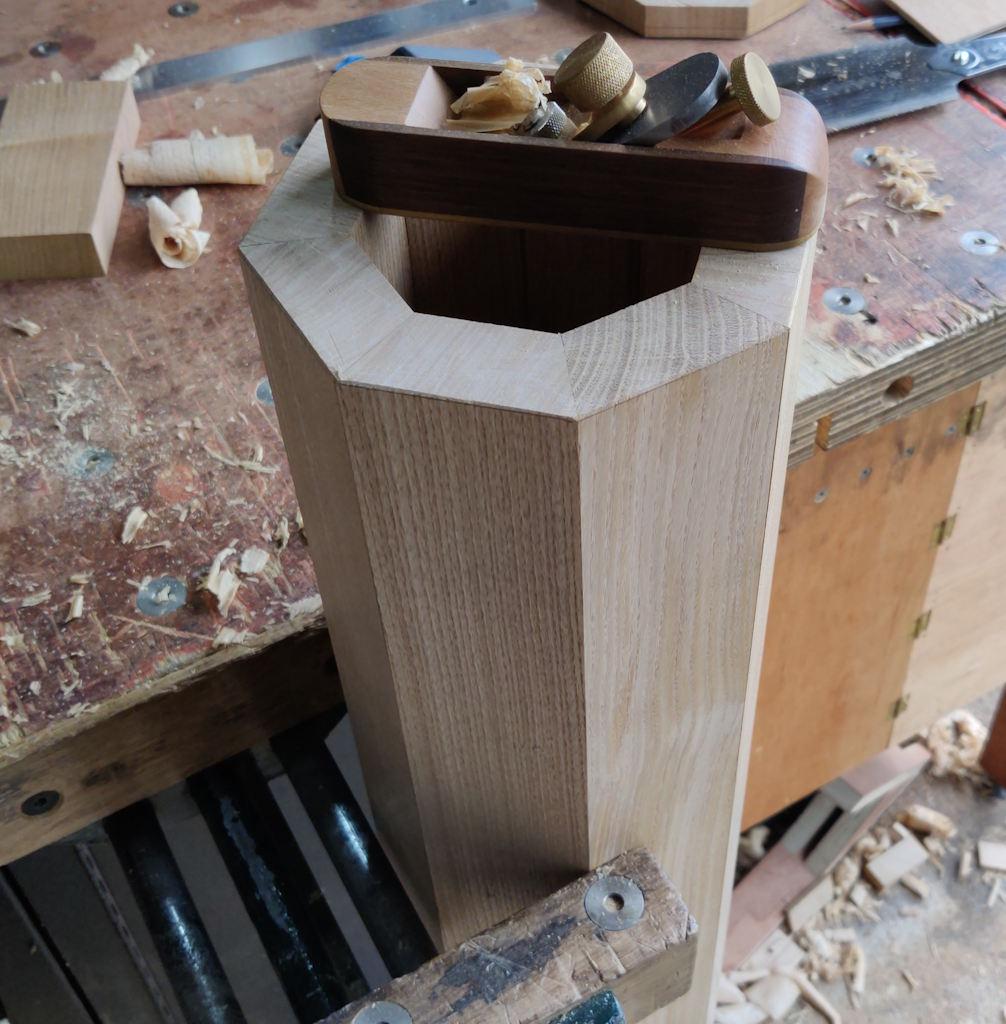
The vice jaws open just enough to loosely grip the column across the flats, so I held it in the vice (with an arm for support) and used my home-made block plane to clean up the saw cuts a bit.
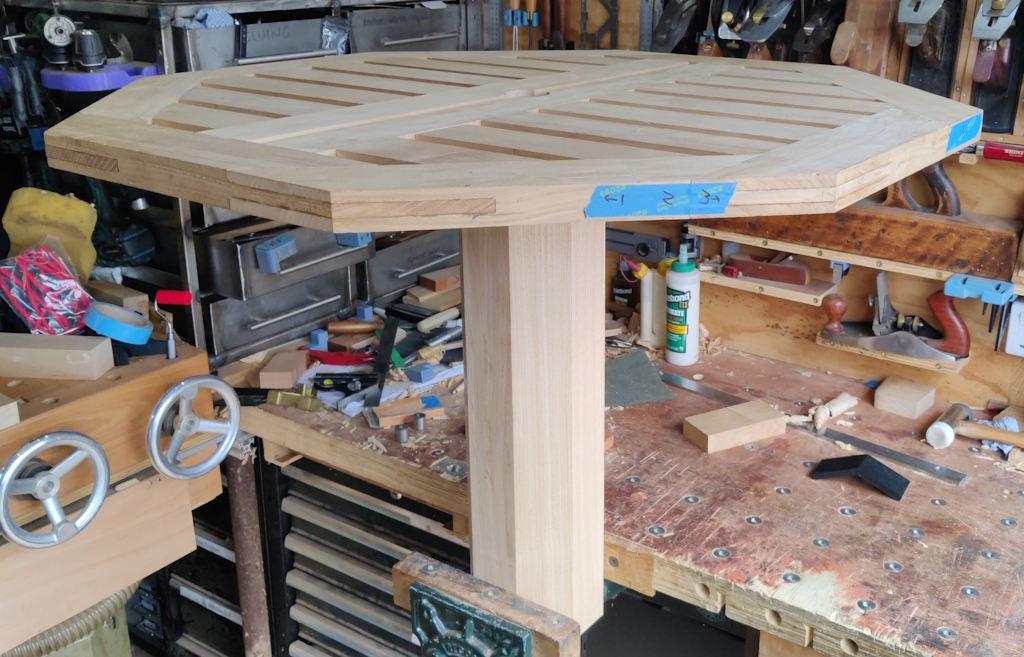
With a fairly clean end surface, I couldn't resist balancing the table top on top just to get an idea of what it'll look like:
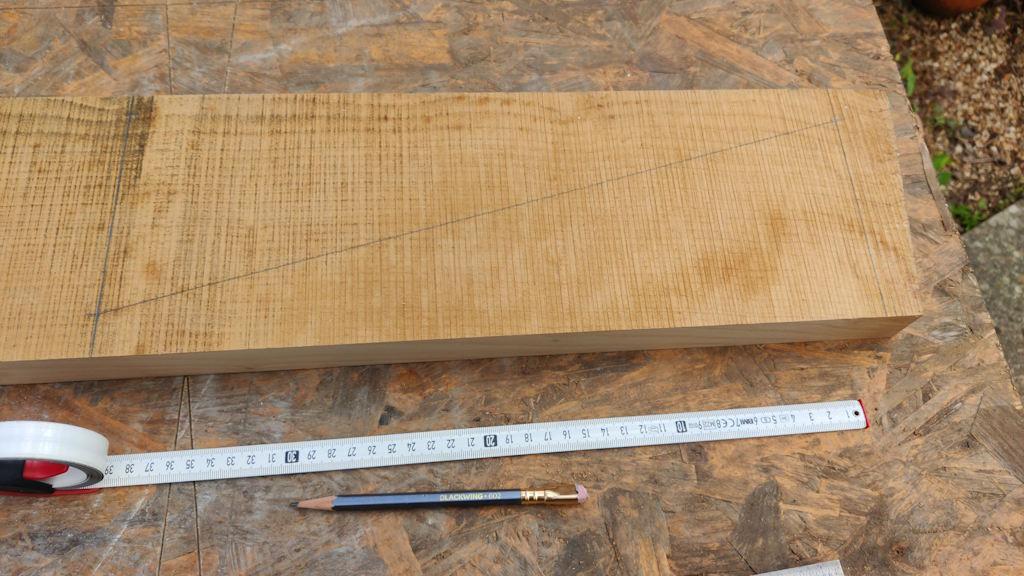
The next job was to start preparing the arms that will attach to the column and support the table. I pulled out what was left of the big plank of sweet chestnut and marked it up for a couple of arms:
After chopping that bit off, I did the same again for another pair. I could then get on with planing them:
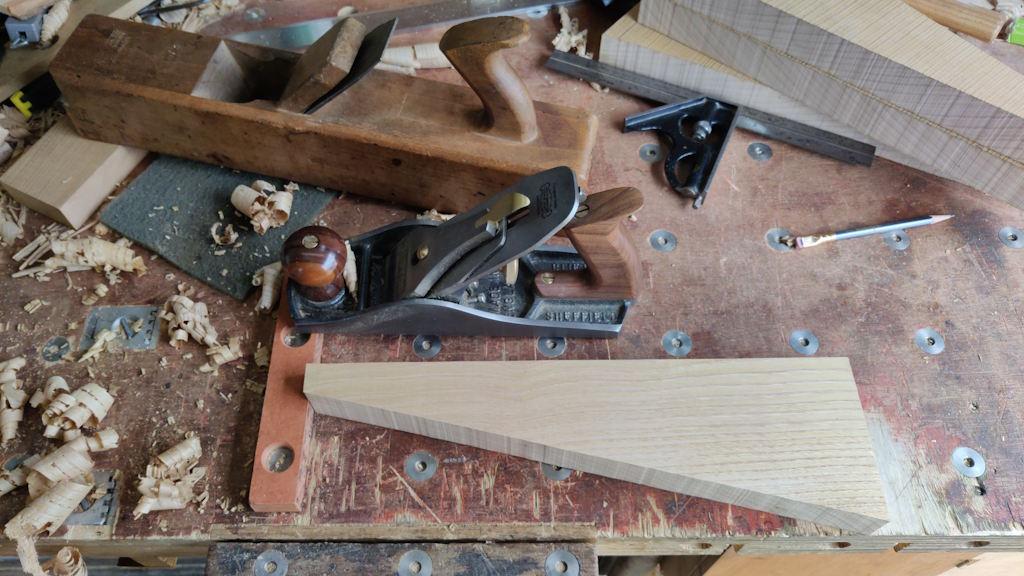
I've planed both faces of all four pieces. I've also planed the square edge (the one that will support the table) and used the shooting board to square up the long end grain face. For now I've left the short end grain face (so I can decide later how long it needs to be) and also the angled face (which I'm considering making slightly curved).
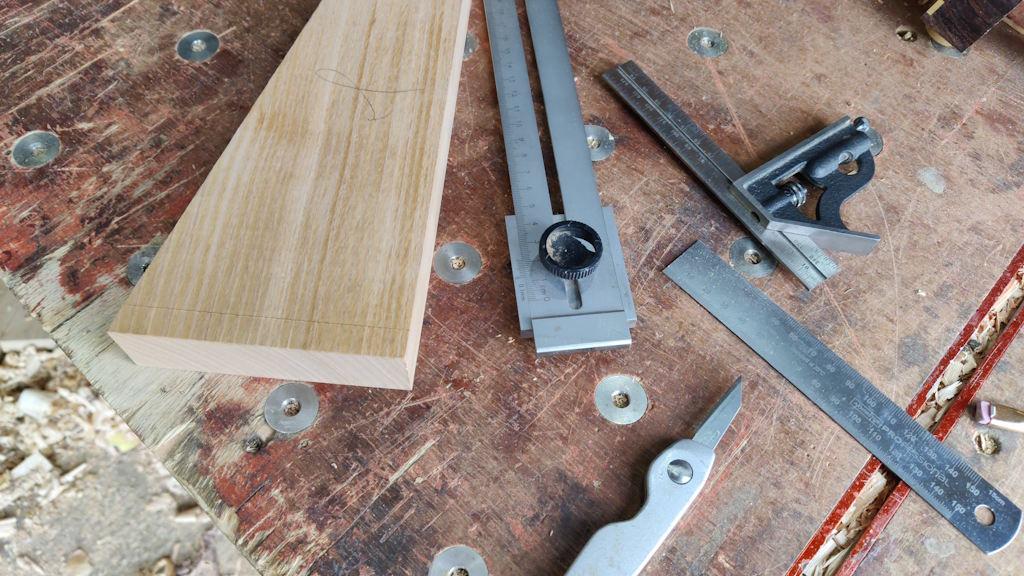
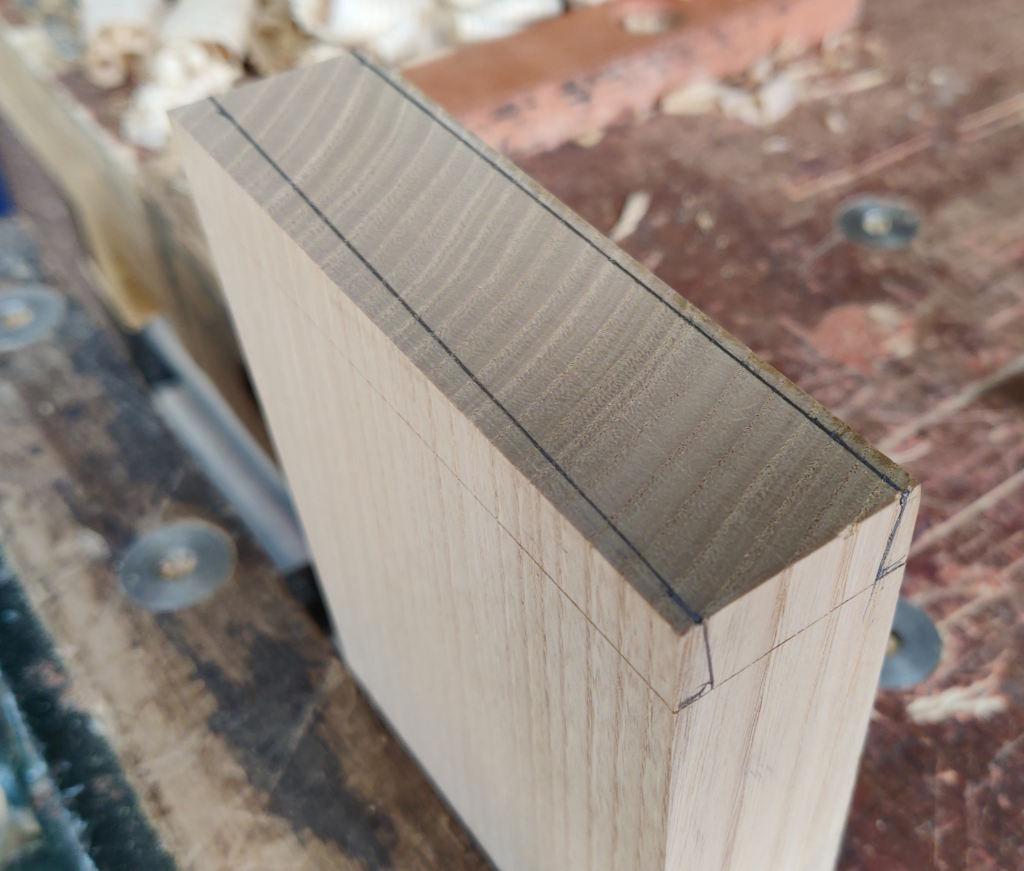
I picked a fairly arbitrary 12 mm for the depth of the tapered sliding dovetail I'm considering using to attach the arms and marked a shoulder line all round on one piece only:
I think I'll have a go at cutting one dovetail with this piece (with the mating socket in a bit of scrap) and, if it feels like it'll work well, I can continue with the real socket and the rest of the pieces. That should minimise the chance of scrap.
I've also marked (with pencil) an initial go at a rather arbitrary taper angle (which, at least for the next hour or so, can easily be changed, so comments are welcome!).
That tapers in about 4 mm over the 115 mm width of the arm (an angle of about 2°).
Page 26 of 38
This website is free and ad-free, but costs me money to run. If you'd like to support this site, please consider making a small donation or sending me a message to let me know what you liked or found useful.

 Return to main project page