Garden Table Build Process
Page 33 of 38
Posted 14th June 2025
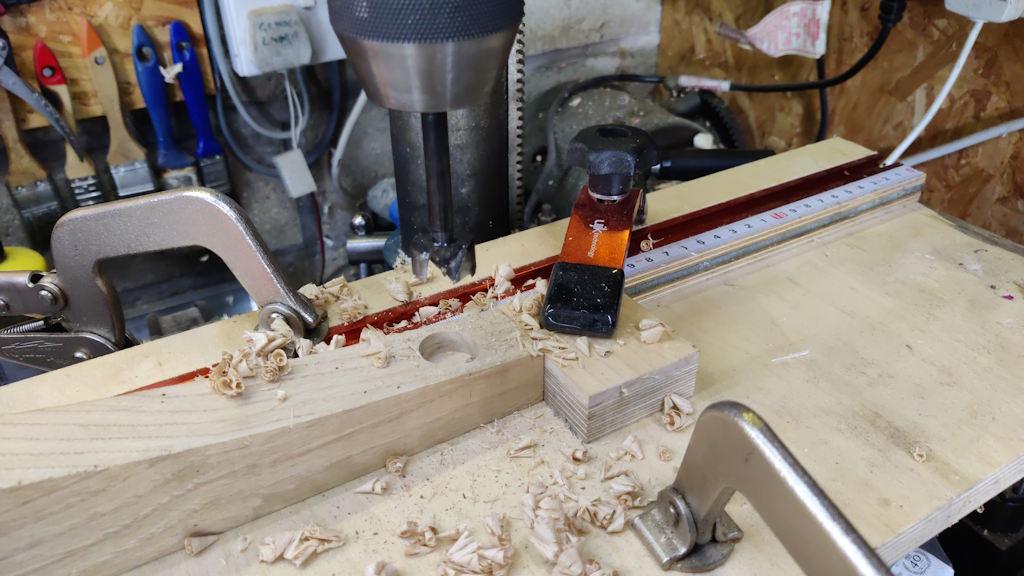
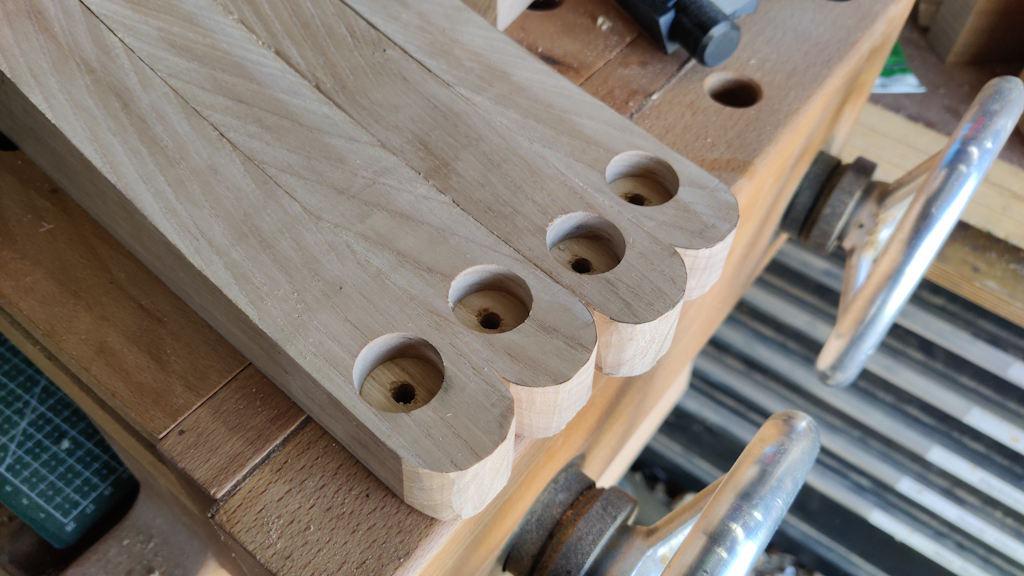
Although I'd put the arms to one side earlier, there were still some minor jobs to be done. I C-clamped a fence and stop to the pillar drill's table and used a 22 mm Forstner bit to drill a hole near the end of each arm:
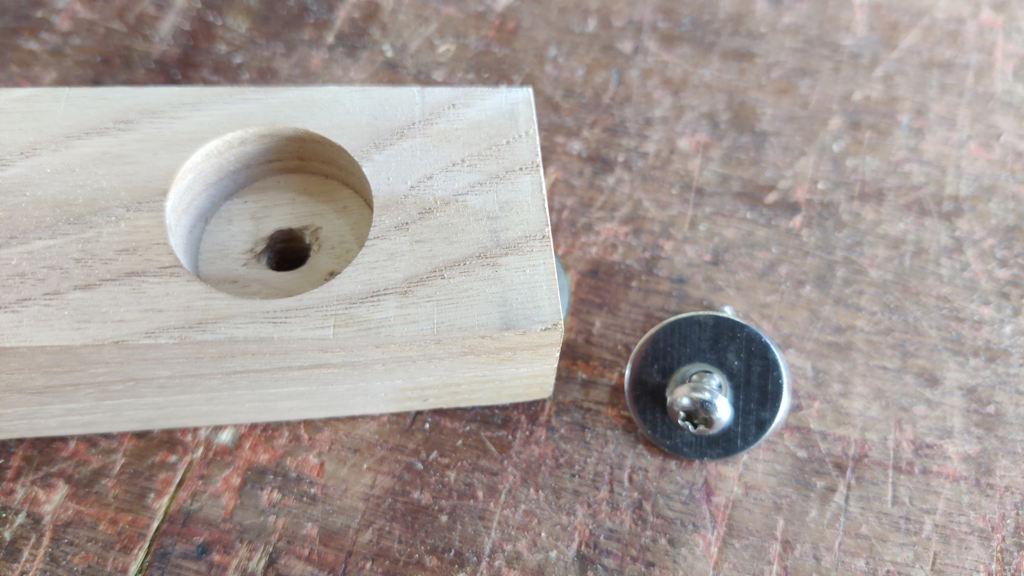
I then drilled through 6 mm in the same place. That hole will house a 4 mm screw and a 20 mm washer, but allow a millimetre of movement in any direction. Hopefully that'll be enough, but I can always enlarge the hole if necessary.
The screw in the photo is far too short, but I've ordered some longer ones. I'd originally been planning to hold the table top to the arms with buttons, but this seemed a perfectly valid way and a bit quicker to do.
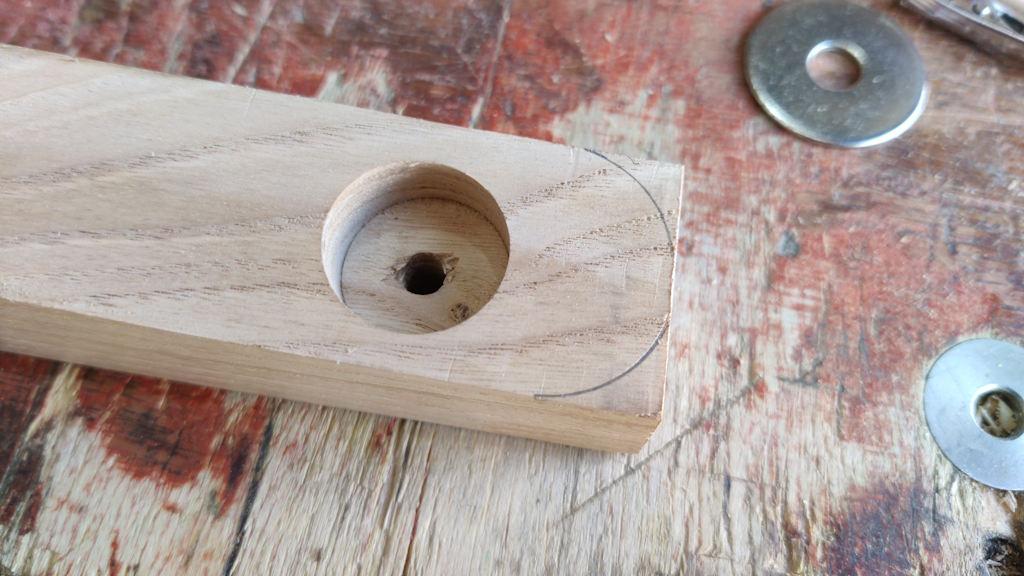
I also wanted to round off the corners on the ends of the arms, so I found a big washer and drew round it (in two goes as it's a bit smaller diameter than the width of the arm):
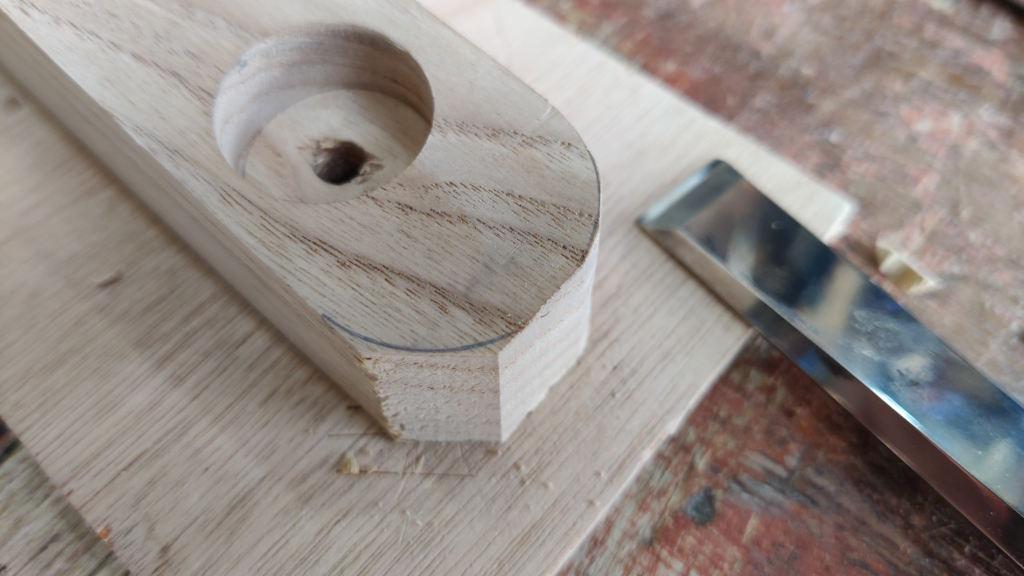
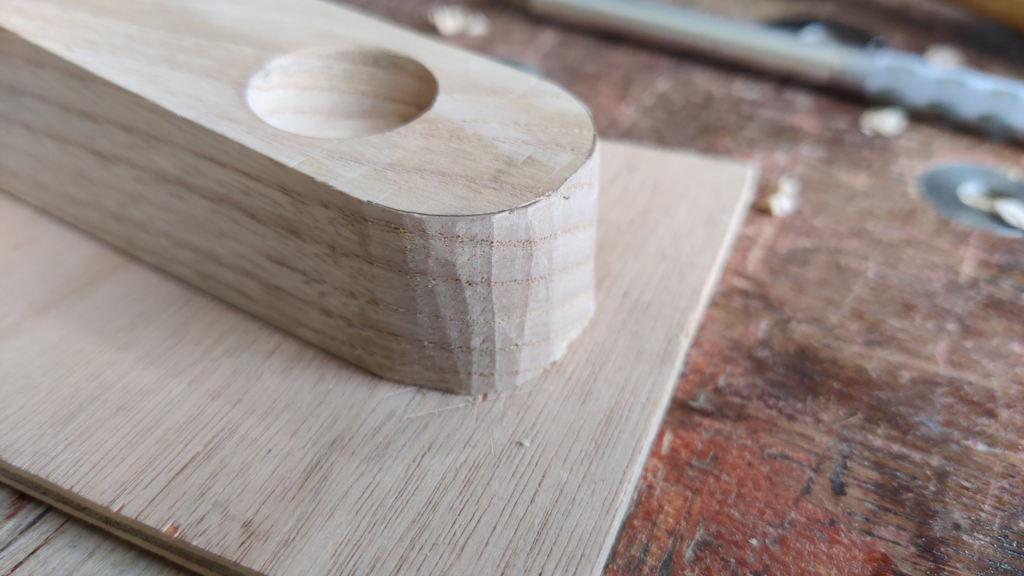
I then used my 16 mm chisel to cut a flat...
... and then kept chiselling until the flat became roughly round:
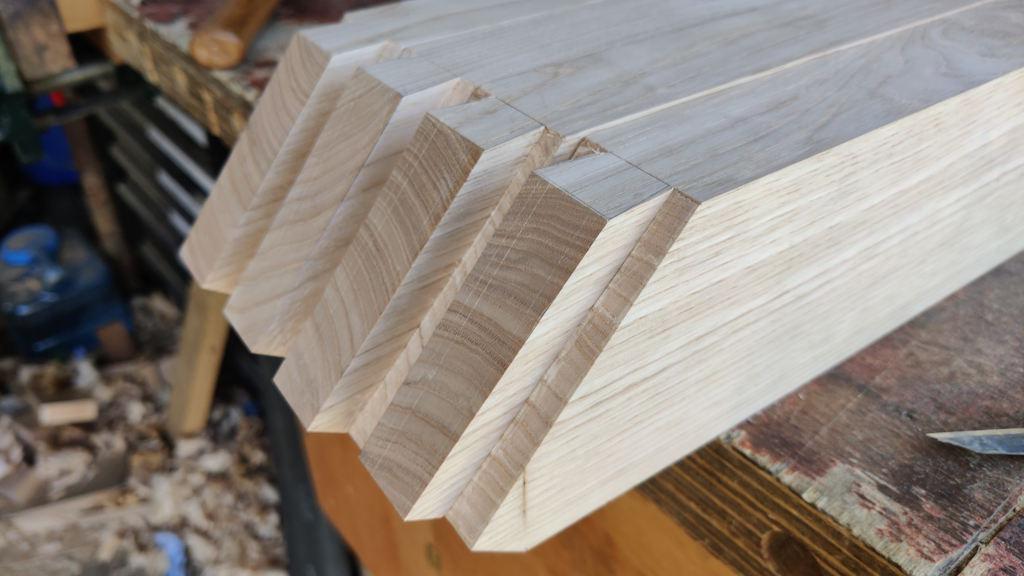
All four done:
They still need the edges chamfering a bit, but I'll leave that until everything else is done. I'm really pleased with those round-overs. They may not look like much, but it really wasn't very long ago that I would have resorted to either an electric router with a template or some sort of sanding thing to make a curved edge. Doing it with a chisel was much more enjoyable and much more satisfying.
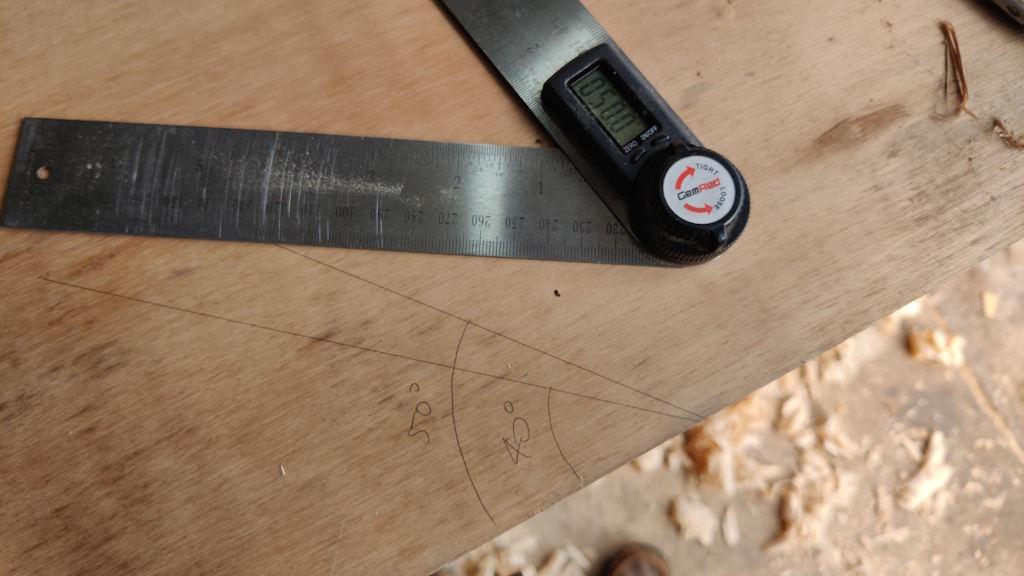
The next job on the legs was to prepare the tapered sliding dovetails. After a final play around in CAD, I decided on an angle of 50° to the vertical (and hence 40° to horizontal). It probably would have been easier to go with 45°, but when have I ever gone with the easy option?! I started by using a digital angle gauge to mark 50° and 40° angles on a piece of plywood):
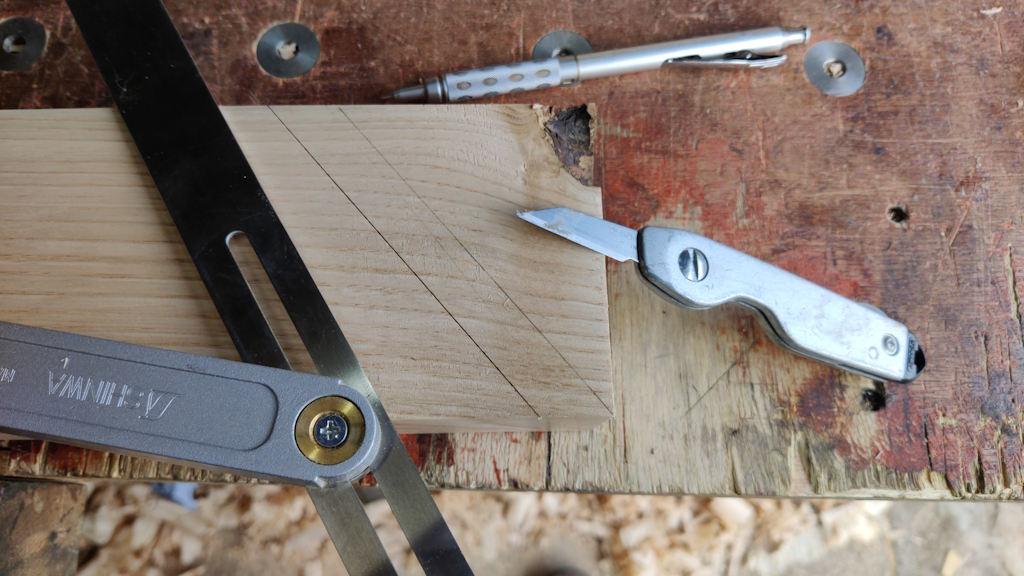
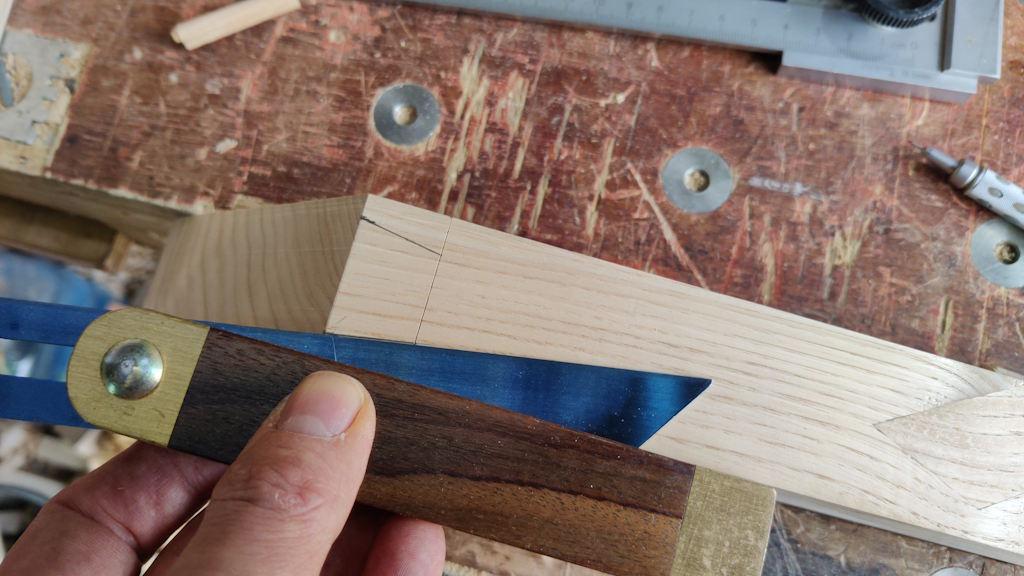
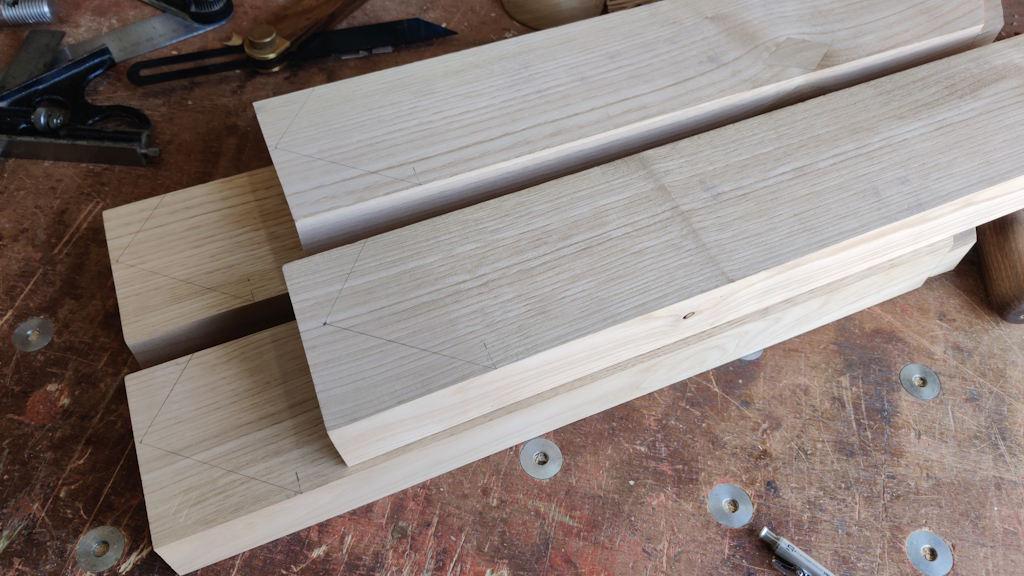
I could then use those lines to set up a pair of sliding bevels and use the 50° one of those to mark the end of the legs and the sliding dovetail's shoulder line:
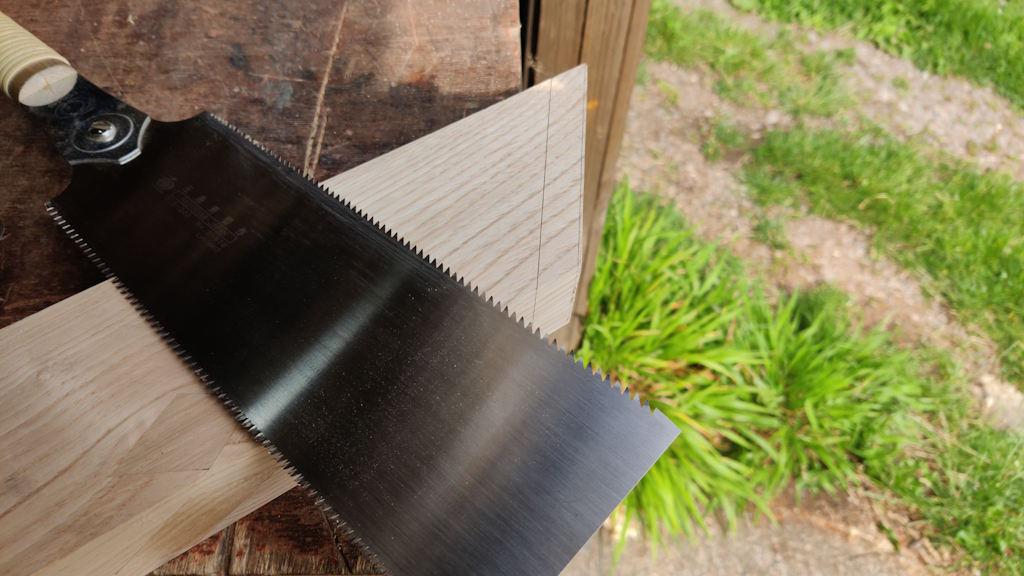
The end then got chopped off with the Ryoba...
... and then the leg got a quick pass on the shooting board to give a clean end because, well, why not?
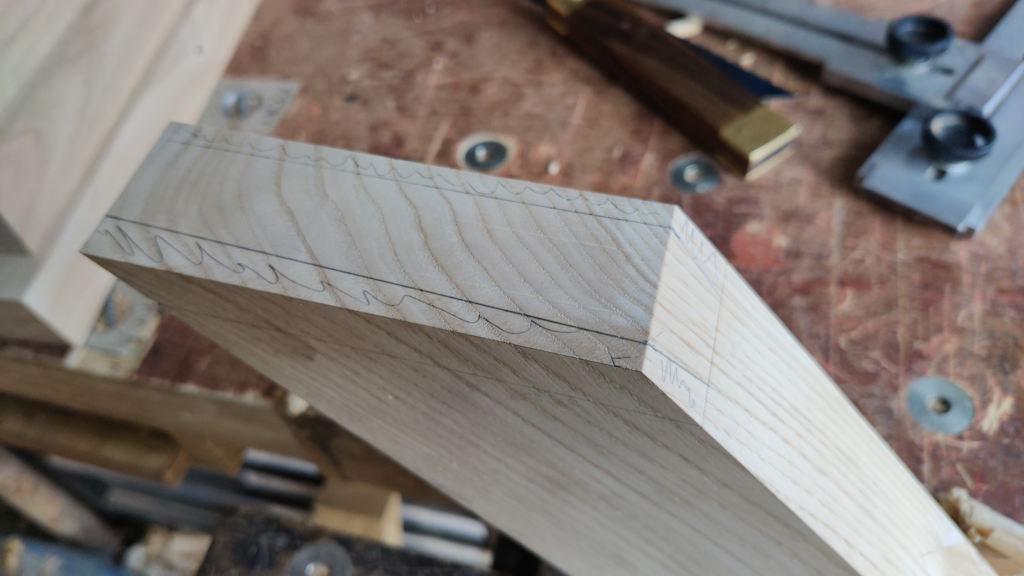
Marking the 1:6 angle I was aiming for couldn't be done with my normal dovetail marking gauge thing due to the angle on the end, so I used the gauge to mark the angle on a bit of plywood with a 90° corner and then set a sliding bevel off the side of the plywood and that allowed me to draw the angle like this:
With that done and the taper angle (2°) marked, everything was, I thought, ready for sawing...
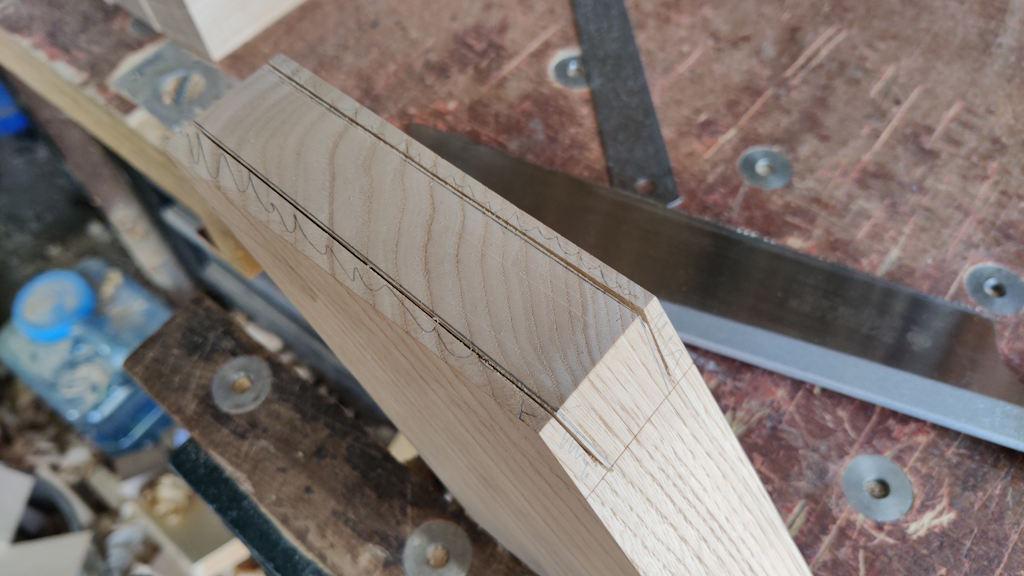
... so I sawed the sides of the tails on the first leg using my Dozuki:
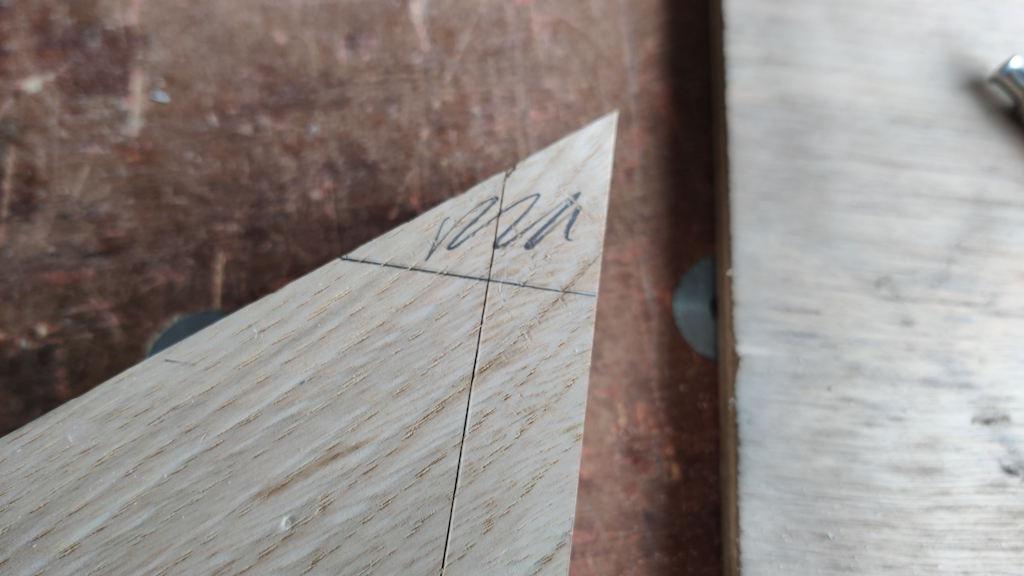
At this point I realised (just in time) that it would be better not to have an acute corner at the top of the leg, so I marked up a bit for chopping off:
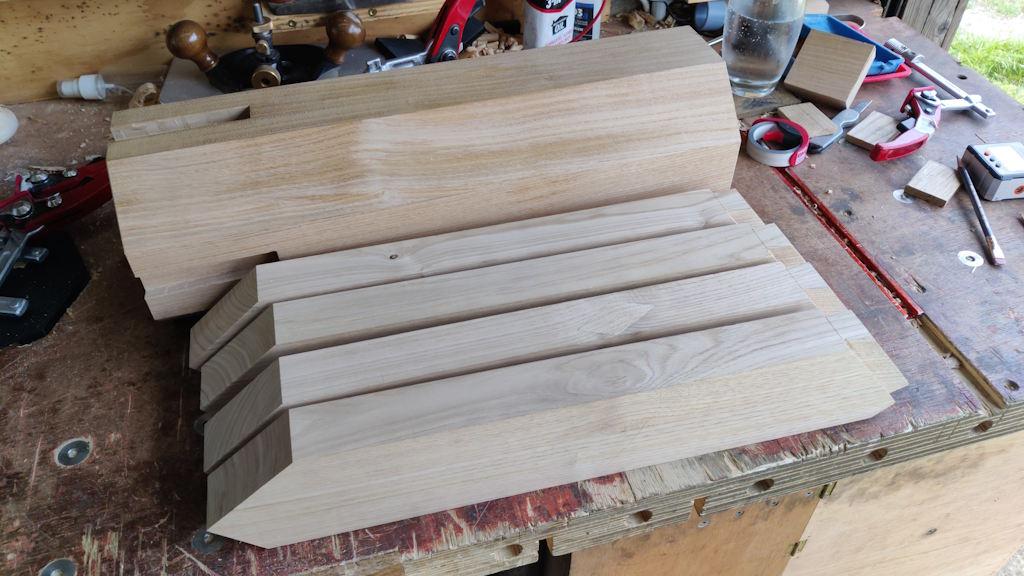
Doing that before the rest of the cuts means that I could have a knifed shoulder line at the top, which should look better. Lots of sawing and paring later and I had four legs with tails all prepared:
I picked what felt like an appropriate length for the legs and marked the other end of all of them (again avoiding a sharp corner):
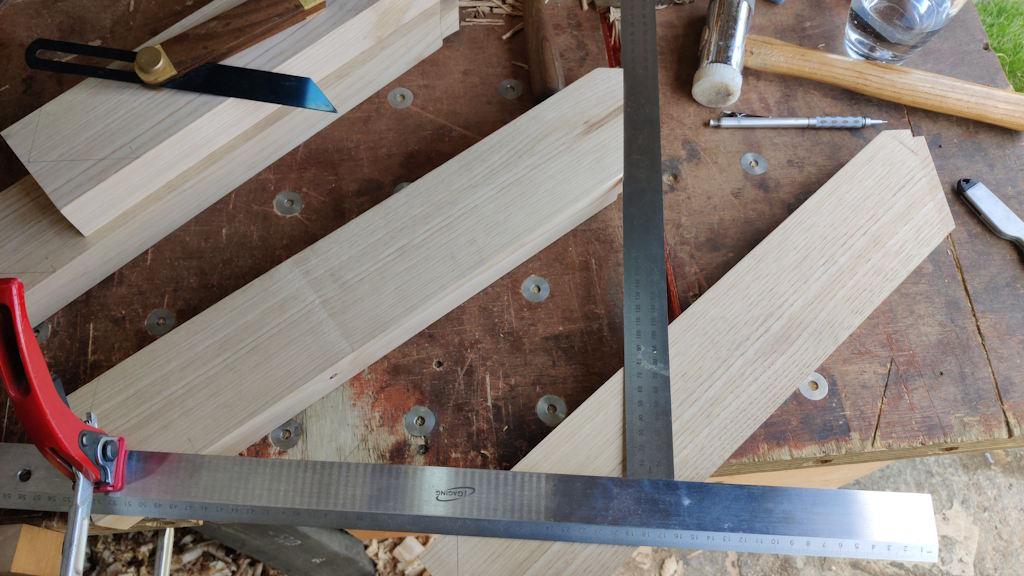
I could then clamp a straight edge to what would be the bottom of the leg and use a steel rule to measure the height up to the bottom of the dovetail:
I could have just done that with some very simple maths (l×sin(θ)), but measuring directly seemed a bit more idiot-proof. The total height of the table will be the distance just measured plus the height of the column plus the thickness of the plastic rain cap thing plus the thickness of the table top. All of those dimensions are known except for the total height of the table and the height of the column.
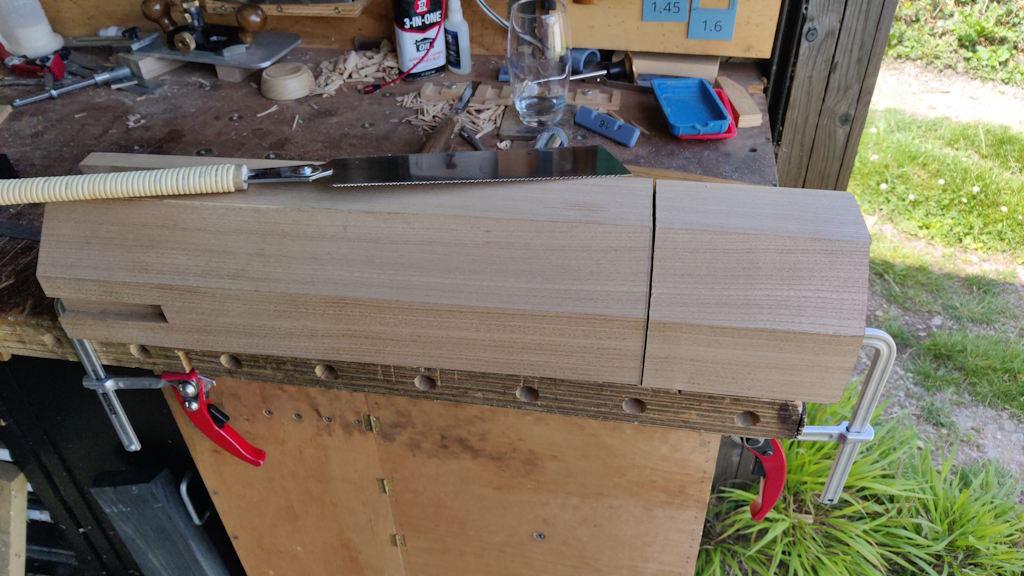
After some consultation with the other half, we decided on a table top height of 750 mm. It'll be easy enough to tweak a bit later if required (either by shortening the legs or adding some plastic feet on the bottom of the legs, which I may do anyway). Having chosen that dimension, I could work out the required central column height and (after taking a deep breath), get the Ryoba out and have at it:
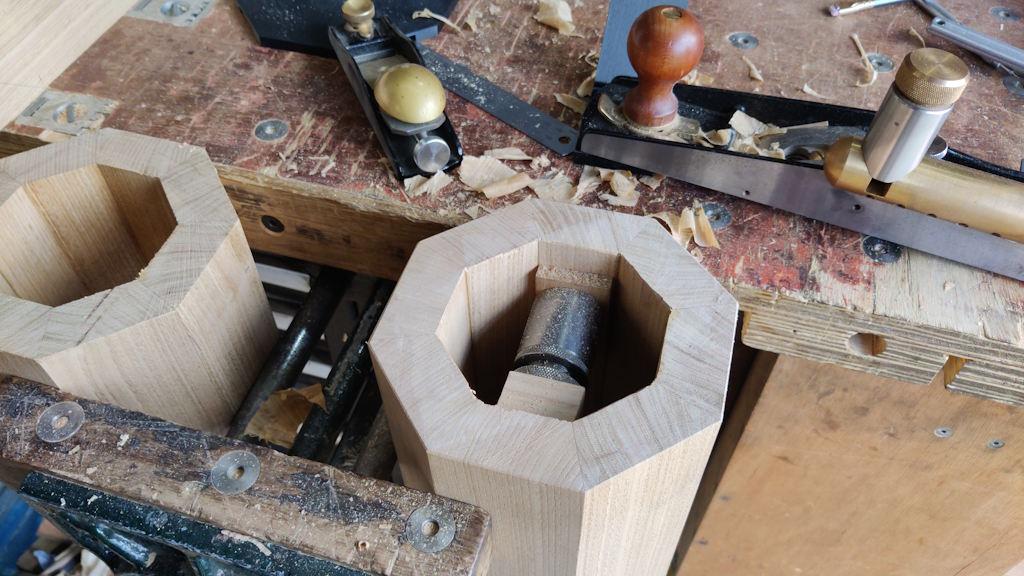
It occurred to me that the method I used to allow mortice chiselling into the column would also allow me to grip the column more firmly in the vice, especially when used in combination with the off-cut as an anti-racking thing. That made it a lot easier to plane the sawn-off surface of the column:
That brings us up to date; the next job is to cut the sockets for the leg dovetails.
After that's done, there's not much more to do, although chamfering edges and giving everything a final going over with a plane will take quite a while. The underside of the table top needs loads of work to deal with the fact that the planks that made it up weren't all the same thickness. Nevertheless, it's starting to feel like I'm on the home straight.
Page 33 of 38
This website is free and ad-free, but costs me money to run. If you'd like to support this site, please consider making a small donation or sending me a message to let me know what you liked or found useful.

 Return to main project page