Garden Table Build Process
Page 34 of 38
Posted 15th June 2025
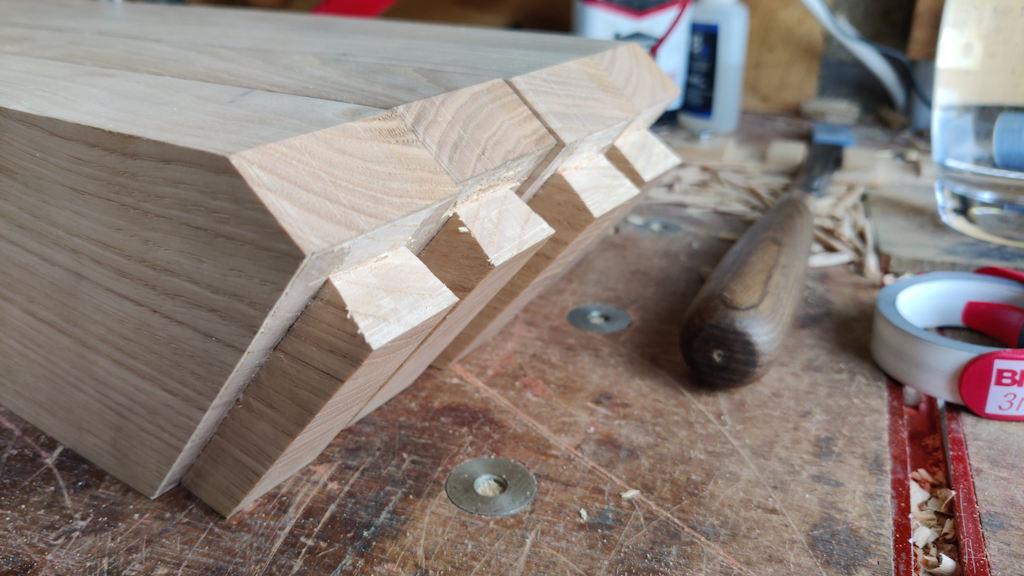
I had thought that I'd finished the tails on the legs, but I realised this morning that I still needed to cut the end of the tail off (to hide the end of the socket):
I later also cut the other down slightly so that it had a square end rather than one tapered at the leg angle.
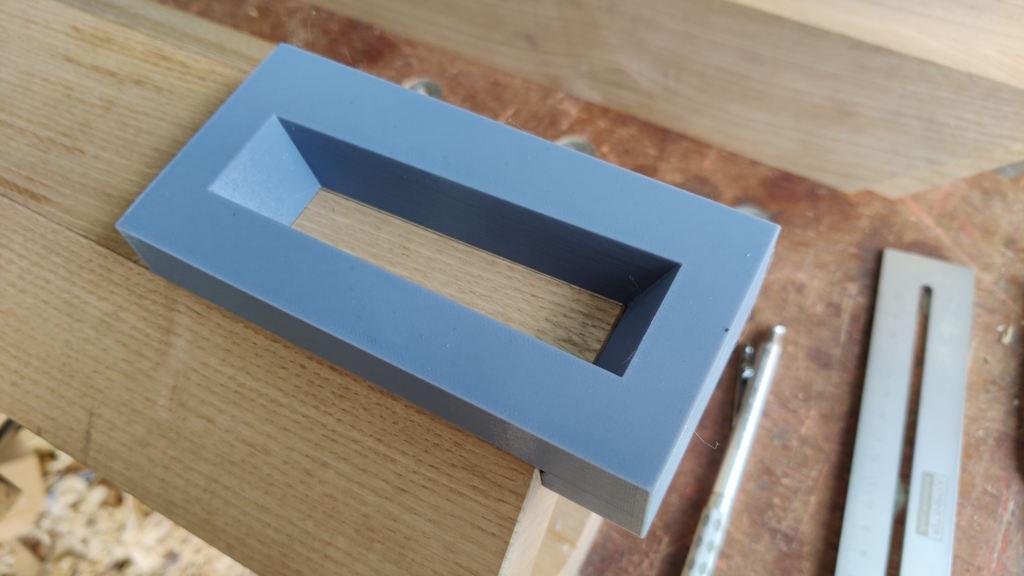
Overnight, I'd 3D-printed a really simple marking guide that lines up with the edges of the column and allows me to draw the shape directly. It's probably unnecessary really, but it sped that job up quite a bit.
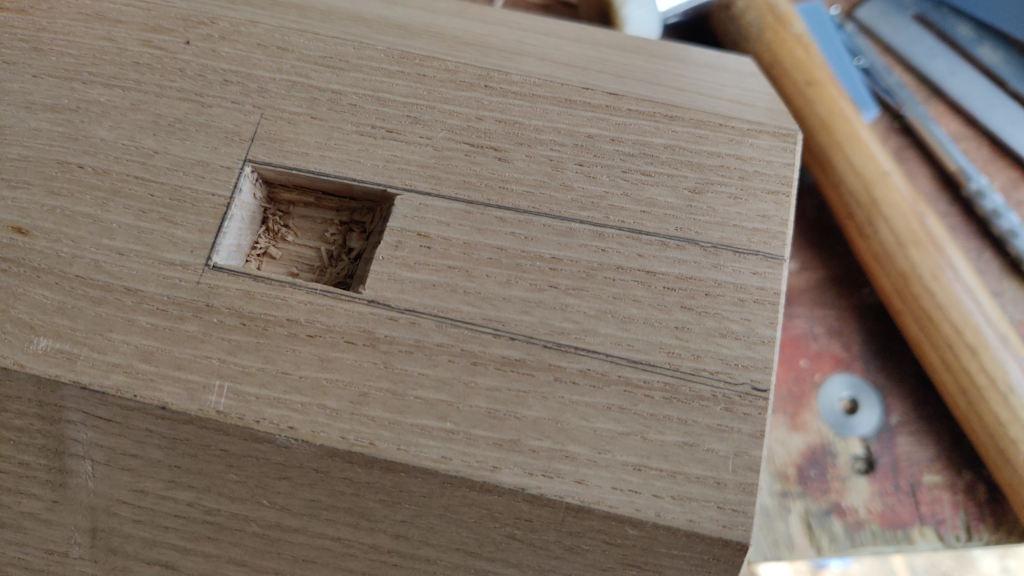
From there the process was much the same as the other end of the column, starting with a mortice:
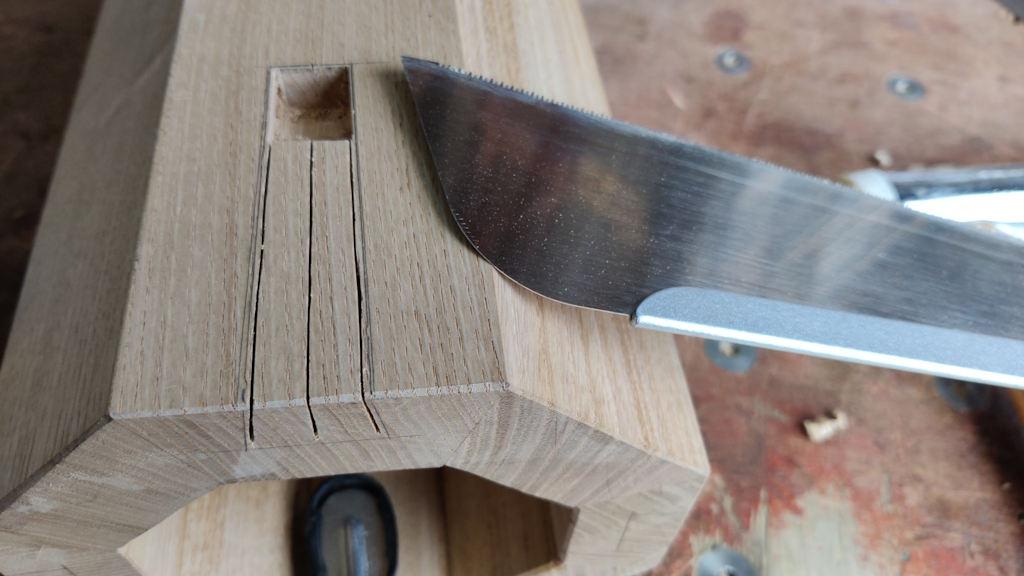
Then some Dozuki saw cuts:
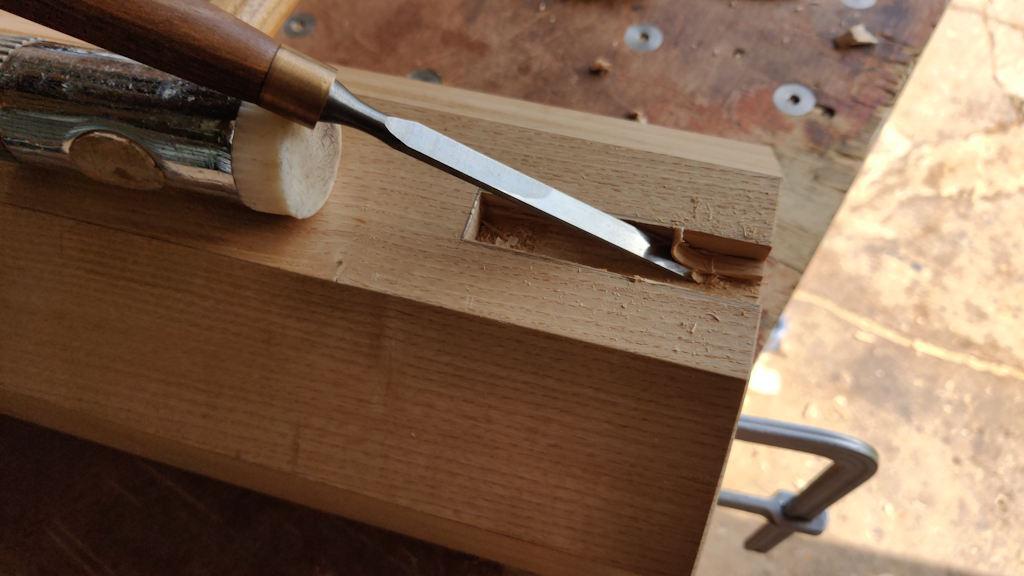
Chiselling was a bit more awkward as (after the first cut to clear a bit of waste quickly), I switched to cutting backwards with the bevel down so that there was less risk of ripping too much out (due to the grain direction):
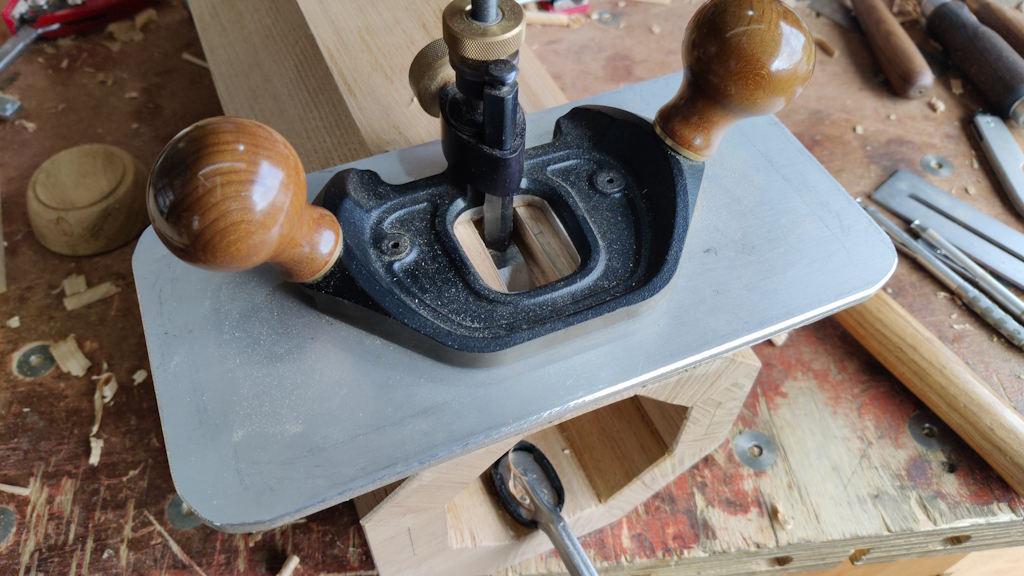
Likewise, with the router plane, I did the last 20 mm going forward, then flipped the plane round and did the rest towards me:
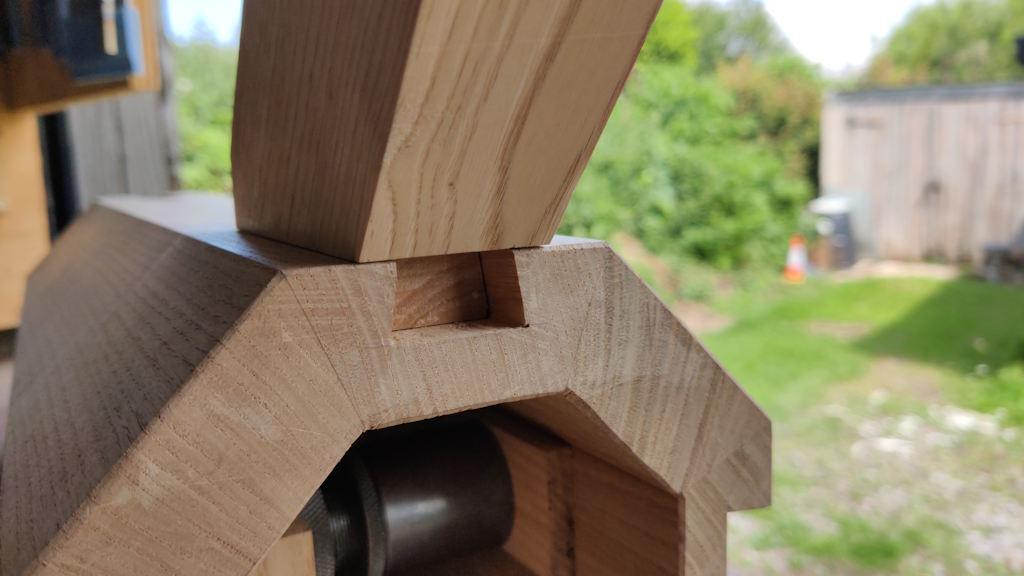
I said before that I'd cut the tapered end off the tail. That resulted in this flat surface, which could be hit (with a bit of scrap wood between mallet and the end of the tail):
Without the square cut, I'd effectively be hitting the leg up as well as in, which isn't ideal.
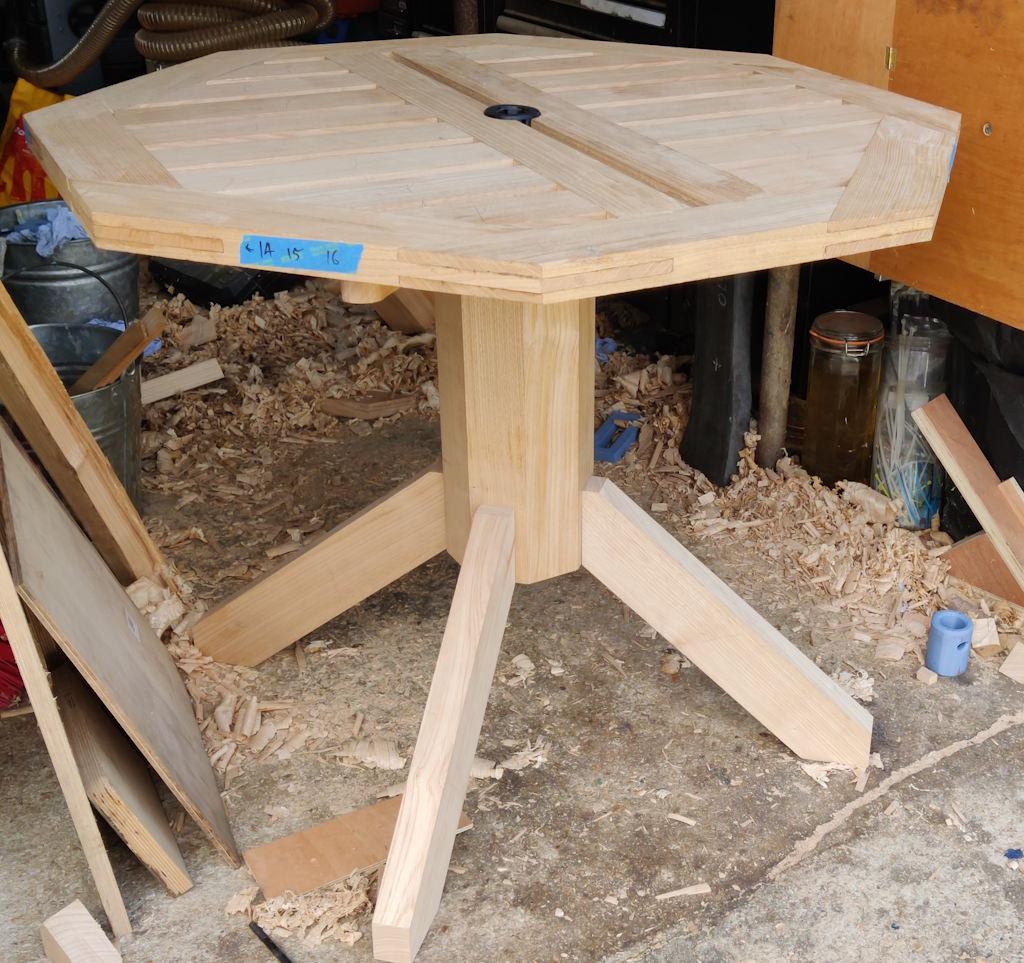
With the leg sockets all done, that's all the joinery done. There's still a heck of a lot of tidying up / chamfering / rounding over etc to do, but I couldn't resist a quick trial assembly:
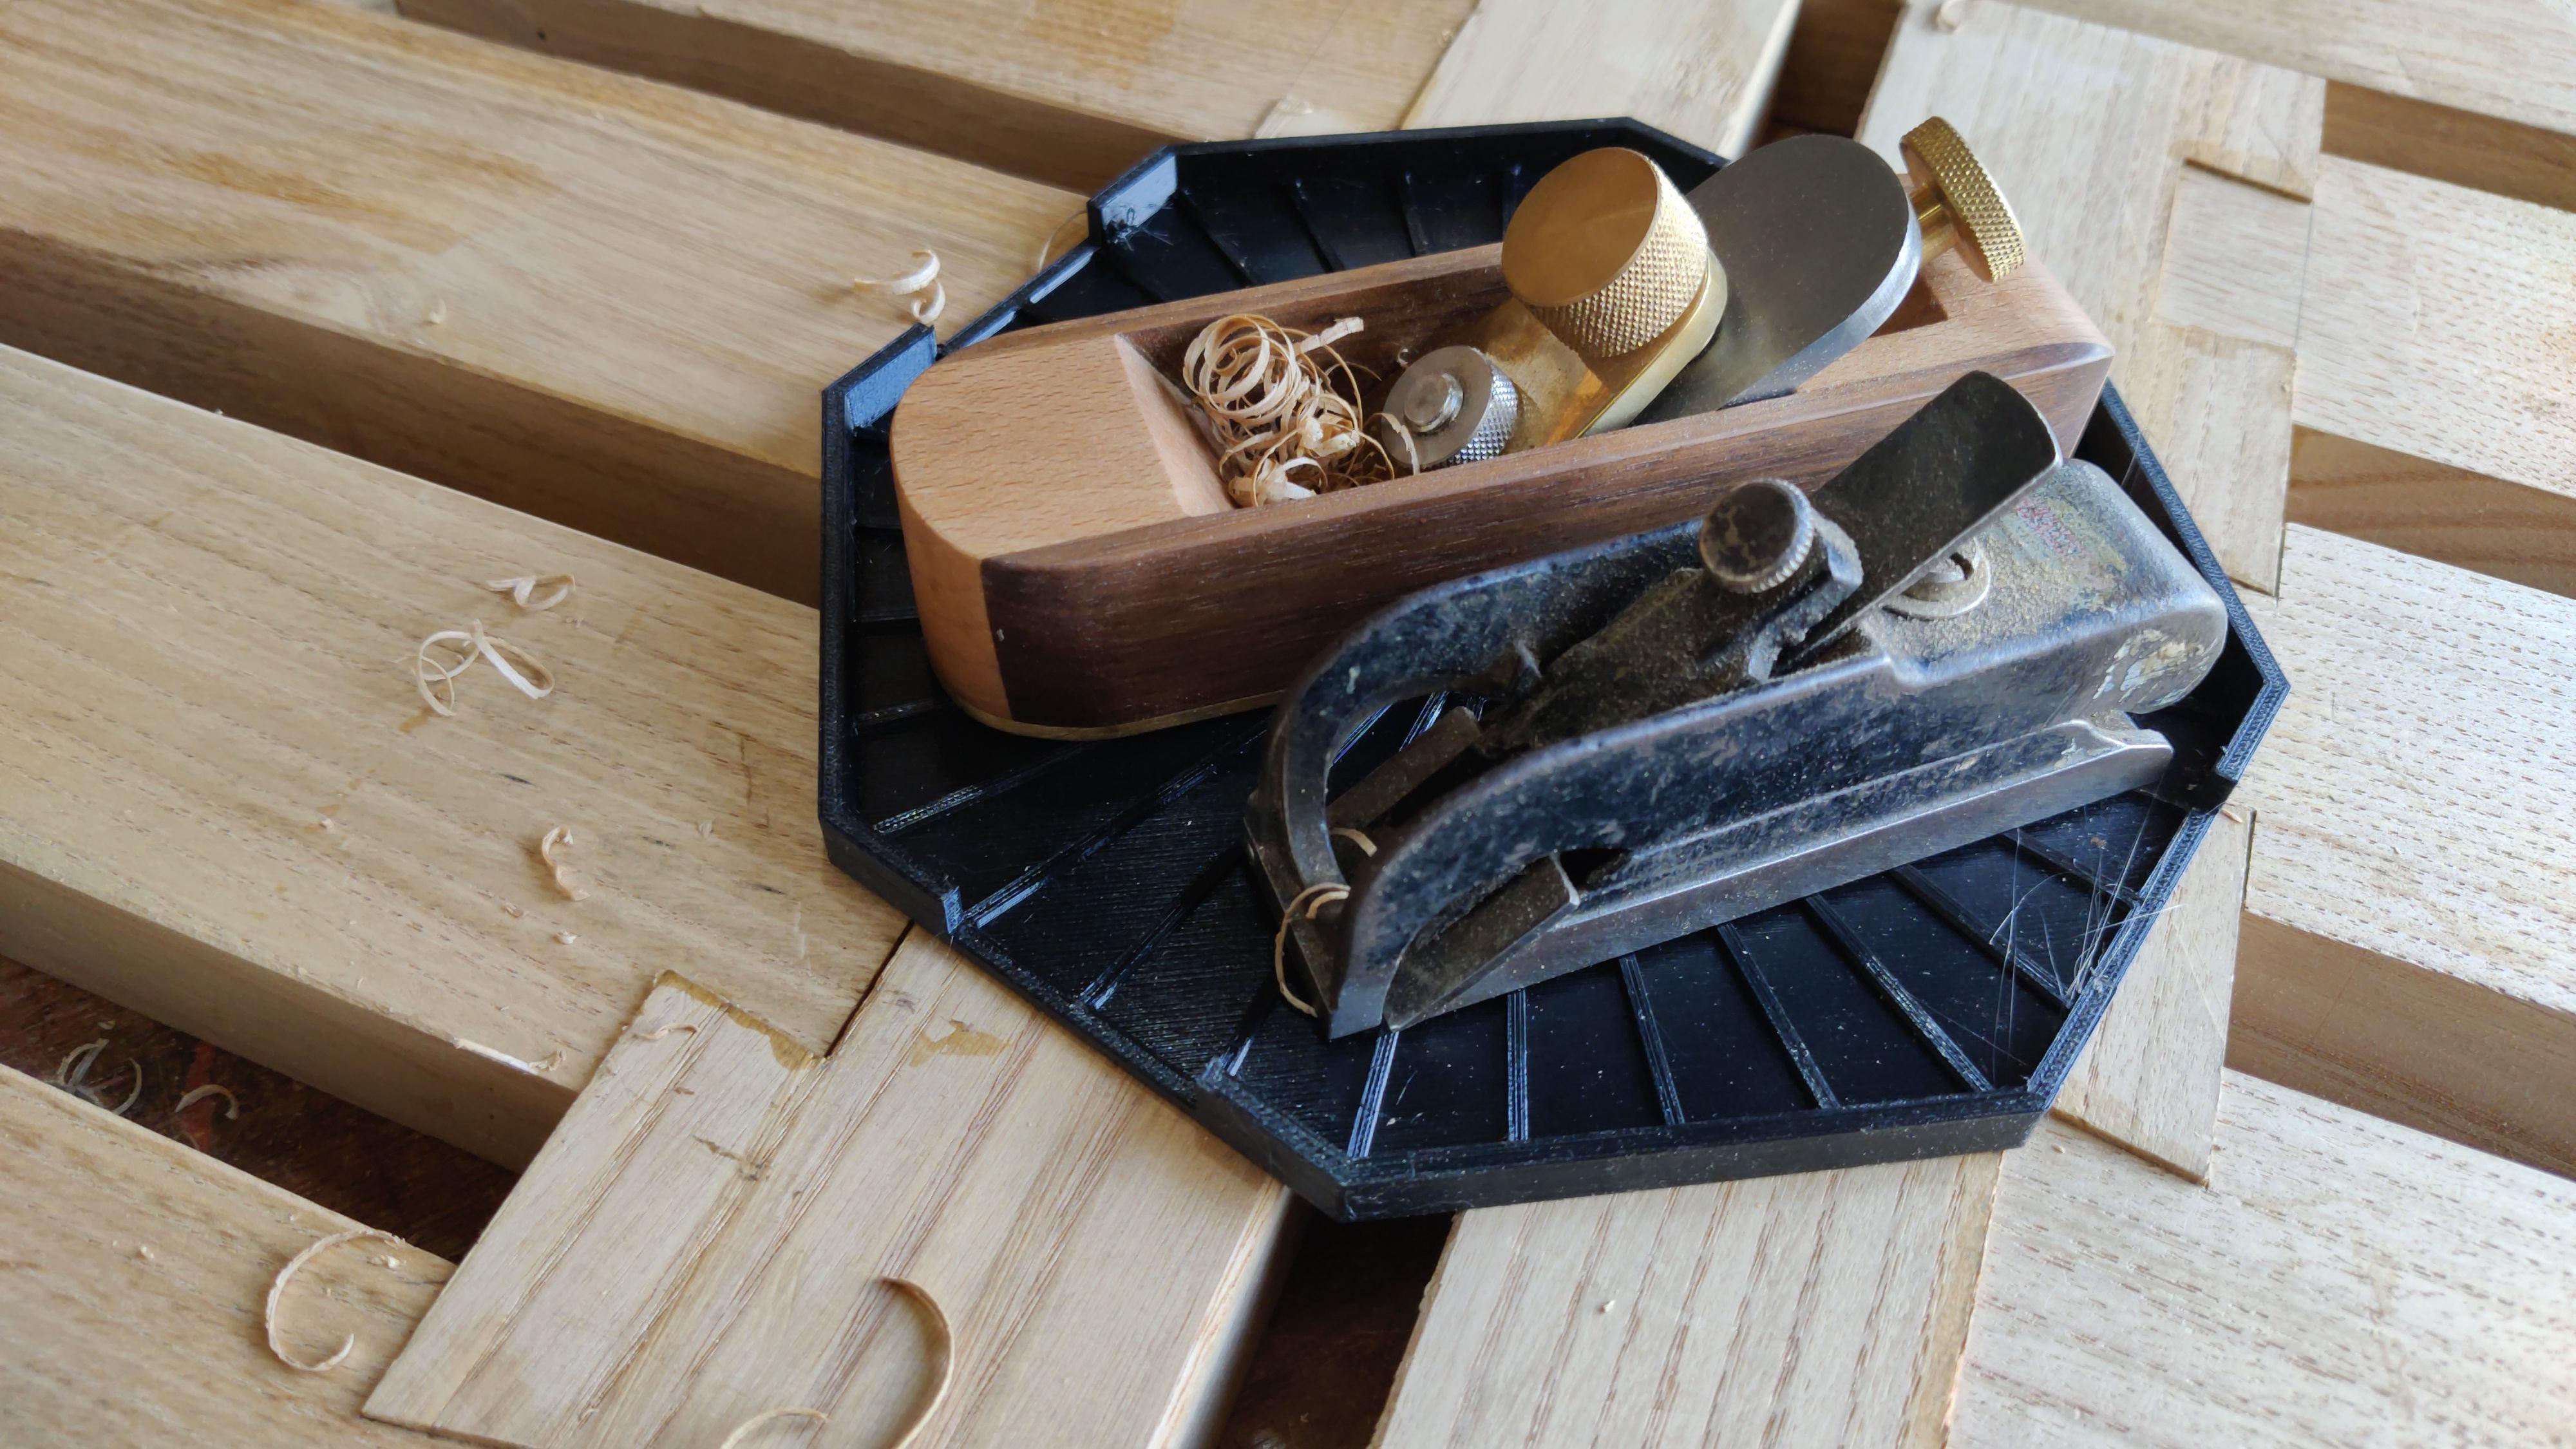
The legs definitely look a bit chunky, which is good in that they'll hopefully be strong, but I think it would be nice to soften the look a bit, so I'm going to round over the top corners. Before doing that though, I thought I'd get on with a job I'd been putting off for quite a while: smoothing the top. I started by using a couple of little planes to chamfer the edges as much as possible:
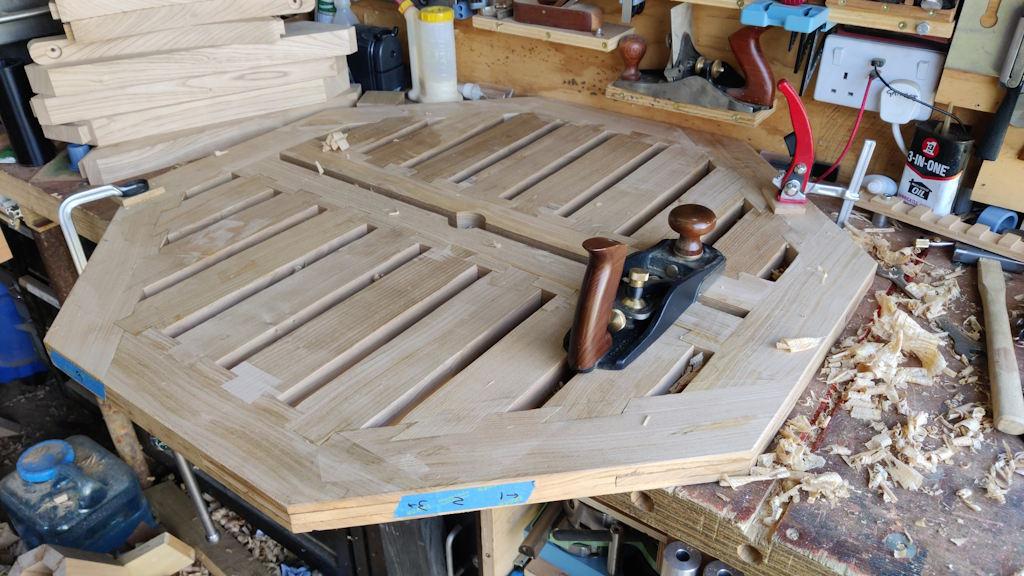
I then used a chisel to chamfer all the bits the planes couldn't get to. Those chamfers were there to stop the edges breaking out when I attacked the underside of the table with a high-angle blade in a bevel-up smoothing plane:
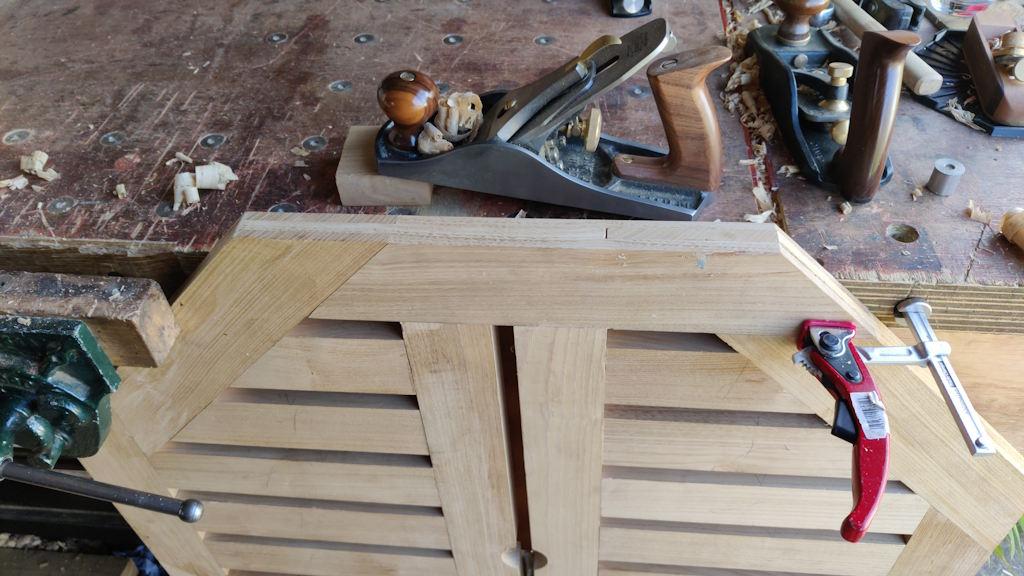
That was hard work in the heat and the finish still left a bit to be desired, although it was far better than before planing. I also planed the edges using the #4½ with the table clamped in the vice and with a hold-down clamp:
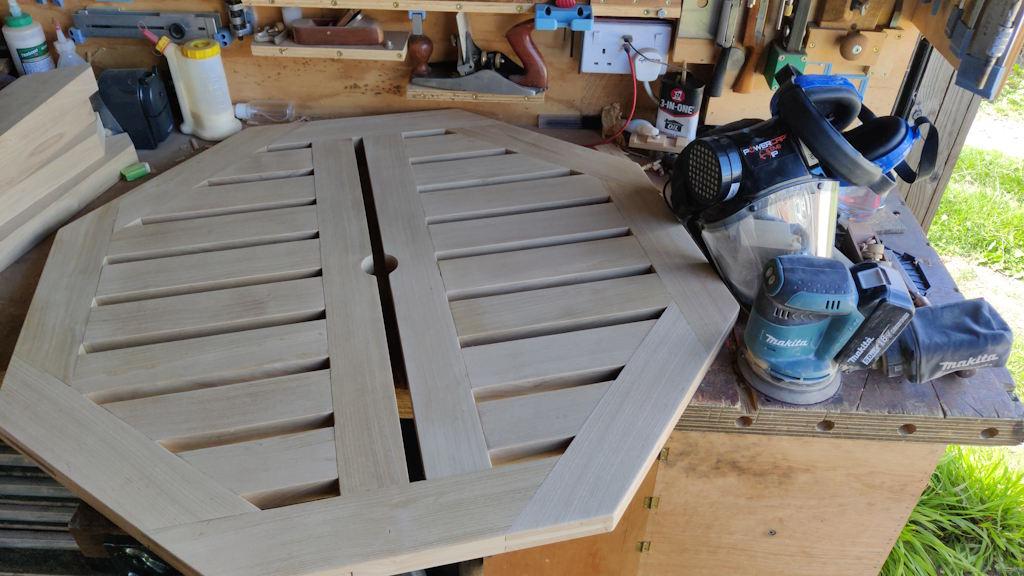
After pondering for quite a while, I grudgingly concluded that the only sensible way to get a good finish on the table top (given that there are so many different grain directions going on and a high risk of breaking edges out even with a card scraper) was to get one of my least favourite tools out: the random orbital sander:
I sanded top and bottom of the table top with 150 grit sandpaper. One fringe benefit of doing this (and the reason I didn't attach the vacuum cleaner to the sander) is that it has given me a bag full of sweet chestnut sanding dust that I can mix with some glue to make filler for some of the little gaps (of which there are quite a few around the perimeter where the bridle joints aren't quite perfect).
I'll follow with some 240 grit sandpaper as one of the last things I do (possibly after assembling the table completely).
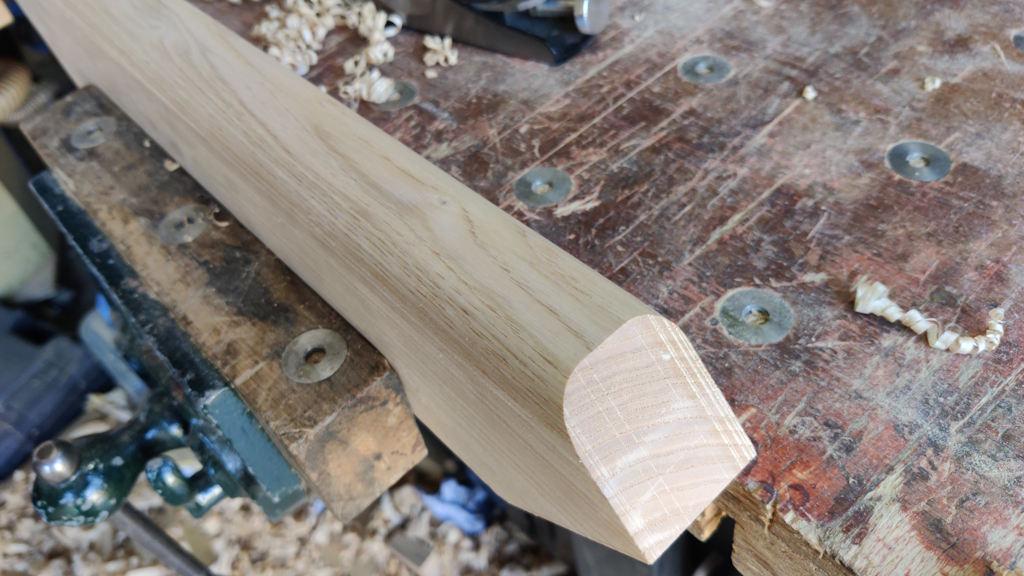
Before gluing the column together, I wanted to round the tops of the legs over. I did that (judging the radius by eye) with a block plane with a high-angle blade in it (so I didn't have to think too hard about grain direction):
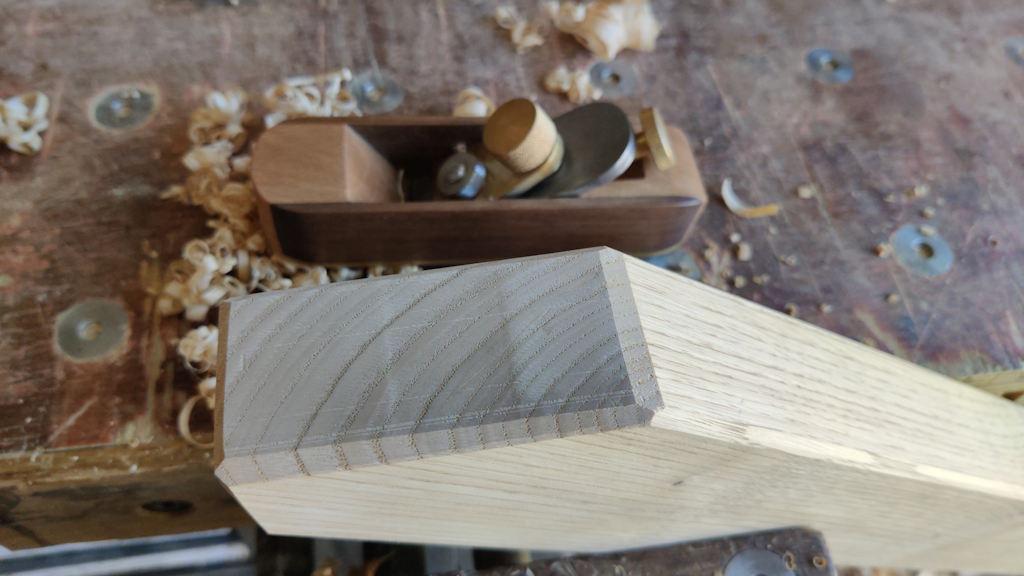
I also used my home-made block plane (which has a low cutting angle) to plane some chamfers on the edges of the foot:
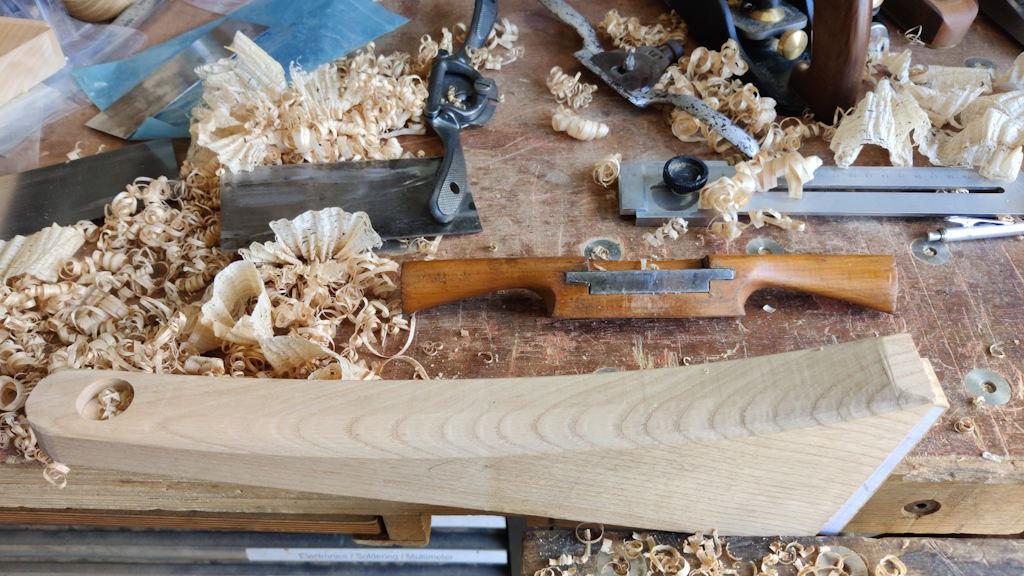
I also decided to round-over the arms (to make them a bit more comfortable if hit by a knee). After trying all my spokeshaves, I settled on the wooden one as the most enjoyable to use, so the round-over was done (again judging the radius by eye) with that:
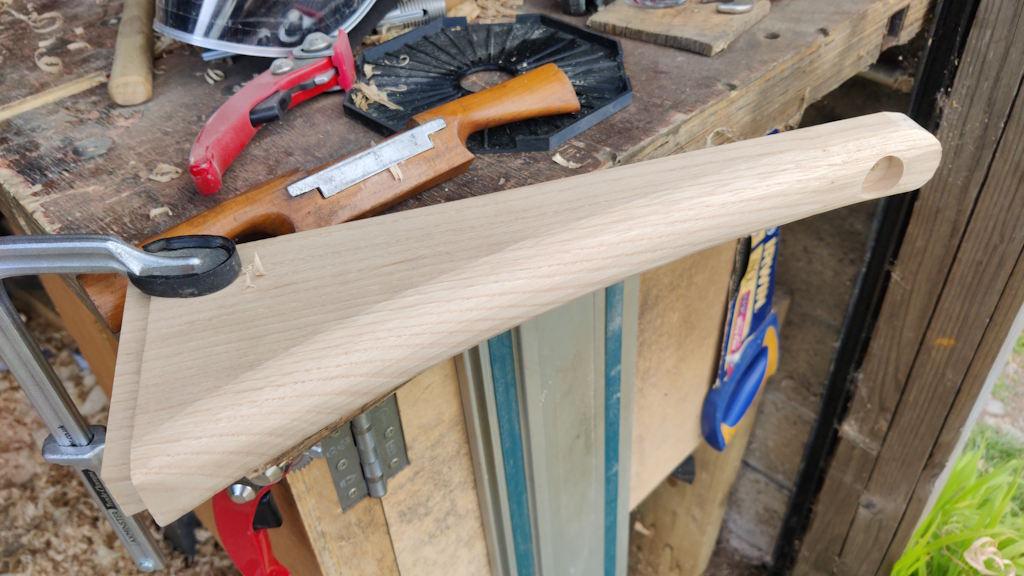
Although most of the round-over was done in the vice, I found that a few bits were awkward due to the spokeshave's handle hitting the vice, so I finished it off with the arm clamped to the edge of the bench:
That's it for now. I have mixed up the sandpaper and glue and applied it to the table top in a few places, but I didn't bother to take any photos of that. It'll need another load of sanding when the filler is dry.
I'll glue in the arms pretty soon I think. I may delay gluing the legs in until we've tried the table out (to help assess whether the height is right): those sliding dovetails are strong even without glue, so it should be perfectly usable as a table. If we decide to shorten the legs, then that'll be a lot easier if I can tap them out of the column rather than having to cut them in situ.
Page 34 of 38
This website is free and ad-free, but costs me money to run. If you'd like to support this site, please consider making a small donation or sending me a message to let me know what you liked or found useful.

 Return to main project page