Garden Table Build Process
Page 9 of 38
Posted 30th March 2025
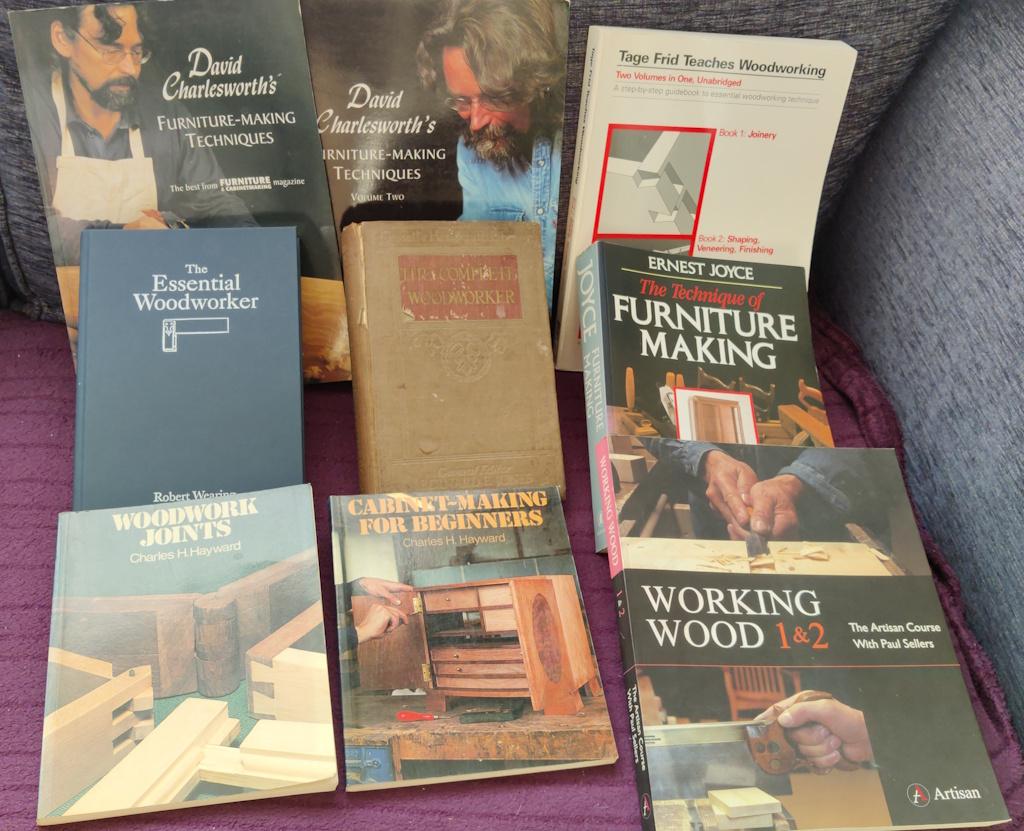
The clocks have sprung forward and that always lifts my spirits as we can look forward to light evenings for the next 7 months. I wanted to spend today having another go at bridle joints as I wasn't very happy with how gappy yesterday's result was. Before I starting, I assembled my favourites out of my (much larger) collection of woodworking books to look for advice on cutting bridle joints:
Surprisingly, while a lot of those books mention bridle joints in passing and perhaps have an image showing what they are, the "Woodworking Joints" book by Charles Hayward is the only one that gives any advice specific to that type of joint. I still felt like I needed a bit more advice so I went back and rewatched this youtube video:
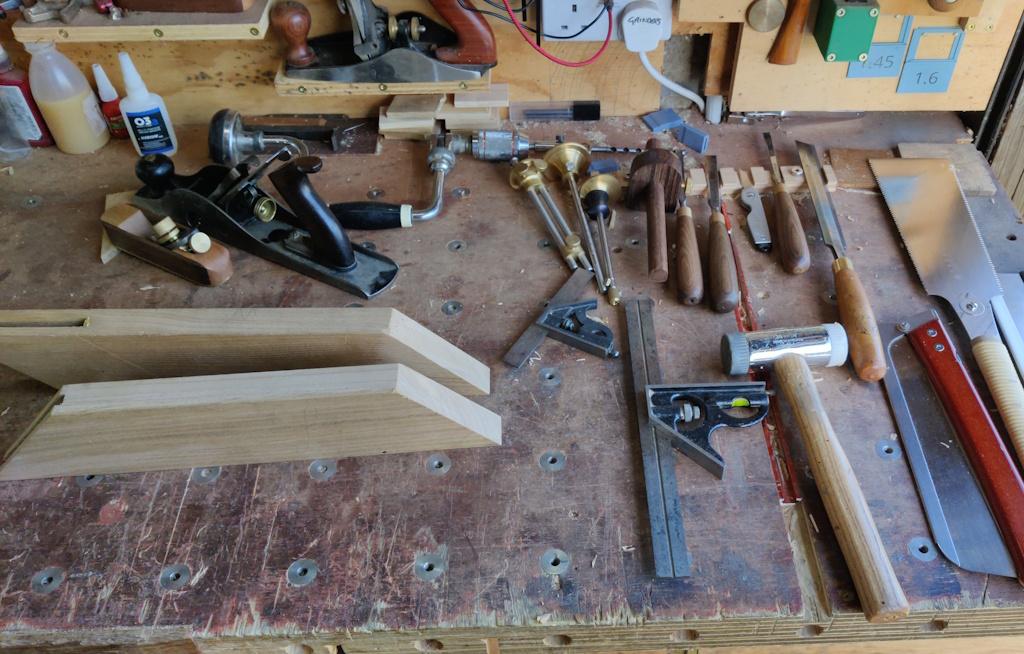
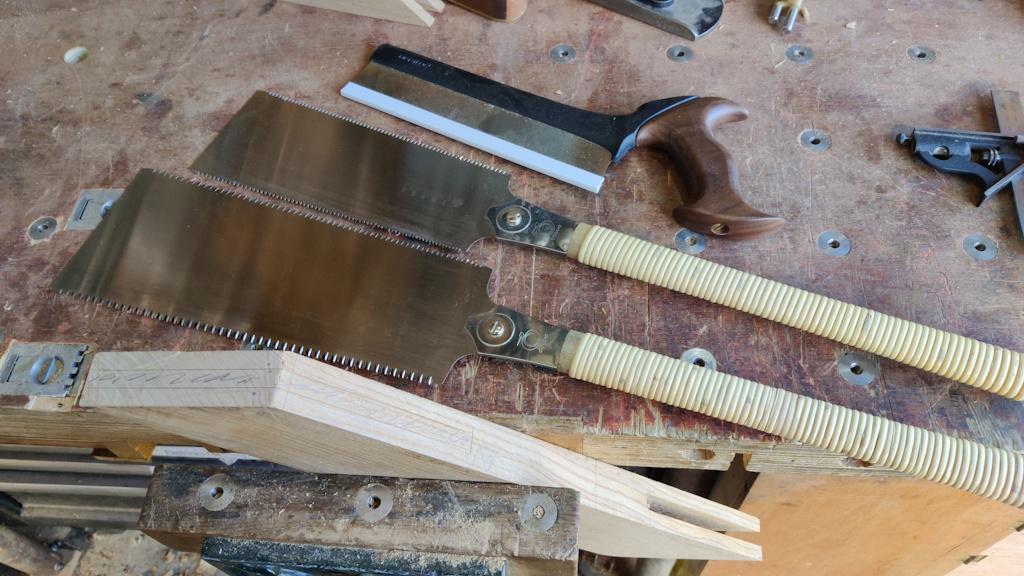
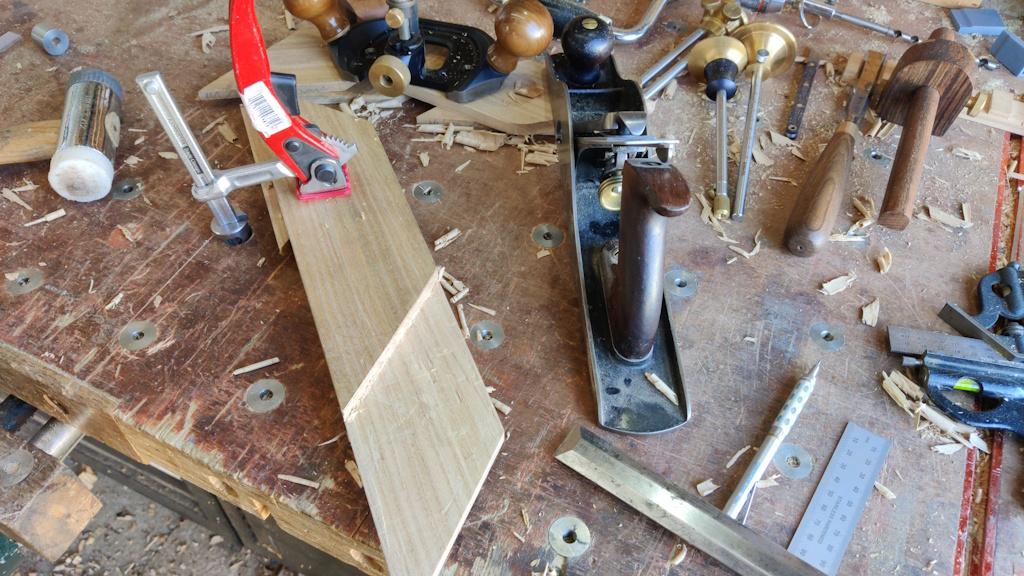
It was definitely worth watching it again as it refreshed my memory on what I should be doing when forming large glue surfaces on both parts. To kick the day off, I had a bit of a clear up and assembled the main tools I expected to be using on the next attempt:
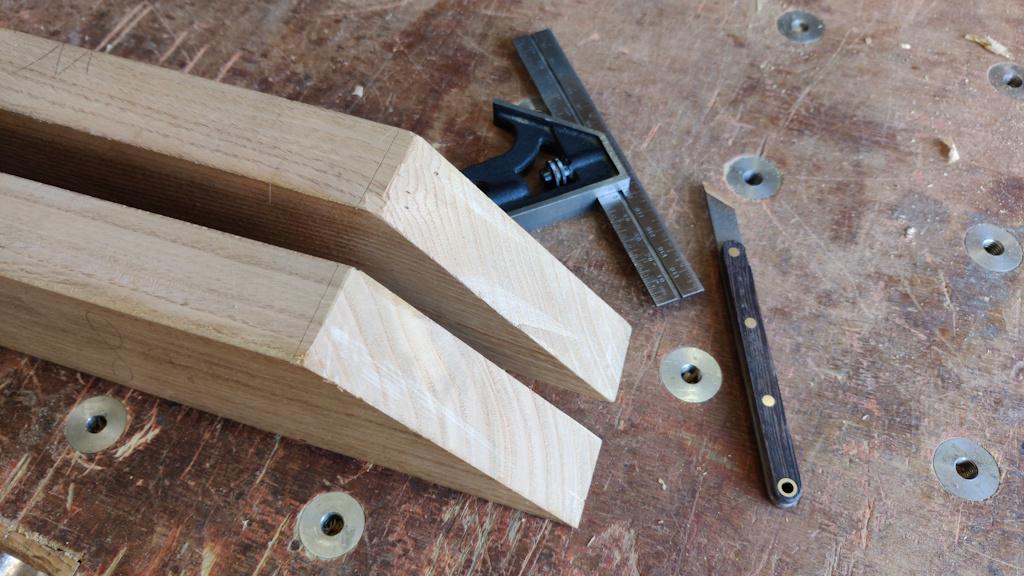
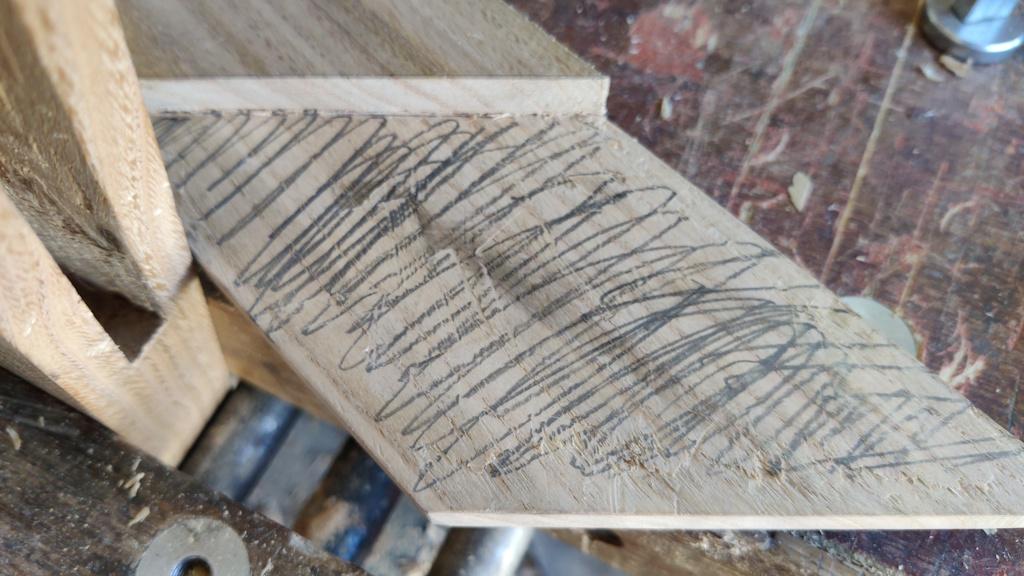
Those planks of sweet chestnut are getting a bit short now (having been used for two attempts already), but there's enough length there for another go. I started by marking a line (with a recently home-made marking knife) for the end of the planks, avoiding a bit of torn out wood on one of the planks:
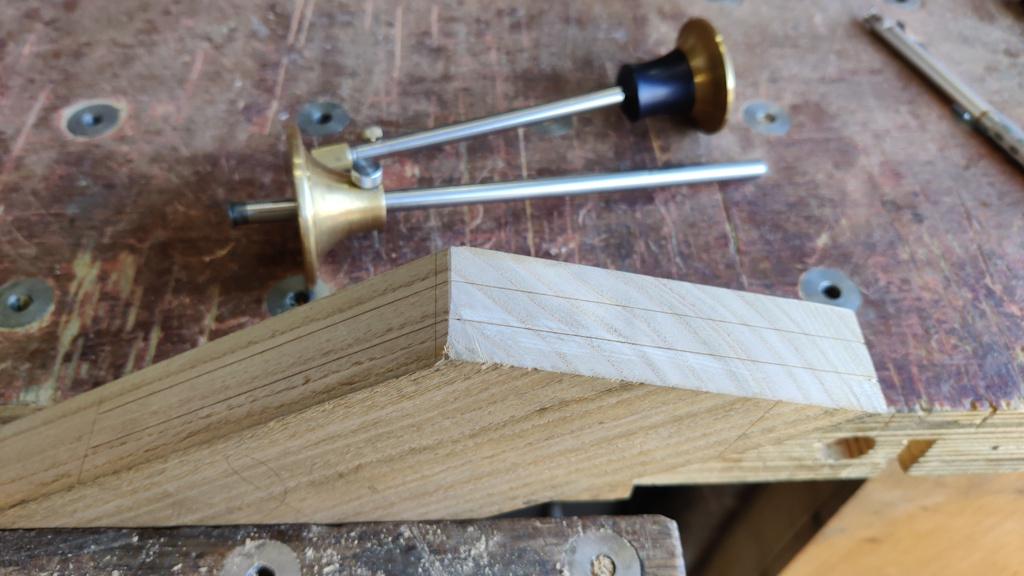
Two gauges (both wheel type this time) were used to mark the rip lines:
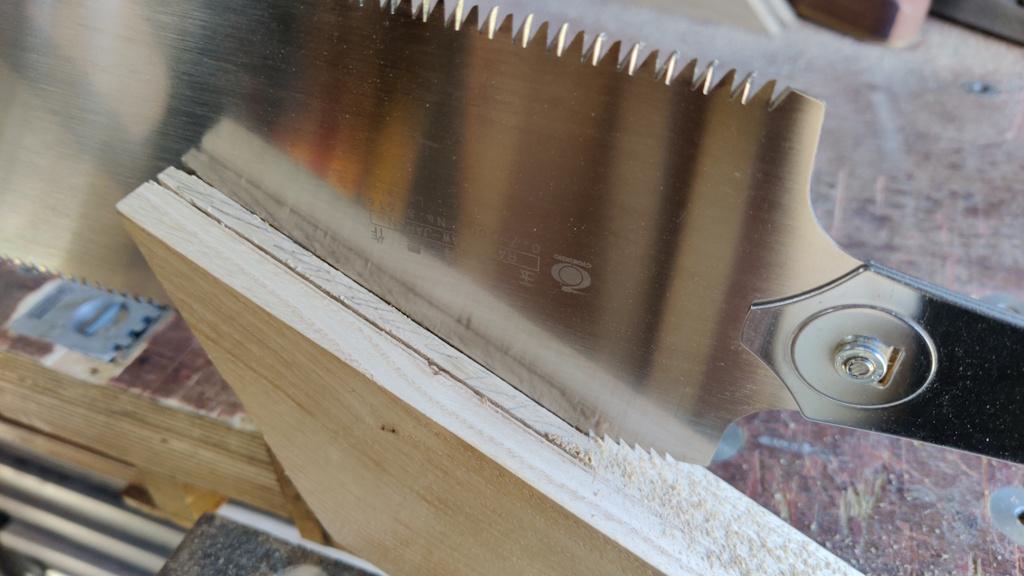
For this attempt, I decided to use my massive Ryoba, seen in this photo next to the small one and a Veritas saw for scale:
That big saw is very good at resawing type cuts (which this essentially is). Nevertheless, I stayed about a millimetre away from the lines...
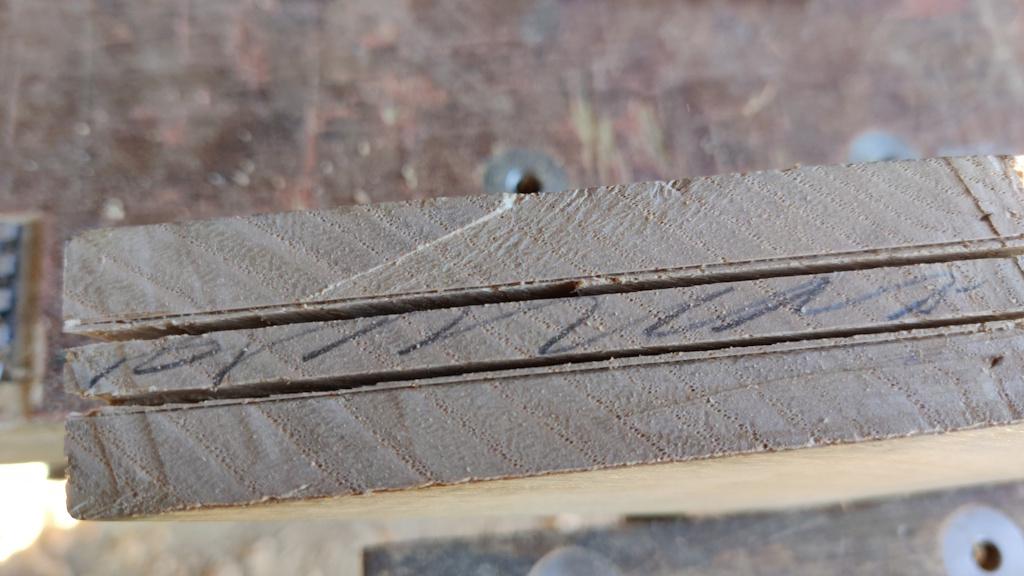
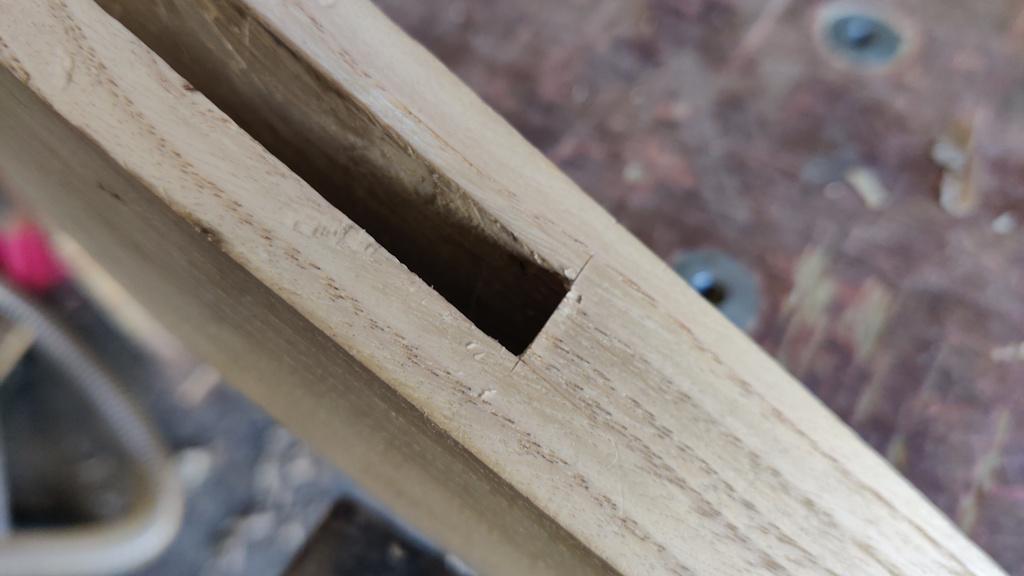
... and was glad I did as, when I was cutting the second edge (on an acute angle, so I could only see one face at a time), the saw wandered very slightly but still stayed on the correct side of the line:
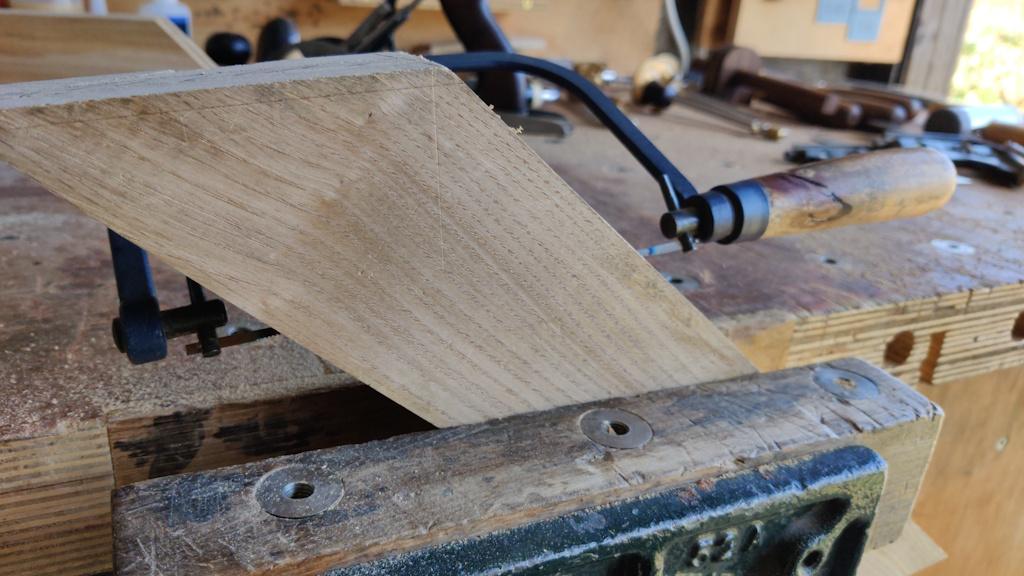
Matt Estlea's video had suggested that one option for clearing the waste was a fret saw. The blade on my fret saw isn't long enough to have much of a stroke across the angle of this cut so I thought I'd try the coping saw (which fits in the kerf thanks to having used the extra-large Ryoba):
Even with the coping saw, there really wasn't much opportunity to move the saw back and forth and, while it worked, I don't think I'll use it again. With the bulk of the waste removed, I did a lot of paring, first round the edges on one face:
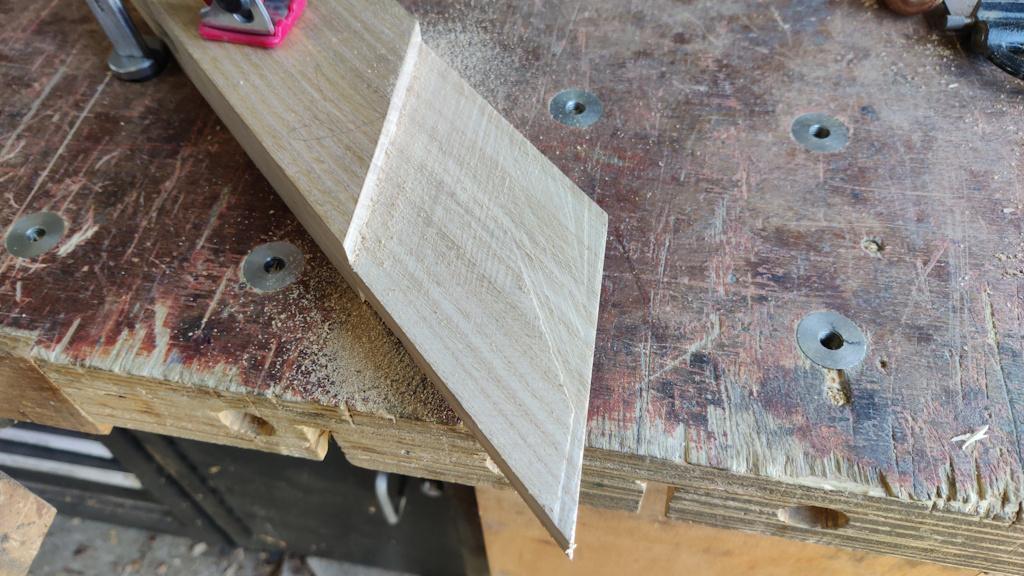
On the acute angled corner, I stayed well clear of the shoulder line (this corner got damaged on my previous attempts) and only cut to that line as one of the last jobs before assembly:
There was more paring along the edges on the other two faces:
Then more paring to remove the bit in between the edges:
The sides of the tenon were sawn off with the big Ryoba for the rip cuts and the cross-cut Dozuki for the cross-cuts:
Again I went round and chiselled around the edge:
Cleaning up between the edge chisel marks was done with the router plane where it would reach and the carriagemaker's rebate plane for the rest:
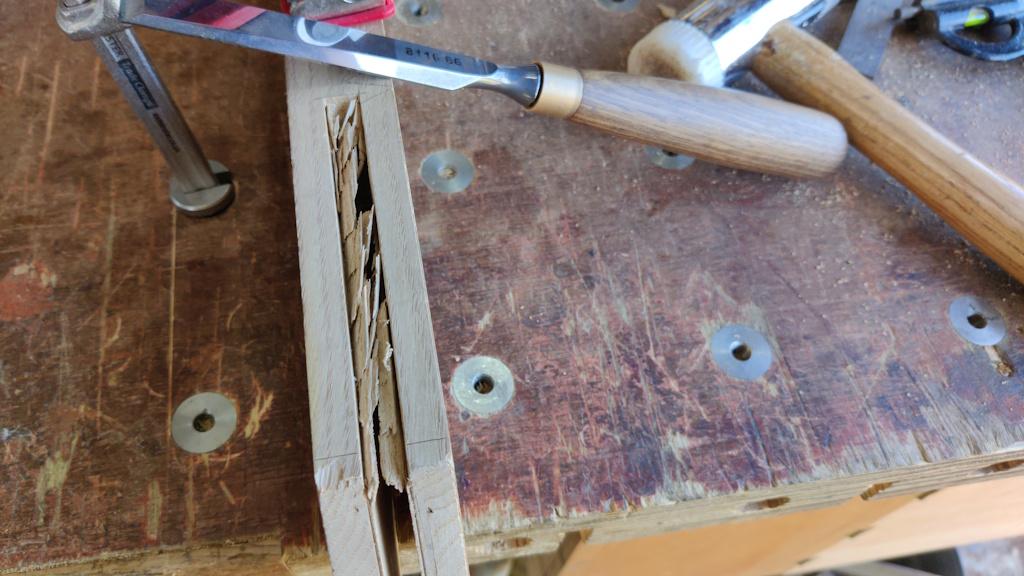
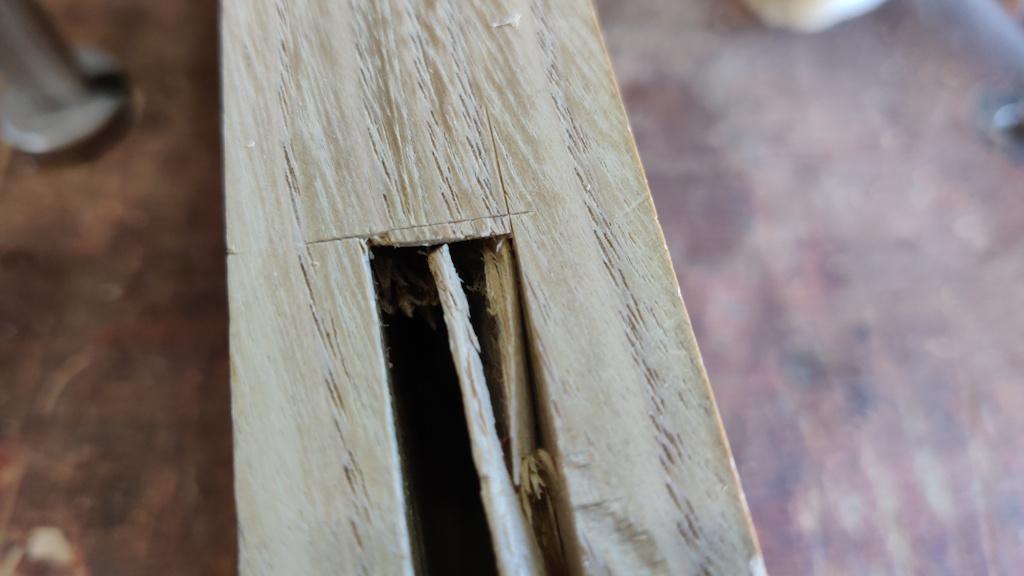
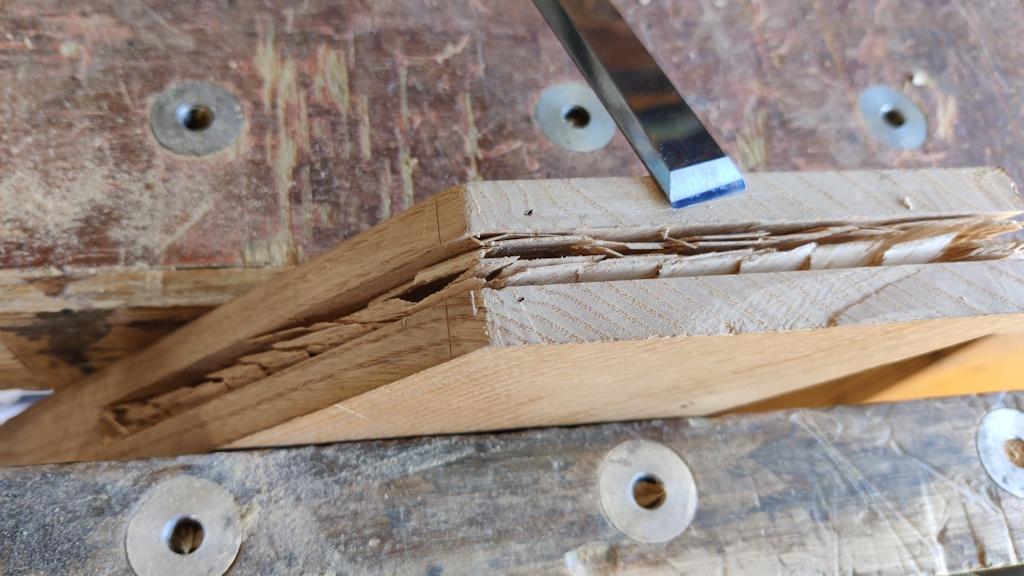
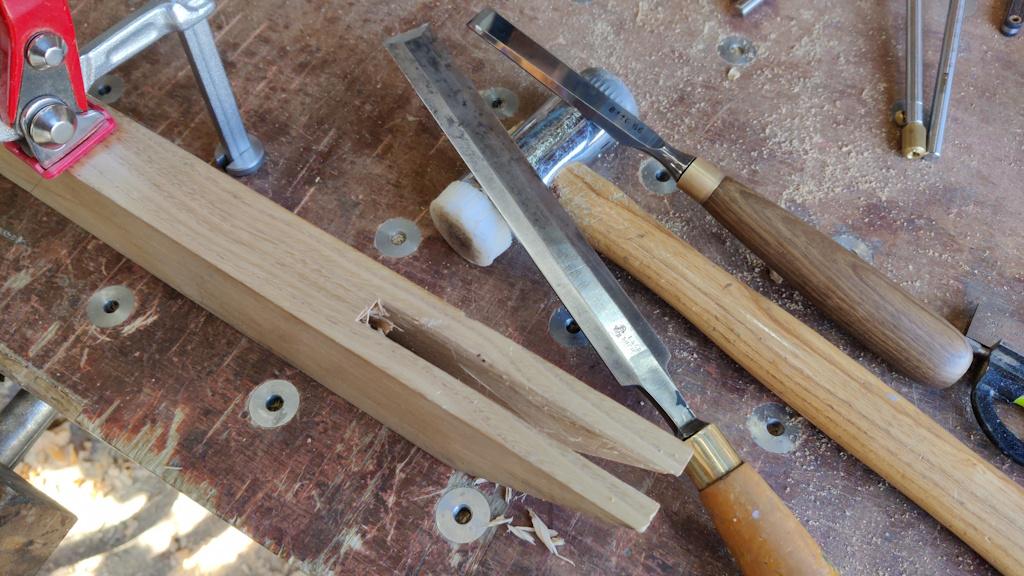
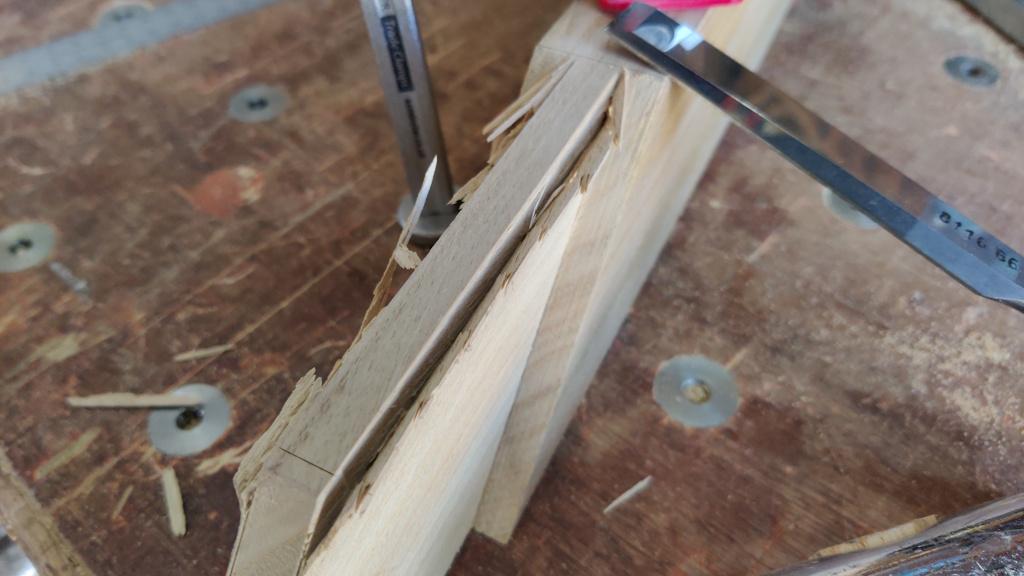
When I tried to assemble it, it went together okay, but the outer pieces moved out slightly, suggesting there was some interference:
I rubbed the tenon with a pencil and then pushed it back in. That showed a bit of smearing in the middle, so I did a bit more paring.
I kept doing that (paring either the middle bit of the tenon or the part of the socket where the pencil had rubbed across) quite a few times until it seemed to go together without too much bowing. I then cut the shoulders with a chisel as before and finally cleaned up that acute corner:
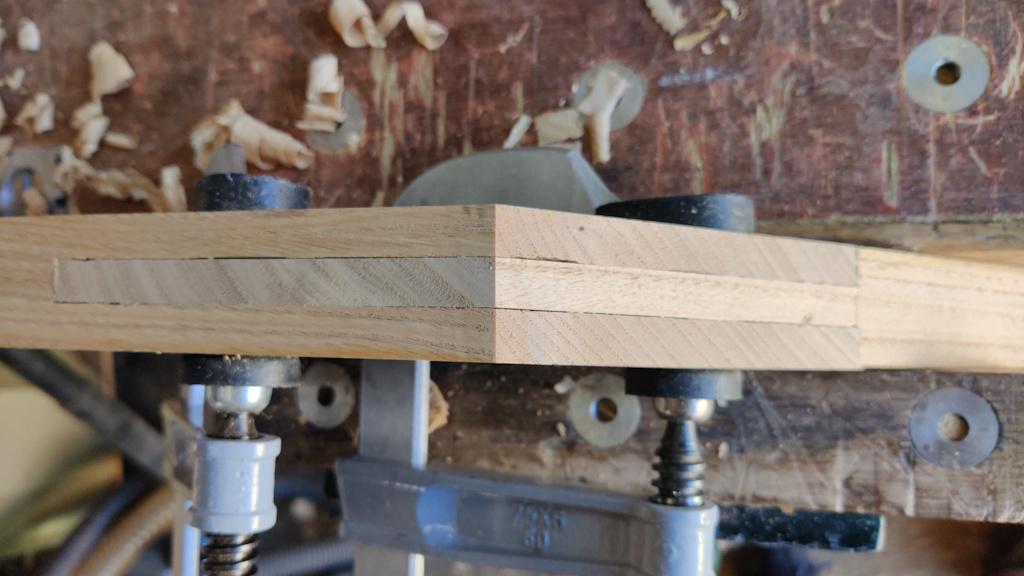
The last job was to clamp it together (again I'm not bothering with glue as this is just a test piece) and plane the two edges:
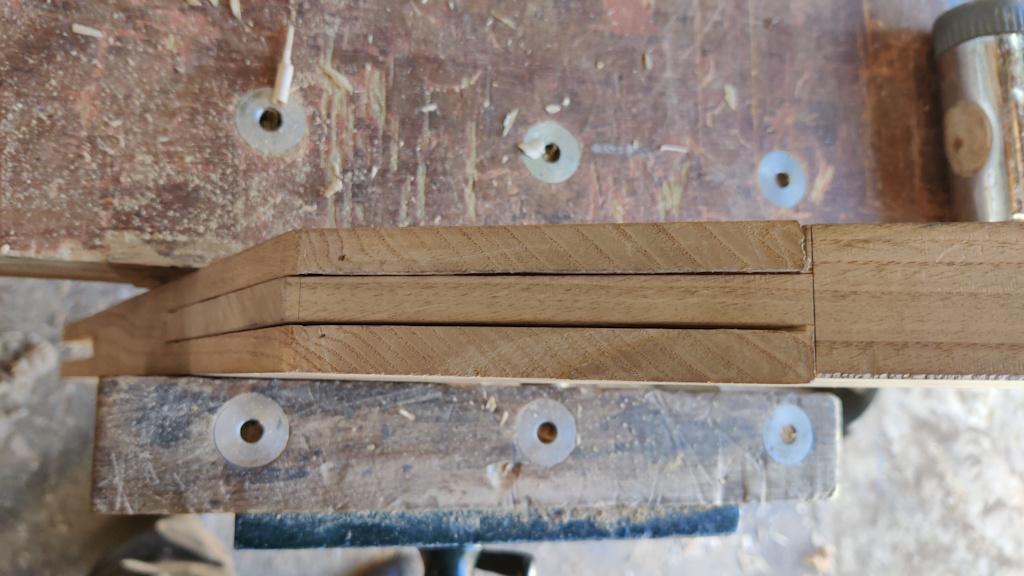
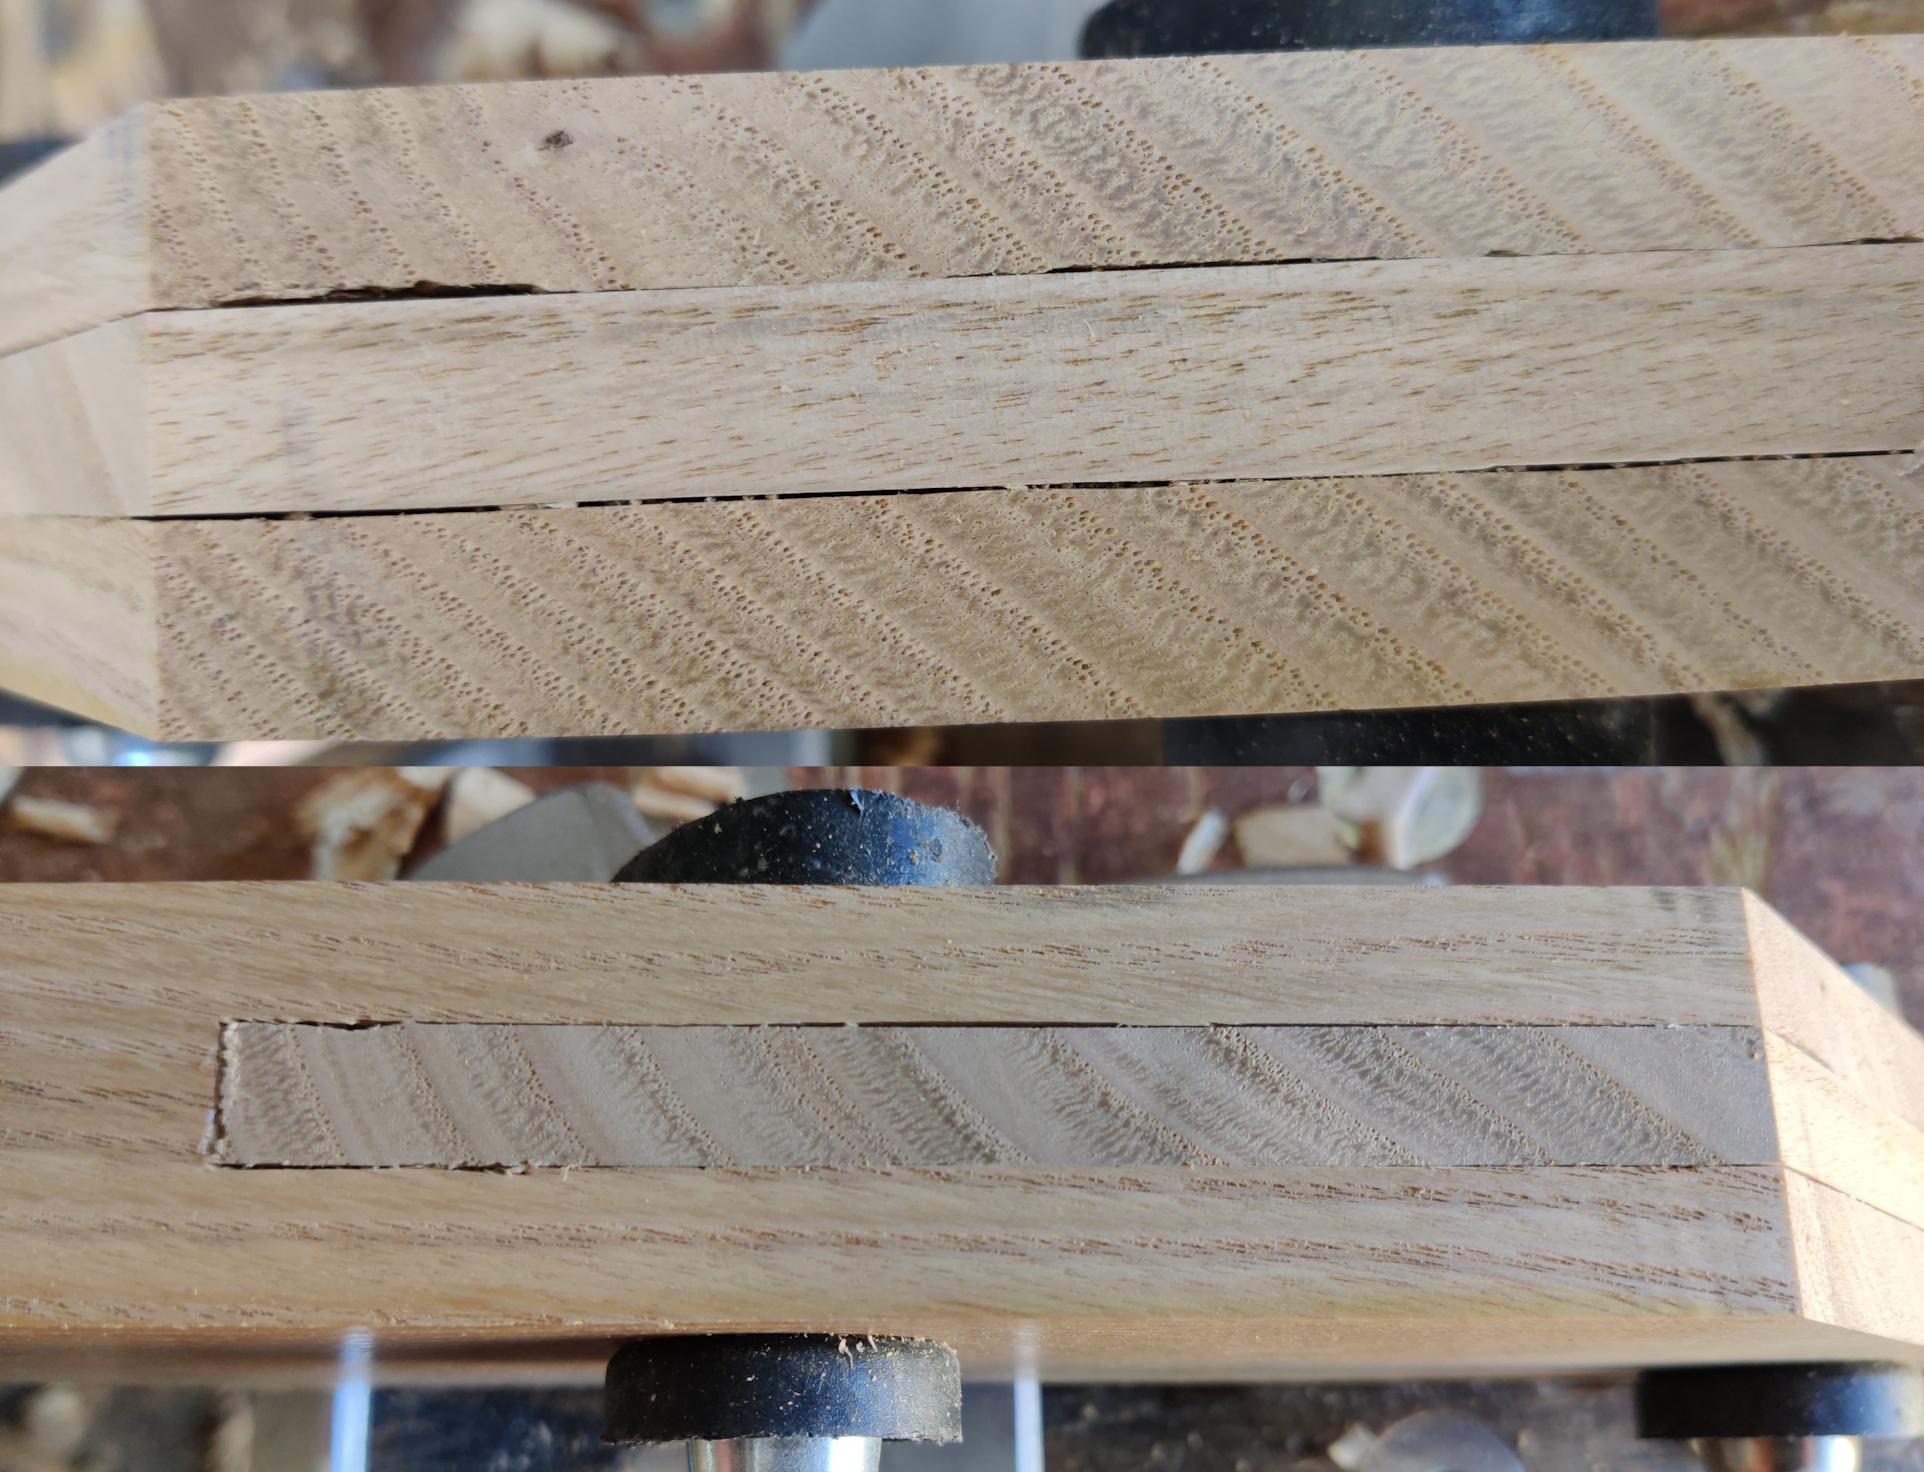
This is a composite image showing the two faces, which still have quite sizeable gaps unfortunately.
I think I'll have a pause from bridle joints and do some more stock preparation (hand planing mostly) as I've used two of my edge boards up as practice pieces and now need to replace them. I need to have a serious think about what I need to do differently to cut a good bridle joint (or give up and do some other sort of joinery!). I don't think I've made my life easy by doing my first bridle joints at an angle and with a very large (too big for the stretch of the router plane) surface area.
Page 9 of 38
This website is free and ad-free, but costs me money to run. If you'd like to support this site, please consider making a small donation or sending me a message to let me know what you liked or found useful.

 Return to main project page