Garden Table Build Process
Page 8 of 38
Posted 29th March 2025
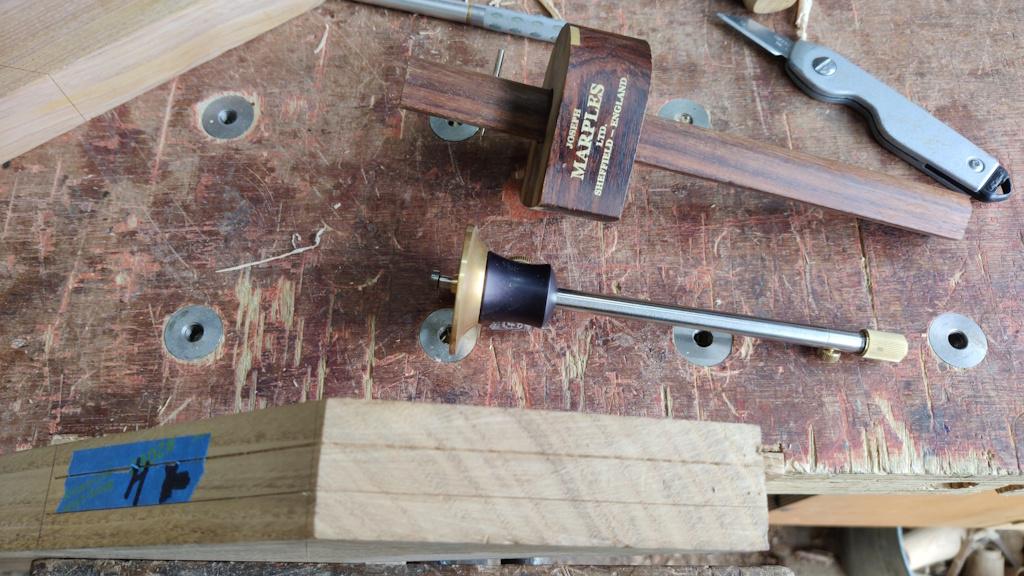
As I said, those pieces are waste, but I decided to use the other end of them for another practice (marking them out properly this time). In general, the marking proceeded much as before, but this time I used two separate gauges rather than a mortice gauge:
I prefer that method as it's a bit more controlled to mark with a single pin at a time. I've got a wheel type mortice gauge that makes it quite easy to use one wheel at a time (vs the pin one that makes it just about impossible), but I still prefer having two separate gauges I think.
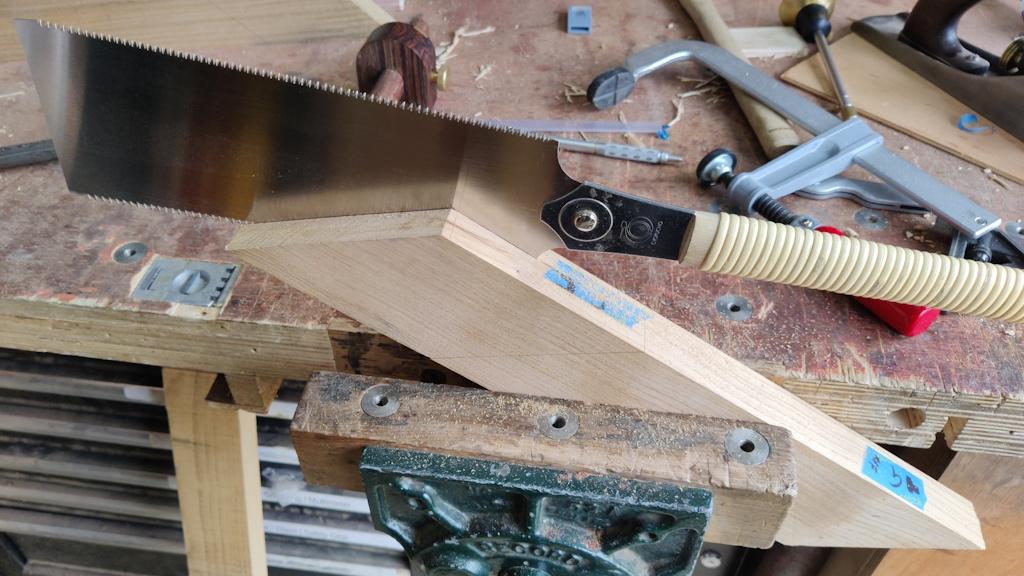
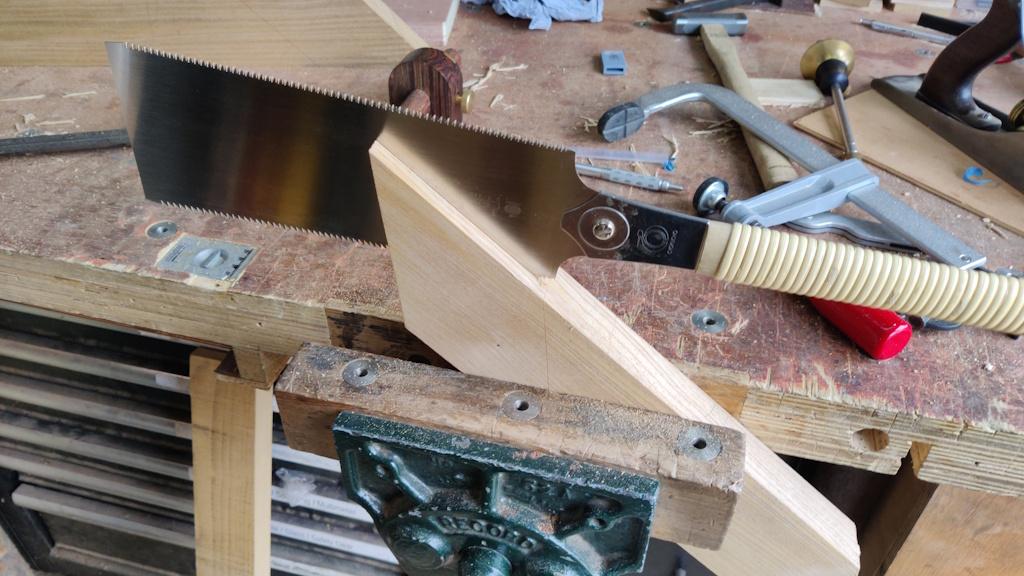
This time, I decided to try doing the rip cuts with a Ryoba, starting (with the socket board) by following the line carefully on two edges...
... then flipping it over to follow the line on the third edge.
I then flipped it over again and sawed parallel with the base line to take out the middle bit. Sawing with the Ryoba seemed to work well, but I'm definitely not ruling out going back the bandsaw on later ones. With the rip cuts done, I used the 8 mm bevel-edge chisel to form a small flat section near the bottom of the socket and an awl was used to make a dimple in the middle of that flat bit:
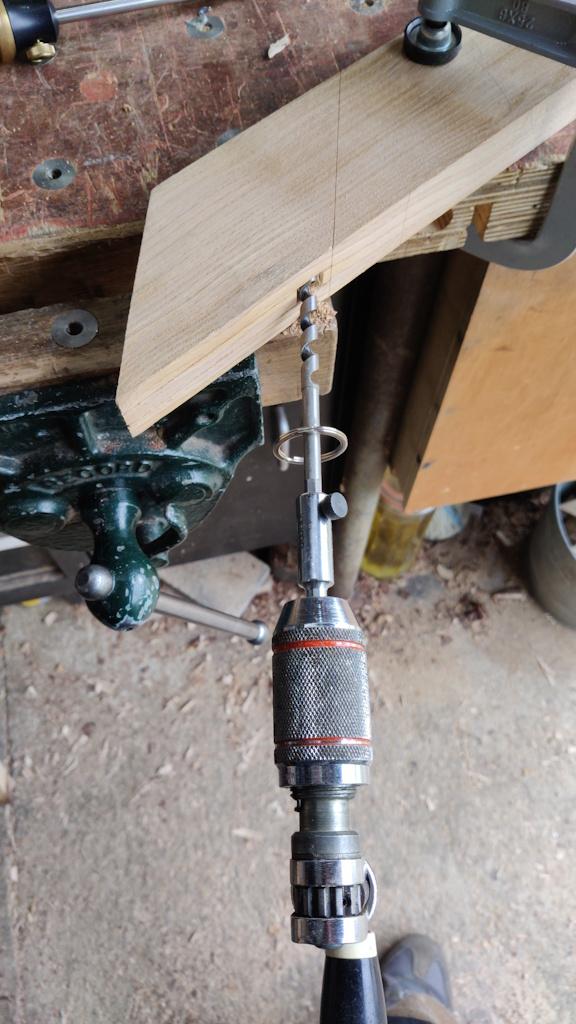
I could then use a tip suggested in Charles Hayward's Woodwork Joints: drilling along the baseline with (in this case) an 8 mm drill bit:
That very quickly removed the bulk of the waste:
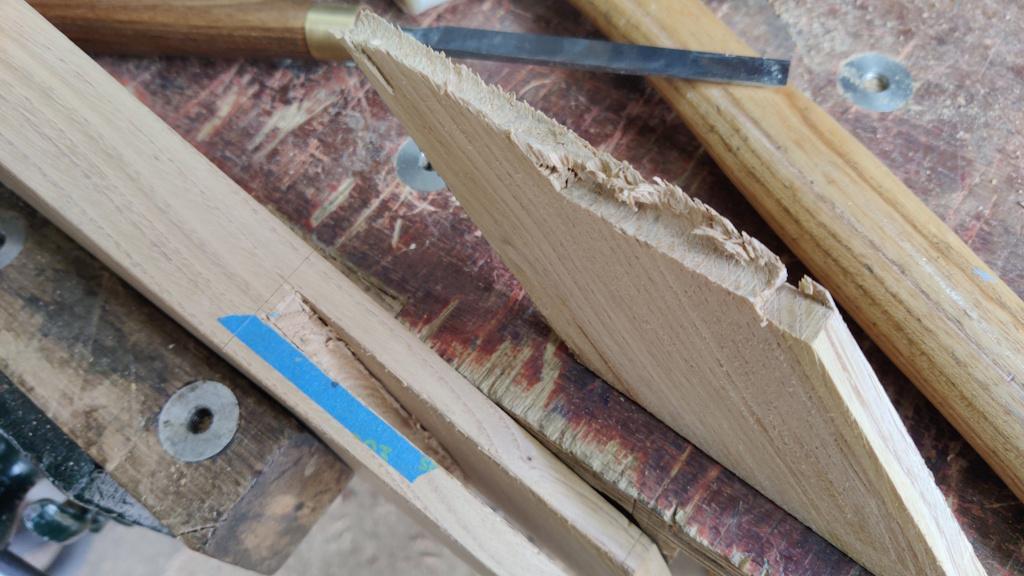
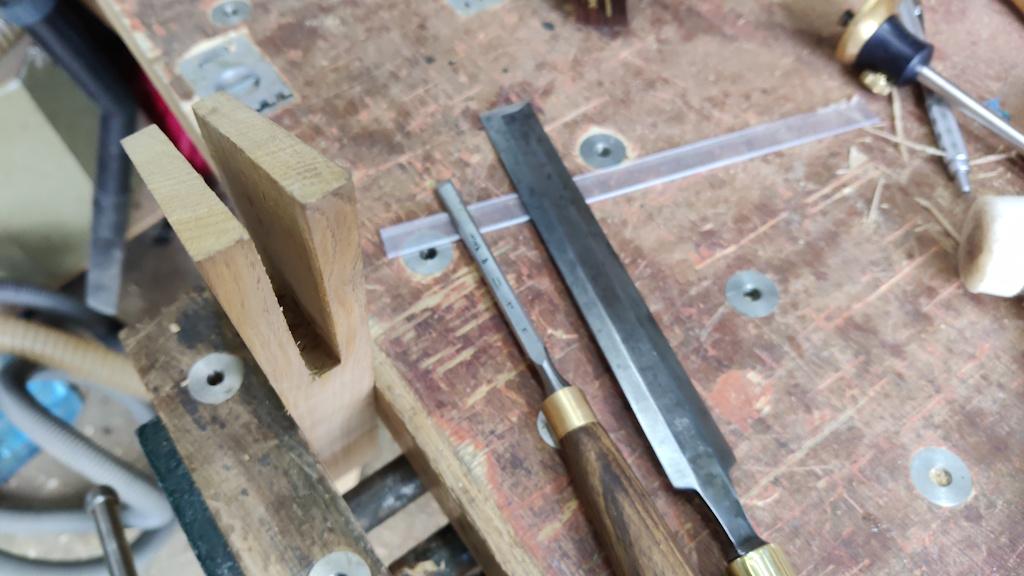
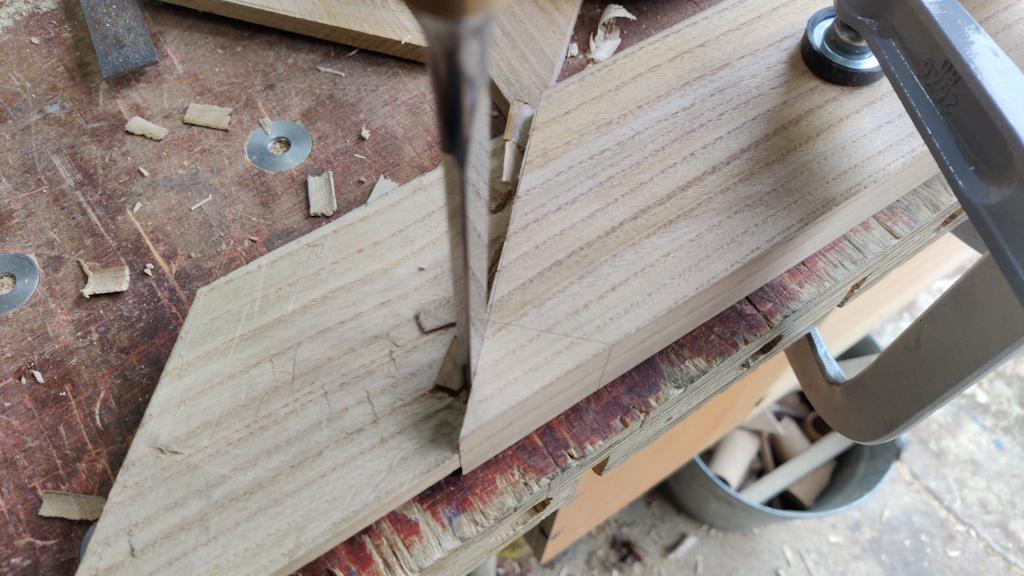
From there, it was quite a long-winded exercise of trimming the bottom of the socket and paring the sides:
I found it very difficult to have any confidence that I was doing a good job of paring, but I felt moderately (but unjustifiably!) confident eventually.
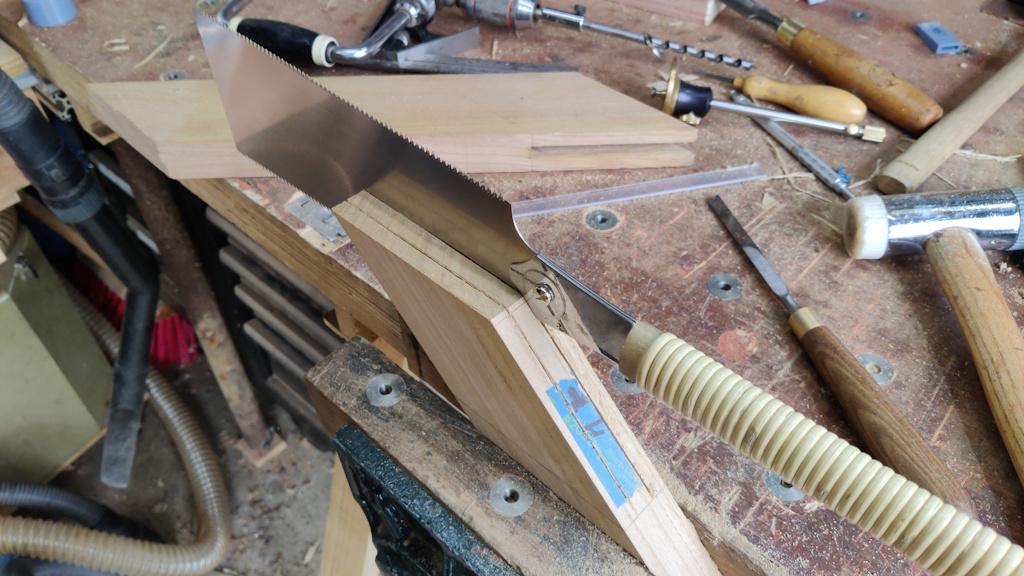
Once the socket was complete-ish, I moved on to the tenon piece, again using the Ryoba for the rip cuts:
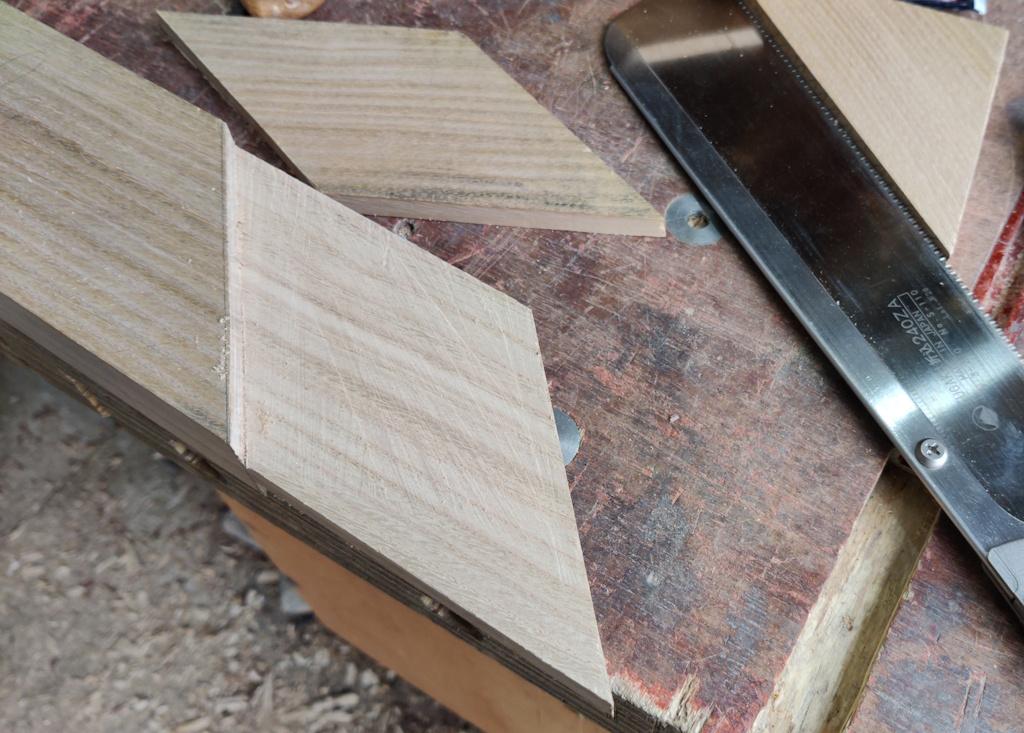
The cross-cut Dozuki dealt with the shoulder cuts, again leaving some room for chiselling along the knife line later:
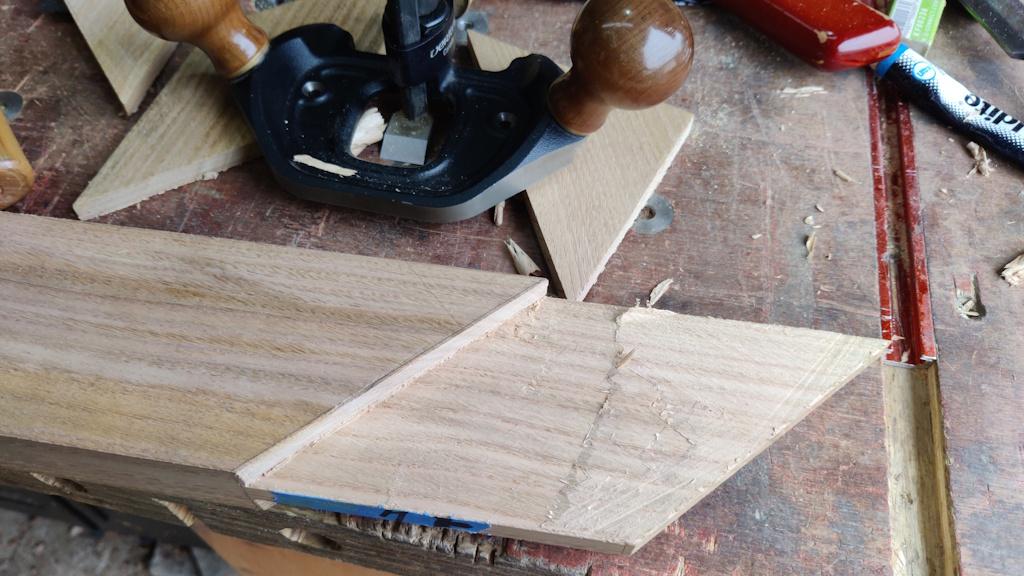
To clean up the tenon, I started by using a router plane with a 19 mm cutter this time, working out as far as I could while still keeping the base on the face of the plank:
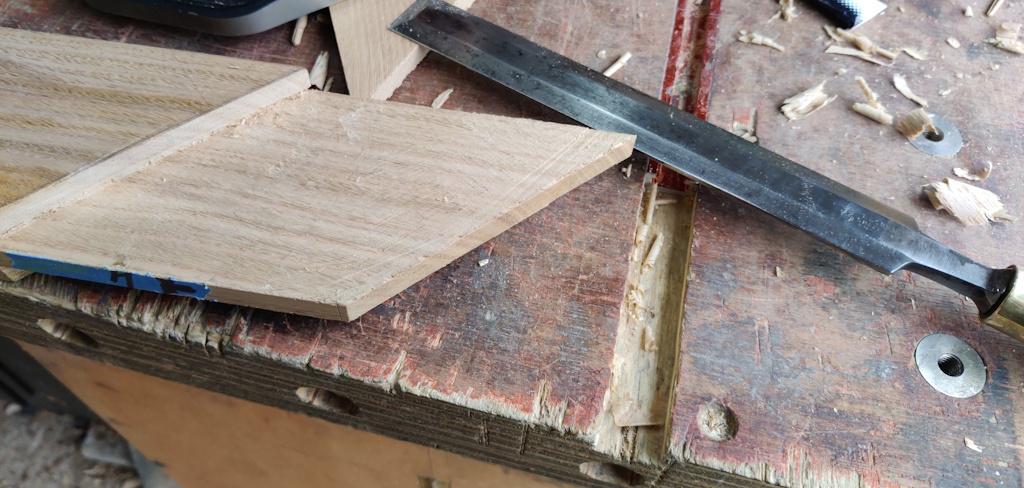
I'd pondered using one of the other planks next to the end to provide a bigger surface, or to put a bigger base board on the bottom of the router, but I decided in the end to just leave it there; partly because the end of the tenon is unsupported underneath and I wasn't convinced the router would work that well without packing material under the end. Instead, I used the paring chisel to clean the end up as carefully as I could:
I could then do a quick test fit:
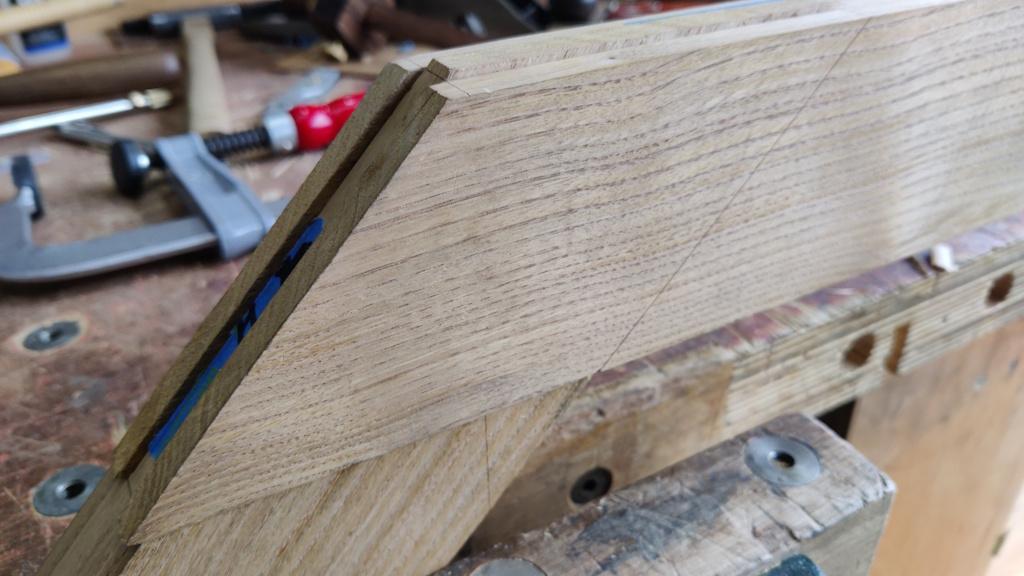
The scribe lines don't meet as a result of not having chopped the shoulders yet, so that was the next job (one that I really enjoy):
After chopping the shoulders it was looking okay (if a bit gappy around the actual joint, which you can't see in this photo):
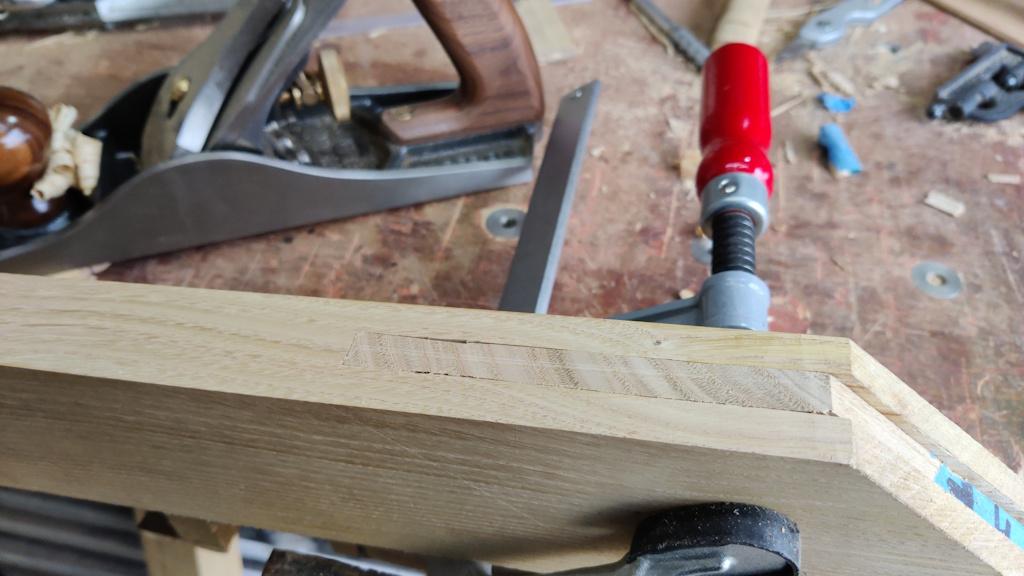
I didn't want to glue this joint together as it's just a scrap piece now, but for an approximation of how it would be in the end I thought I'd stick a clamp (and later a second one) across the face to simulate the glued joint. I could then use my Clifton #4½ to bring the ends of the boards down to meet the faces:
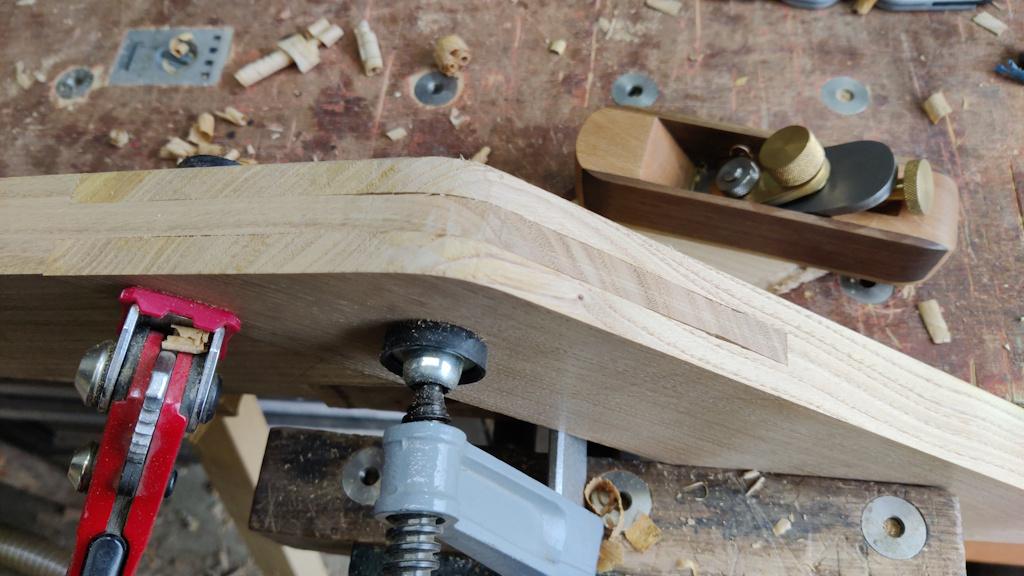
After doing the second face, I used my home-made block plane to do a gently round-over on the corner:
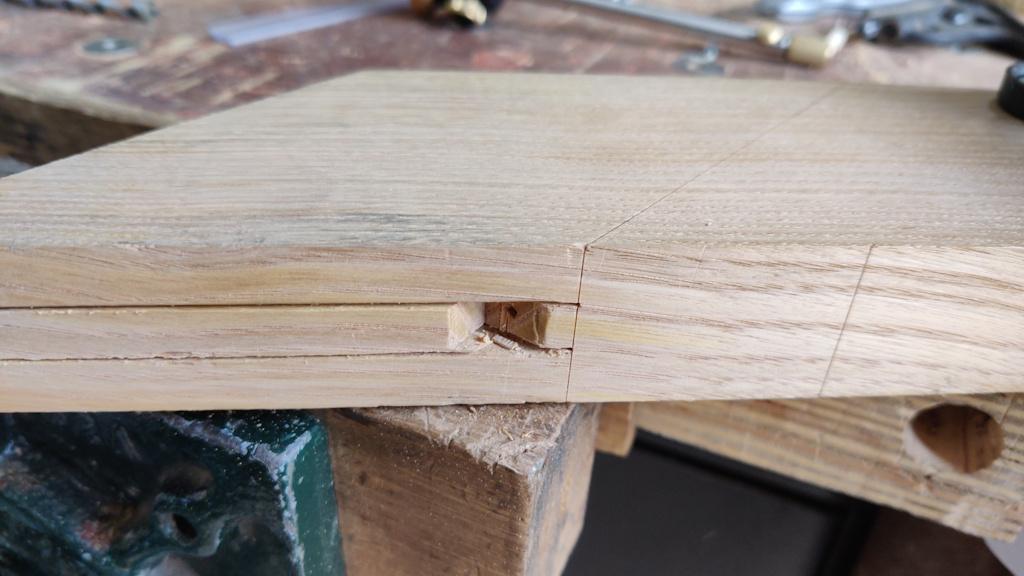
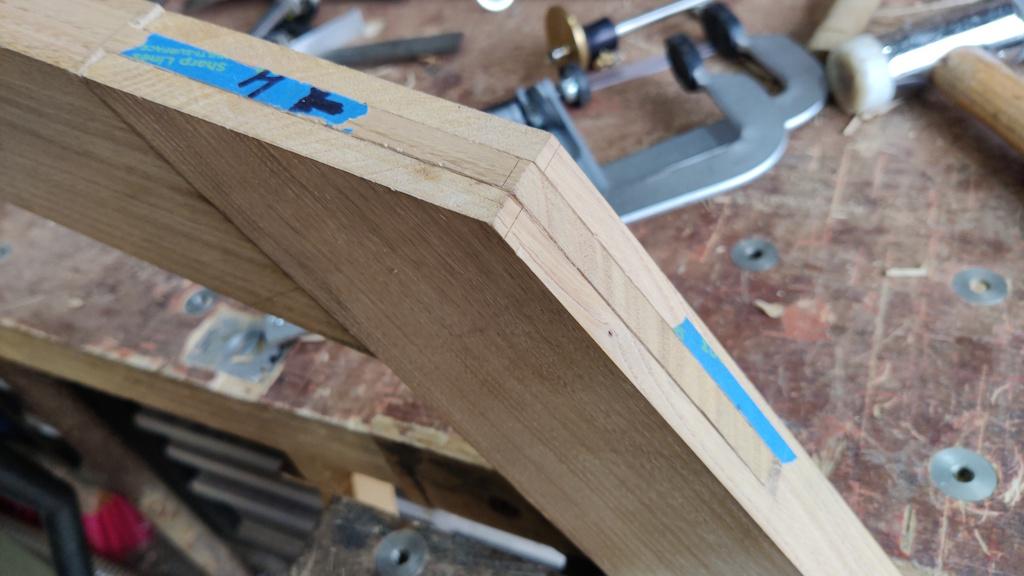
With the sides planed, you can now see the gaps around the joint. It's a lot better than the first one I tried, but it's far from perfect. The tenon seems nice and straight, but I didn't do a great job of the socket.
Tomorrow I'll have another go (probably using the same boards) to see if I can do a better job of cutting that socket, but I might also do some more reading of Charles Hayward et al for any handy tips!
Page 8 of 38
This website is free and ad-free, but costs me money to run. If you'd like to support this site, please consider making a small donation or sending me a message to let me know what you liked or found useful.

 Return to main project page