Shelf Unit Build Process
Page 11 of 11
Posted 23rd November 2024
It has been more than six months since the last time I posted on this thread. The day after the last post, my other half (for whom I've made this shelf unit) had a really bad car accident and ended up in hospital for several weeks. She has mostly recovered now thankfully, although it'll a while yet before she's back to full strength.
When we left this last, I'd finished making the body of the shelf unit and the wonky piece of plywood (the "banana") for the back had been handed over to Carolyn to paint or otherwise finish. Unsurprisingly, that wasn't a top priority for her while in hospital.
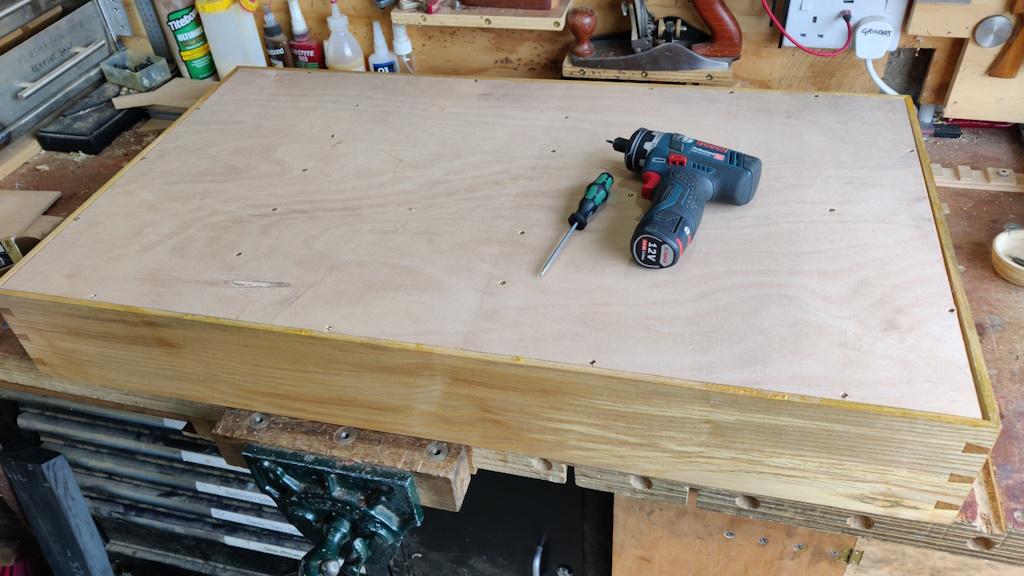
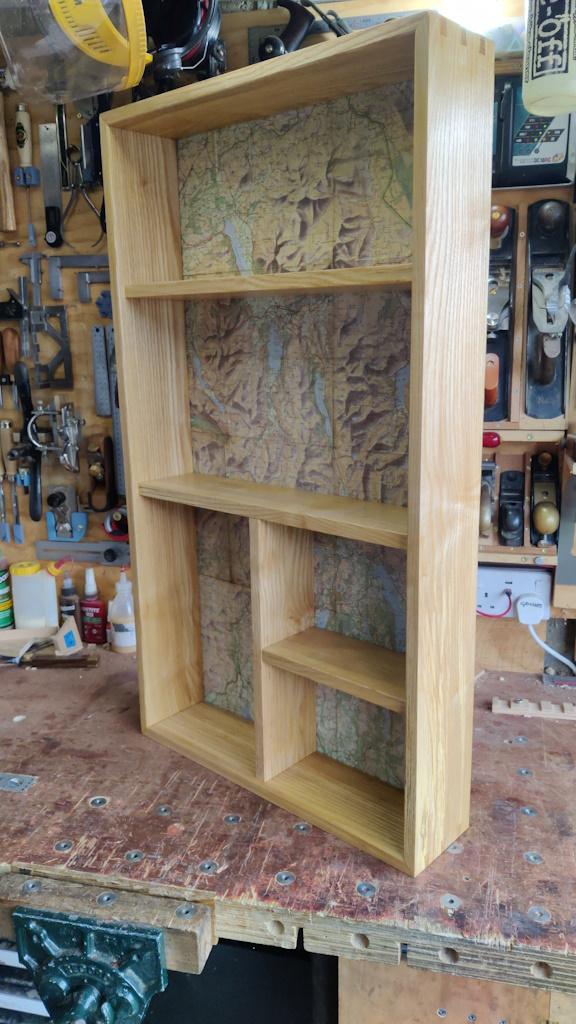
Anyway having mostly recovered, she has now decorated the plywood (using a nice old relief map of the Lake District, of which we have several). The first job (after oiling the frame with Mike's Magic Mix) was to fix it in place, which I did with rather a lot of 3 mm Torx-head screws in order to persuade the banana to become flat.
This is the unit sitting on the bench:
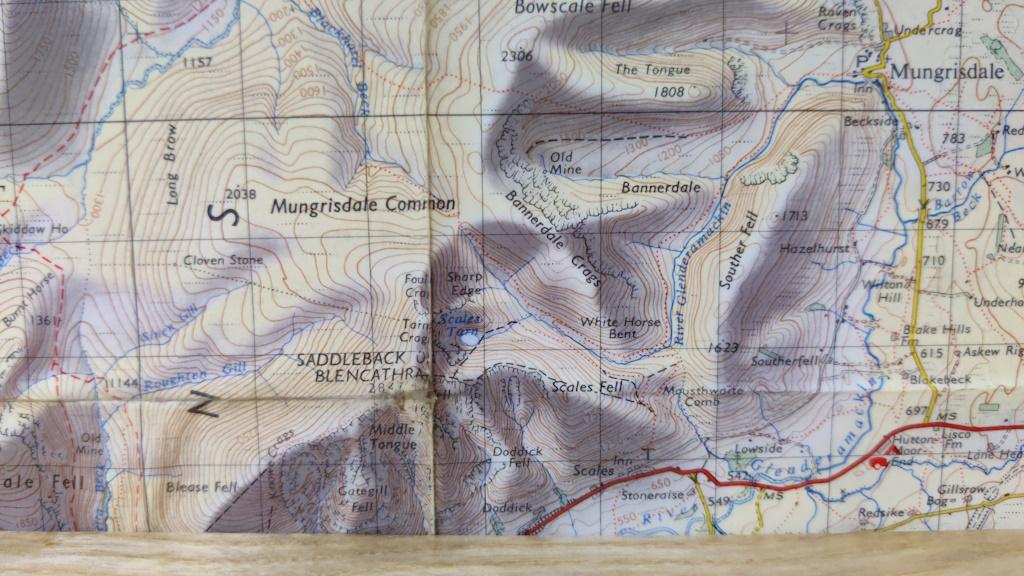
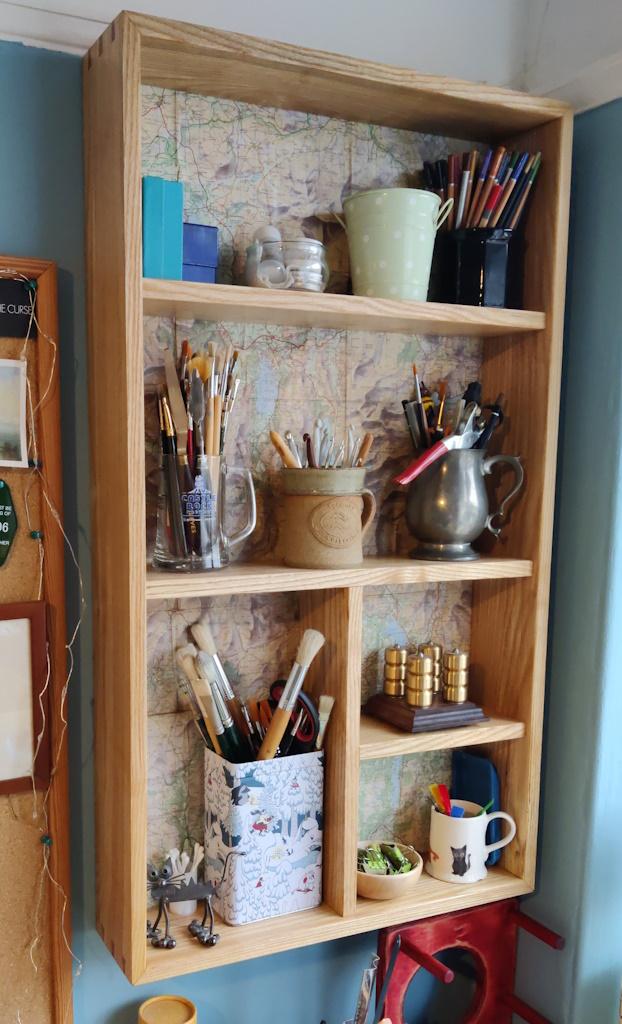
Our favourite mountain pops up just above the top shelf:
The last thing to do was sort out mounting it on the wall. I was nervous about drilling two holes in the wall and getting them perfectly level to the ground, so I decided to design some adjustability into the brackets. When I actually came to mount the shelf unit on the wall, it was spot on level without any adjustment, but the adjustability certainly won't hurt (and might be useful if the unit ever moves and I'm less successful with drilling).
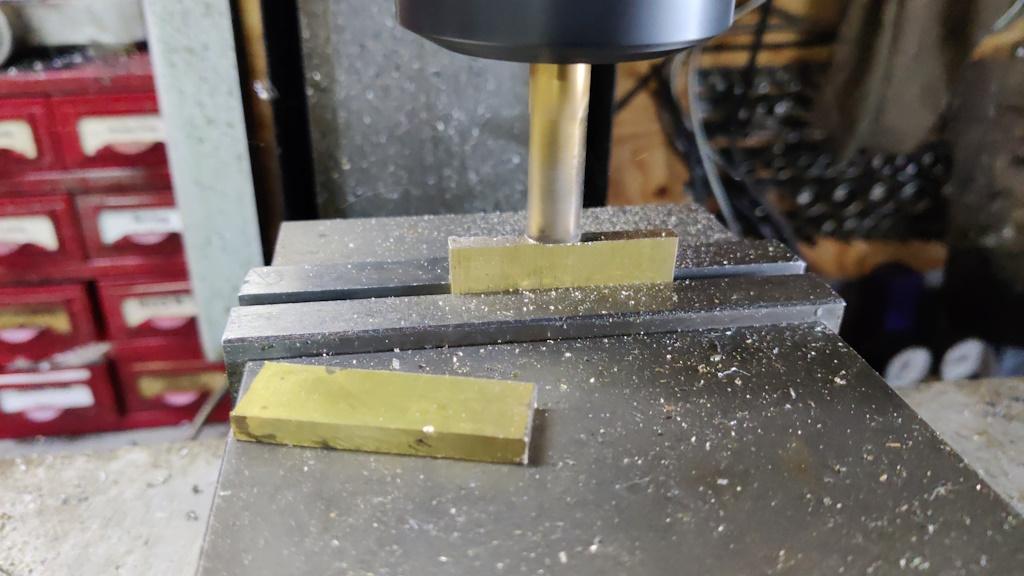
I started this piece of brass, from which I cut a couple of small slices:
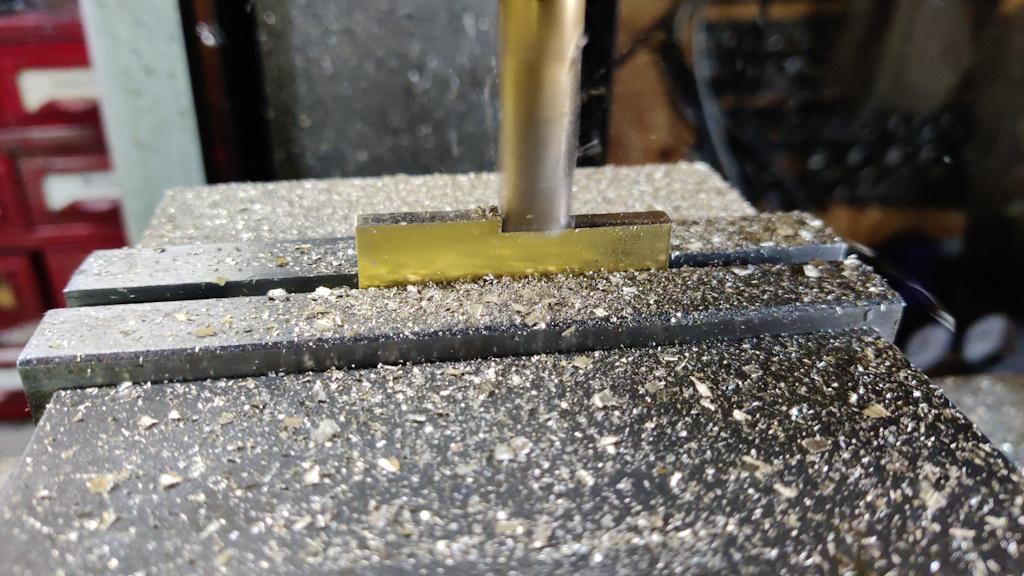
The first job was to bring the bandsaw-cut sides parallel with one another, so I mounted each piece in turn on thin parallels in the milling machine vice and skimmed the first edge with a 12 mm end mill...
... then flipped them over and did the second side:
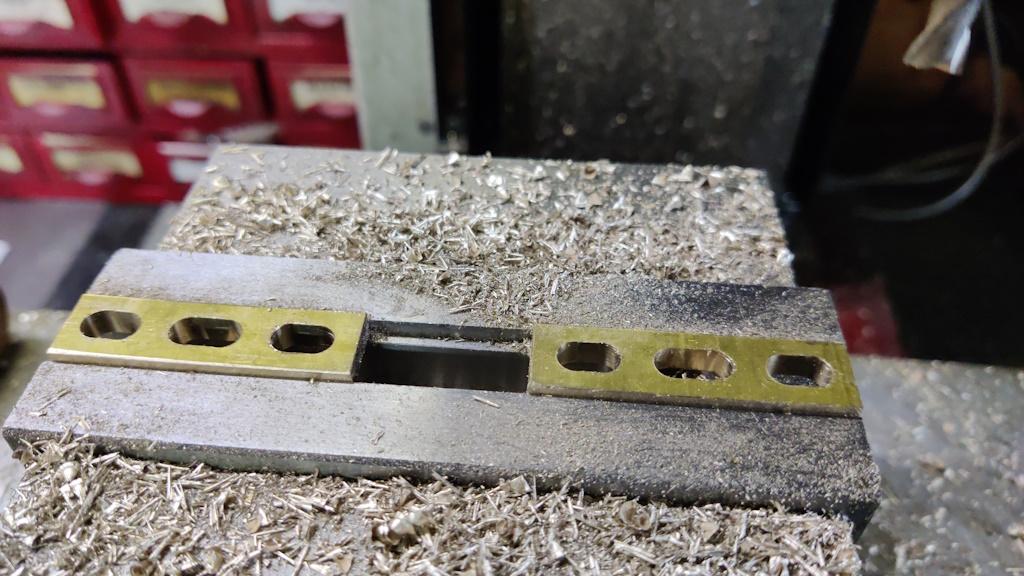
The parts then got mounted together in the milling vice and I used a 6 mm slot drill to make three short slots:
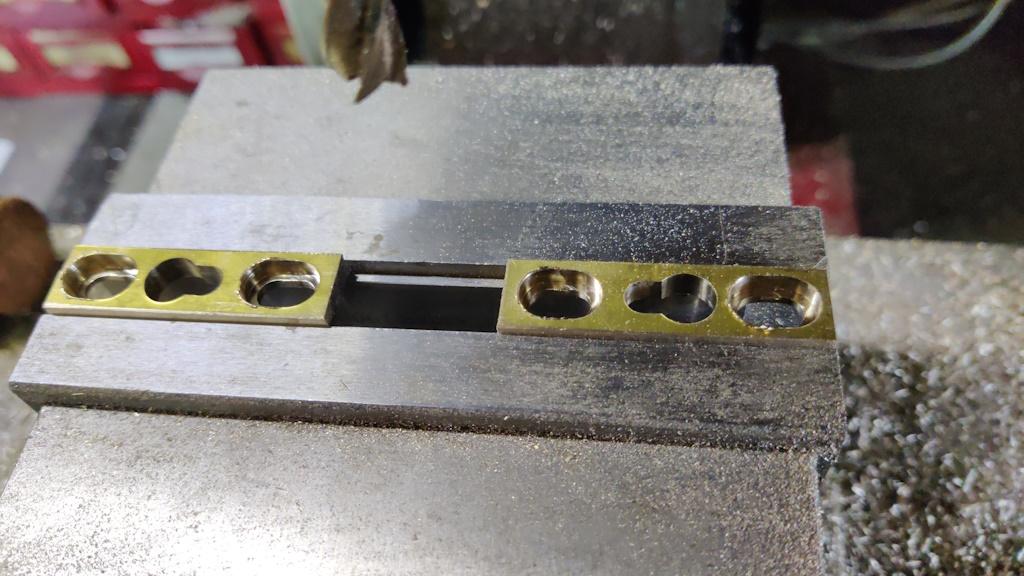
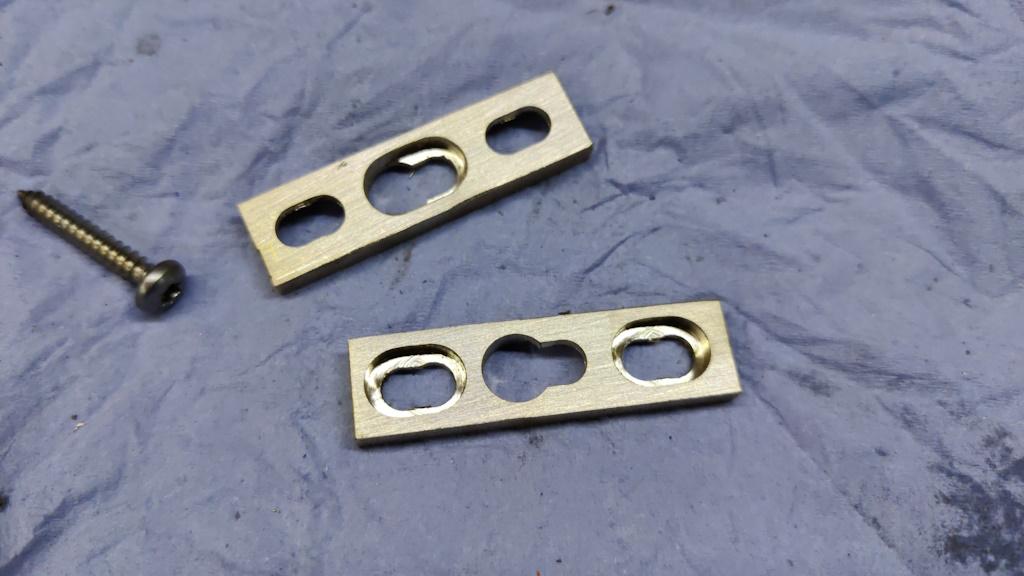
A 9 mm end mill turned the middle slot into a keyhole shape and also made some relief (3 mm deep in the 5 mm thick part around the other two slots):
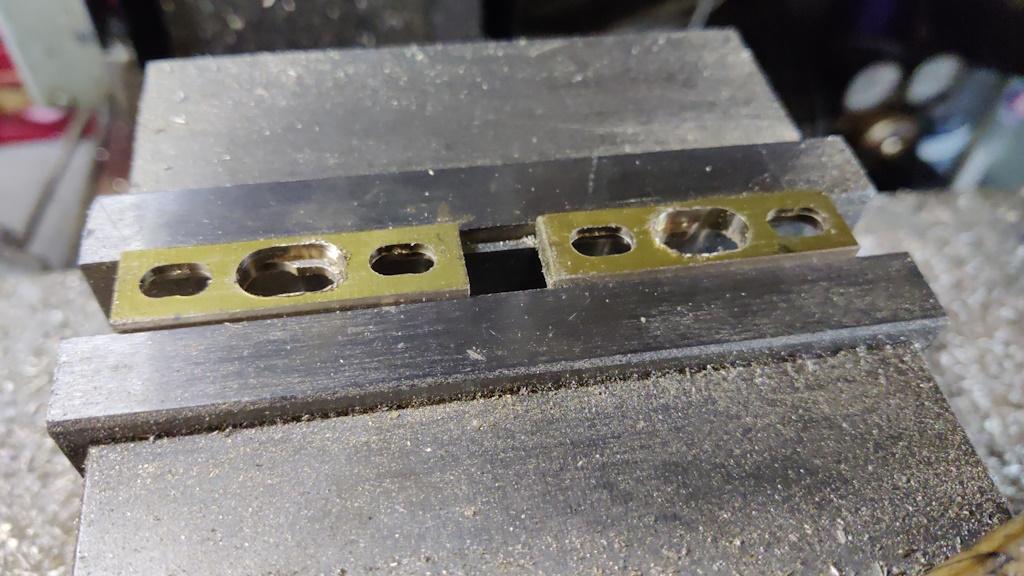
The brackets were then flipped over and some relief was milled in the central slot:
After a quick deburr, I gave the parts a quick rub on some 240 grit wet-and-dry paper to clean the faces up a bit and then I was ready to call them done.
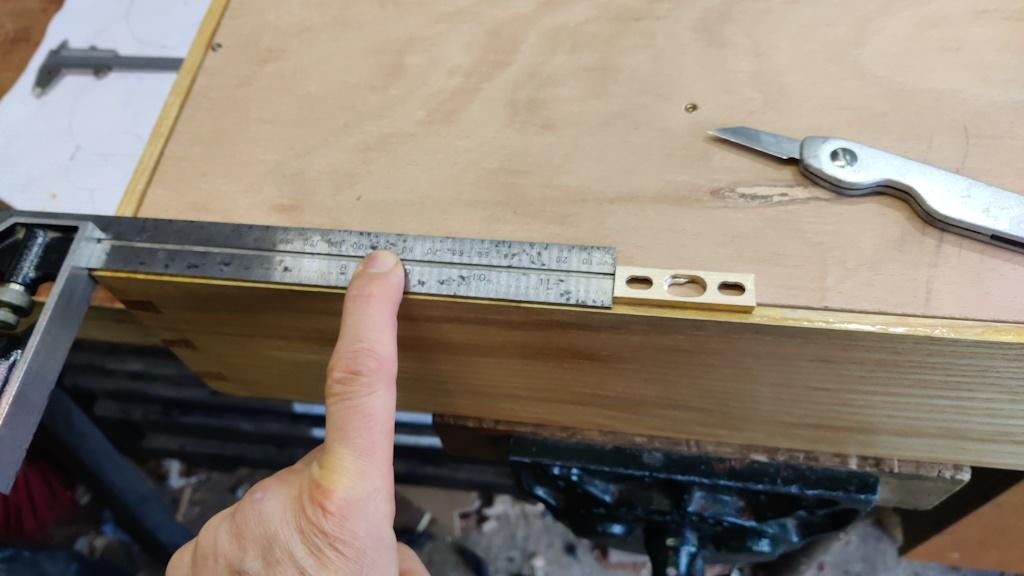
The brackets are 12 mm wide and 5 mm deep; the shelf unit sides are 16 mm wide with a 5 mm deep rebate for the back. I thus needed the brackets to be 2 mm from the outside edge so that they were central in the side pieces or there would be a risk of them being visible. The first task was to pick a location for the brackets and mark the top and bottom locations:
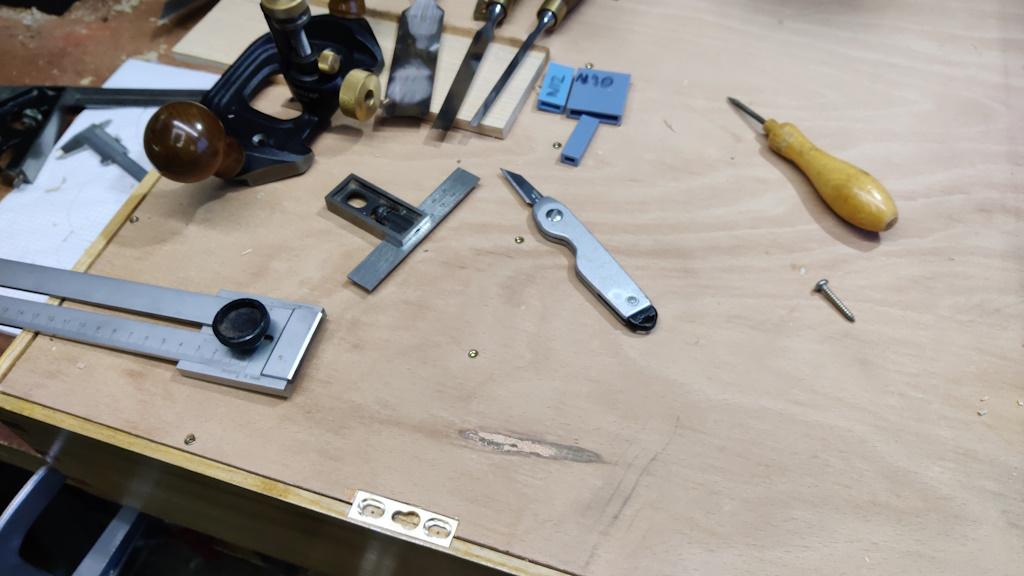
I used my edge distance gauge thing (set to 2 mm), a knife, a square and some chisels to hog out most of the material, then went over the bottom surface with a router plane to get it nice and level:
With the bracket fitted tightly in the correct location, I could mark the centre location of the mounting slots:
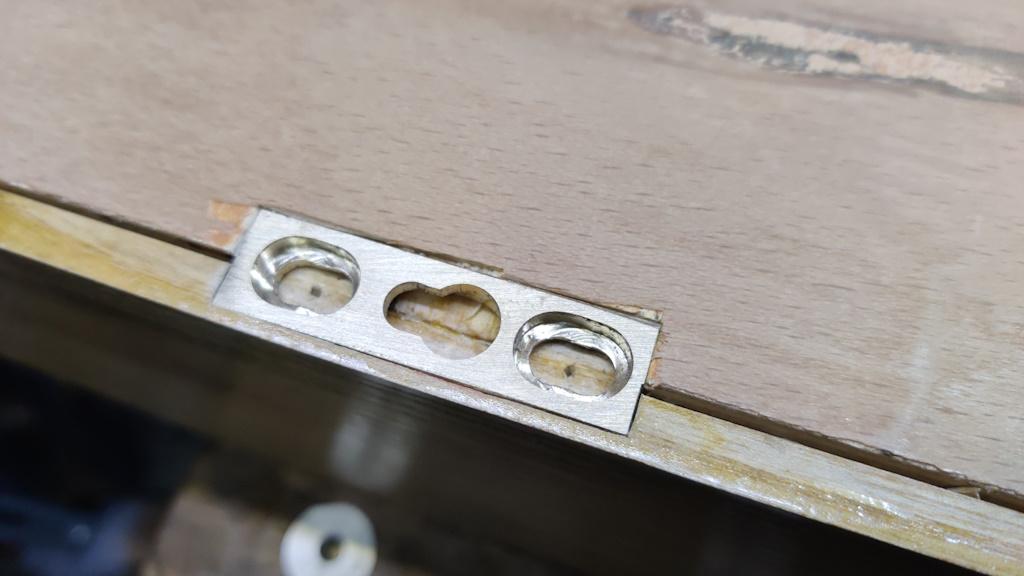
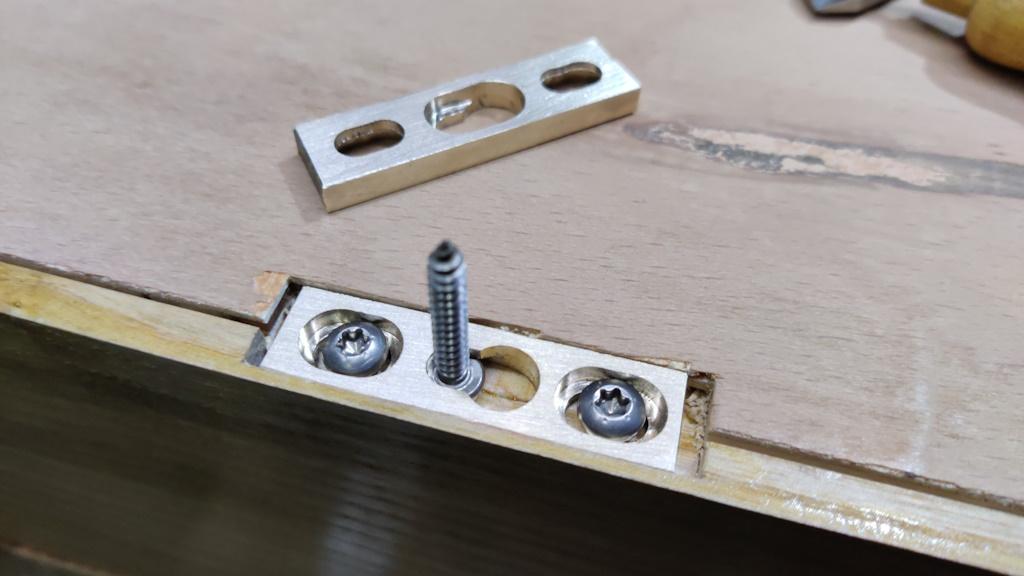
I then extended the slot by a couple of millimetres above and below the bracket so that the entire bracket can be slid up and down as required, but the centre of the slot should be in the "nominal" position. This photo shows one of the brackets fitted, with a screw (not the ones I used for mounting: they were a bit longer) in the keyhole slot:
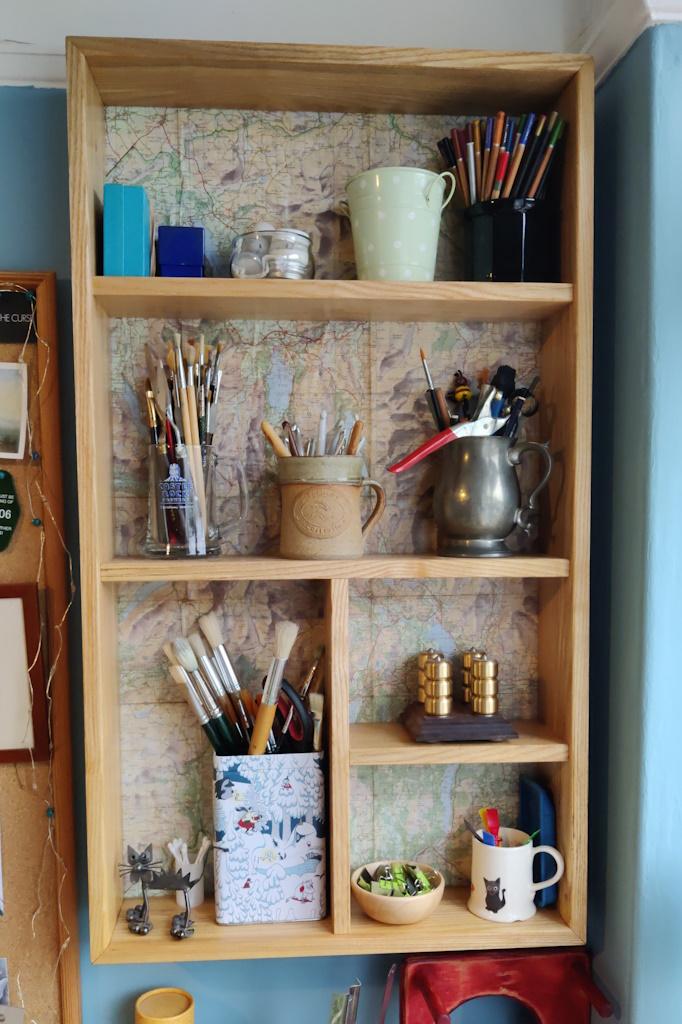
With that, done, I could call the shelf unit finished and get it mounted on the wall. Once it was mounted, Carolyn loaded it up with the stuff she wants to keep on it and it was ready for a couple of final photos:
Page 11 of 11
This website is free and ad-free, but costs me money to run. If you'd like to support this site, please consider making a small donation or sending me a message to let me know what you liked or found useful.

 Return to main project page