Shelf Unit Build Process
Page 10 of 11
Posted 12th May 2024
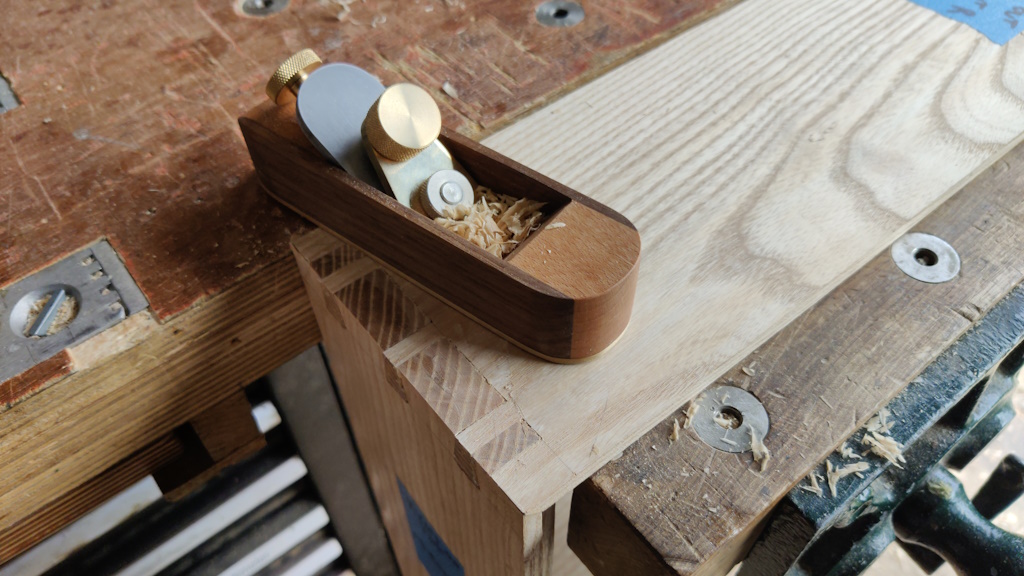
The unit came out of the clamps this morning and it was time for a tidy-up. I started by using my recently made block plane (which has a low bevel angle for planing end grain) to get the bulk of the sticking-out bits down (not that there was much to remove):
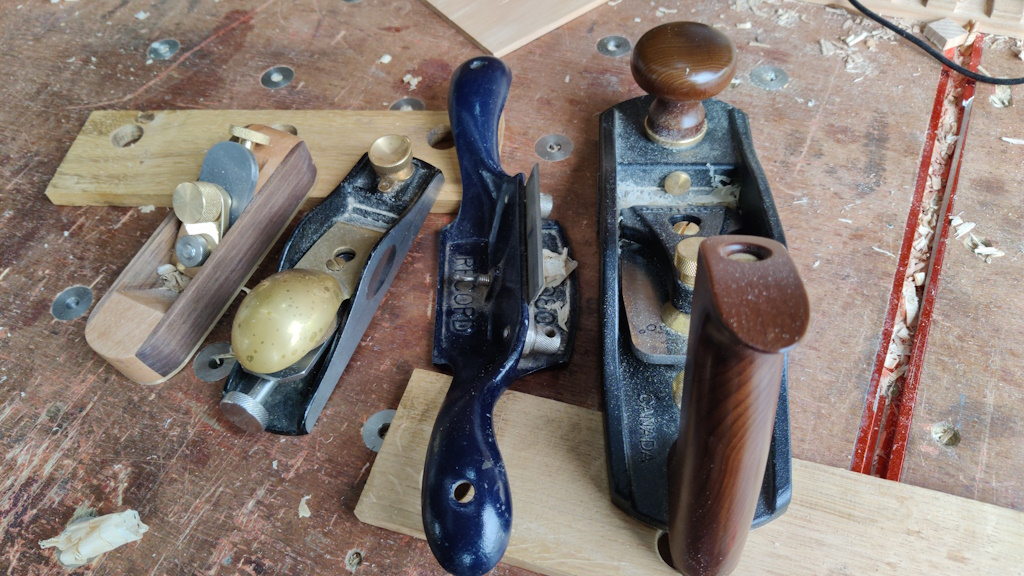
I then used this lot to finish off the outside faces:
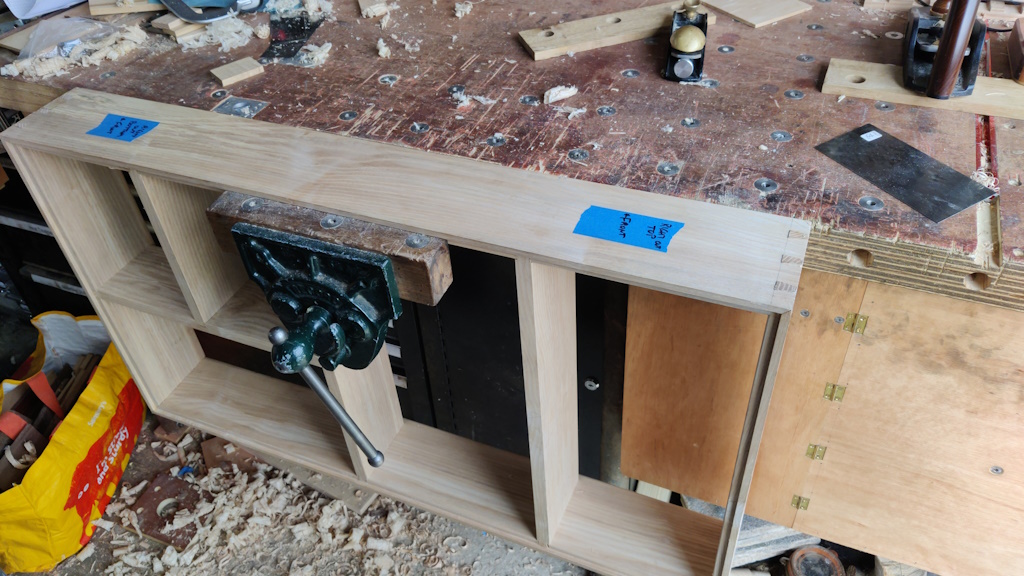
Thanks to blind luck careful planning (ahem), the gaps between the shelves were just big enough for the vice jaw to go through, so it was quite easy to clamp the unit to the bench when sorting the faces out:
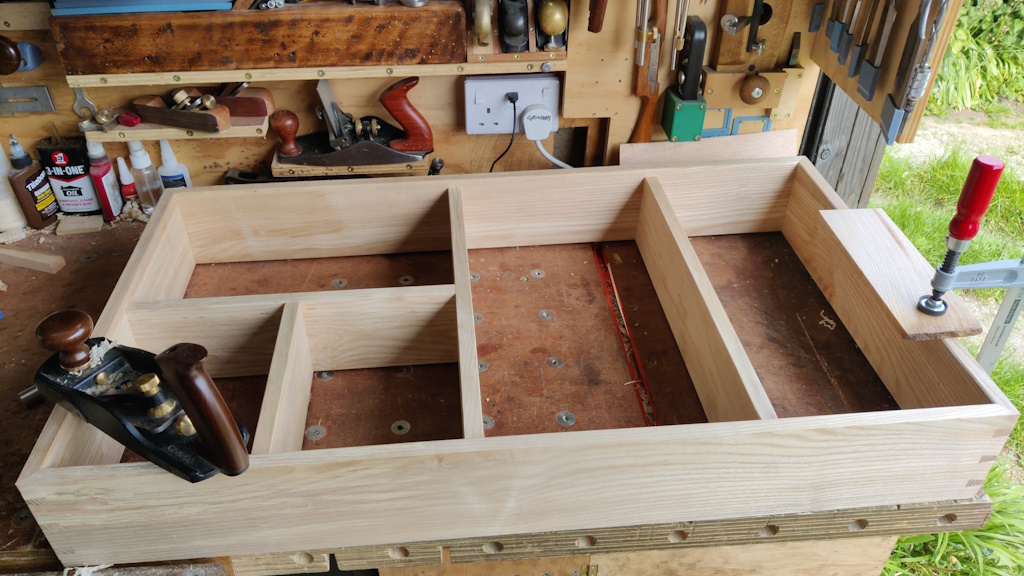
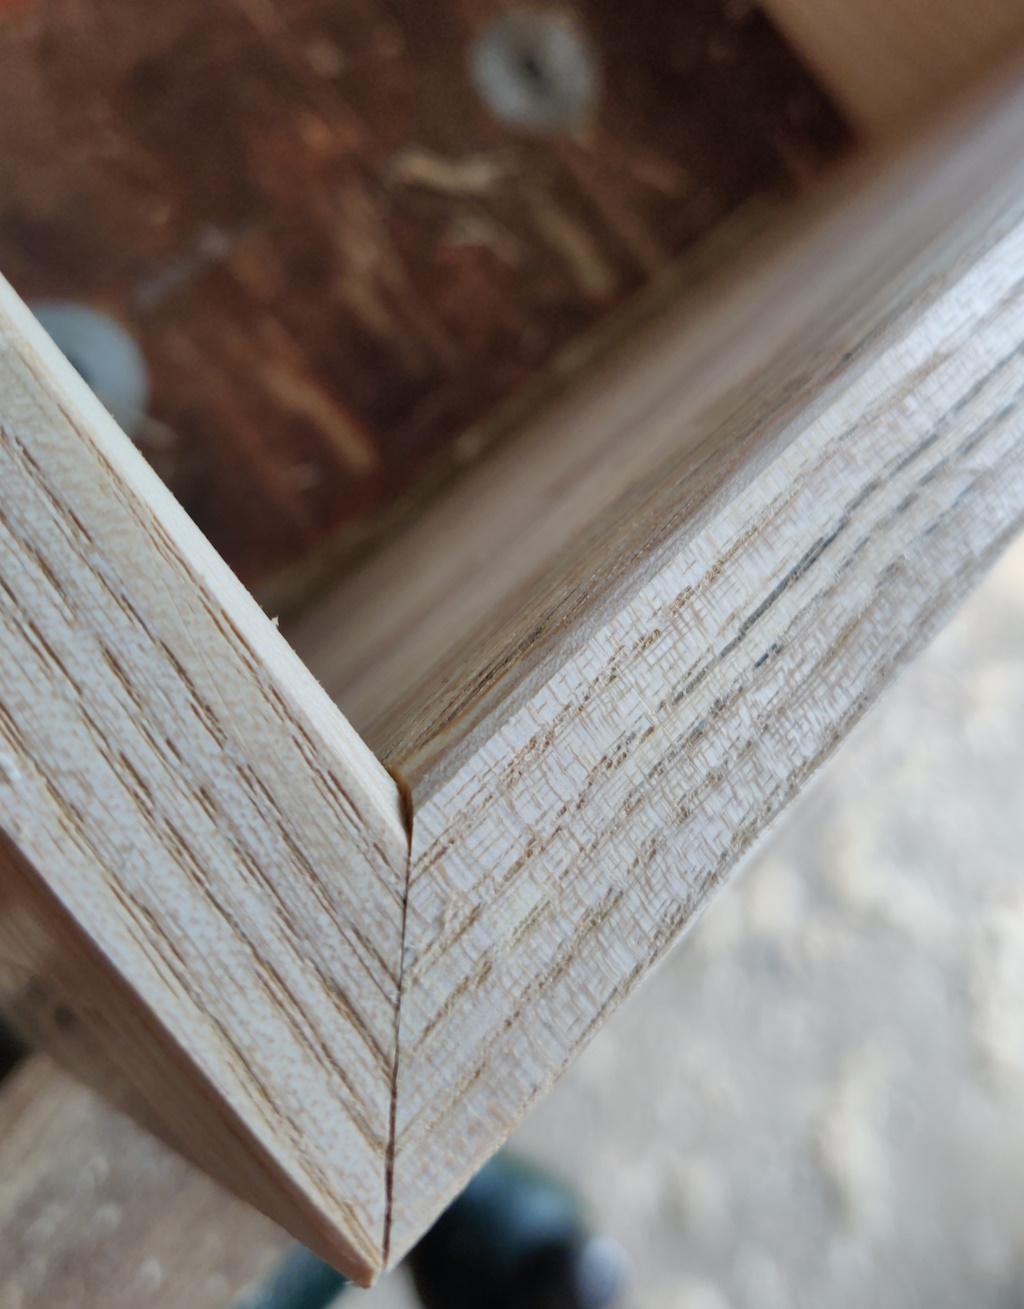
Once the faces were done, I plonked it down on the bench and planed the faces with a smoothing plane and added a light chamfer to break the sharp corners with the Quangsheng block plane:
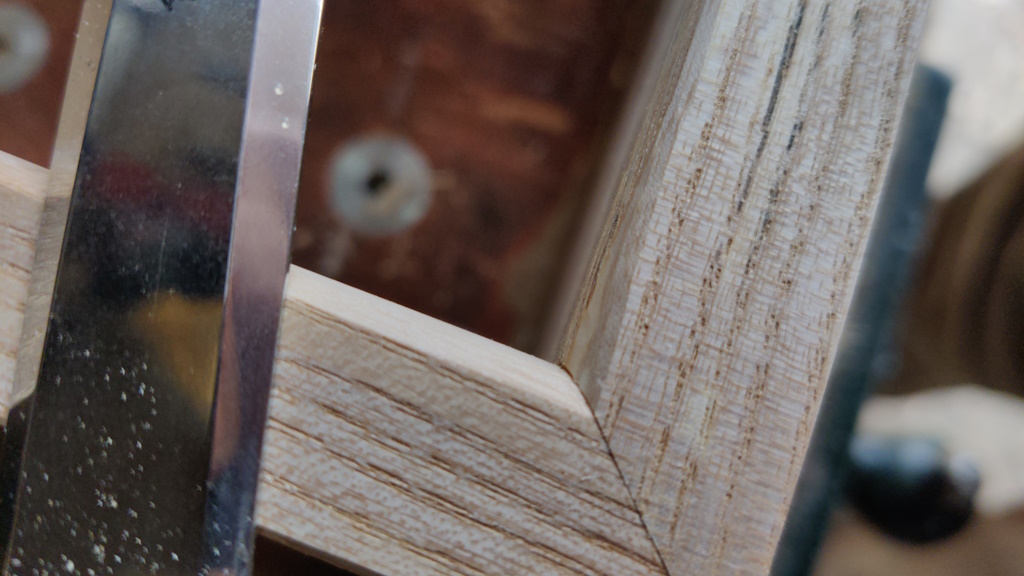
The last detail to deal with was the internal round-overs. These were just done by eye, so of course they didn't quite line up:
A few seconds work with a chisel resulted in:
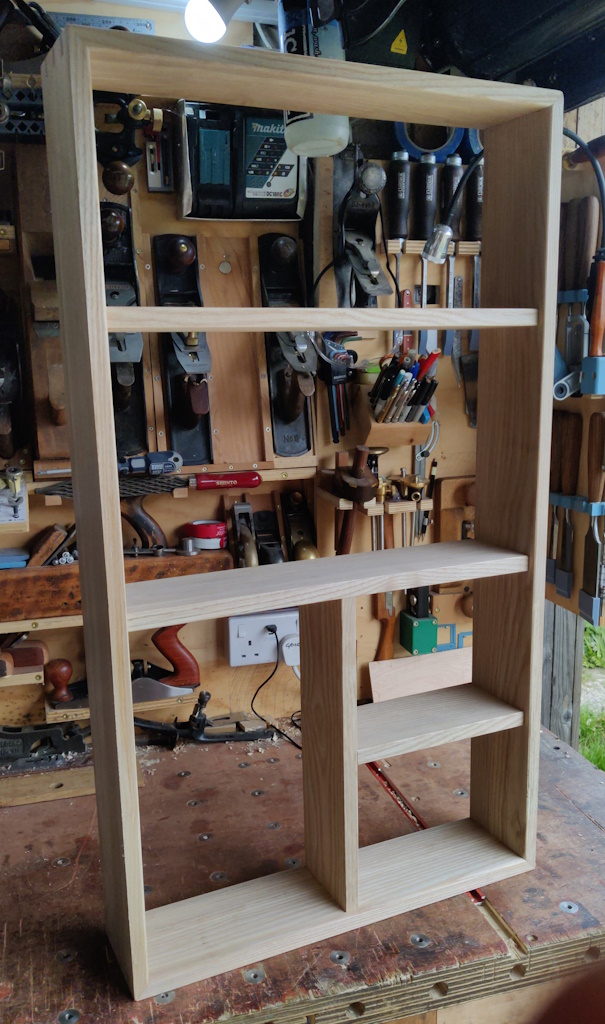
With that, the frame is done (apart from applying finish and adding something to allow wall-mounting):
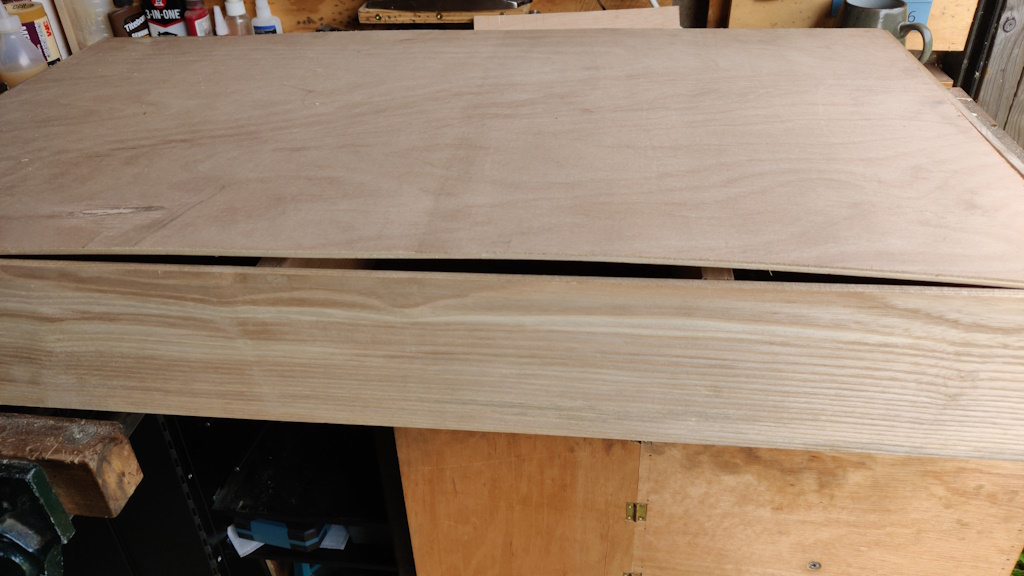
Before applying some finish, I thought I'd cut the shabby bit of plywood to size ready to hand it over to my other half for painting / covering / whatever she wants to do with it. The plywood sheet really isn't great and will henceforth be referred to as the "banana":
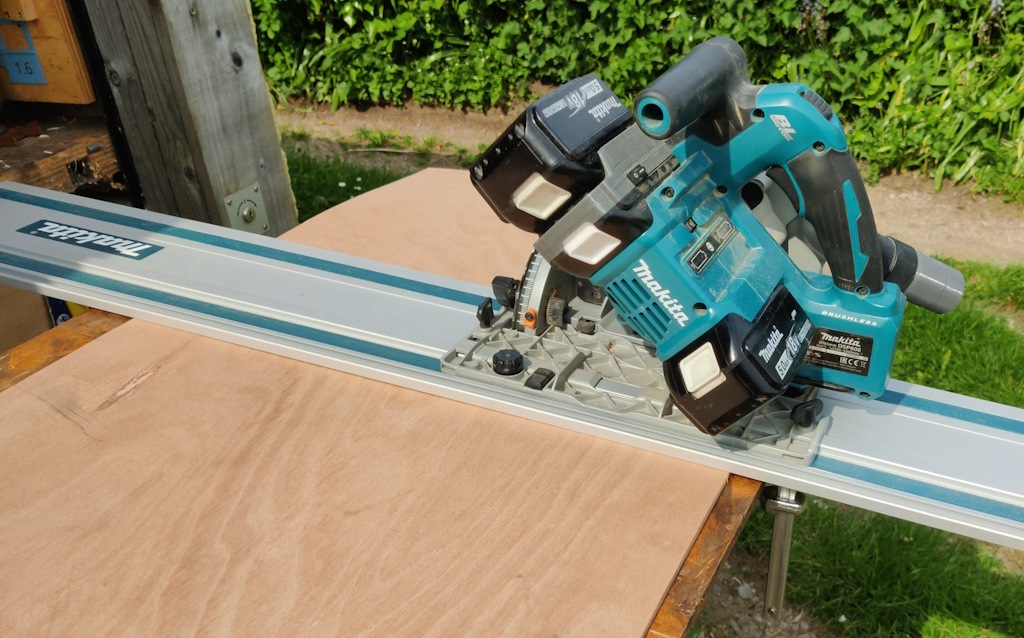
The frame has been made entirely with hand tools, but I couldn't quite summon up the enthusiasm for hand sawing this bit of horrible sheet, so I just got the track saw out. Unusually for me, I used the track clamps to hold the track down rather than just relying on the friction strip: I figured it would probably do a better job of cutting the banana if it was held flat!
I could then place it in the frame:
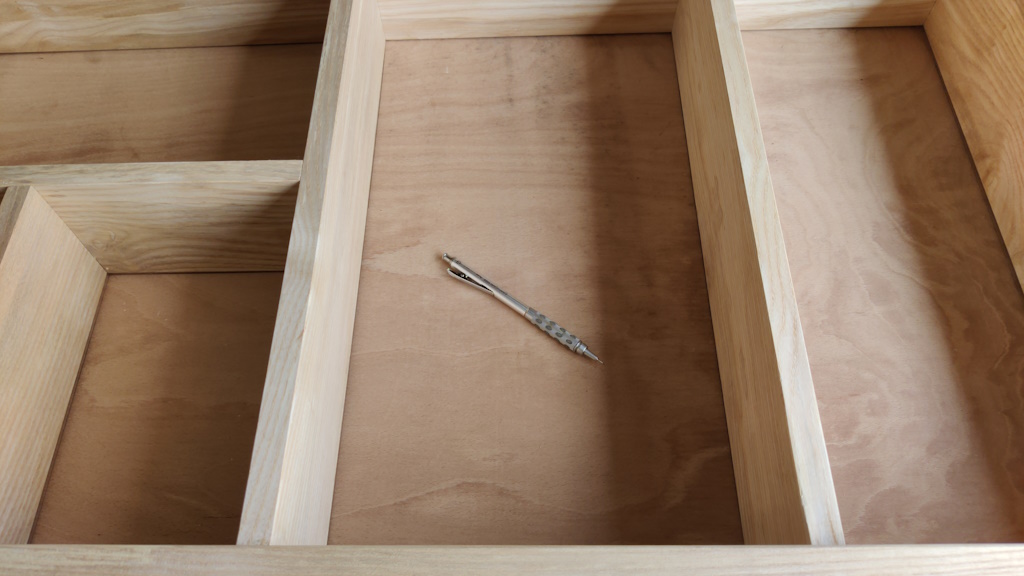
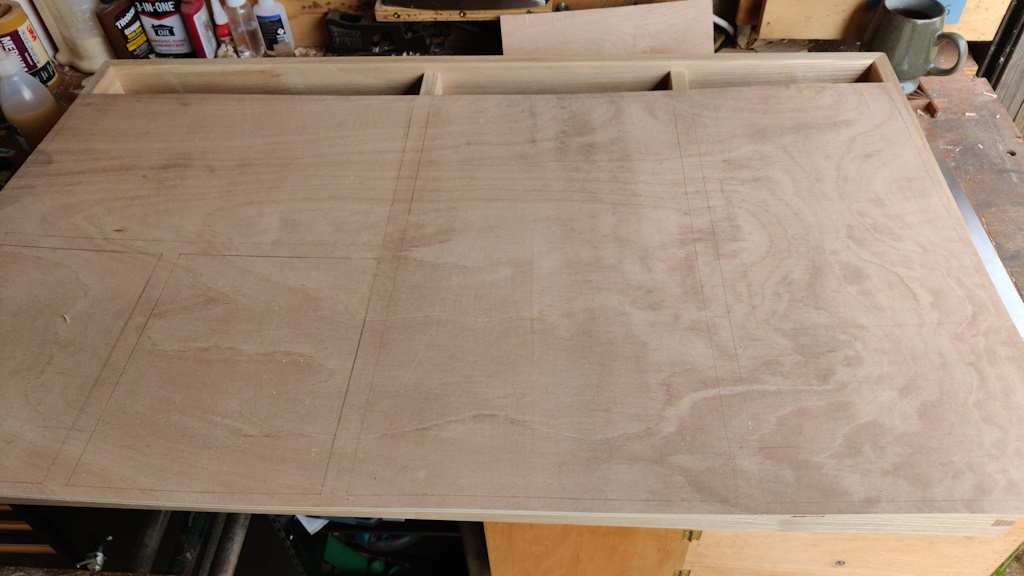
To deal with that bow, I'm going to screw the plywood to the cabinet, with screws going into some of the middle shelves rather than just around the edge. To make sure I drill the screw holes in the right place, I turned the unit over and used a pencil to draw round the shelves:
Resulting in this, which should make it easy to position a selection of screw holes, which I'll drill before handing it over to Carolyn:
Page 10 of 11
This website is free and ad-free, but costs me money to run. If you'd like to support this site, please consider making a small donation or sending me a message to let me know what you liked or found useful.

 Return to main project page