Shelf Unit Build Process
Page 2 of 11
Posted 4th May 2024
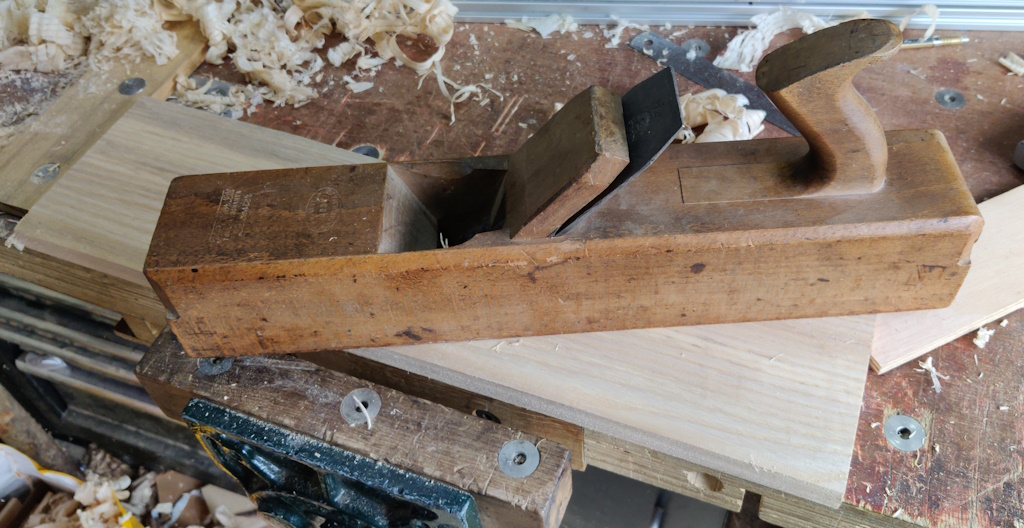
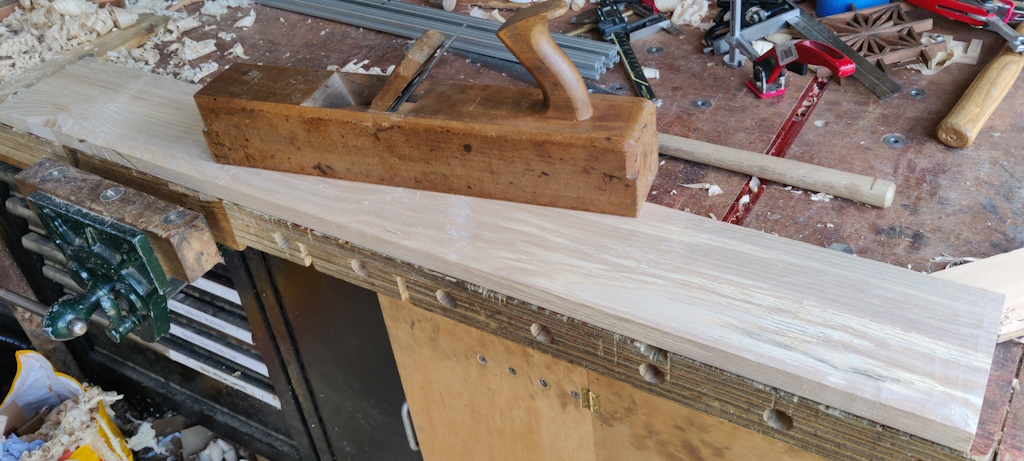
I've been carrying on preparing the boards since the last post. I settled into a rhythm of using the wooden jack plane first to get it close to flat and twist free (the wooden plane is nice and light compared to a #5 so it's a bit easier to hog off material):
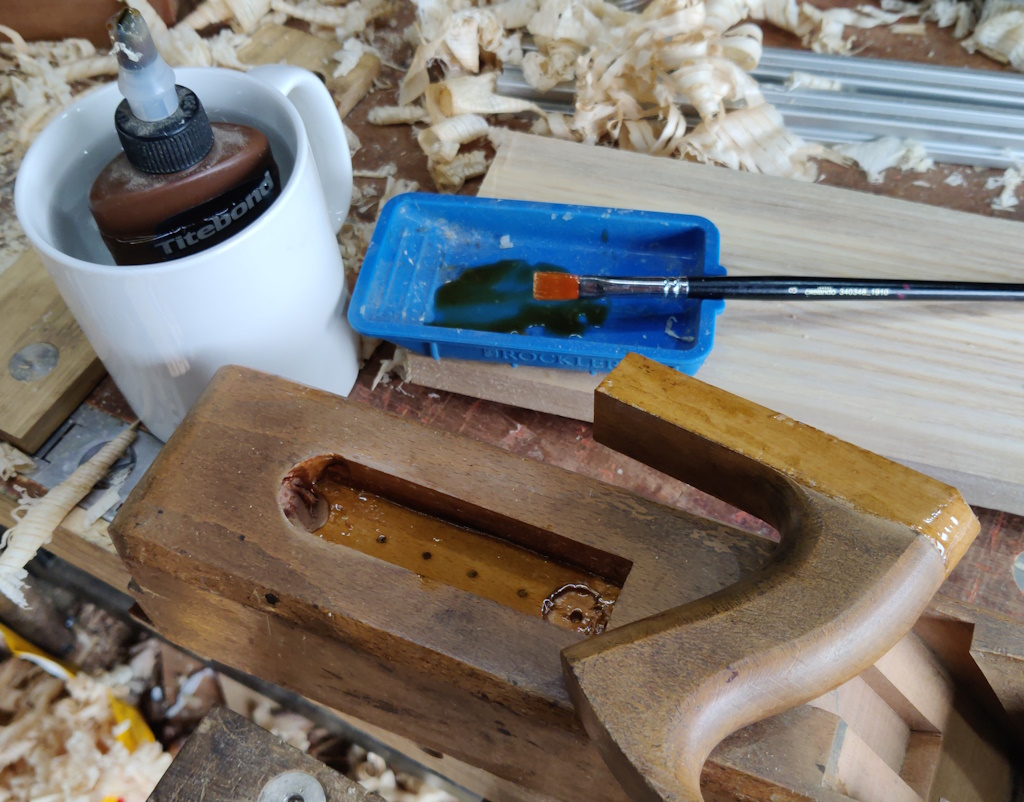
I then used the Axminster #5 to smooth it a bit more and finally the Stanley #4 to get a nice surface finish. The wooden jack plane's handle was rocking very slightly as I was planing (it's done that ever since I got it). The movement is less than a millimetre, but I decided yesterday it was finally time to do something about it. The handle was quite difficult to remove as it was very firmly wedged in, despite the small amount of movement, but with a fair amount of mallet-assisted persuasion, I was able to get it out. I used Titebond Liquid Hide Glue - I'd forgotten how much more smelly it is than the Fish (Scale?) Glue I usually use, but the smell isn't unpleasant.
I thought I'd taken a photo of it with the clamp on, but apparently not, so you'll just have to imagine it with a little scrap of wood over the handle base and a clamp holding it down to the bench!
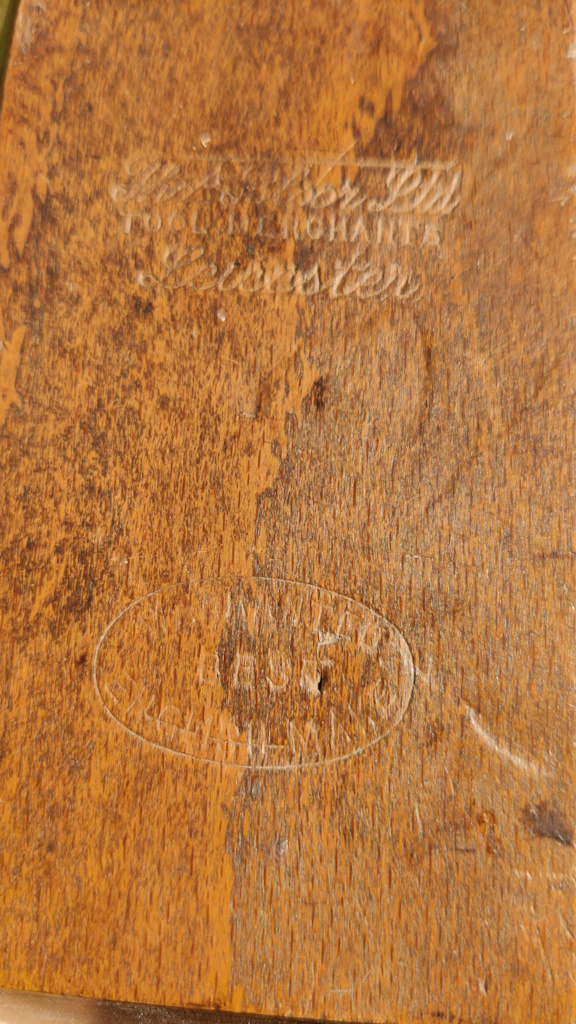
In case it's of interest to anyone, here is the marking on the wooden plane (which I find quite hard to read):
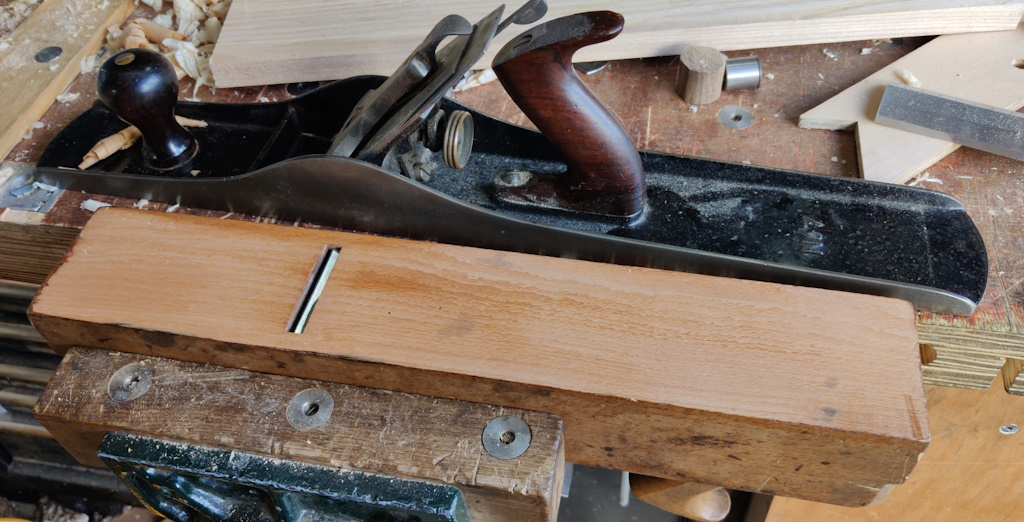
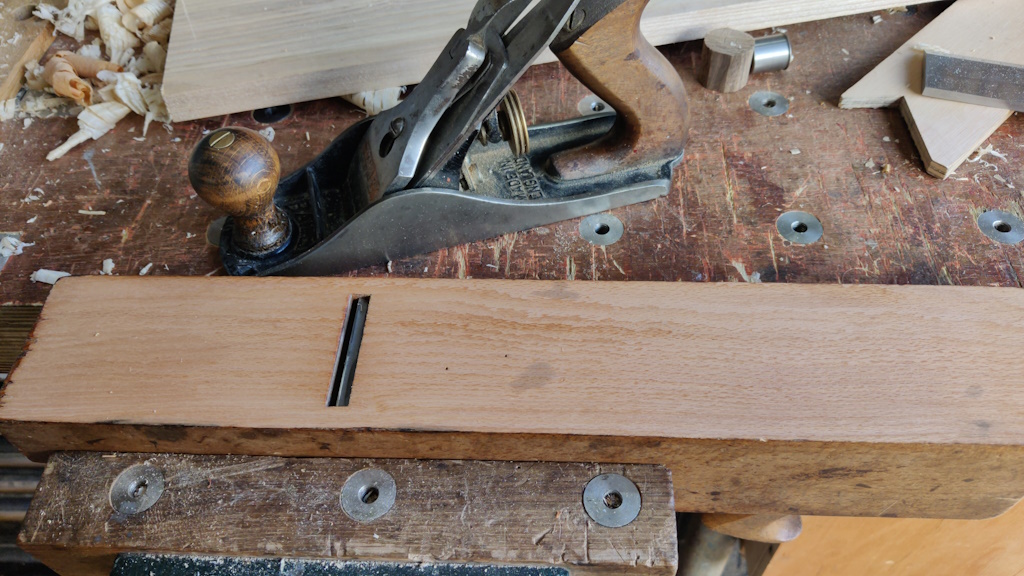
With the handle glued back on, I thought I'd true up the base (it was much lower in the middle than at the front or back). This is something I've never done before (never had the bottle!) but I feel a lot more confident planing than I did when I first got this plane. I started by fitting the blade, well retracted below the sole, and using a #7 to clean up front and back until a straight edge showed it to be flat:
I already had a #4 set for a very light cut so I thought I'd give it a silky-smooth surface while I was at it and did one pass over the whole surface:
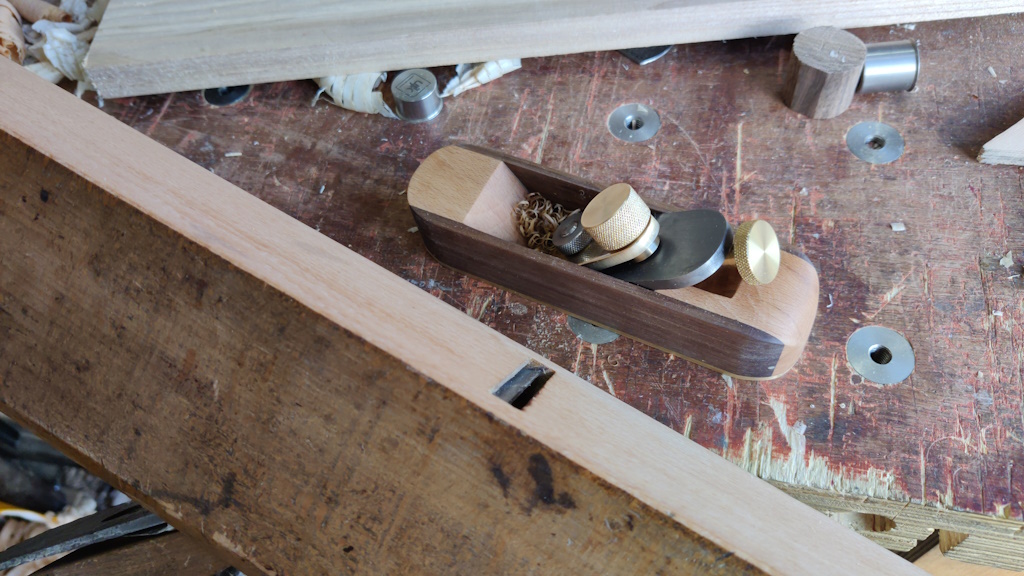
My new home-made block plane chamfered the corners...
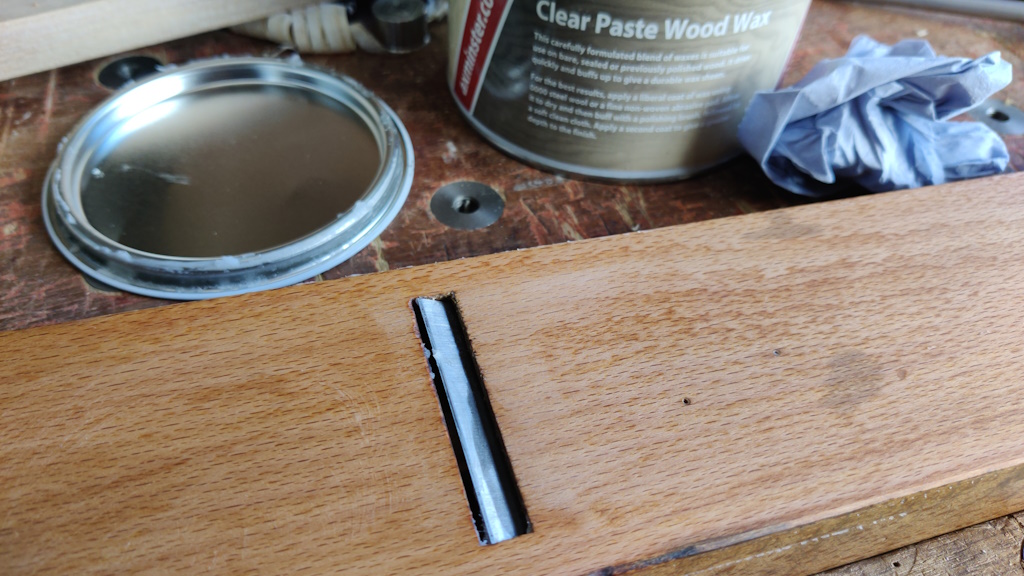
... and I put a bit of paste wax on the bottom as I'm guessing it's a reasonable thing to do?
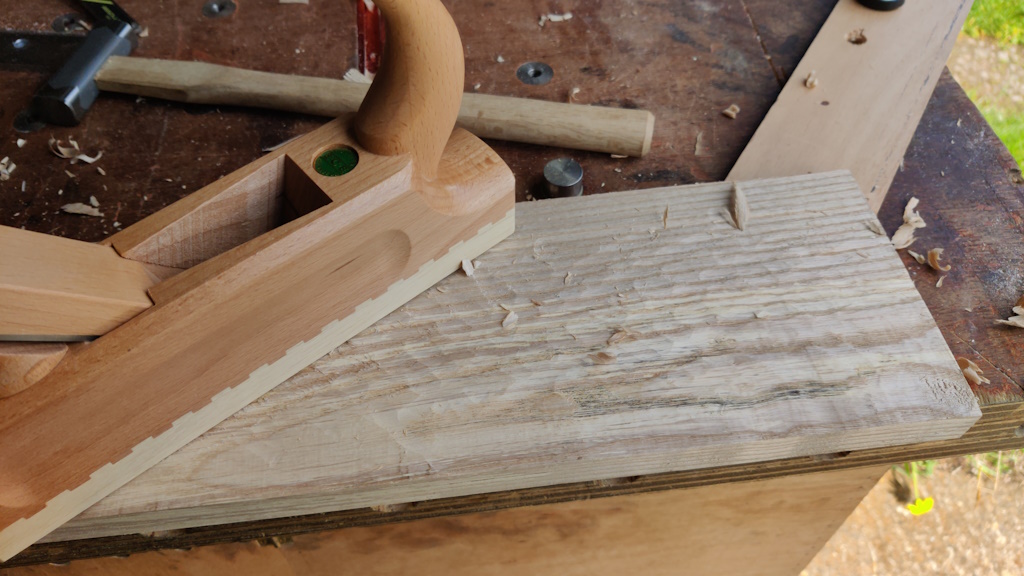
With that done, it was time to battle the longer planks (for which I need the garage door wide open). I started with a wooden scrub plane at 45°, although I foolishly didn't check the setting. Last time I'd used it I'd obviously been taking a lot of material off and it was set for a very deep cut.
That deep cut produced a lot of tear-out on top of the scrubbing marks, so it took a while with the newly-refurbished wooden jack plane to get the surface back looking smooth:
After the wooden jack plane, I did the same as before, using the #5 and then the #4:
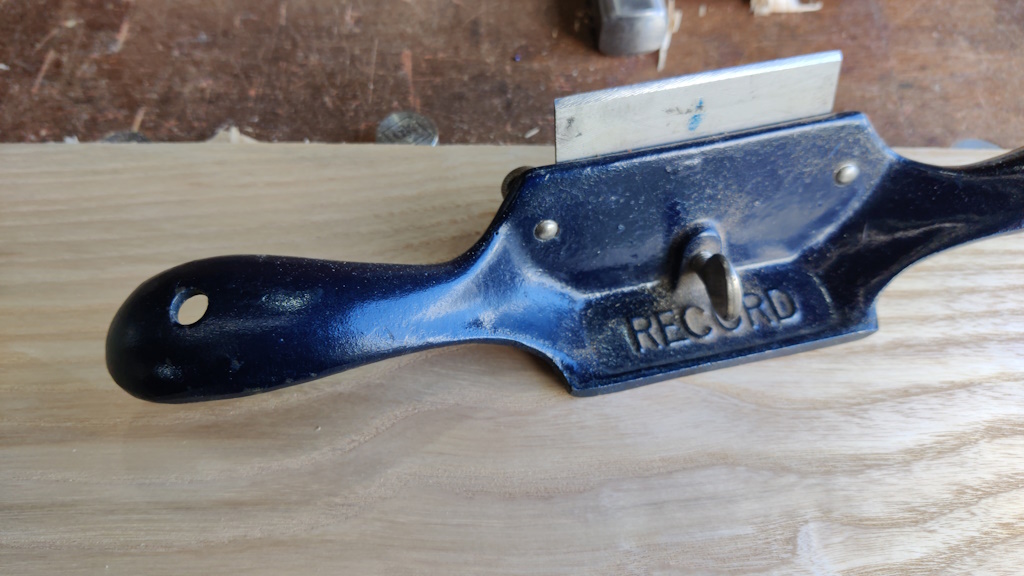
There were a couple of very small areas with some particularly stubborn tear-out (the grain on this ash changes directions several times along the length). Rather than keep attacking the whole surface, I decided to just focus on those small areas with a cabinet scraper (which has a much smaller sole than the scraper plane):
I've only done one of the long planks so far (after which I needed a breather!), but I'll get on with the second one shortly and then that's all the boards thicknessed and flat so I can start sorting out the edges and cutting them to length.
Page 2 of 11
This website is free and ad-free, but costs me money to run. If you'd like to support this site, please consider making a small donation or sending me a message to let me know what you liked or found useful.

 Return to main project page