Chain Drilling Jig
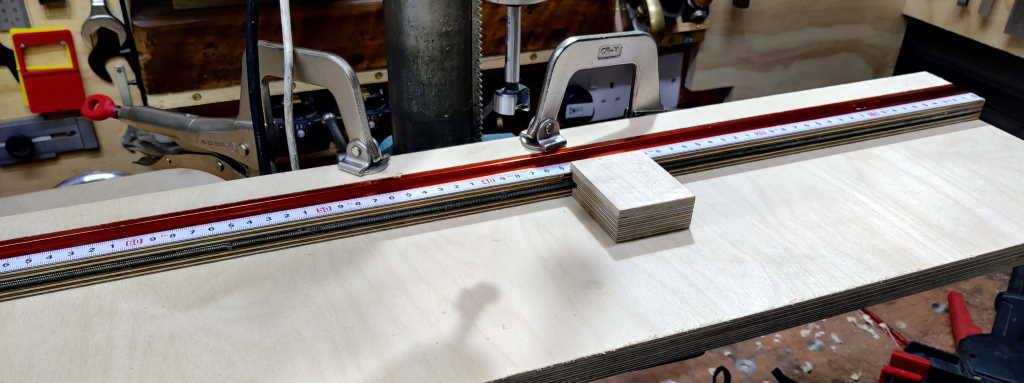
I had a project coming up that was going to involve lots of holes drilled at even spacing in a straight line. To make this quick, easy and accurate, I made a chain drilling jig, based on an idea I saw in a Stumpy Nubs video for a table saw jig (but using civilised metric threads rather than imperial nonsense). In use it gets held to the pillar drill with some C-clamps (as they're quick to use and don't twist the jig when tightening like a G-clamp might). The first hole is positioned carefully by nudging the jig around and then the stop block can be moved at very accurate multiples of a millimetre to position subsequent holes.
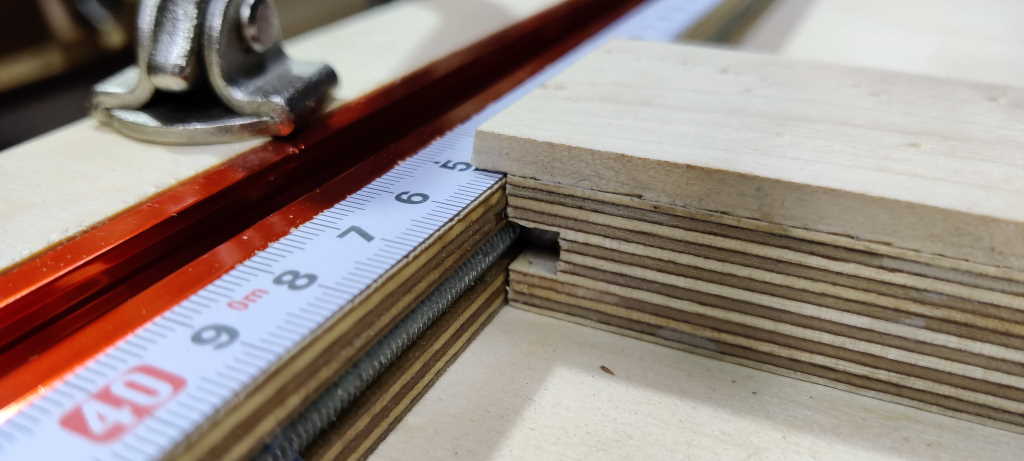
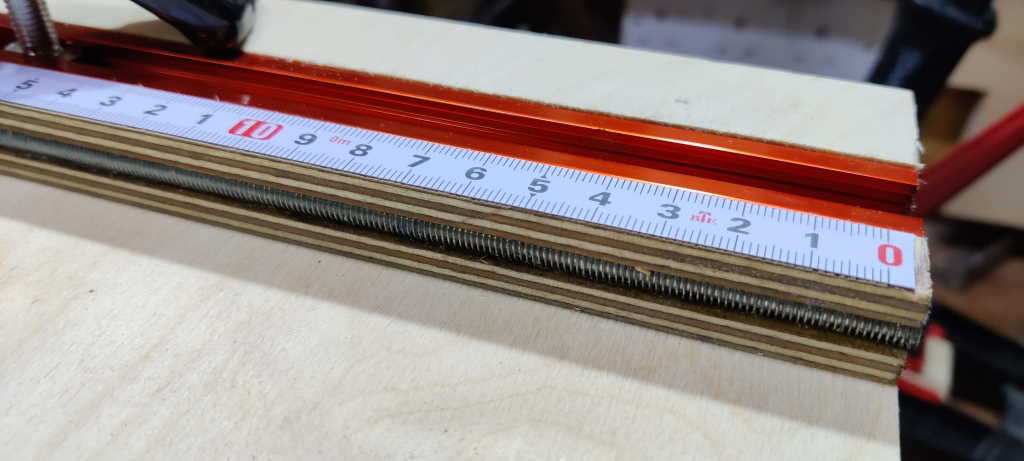
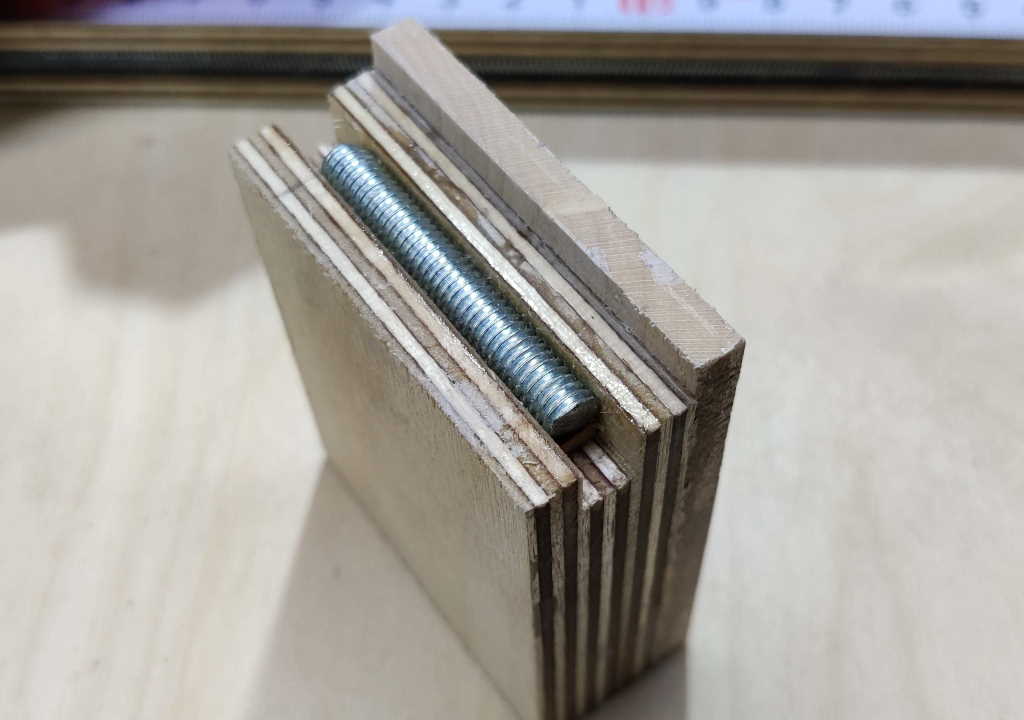
This photo shows a close-up of the fence, which has a length of M6 (1 mm pitch) threaded rod epoxied in, very slightly sub-flush. The T-track sits in a slot in the fence: I chose to put it in the fence rather than the base as it means that the fence can be re-used on a new base if I end up drilling holes into the base. The holes in the fence for the 3.5 mm × 25 mm screws that hold the T-track down are 4 mm diameter so that the screws clear the fence and pull the T-track and fence down to the base. The measuring tape is also set in a shallow slot so that the tape is flush with the top of the fence and hence the stop block's marker clears the tape.
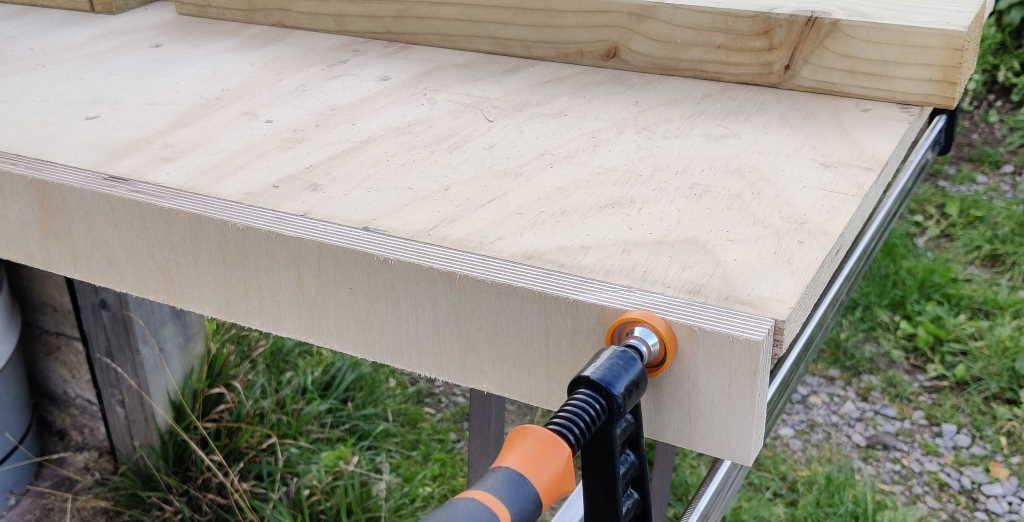
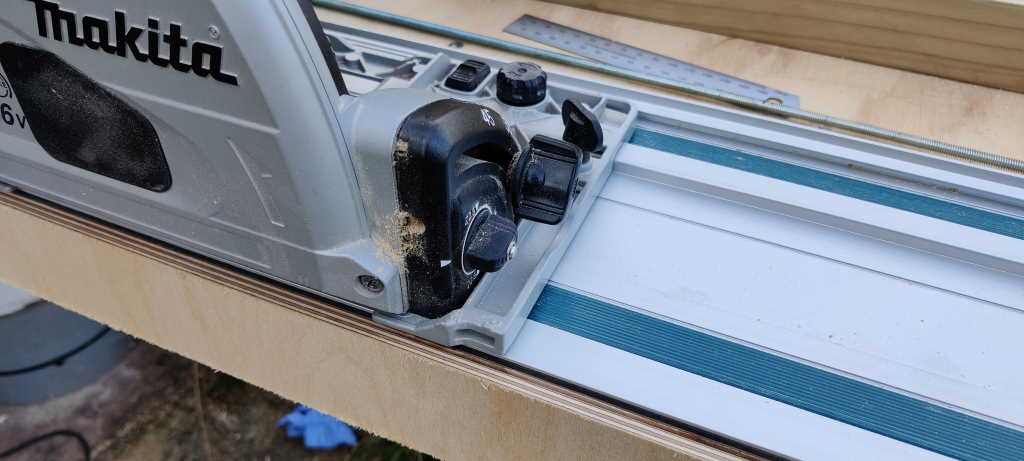
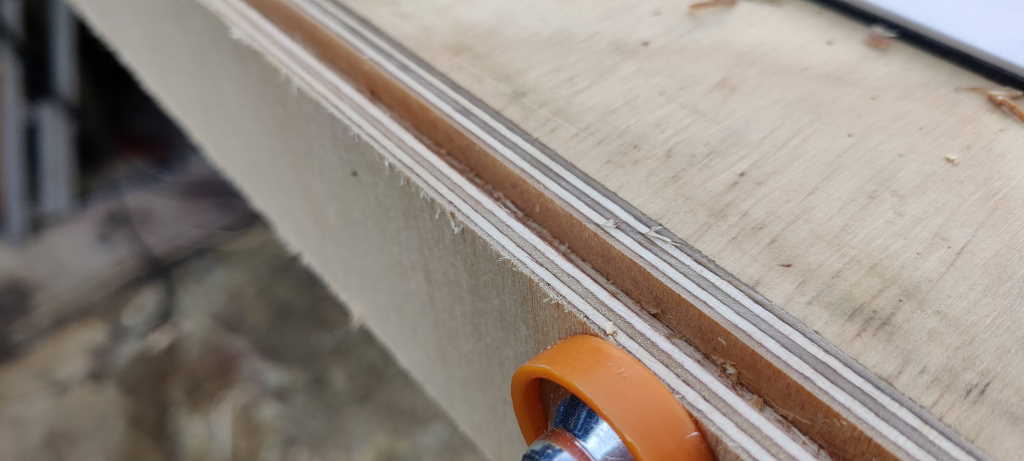
I cut the groove in the 18 mm plywood fence by clamping it to my fair weather bench and using a track saw to cut the long straight grooves. I could have used a router here, but I'd been doing some other cuts with the track saw and it seemed easier to just keep using it rather than setting up the router.
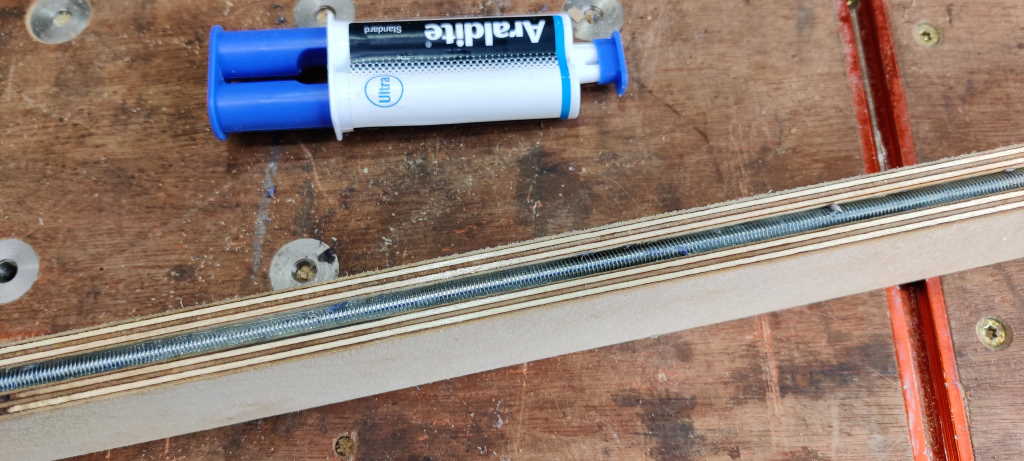
I then chiselled out the remaining excess and glued the threaded rod in with some epoxy. The threaded rod is about 800 mm long; that length was chosen as it was the length of the only piece of M6 threaded rod that I had. The fence was cut longer than that so I could use the same groove for the stop block.
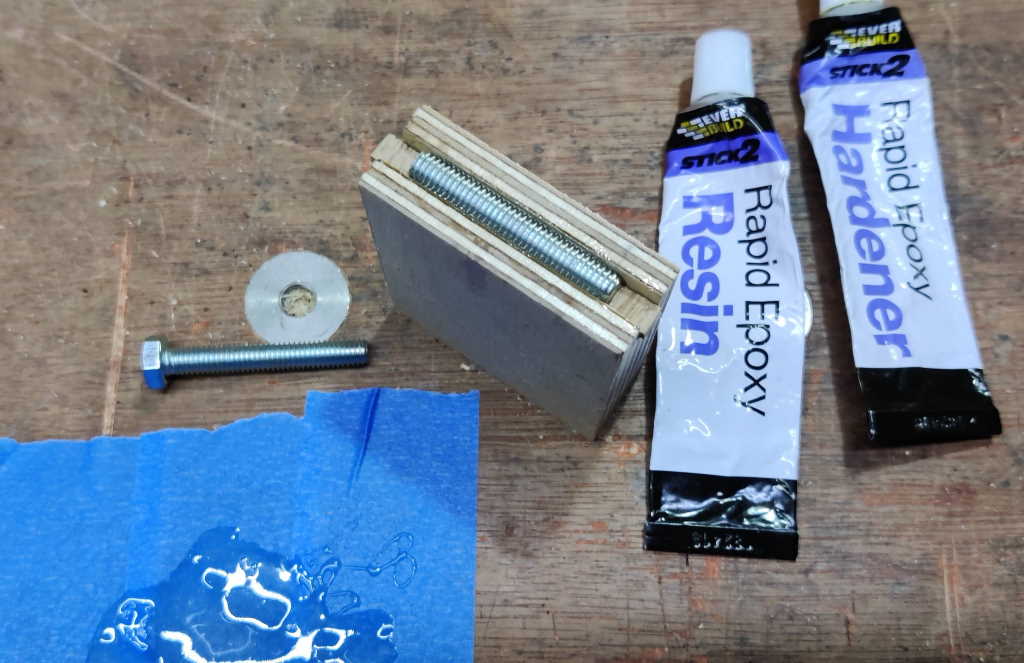
The stop block (cut from the excess length of fence) has another piece of threaded rod (actually a set screw with the hex head cut off as I didn't have any more threaded rod) glued in, but protruding slightly (with some wedges underneath to help me set the amount of protrusion just right when I epoxied it in place) so that it engages with the threaded rod in the fence and hence can only be positioned at increments of exactly 1 mm. I used rapid epoxy for the stop block so I didn't have to wait so long to try it out.
The stop block (and the maple "marker" stuck on top to overlap the scale on the fence) are exactly 50 mm wide (planed to size on my shooting board) so that both sides line up with the marks on the ruler.
For simple drilled holes, the T-track is unnecessary: the positive engagement of the two threads means that the stop doesn't try to move and it's easy to hold the work piece up against the fence and the stop. For overlapping holes drilled with a Forstner bit it can be useful to clamp the stop block and workpiece in place to prevent any movement.
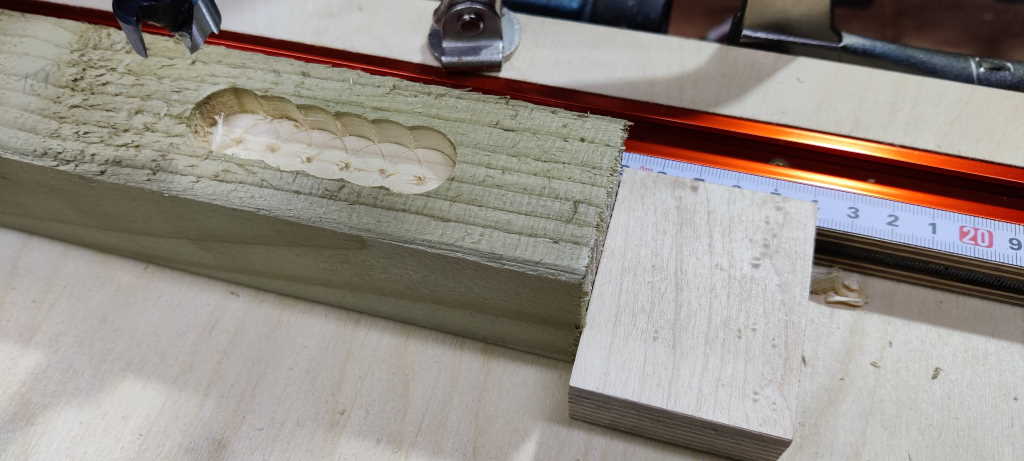
This photo shows the first test cut having just been completed with a 20 mm Forstner bit being used to cut holes at 10 mm intervals. You can see that the spacing is very consistent. For this test I didn't clamp the stop block in place: the engagement of the threads was tight enough to hold it firmly enough on its own.
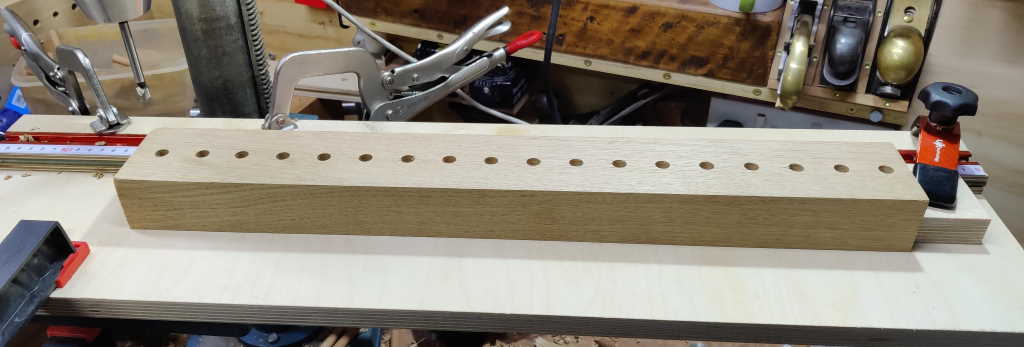
This photo shows a long row of holes that was drilled at 30 mm intervals using the jig. This process was very quick (with no marking out required) and the hole spacing is very accurate.
This website is free and ad-free, but costs me money to run. If you'd like to support this site, please consider making a small donation or sending me a message to let me know what you liked or found useful.

