Router Table
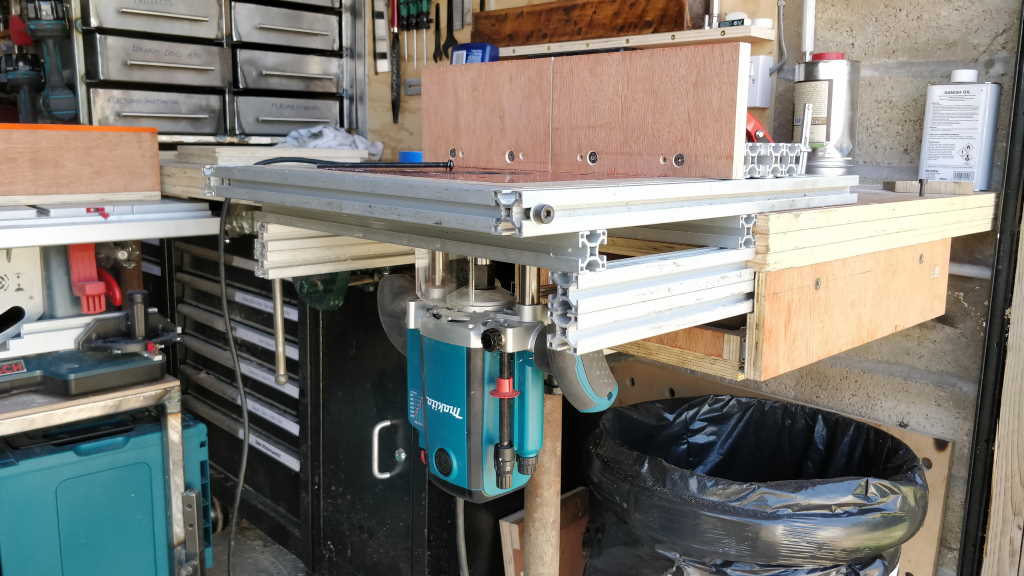
A while ago I got a load of t-slot extrusion out of the skip at work. I've used some of this for my welding arm support, some for my bandsaw vertical table and some for my router sled. This router table used up almost all of what I had left.
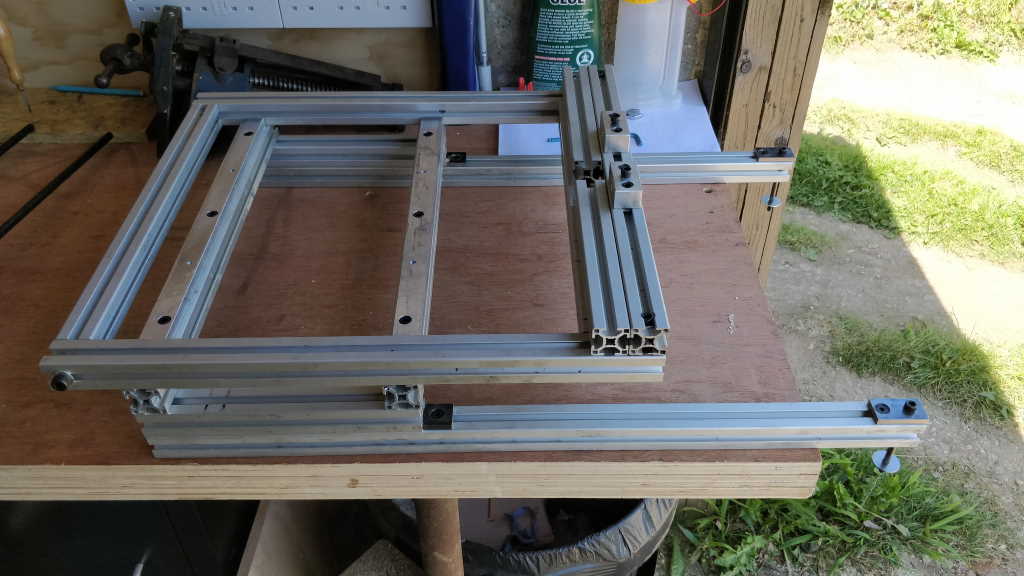
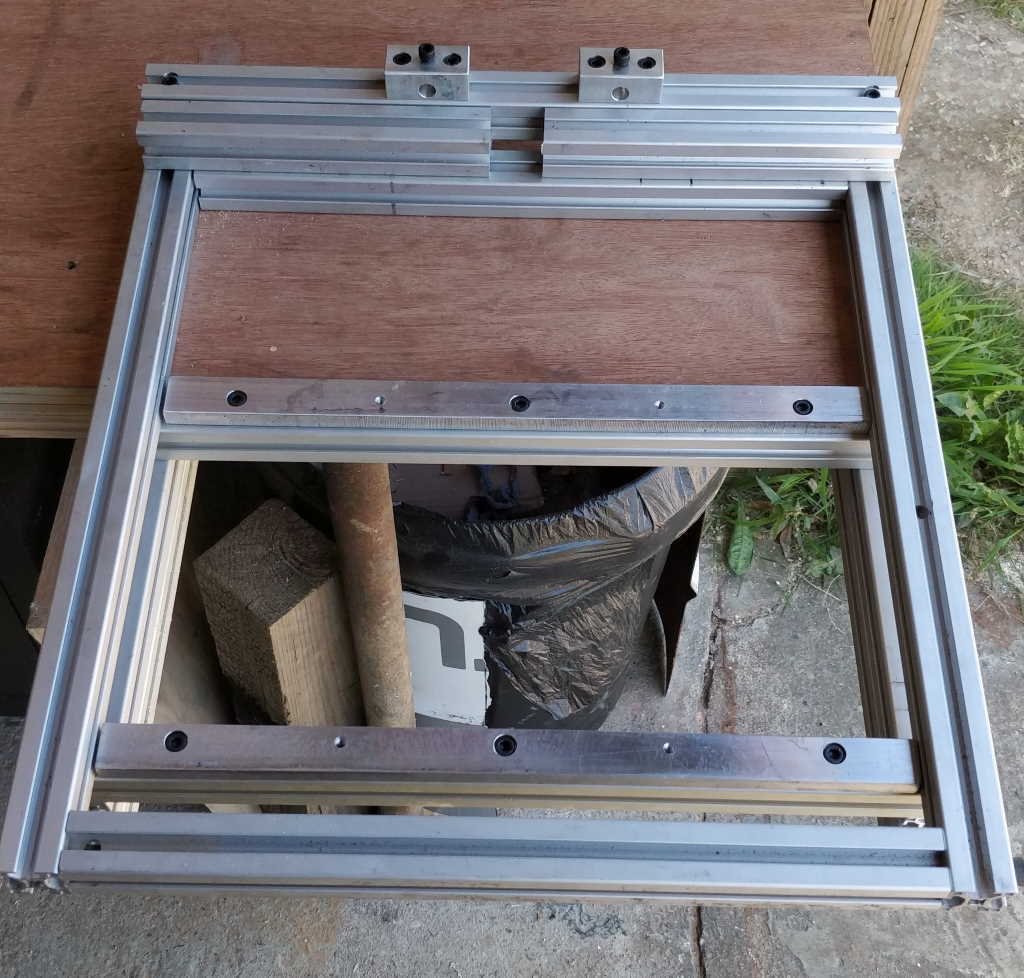
It's almost entirely made of t-slot extrusion, apart from a few bits of milled aluminium, four home-made thick steel washers and a bit of MDF (and a router table insert that I bought from Axminster). It mounts onto the bench (with two long M6 screws) rather than having feet like a normal router table. That means that it has a flat profile so it stores nicely.
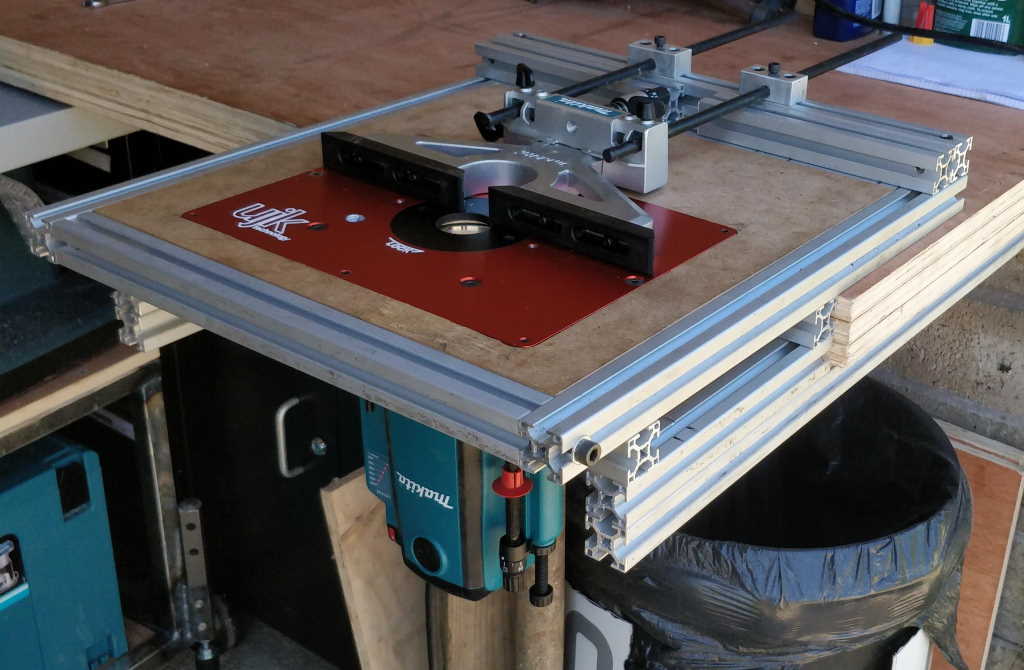
It has two options for fences. Firstly, there's the fence that came with my 1/2" router, which has a millimetre "calibrated" dial for adjustment.
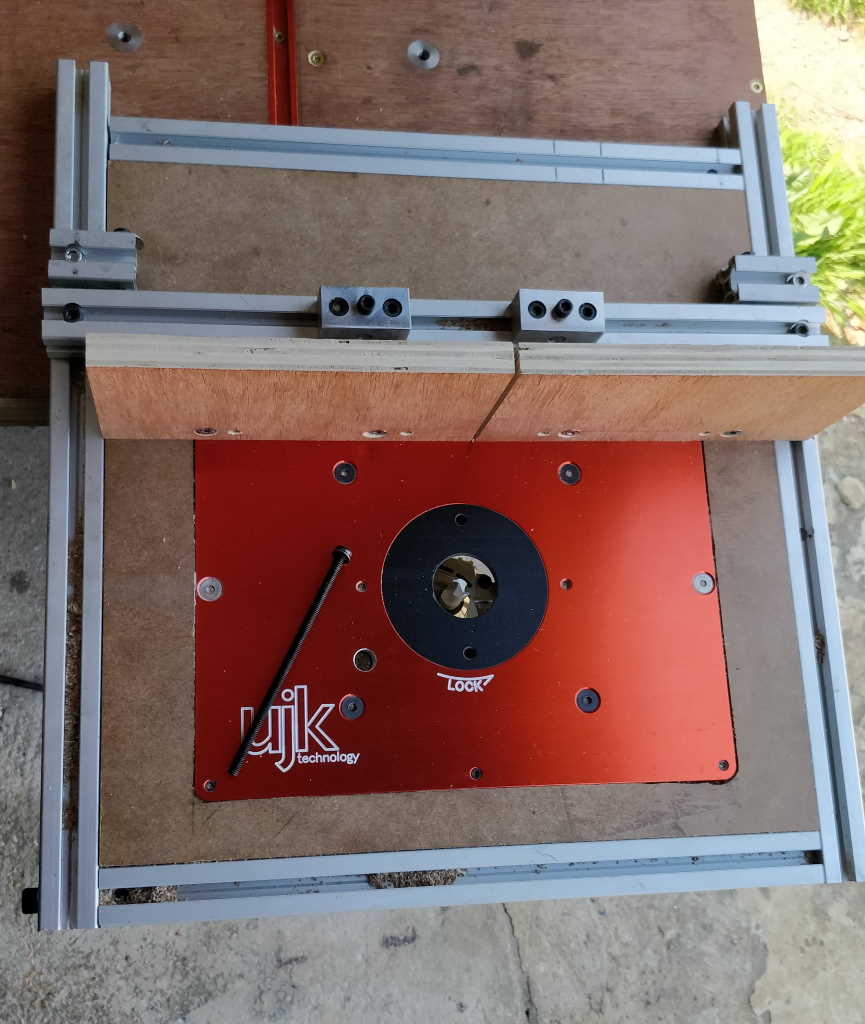
Normally, however, I use the T-slot extrusion with some pieces of plywood screwed to it to act as a fence. The plywood is screwed to two short pieces of extrusion and can be slid side-to-side to vary the opening width.
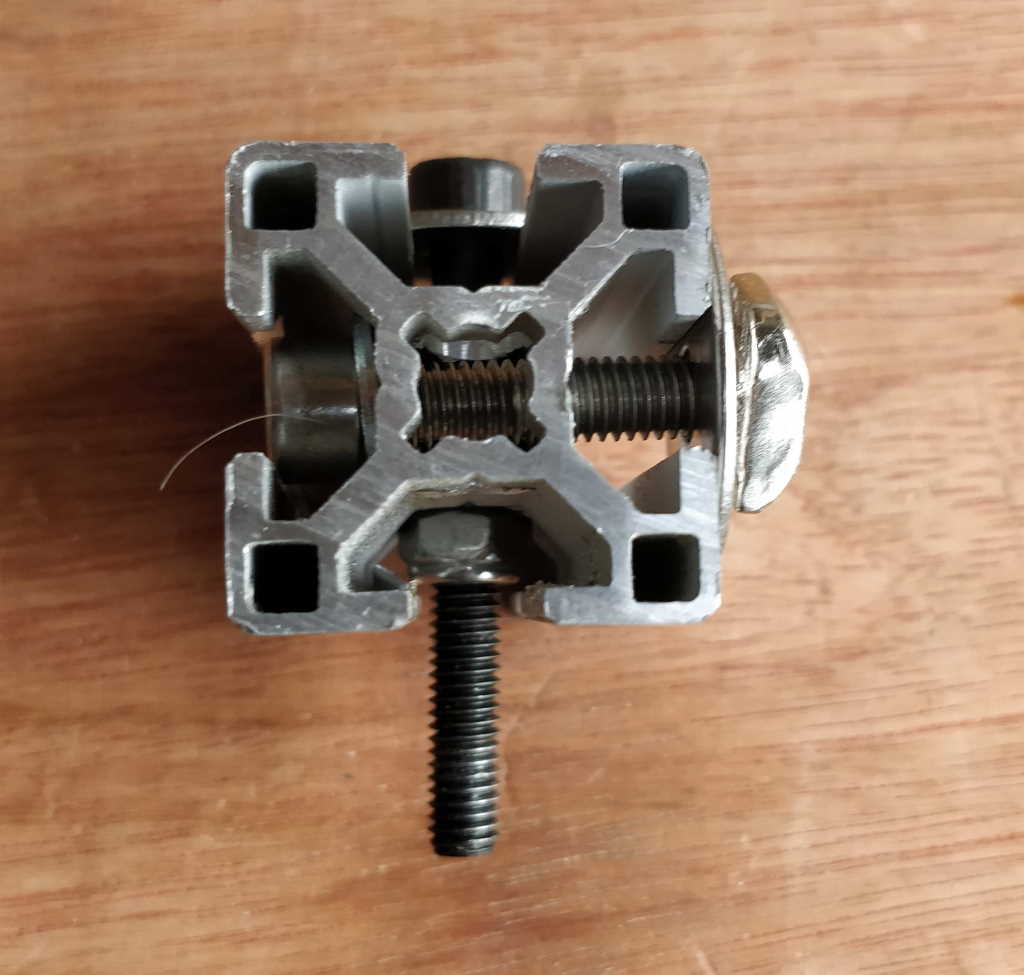
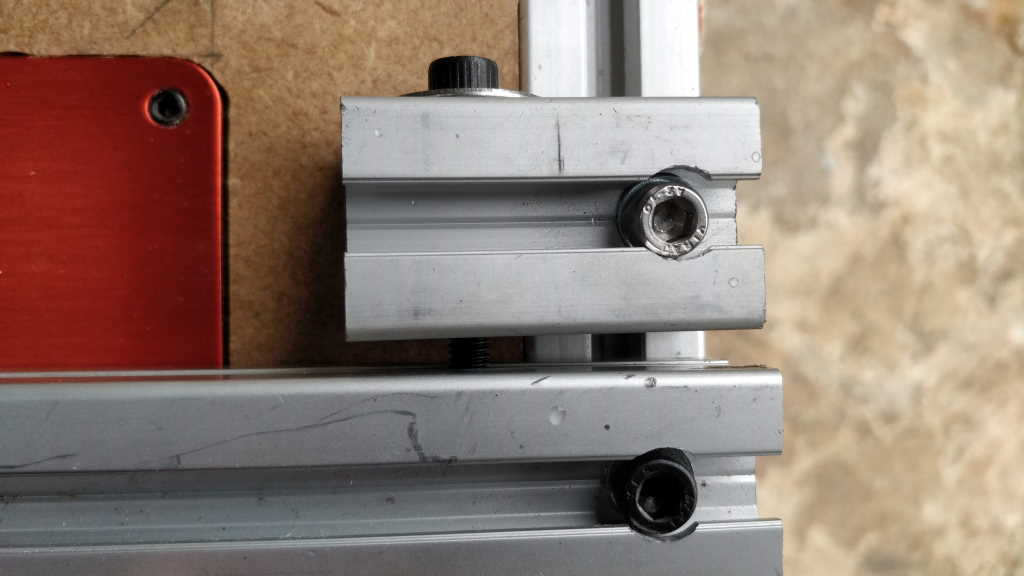
These two photos show one of the adjusters for changing the position of the fence. They can be clamped independently to the router table and then the M6 cap screw pushes or pulls the fence to adjust its position (1 mm per turn due to the convenient thread pitch of the M6 screw). Once the position is adjusted, the clamp screw on the fence itself can be tightened to lock it in place.
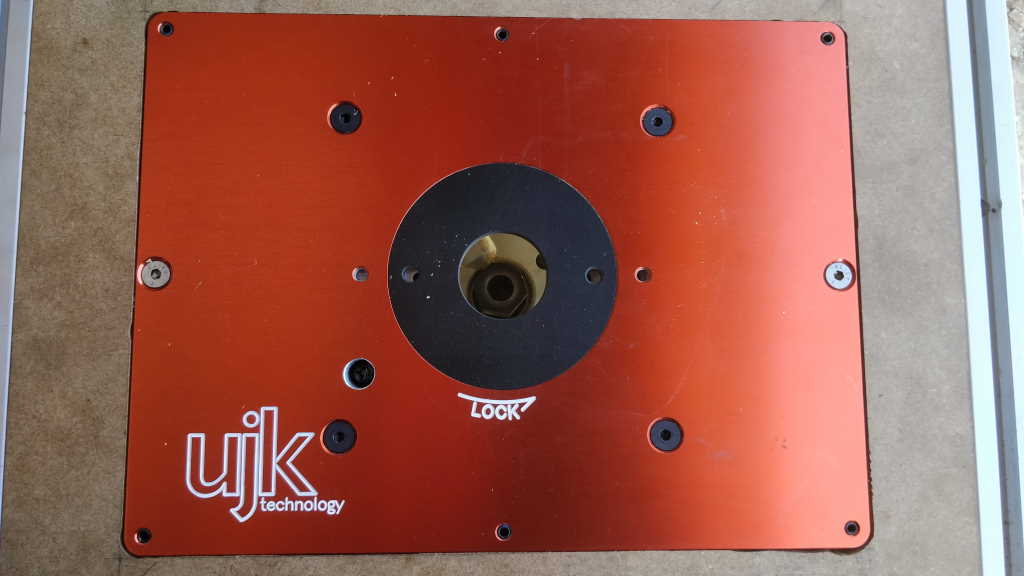
This photo shows the table insert bought from Axminster. I had to drill an extra hole in both this and the "universal" mounting plate that came with it to allow access to the height adjustment screw.
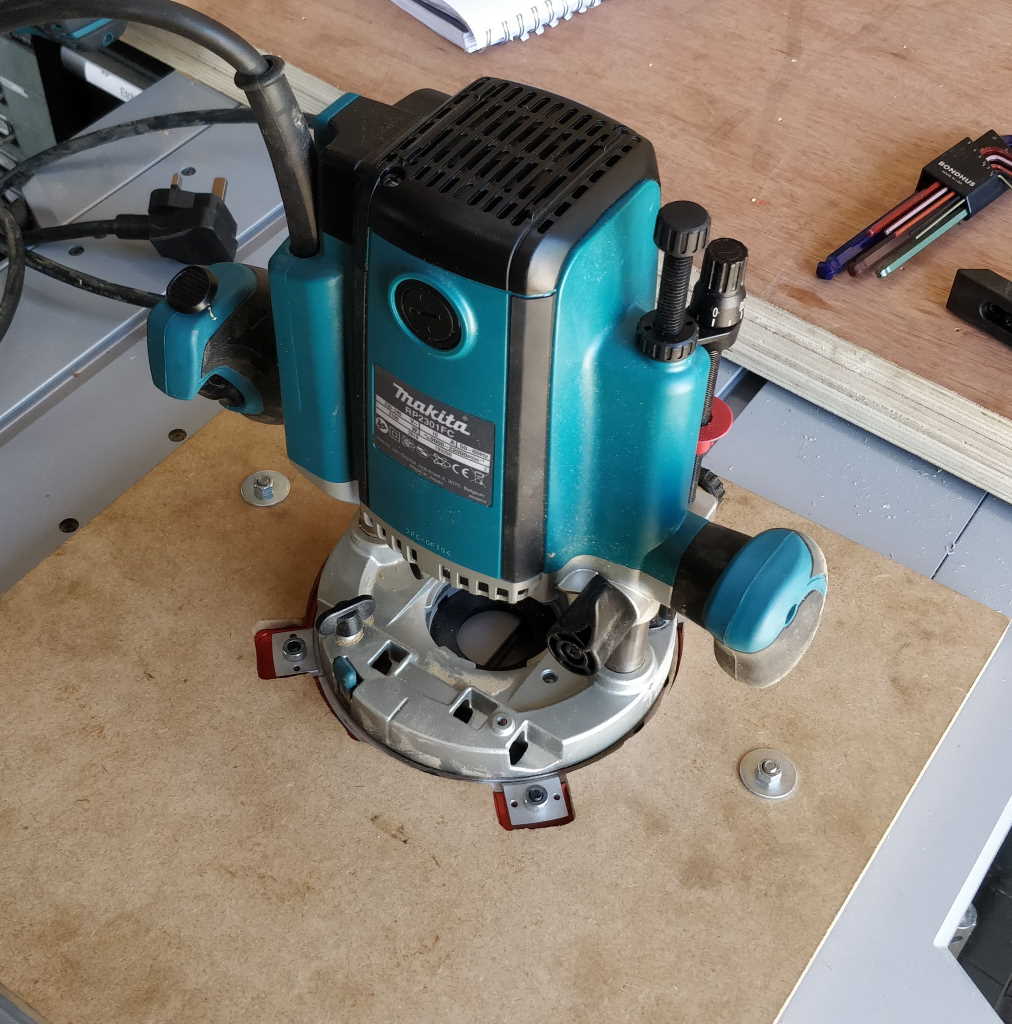
This photo shows how the router attaches to the table.
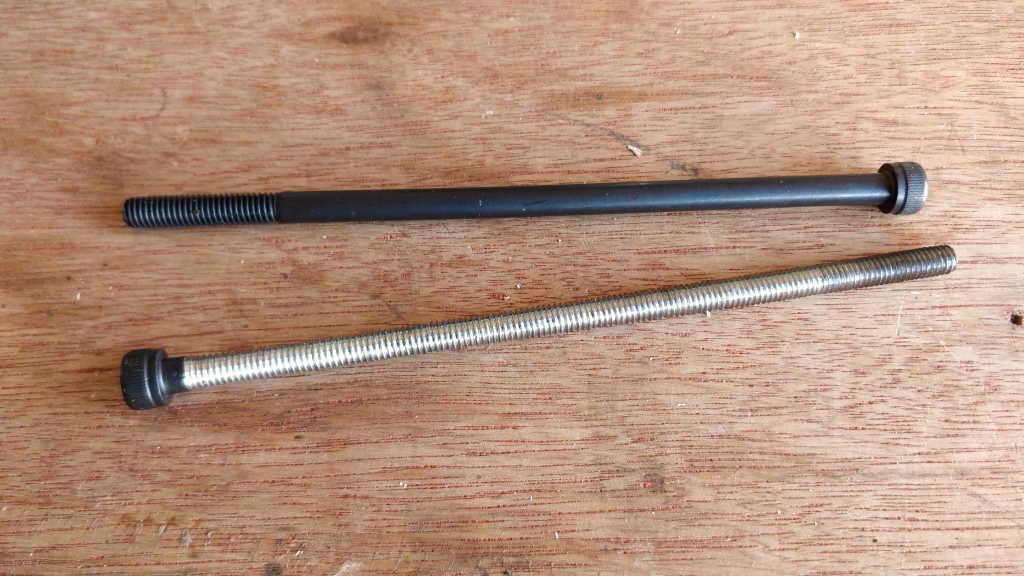
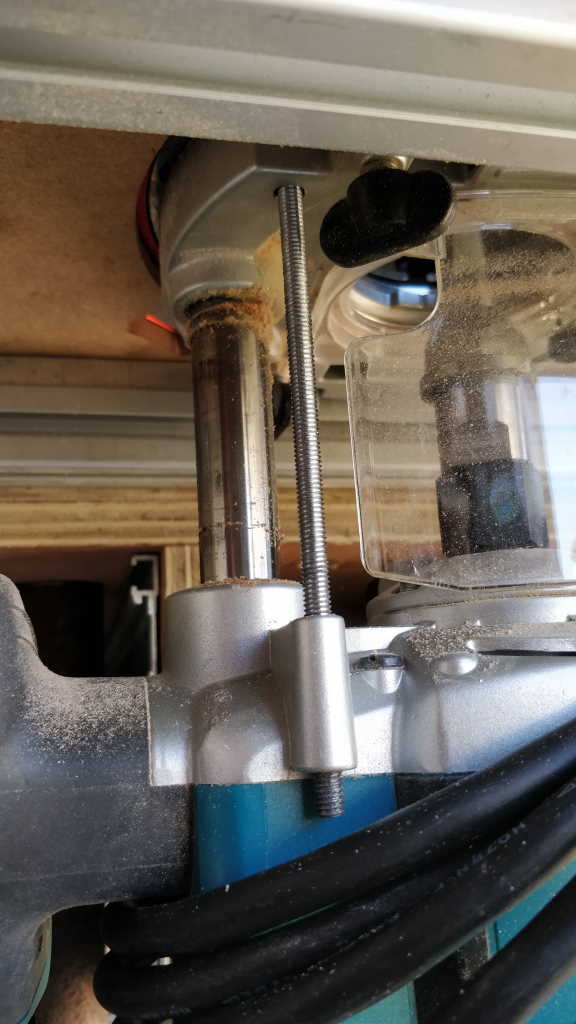
The router came with a long M6 screw to allow adjustment of the router height from the top of the table. This is a great feature as it saves having to build or buy a router lift to allow cutter height adjustment without crawling underneath the table. As it is an M6 thread, it's easy to move the cutter by calibrated amounts: one full turn anticlockwise moves the cutter down by 1 mm. However, in common with a lot of Japanese-made tools, the provided screw had a Phillips (or more likely JIS) head screw. These are not very robust and are thankfully quite rare in this country having been superseded by (in increasing order of robustness) Pozidrive, Allen-head (socket hex) and Torx drive. I put up with the original screw for a while, but it was starting to show signs of wear and I decided to replace it with a cap screw instead. I couldn't find a ready source of long, fully threaded cap screws, so I bought one that wasn't fully threaded and used a die to extend the thread down the rest of the screw. The photo above shows the new screw in place on the router.
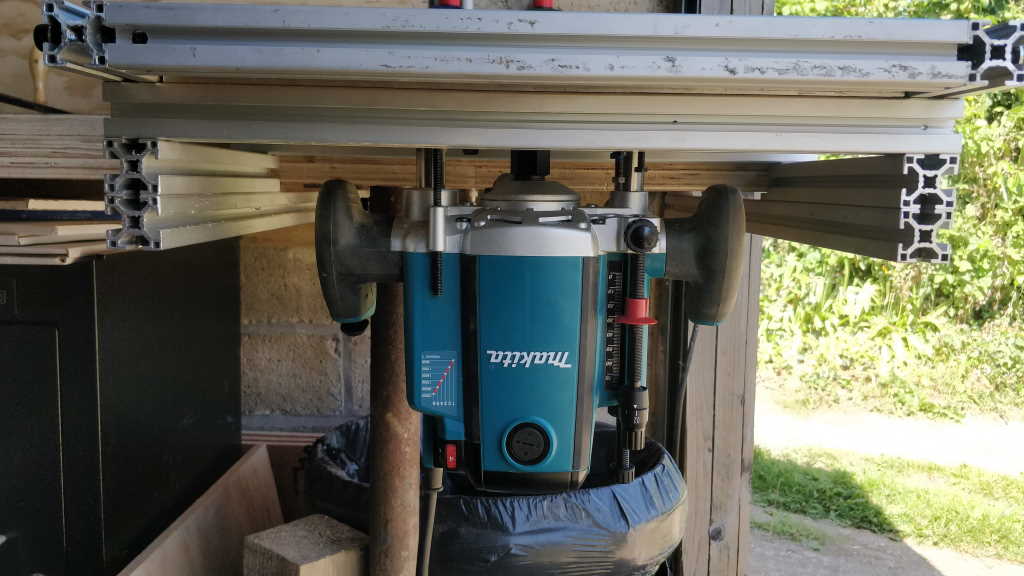
There are two big advantages to having this frame construction for the router table. Firstly, it can be packed away vertically under the bench and takes up much less space than if the table had legs. Secondly, the lack of legs allows easy access to the area around the router if necessary.
This website is free and ad-free, but costs me money to run. If you'd like to support this site, please consider making a small donation or sending me a message to let me know what you liked or found useful.
