My Workshop
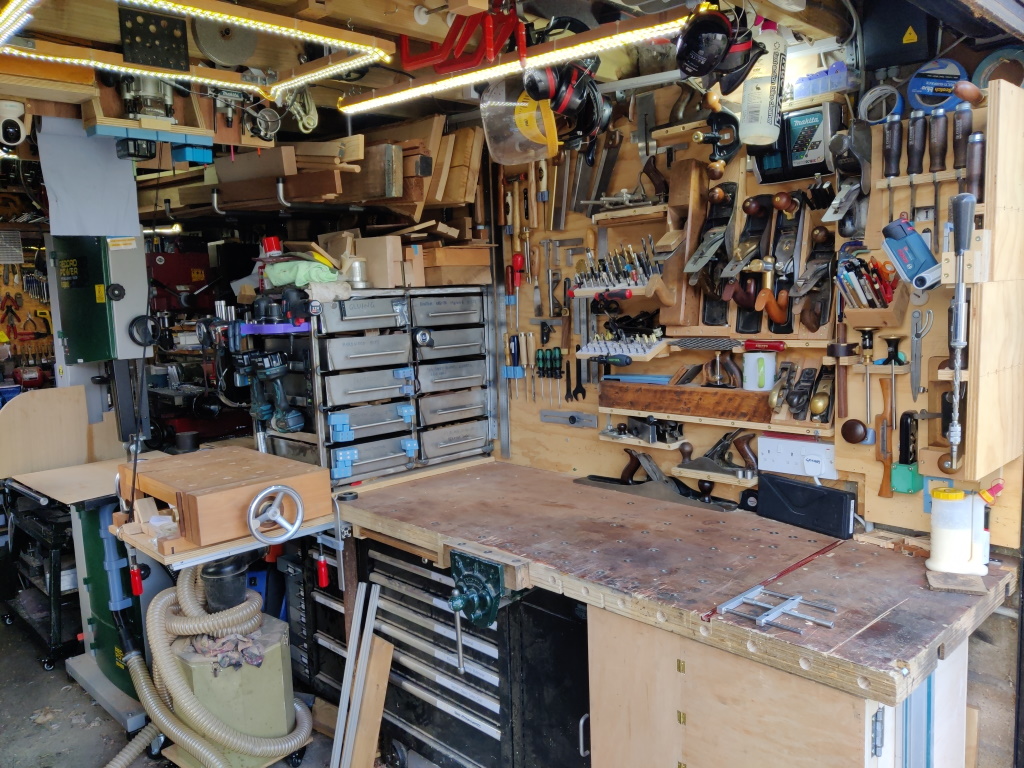
My woodworking workshop area is very small. Half of my single garage is occupied by the metalworking area and a quarter of the garage is occupied by a motorcycle. That leaves the remaining quarter of the garage (an area of about 2 m × 1.5 m) for woodwork. The lack of room is very restrictive, especially in the winter when I'd like to have the garage door shut for warmth, but need to stand outside in order to (for example) comfortably cut material held in the vice.
Tool Storage
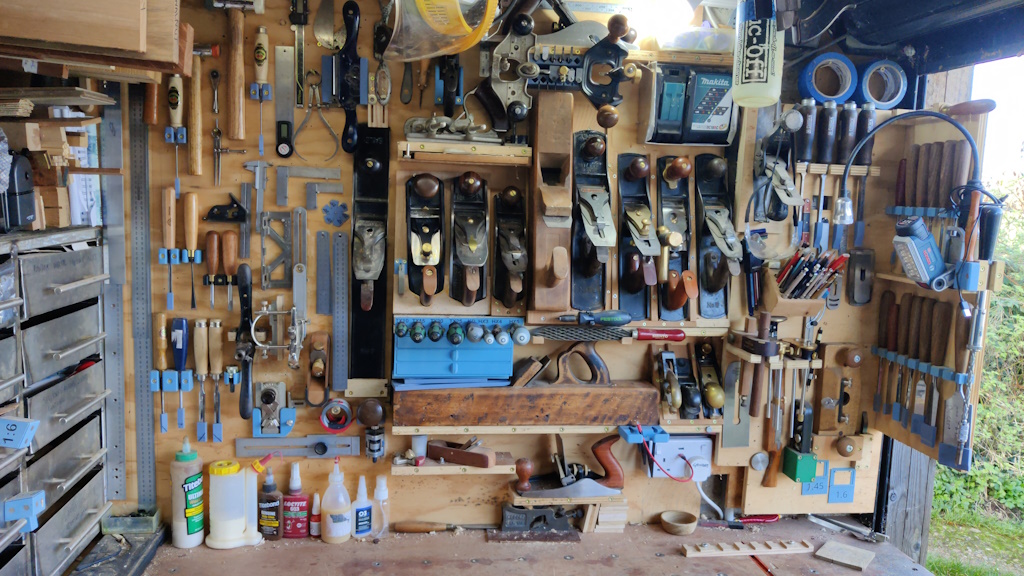 |
I really like having tools mounted on the wall and visible. In the workshop I use a mixture of plywood and OSB (oriented strand board) for this, but plywood works a lot better as I like to draw around the tools (so I can see at a glance what's missing) and the pencil lines are easier to see on the plywood.
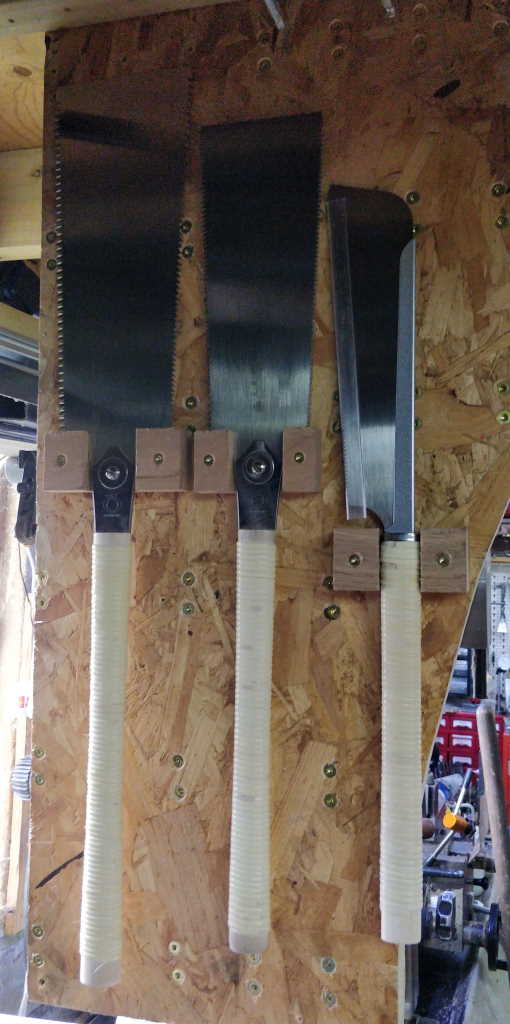 |
Since moving my lathe tool holder storage panel to be ceiling mounted, it has also made the rear side much more accessible and so I use this space to store three of my larger saws.
The Bench
My bench is made from three layers of 18 mm plywood sandwiched together. When making the bench I had no way of clamping something this big, so I glued the three layers together and then drove screws through from the underside. Once the glue had dried, I removed the screws to allow me to drill holes in the bench wherever I want.
I've drilled quite a lot of holes in the bench. The holes are all 20 mm diameter and are spaced on a 96 mm grid so that I can use the various "MFT" accessories that are designed for this sort of hole spacing. There's a length of T-track set into the bench. This serves two purposes. Firstly: it can be used for (relatively lightly) clamping things to the bench while working on them. Secondly, it's positioned such that when a length of guide rail is placed against a particular row of dogs fitted into the bench, the blade of my track saw runs in the middle of the T-track, thus providing clearance under the blade.
 |
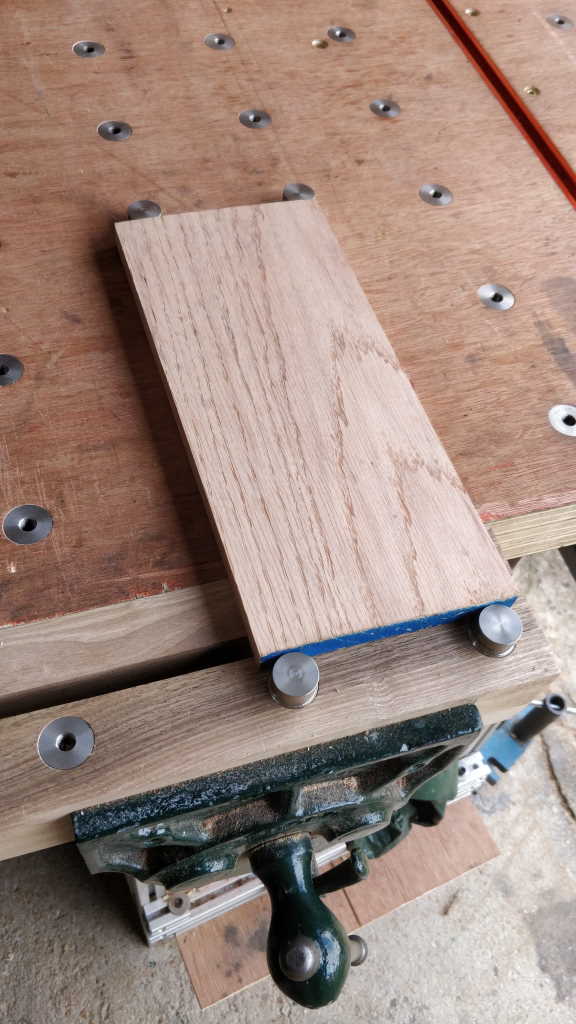
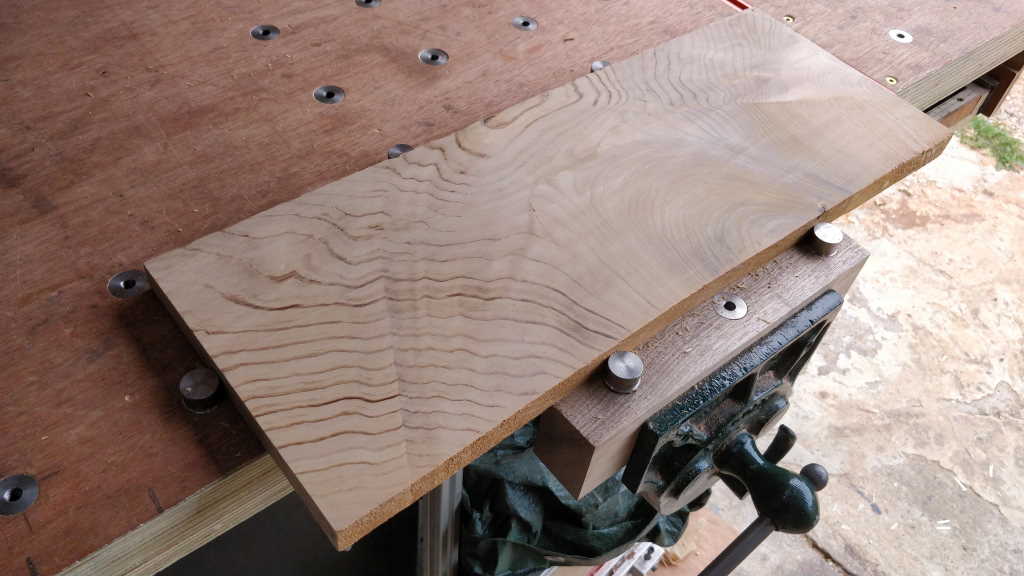
As you can see in the picture above, the grid of dog holes extends onto the jaws of the woodworking vice (which I inherited from my grandfather). This gives a few different options for clamping parts while giving access to the whole of the top surface. For short pieces, I can clamp them length on like this:
 |
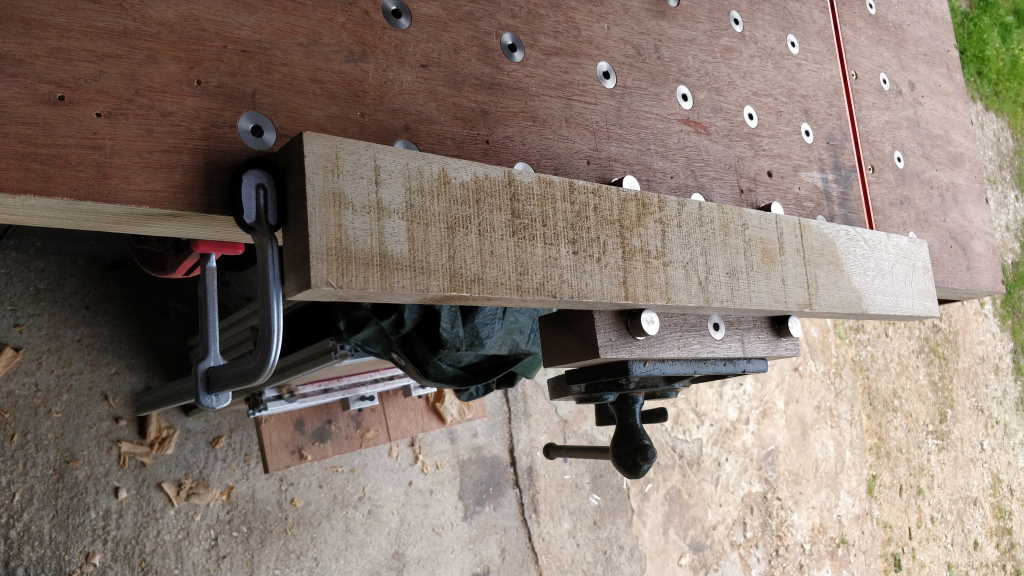
Where the parts are a bit longer, I can use a dog as a planing stop but clamp the sides of the boards using the vice:
 |
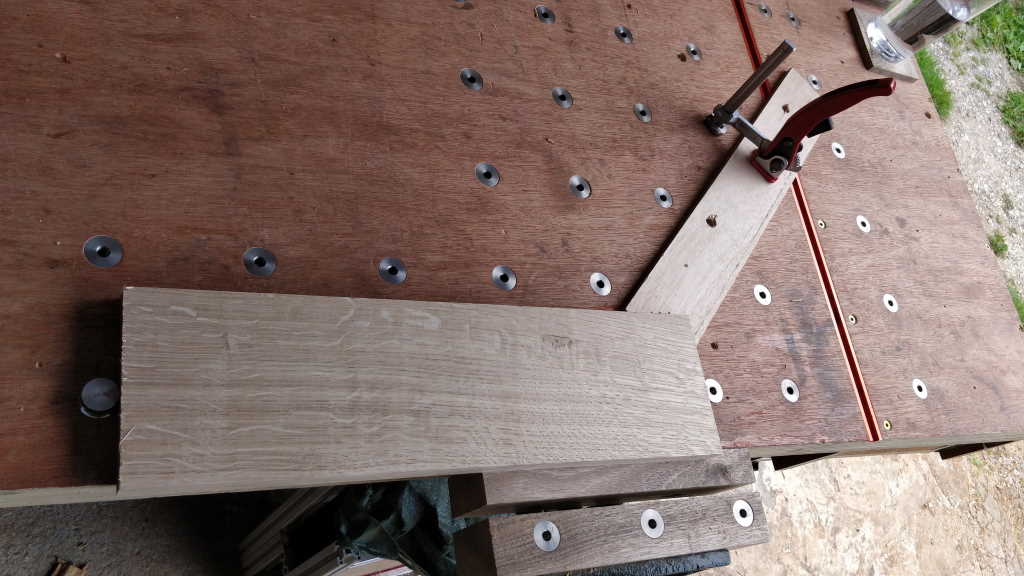
Where the length of the board is such that I don't have dog holes in the right place, I can simply use a clamp as an end stop:
 |
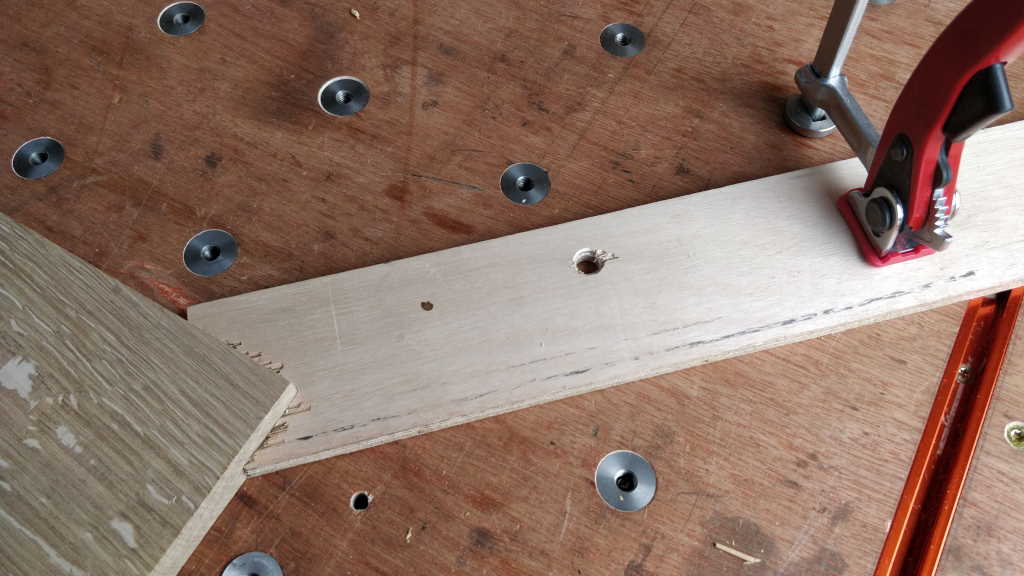
For planing, I usually just use a simple piece of plywood with a notch cut in the end. This has the advantage that it holds the board rigidly enough for hand planing, but allows the piece to be lifted out and examined without having to loosen a vice or any clamps:
 |
 |
The space under the bench is filled with a variety of things, most notably a large chest of drawers and a rubbish bin. I was concerned that small parts might fall through the holes in the bench and be lost. Thankfully, I have a metalworking lathe and so I decided to do something about it. I had found a piece of 25 mm 303 stainless steel in a skip at work, so I put it in the lathe chuck and machined lots of these little dog hole fillers:
 |
The thread through the middle is M8. The countersunk screw that is attached in the bottom stops very small pieces falling through the threaded hole. The threaded hole makes it easy to pull the dog hole fillers out of their holes and also allows more options for clamping things down (either just with screws through holes into a few dogs to prevent lateral movement or by fitting a screw from under the bench to hold the dog filler in place and then using the remainder of the thread to clamp something firmly down).
I've also made an additional portable bench that can be placed on top of the main bench or elsewhere for more flexible working options. You can read about that bench here.
Machinery
Table Saw
My table saw was a "portable" one designed for site use. It's a very useful and capable tool, although being a relatively cheap saw there are some definite weaknesses. The top surface is made of aluminium rather than cast iron and hence is much less hard-wearing than a bigger saw would be. It's designed to be "portable" but is too heavy to comfortably move around, so I made a trolley for it.
The fence isn't fantastic, although it was much improved by a couple of modifications I found suggested online. Someone on the UK mig-welding forum kindly 3D printed two new fence supports for me:
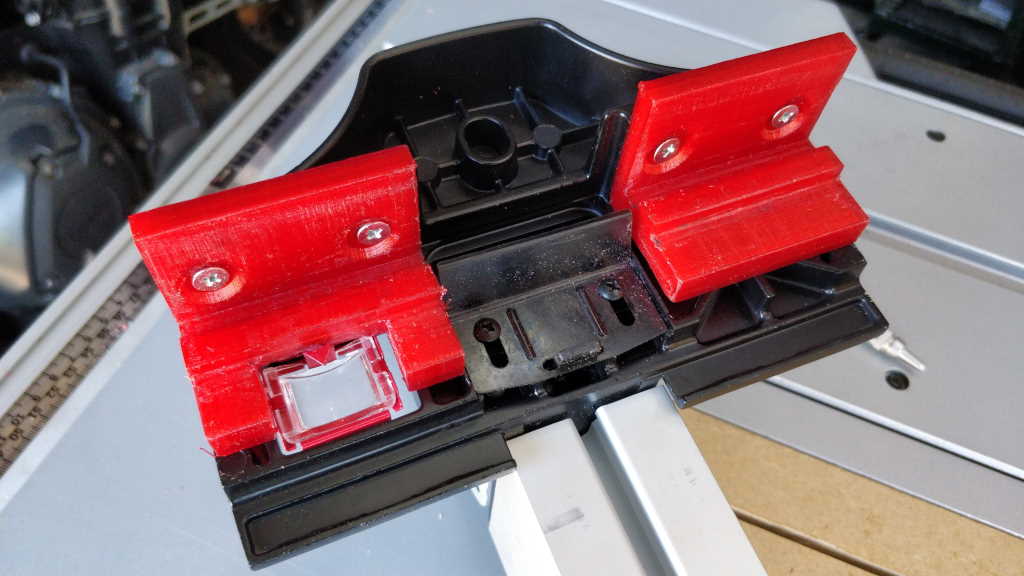 |
I then added a bearing to the other end of the fence:
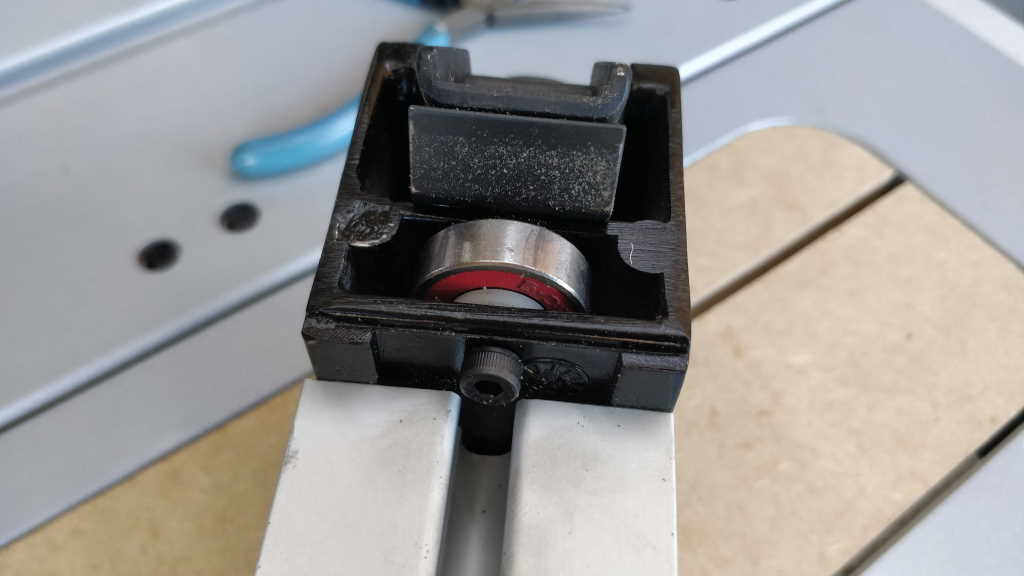 |
With those modifications complete the fence moves much more consistently and, once set-up correctly, seems to stay square. With hindsight it would have been nicer to have standard size T-slots in the saw's table, but it isn't too big a deal in practice (and probably stops me spending lots of money on accessories for the table saw!)
I mostly use simple plastic push-sticks that came with the saw and the thicknesser, but I also made one that runs along the fence for handling thin material.
One of the table saw add-ons that I use most often is my cross-cut sled. This was relatively quick to conceive and to make the parts for, but took a lot of tweaking to get it cutting absolutely square. It was well worth the effort though.
After using the table saw (and especially the cross-cut sled) for a couple of years, I decided that a bandsaw would be more useful. I sold the table saw and haven't really missed it since it went.
Thicknesser
The 2020 Black Friday sales thoroughly destroyed my inbox and I've never really seen the point in buying a fancy new TV when my 13-year-old one still works, so I squandered on a new toy: a thicknesser. I'd wanted one for a long time, but felt like the lack of space was a bit fundamental. It probably still is, but what the heck.
The thicknesser gives me the ability to reduce the thickness of boards (as the name implies) and plane a second side of a board parallel to the first. It doesn't directly allow me to plane the first side of a board: the power tool that would do that is called a surface planer (known in America as a "jointer"). There is a big difference between the level of difficulty of hand planing a single side to be flat and planing a second side to be flat, parallel to the first side and with the board the right thickness. I'm reasonably comfortable with doing the first of these jobs (or can use my router sled or, with a sled, the thicknesser), but getting the second side parallel and exactly the right thickness is much more difficult and that's where the thicknesser comes in.
I am trying to use hand tools more (partly because of the peace and quiet, partly to improve my skills and partly because I enjoy the process more). As a compromise my current wood preparation process is:
- Hand plane the first broad side of the piece of wood to get it flat and without twist.
- Put it through the thicknesser to get the second side flat and parallel to the first side.
- Cut the first narrower side straight and perpendicular to the broad sides. This is done using either a hand plane, the table saw with a sled or a tracksaw depending on what mood I'm in.
- Cut the second narrower side straight and parallel to the first narrower side. This is done either using a marking gauge, hand saw and hand plane or with the table saw, depending on what mood I'm in.
- If I want to split the board into two or more pieces, use my kerfing saw to mark a uniform kerf all the way round the rim, then cut it up with a Ryoba hand saw and hand plane the two parts. As the saw will have cut the parts very close to parallel to both existing faces, it's relatively easy to get the side with saw marks on parallel when planing.
- Trim to length as required, using the Ryoba or sometimes the table saw.
All of the above steps are usually done with hand tools except #2, and the thicknesser has been invaluable for making this process much easier for someone with limited experience such as me. If I were starting again with buying woodworking tools, the thicknesser would be the first power tool I would buy.
I made a trolley for the thicknesser with some "wings" to support long bits of material and a sub-table to try to reduce snipe. You can read about it here.
Routers
I've got two routers, a small hand-held one that takes 8 mm and 6.35 mm (1/4") shank cutters and a large one that can take up to 12.7 mm (1/2") shank cutters. I've had the large one for a while and have used it for odd DIY projects, but since getting the small one I now only use the large one in my (semi) home-made router table. I've made a router sled to help with machining flat surfaces on pieces of wood and a router extension to allow a longer reach for the small router (mainly for use on the sled).
Dust Collection
I have a Nilfisk Aero 26-21 vacuum cleaner as my only dust collection means. I made a dust box with a cheap cyclone to make this work much better with less frequent bag and filter changes.
This website is free, but costs me money to run. If you'd like to support this site, please consider making a small donation or sending me a message to let me know what you liked or found useful.