Bandsaw Restoration: Casting Modifications
Prior to assembling the bandsaw, I made a few modifications to the castings. Some that weren't strictly relevant to the restoration are described on another page, as are others that were done before painting, but the remainder are described here.
Lower Casting Modifications


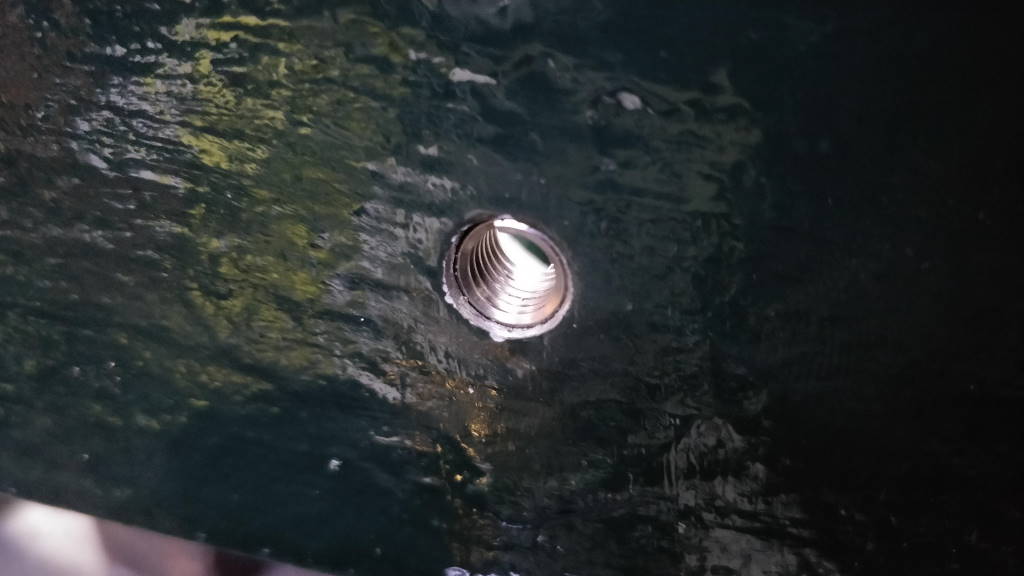
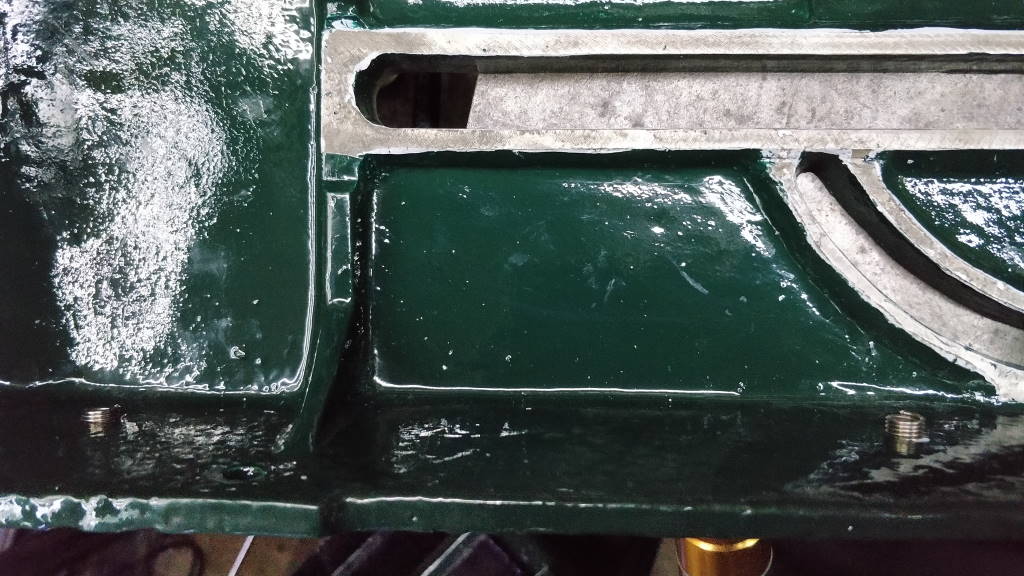
With the new base, access to the underside of the lower casting is restricted. This means that if parts are held onto the base casting with a screw and nut, the nut will be inaccessible once the saw is assembled. For the holes where this was relevant (in particular the brackets for the spring adjuster shaft), I tapped the holes and inserted v-coils. As you can see in the photos above, the v-coils were longer than the casting thickness, but they still work fine for holding simple brackets in place.
Upper Casting Modifications

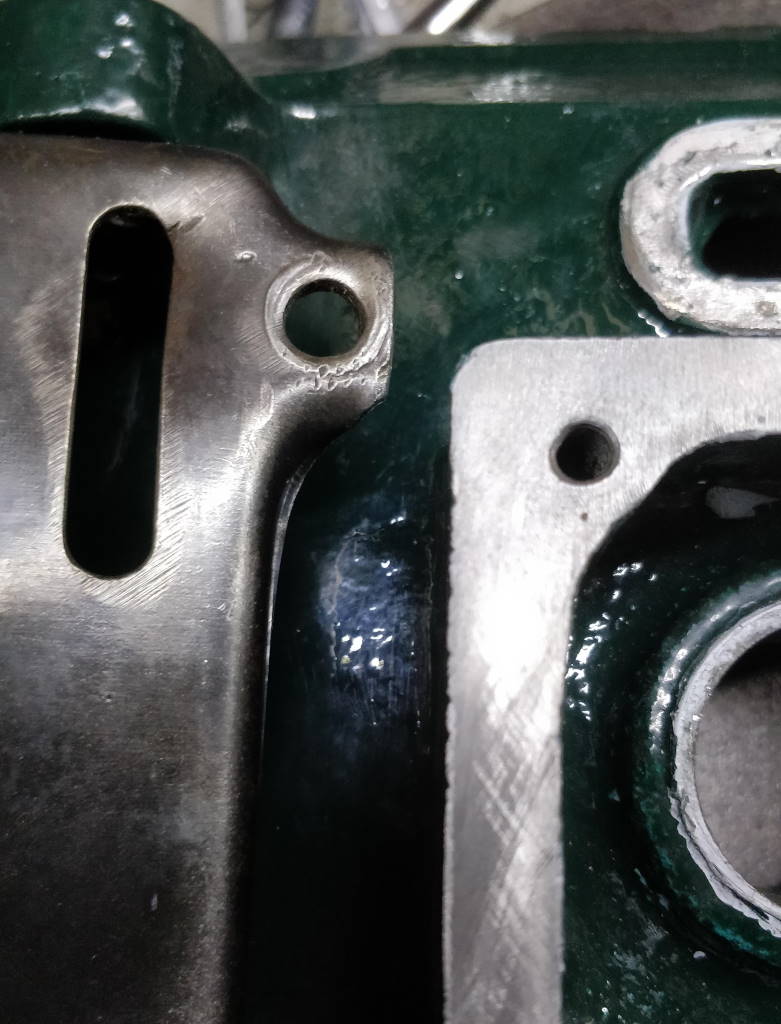
This photo shows how the motor plate sits on the upper casting. A screw is inserted into the hole you can see in the plate and bears on the surface of the upper casting. With my slightly over-thick paint job, it seemed inevitable that this screw would very quickly destroy the paint.

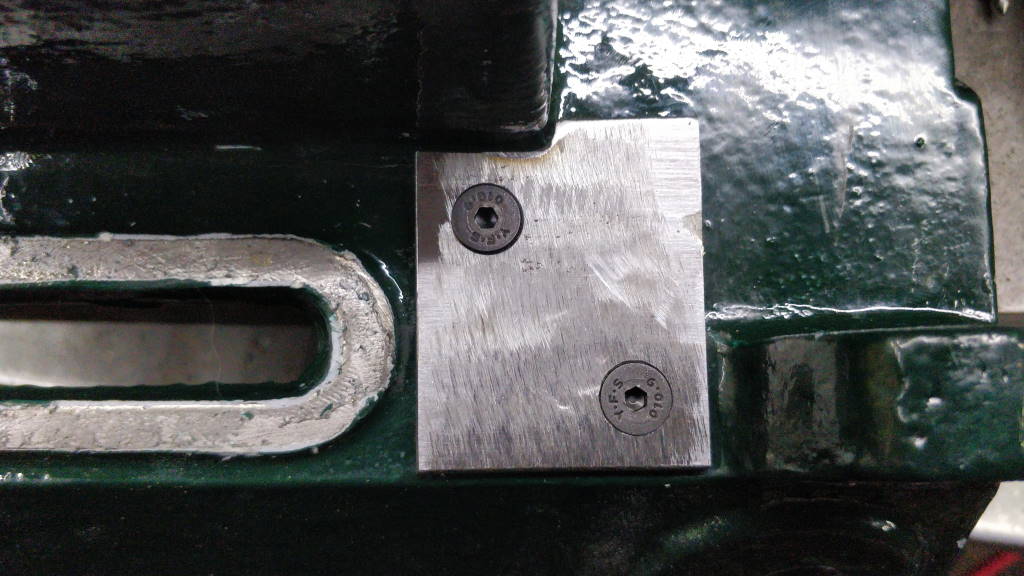
To overcome this, I fitted a simple steel plate to the casting using two drilled and tapped holes. The screw will now bear down on the metal plate and won't leave an unsightly area of mashed up paint.
This website is free and ad-free, but costs me money to run. If you'd like to support this site, please consider making a small donation or sending me a message to let me know what you liked or found useful.
