Bandsaw Restoration: Swarf Tray
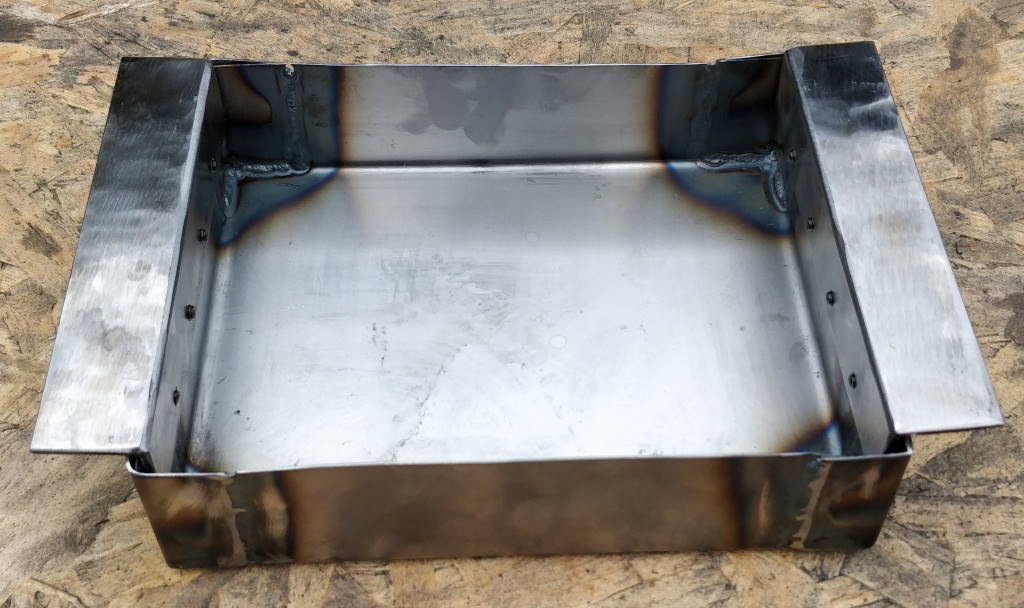
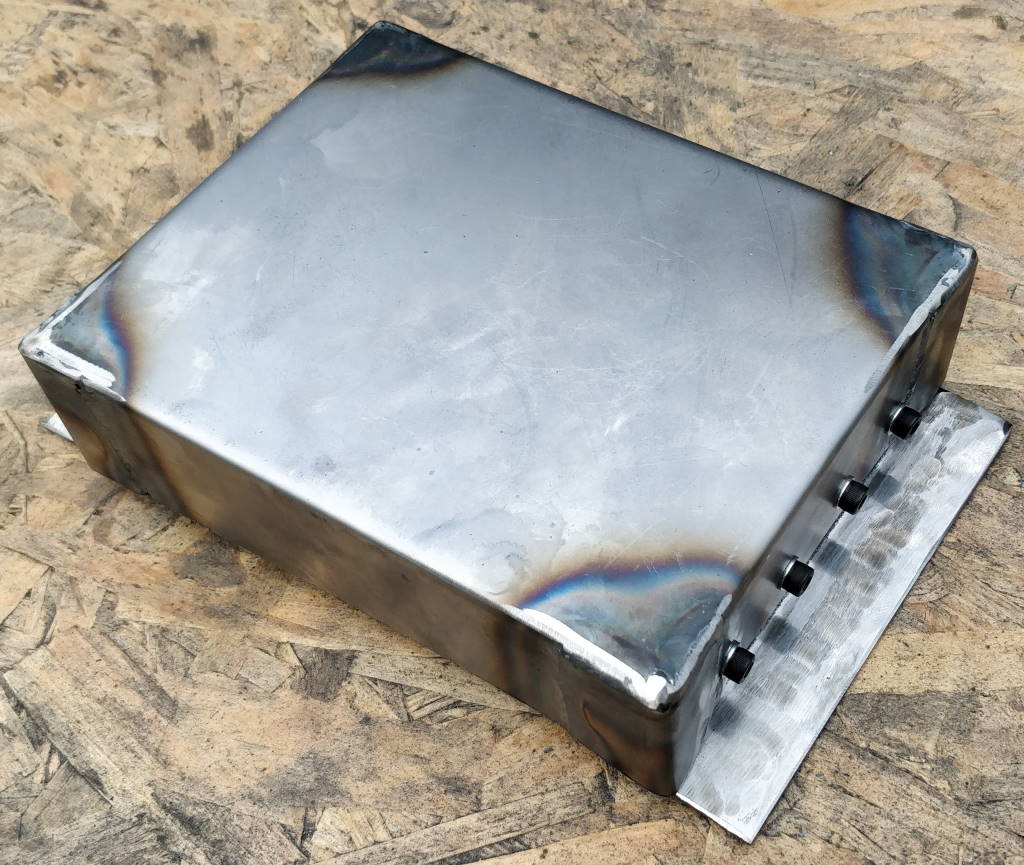
These photos show a simple tray I made from 0.8 mm mild steel sheet with my sheet metal bender. The page describing the sheet metal bender shows the manufacturing process I went through to make this tray. I added some "wings" made out of 25 mm × 25 mm × 3 mm angle iron. These each have four holes tapped M5 and the tray attaches to the wings using these holes.
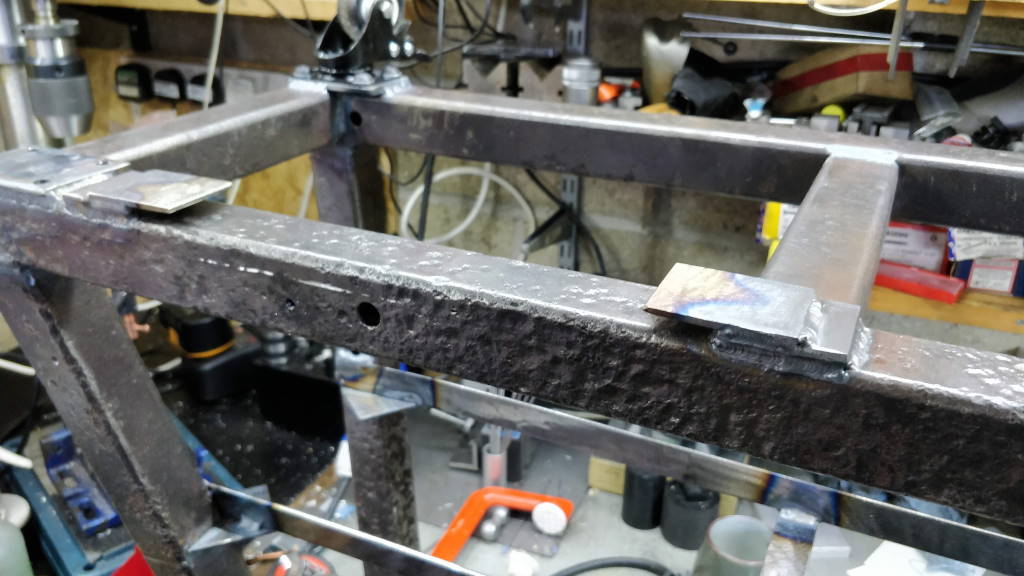
This photo shows two brackets I added to the bottom of the base. The brackets are just some off-cuts of 6 mm and 3 mm steel plate, added in two layers to make an overhanging shelf. The wings of the swarf tray slide on these brackets allowing it to move with the base when the bandsaw is wheeled about.
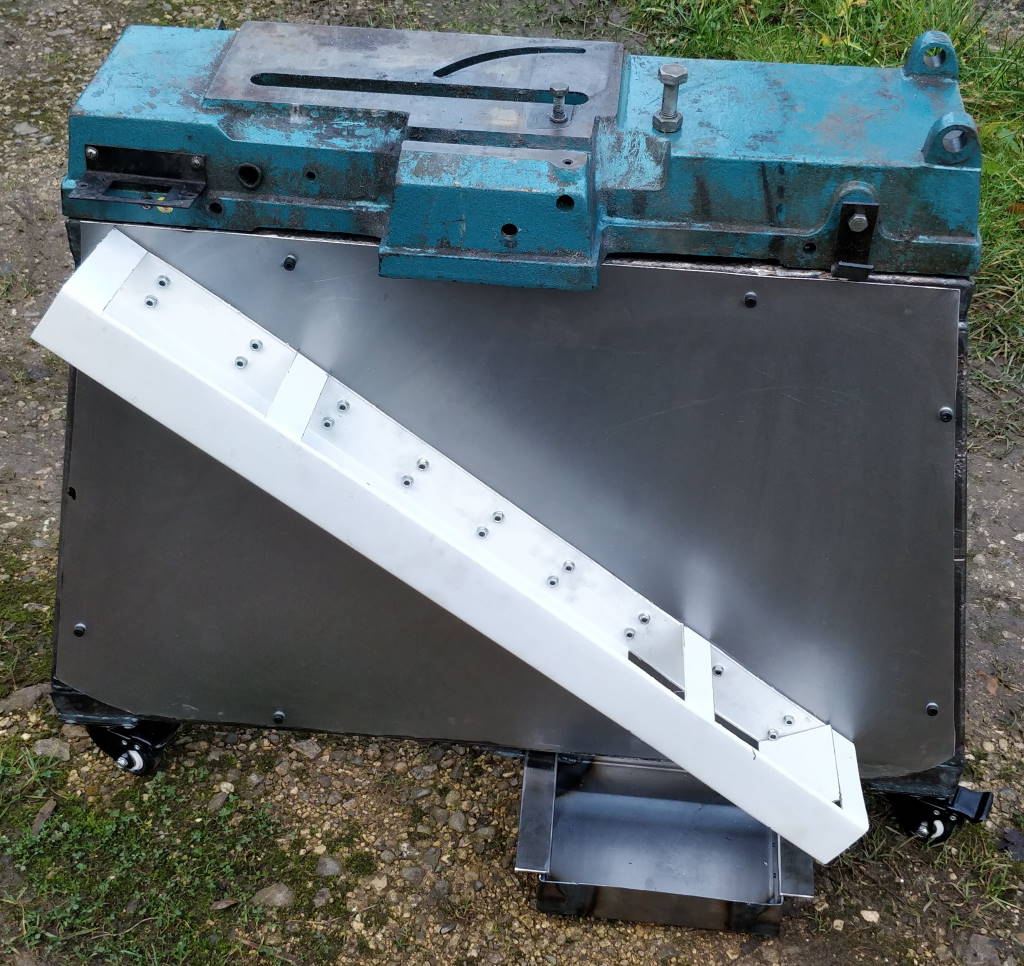
This photo shows the swarf tray and the slide in place on the side of the base. Hopefully this makes the design intent clear.
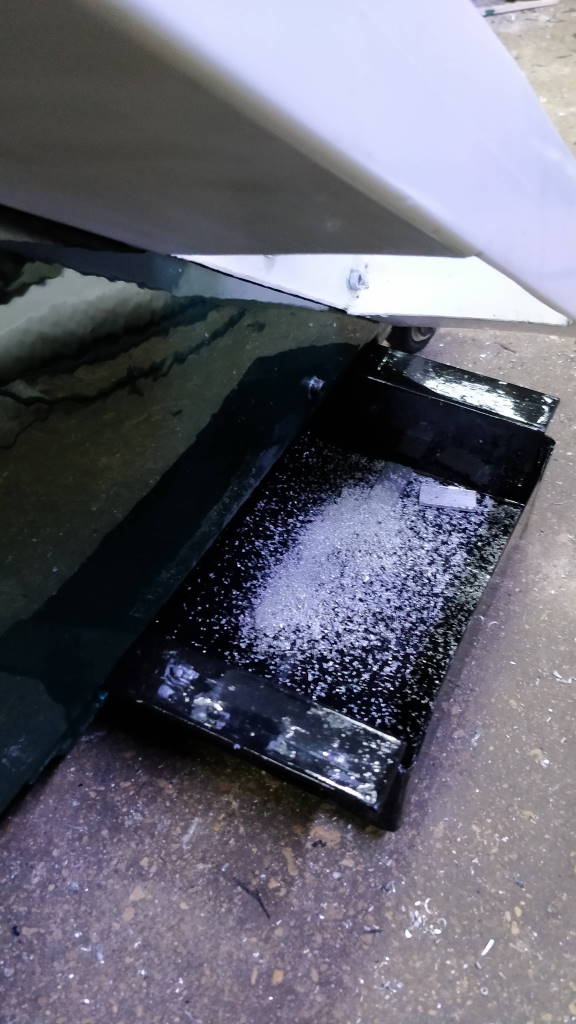
This photo shows the swarf tray after the first test cut was done with the bandsaw. It works!
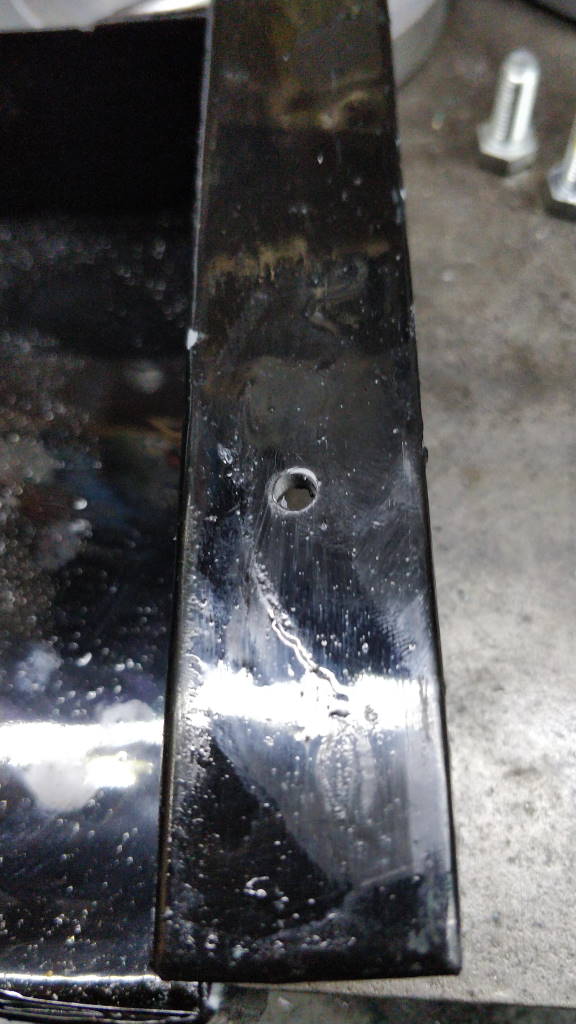
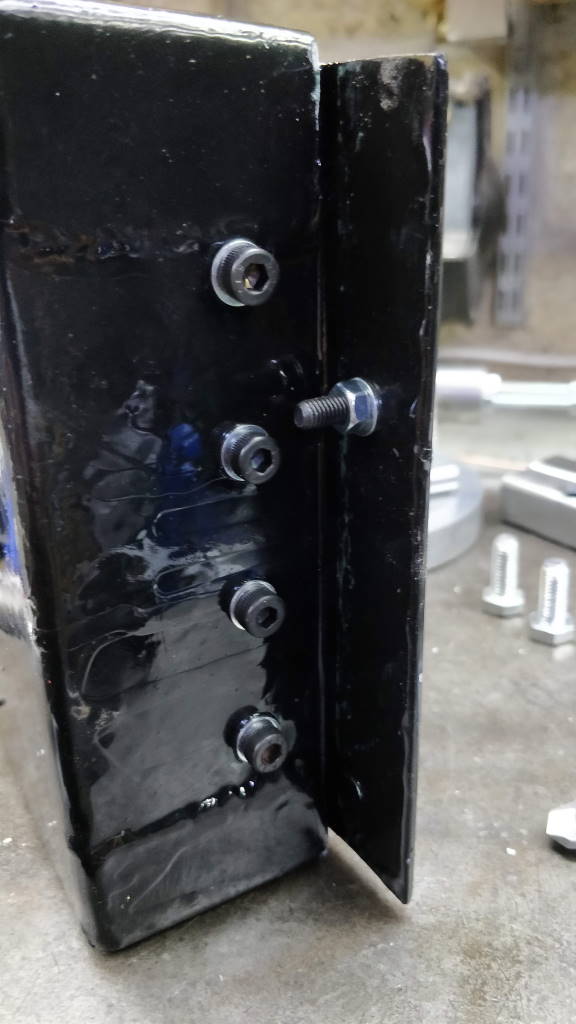
After using the bandsaw for a few cuts and moving it around the garage a lot, I noticed that I was tending to kick the swarf tray, causing it to slide underneath the base frame and to no longer be in line to catch the falling swarf. To prevent this from happening, I drilled two holes in the swarf tray, one in each wing. I then fitted a button-head cap screw in the hole, held in place with a nut.
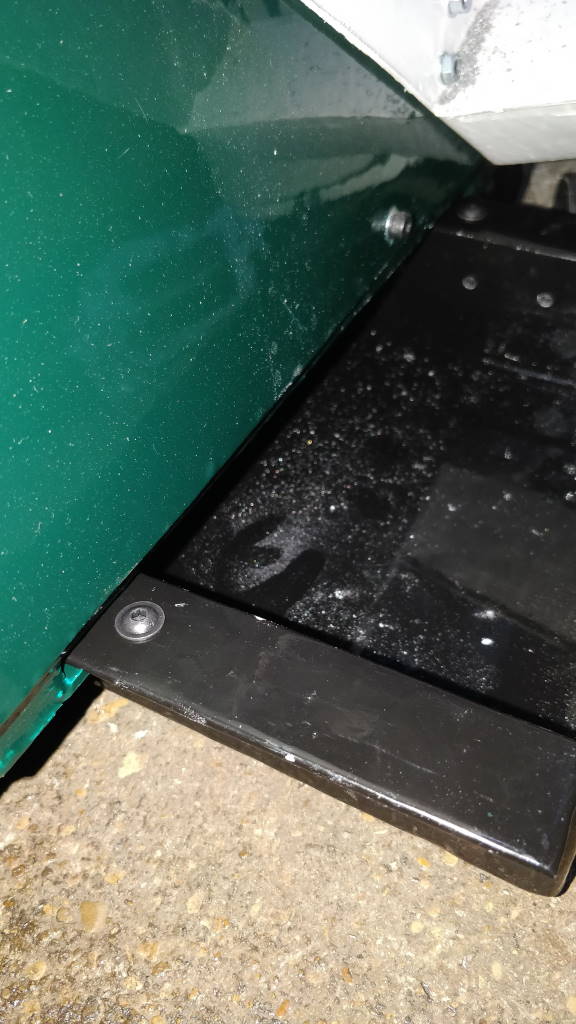
This photo shows where the button-head screw sits when the swarf tray is mounted. The swarf tray no longer disappears under the base frame.
This website is free and ad-free, but costs me money to run. If you'd like to support this site, please consider making a small donation or sending me a message to let me know what you liked or found useful.
