Heat Treatment Oven Build Process
Page 32 of 35
Posted 15th February 2025
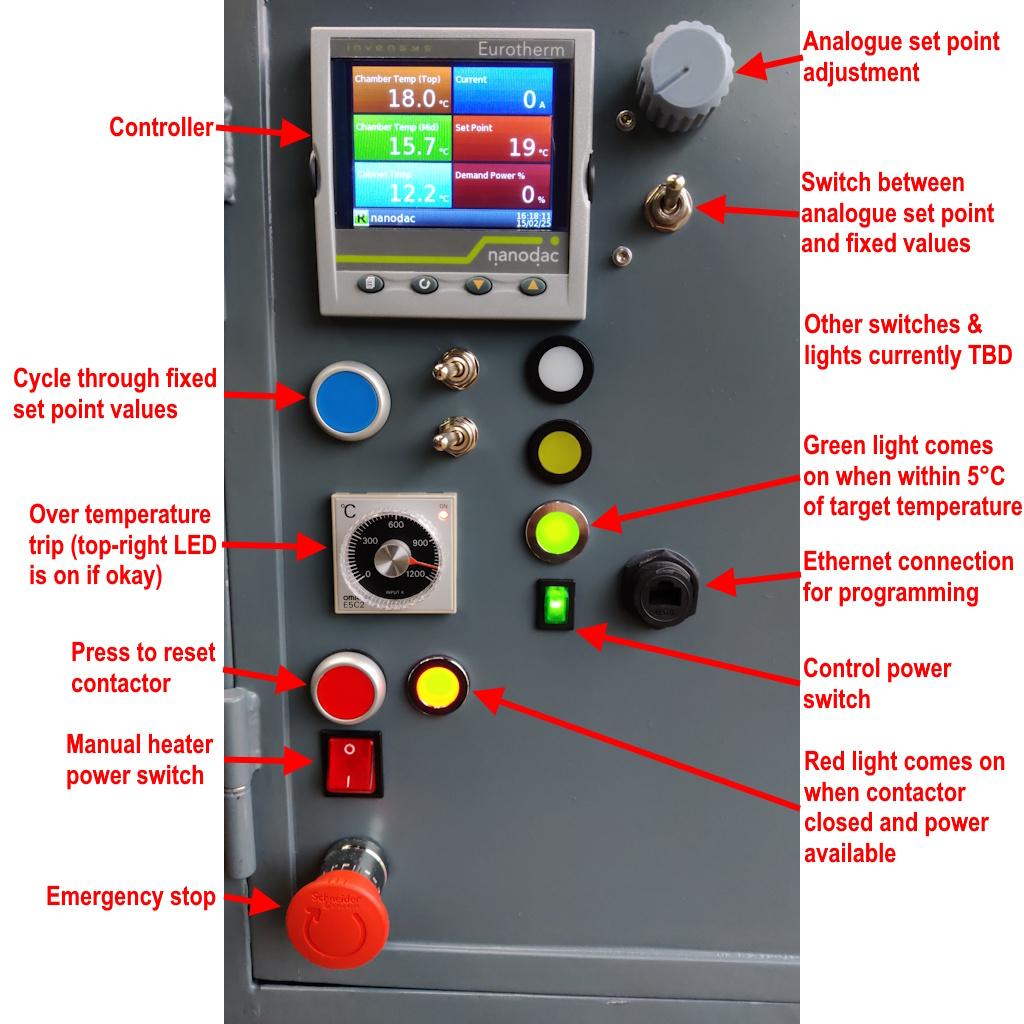
I thought it would be a good time to document the user interface to the control cabinet as it stands at the moment:
There are two un-allocated switches and two un-allocated lights. The plan for these is to control some more advanced functions using the controllers "programmer", but I haven't quite got there yet.
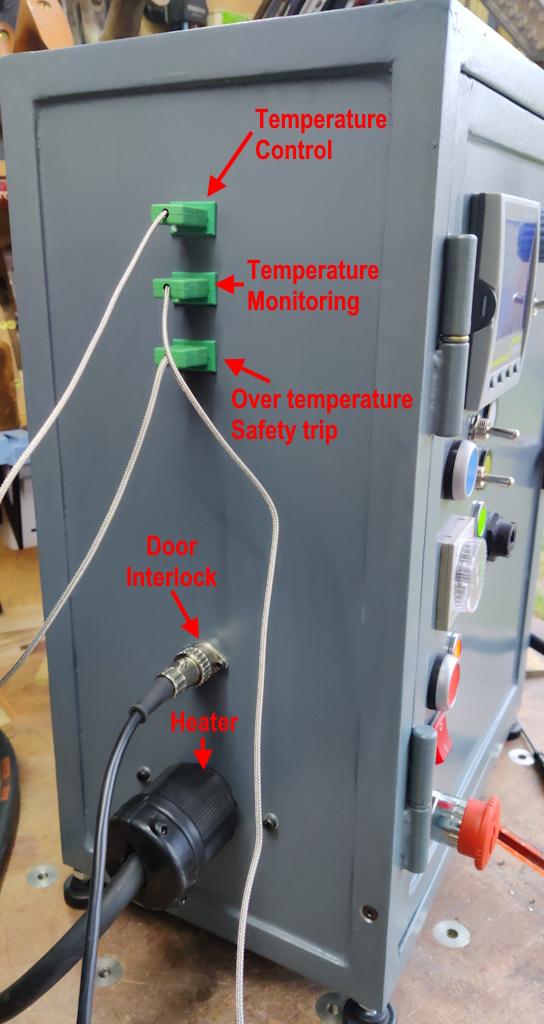
Similarly, I've documented what the connections on the side do:
For both the side connections and the various buttons / lights, I may add some labels at some point to make the function clearer, but I'll leave that until I'm fairly certain they won't change again.
This is a short video giving an idea of the user interface to the control cabinet:
First, I adjust the over temperature trip setting and you'll see the light go out (and perhaps hear the contactor releasing) when the dial is turned right down. Then, after turning the dial back up, I reset the contactor. The blue button is then used to cycle through some pre-defined set points, which you'll see displayed on the middle-right box on the controller display. The top-right switch is then used to change to analogue set point control, using the potentiometer, before switching back to the previous fixed set point. I then go back to analogue set point control and show that, if the set point is within 5°C of the chamber temperature, the green light comes on. The heater power switch is then used to connect the power to the chamber (you can possibly hear a quiet buzzing noise in the background) and the current read-out (top right of the controller display) changes. Finally (out of shot), I open the cabinet door and the door interlock trips the contactor. Hopefully that's all clear.
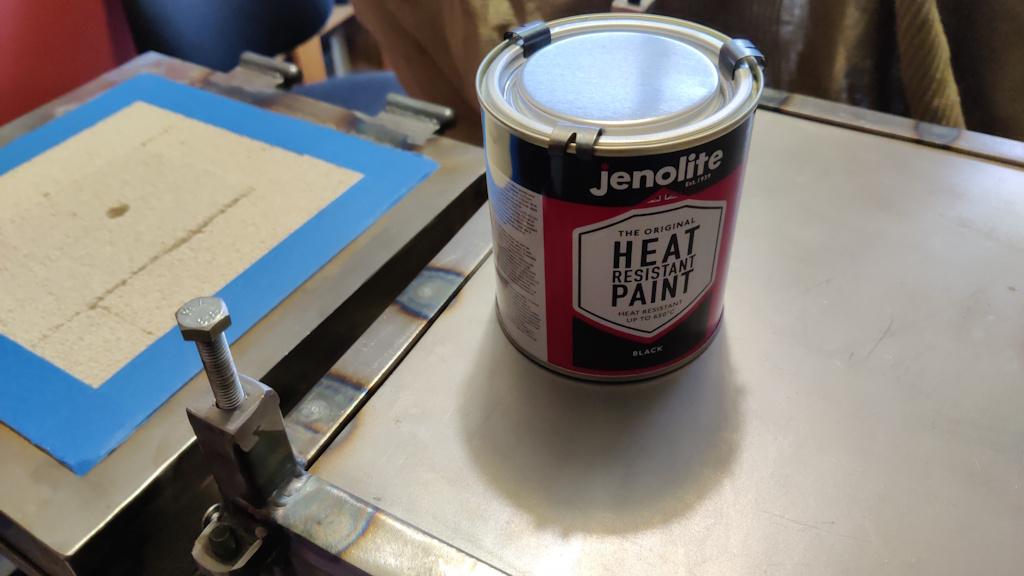
Meanwhile, I've also painted the chamber, using a couple of coats of this stuff, which is rated to 650°C (hopefully the outer skin of the chamber won't get that hot):
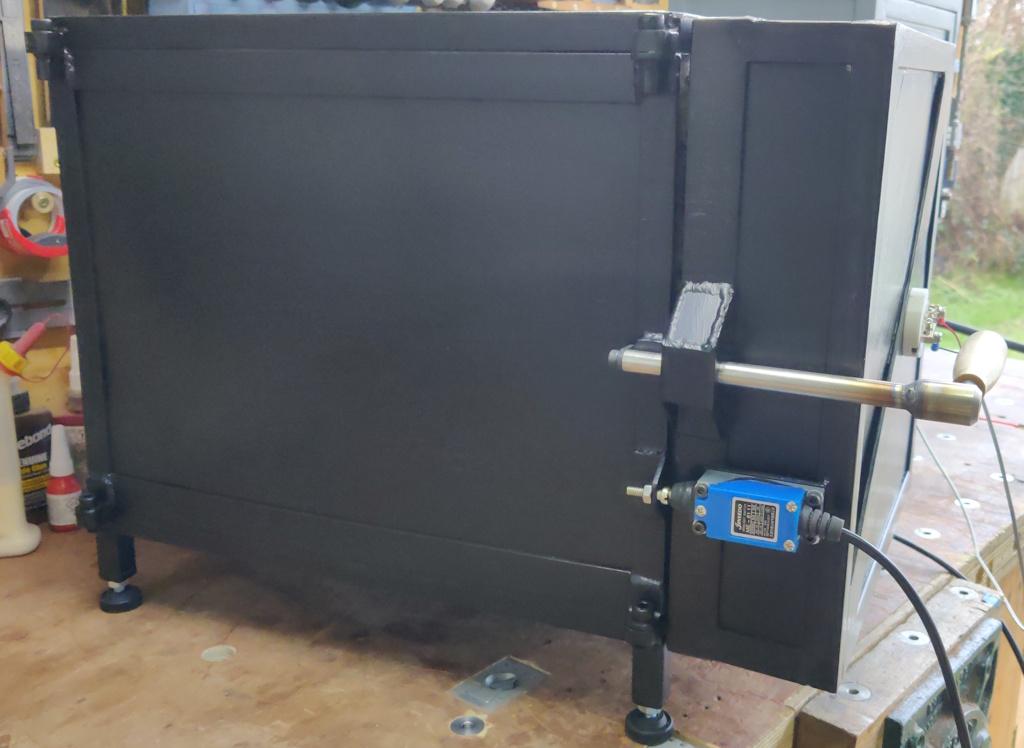
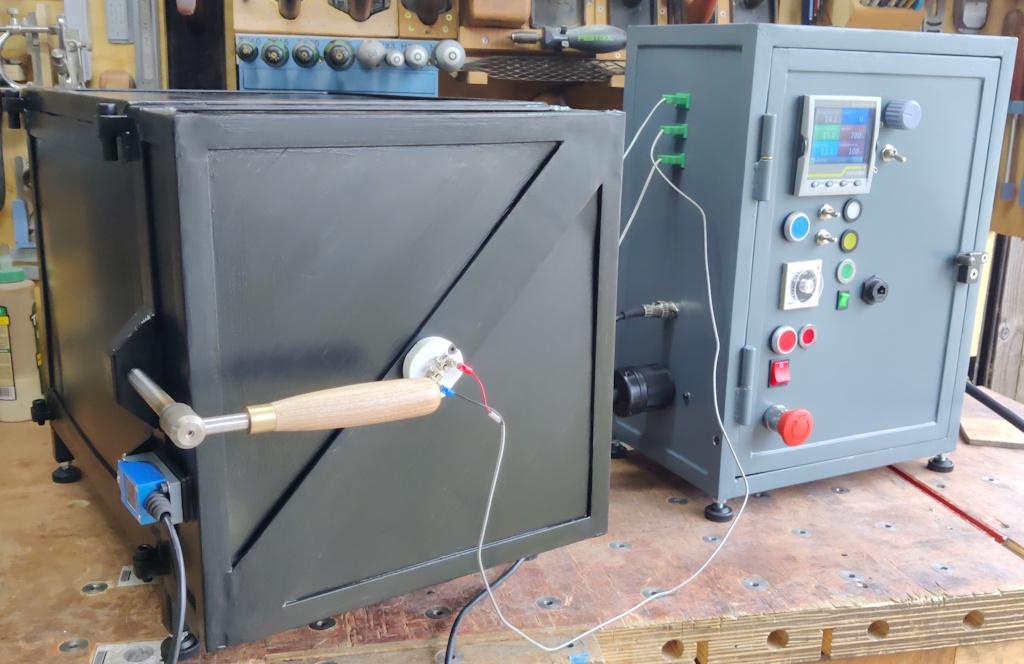
As you can see from this slightly blurry side view (I'll get some better photos if we ever see some sunshine!), I left the stainless steel components (the handle) unpainted and used chemical blacking compound for the latch piece on the end of the handle:
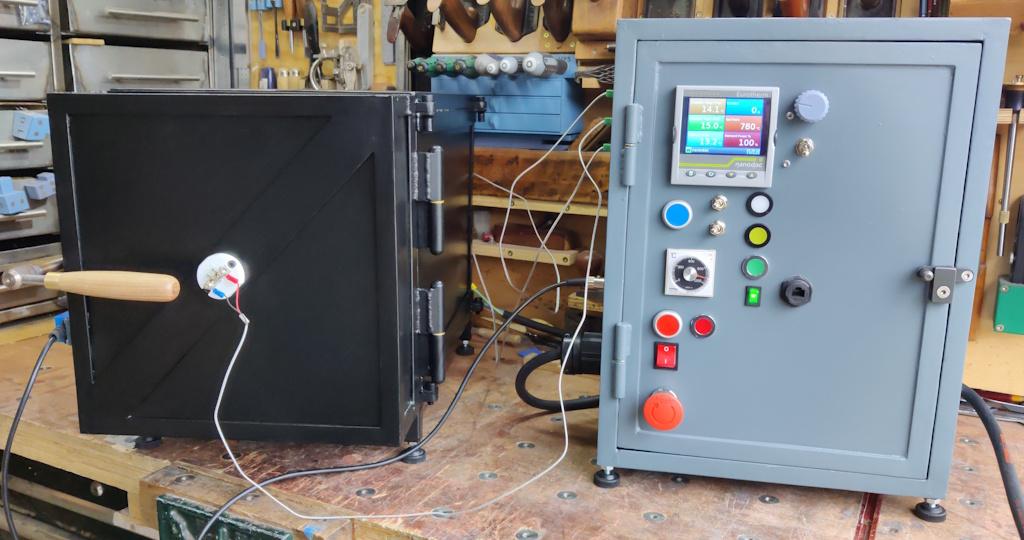
Here's a view of it wired up to the control cabinet:
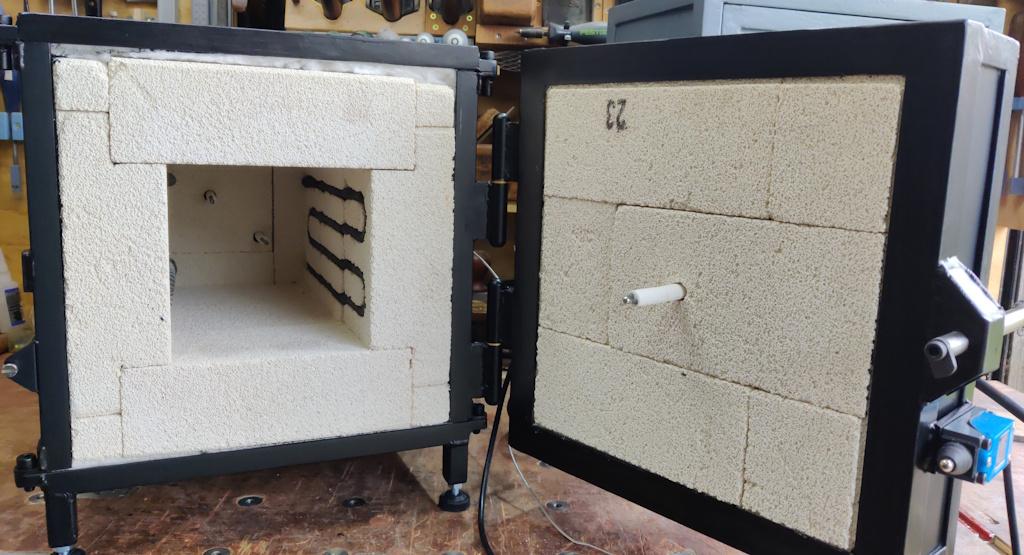
I painted it all without taking it apart, but I think I managed to get to most of the exposed steel without getting too much into threads or onto bricks:
One more photo for luck:
Page 32 of 35
This website is free and ad-free, but costs me money to run. If you'd like to support this site, please consider making a small donation or sending me a message to let me know what you liked or found useful.

 Return to main project page