Heat Treatment Oven Build Process
Page 35 of 35
Posted 1st March 2025
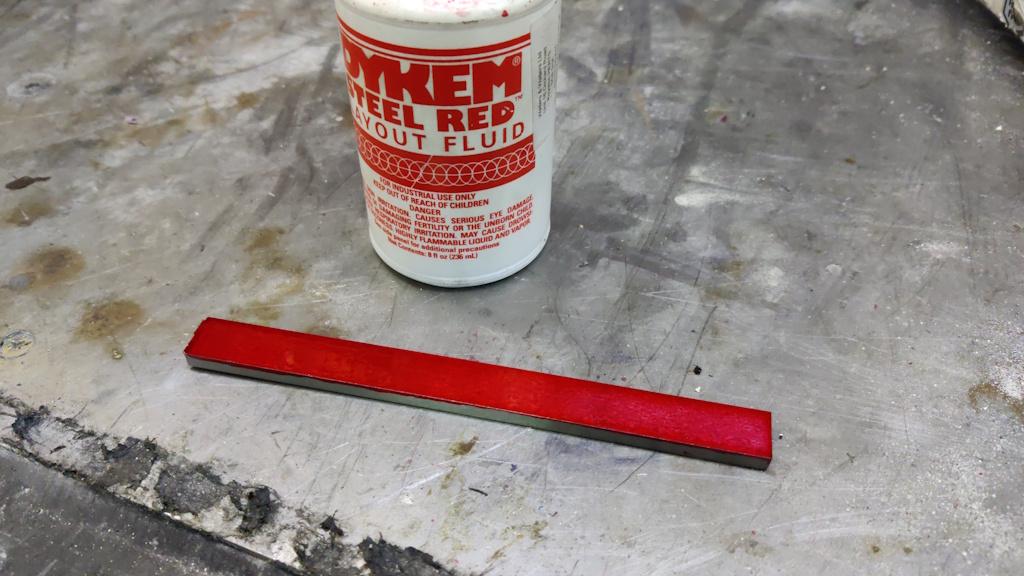
The next project I wanted to do with the oven was to make a wood turning tool. I started with a bit of 5 mm × 15 mm gauge plate, which I marked up with some Dykem:
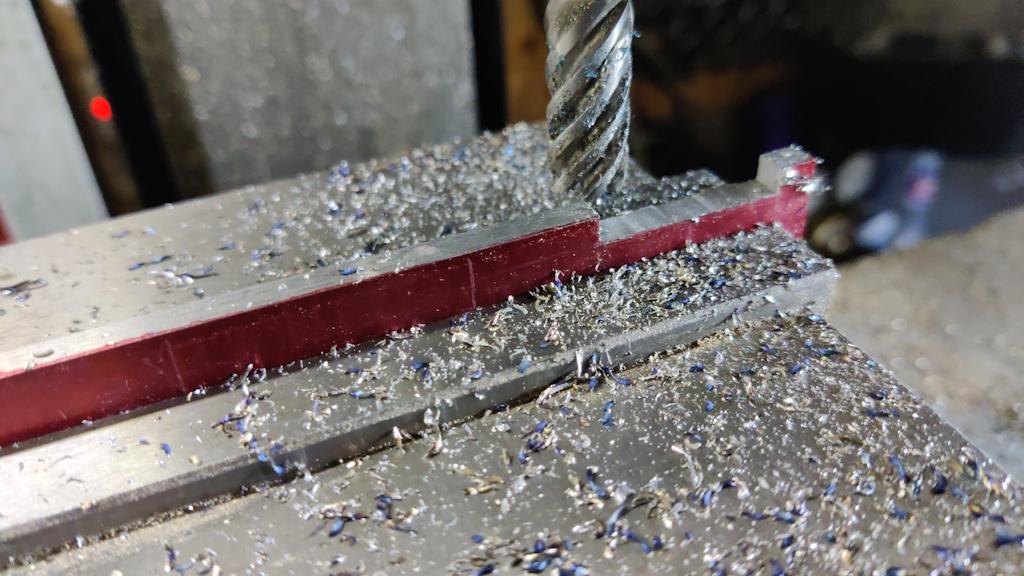
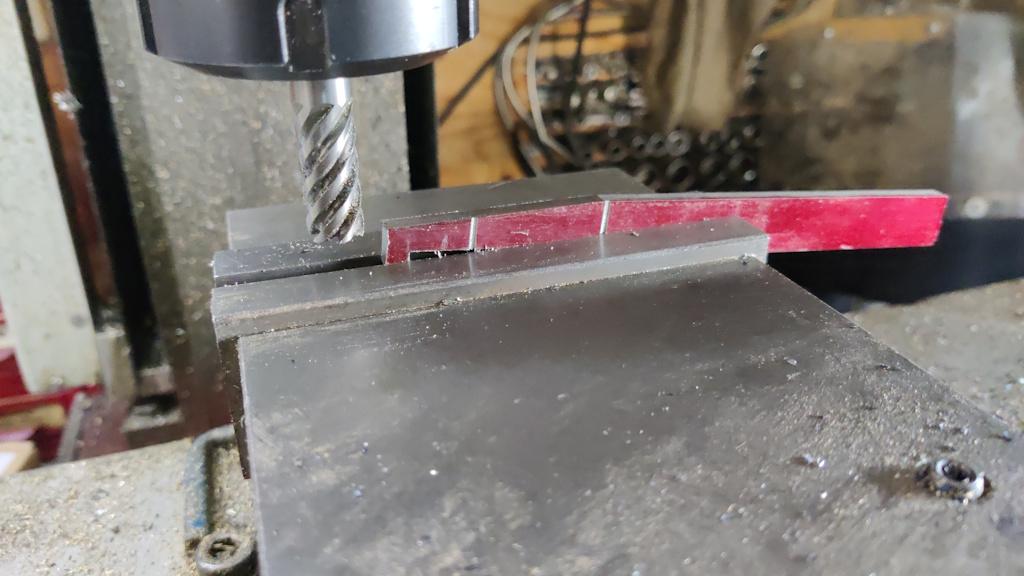
I'd made a dimensioned drawing based on a combination of inspecting a lathe tool in a shop and reading dimensions of some drawings of the things these tools are intended for. Based on that drawing, I scribed a few lines on the part as a guide. I then mounted the steel in the milling vice and attacked it with a 12 mm carbide end mill:
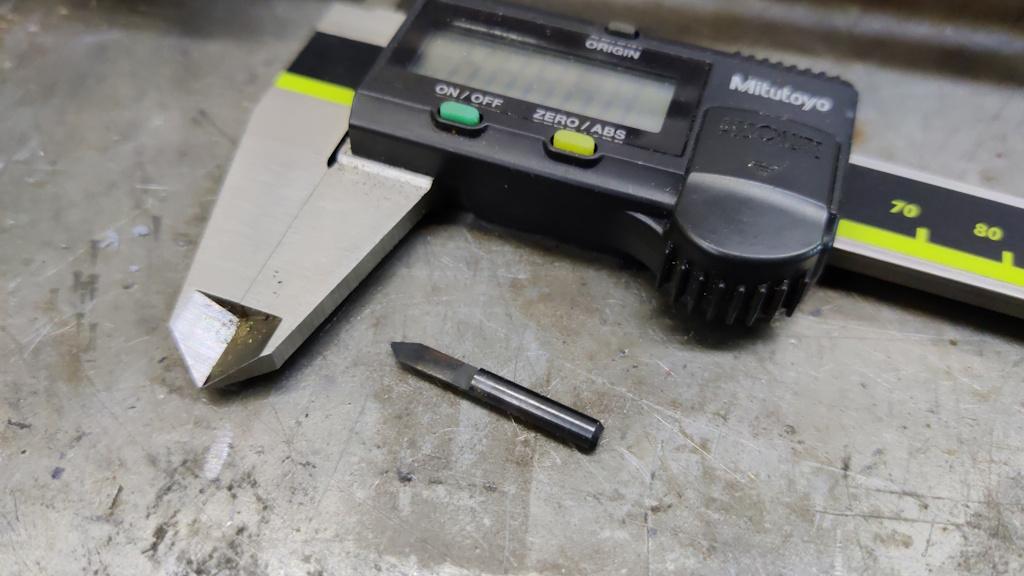
A few years ago, I made this tiny little d-bit engraving cutter for use with my home-made pantograph:
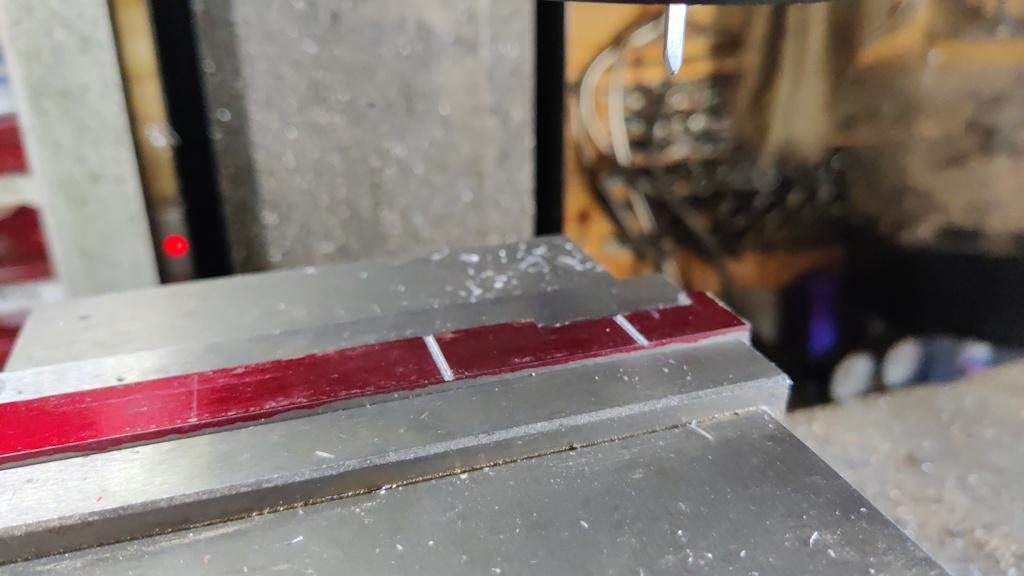
That was used to engrave a couple of lines in the top face of the steel bar:
The part then got flipped around again to mill an angle on the back edge...
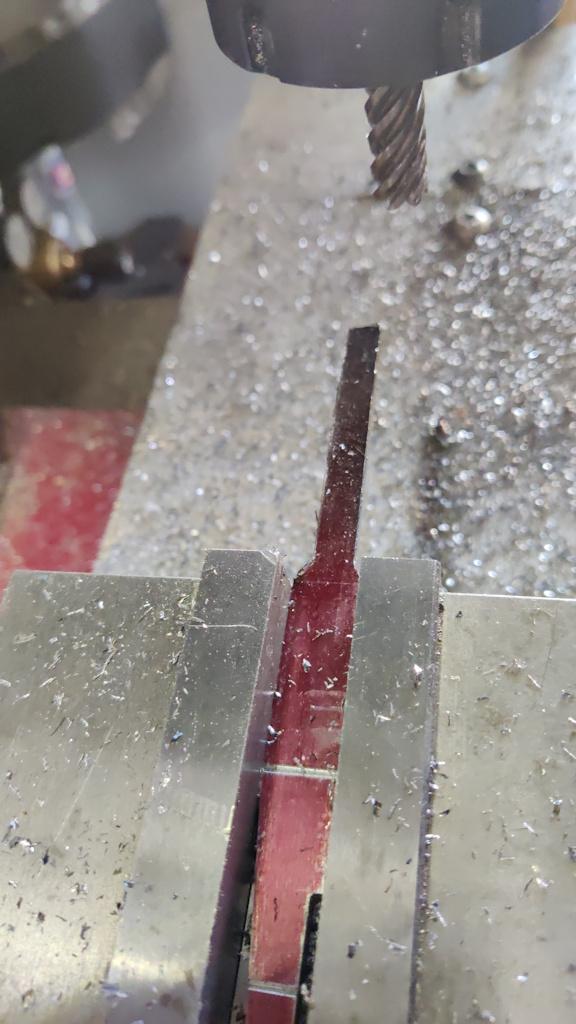
... and the last milling job was to make one end a bit narrower to form the tang. This wasn't an ideal way to support a part, but I wasn't aiming for anything especially precise (in all honesty, I suspect the whole part could have been made with hacksaws and files and been perfectly accurate):
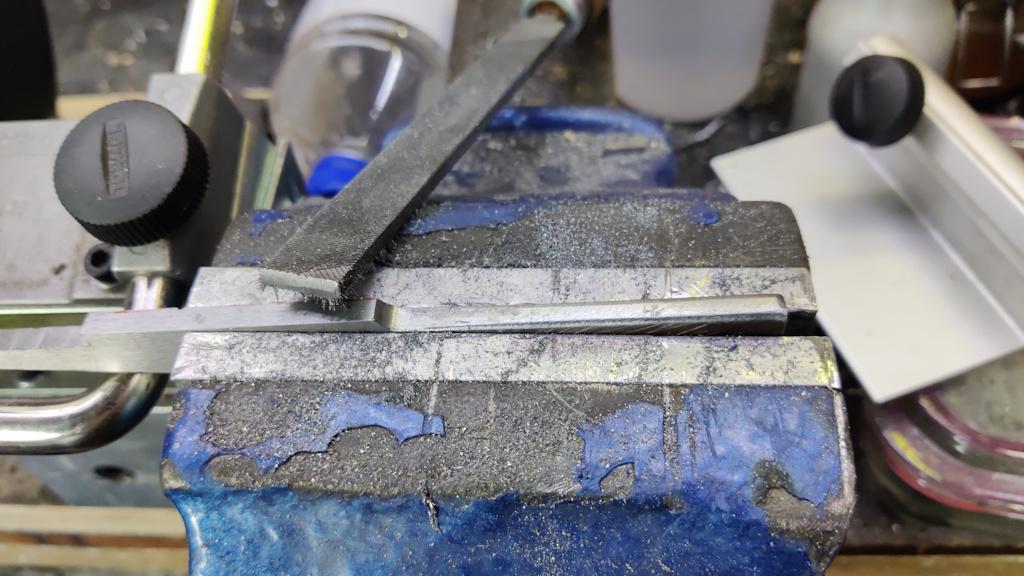
The tang then got filed a bit to give it a bit of a taper and to round over the edges slightly:
With all the shaping done, it was time for heat treating.
I put the tray in the oven and used the TIG torch (with lots of pre- and post-flow, a very low current setting and no tungsten installed) to "pour" some argon into the tray. After doing that for about a minute's worth of flow, I lit a match and lowered it slowly into the tray. It stayed lit, so that obviously didn't work at all!
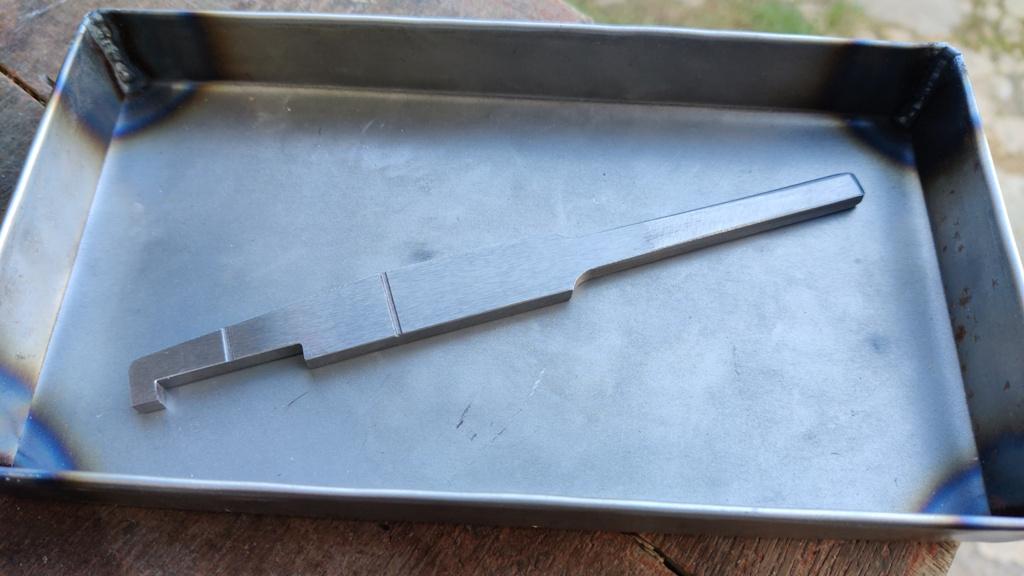
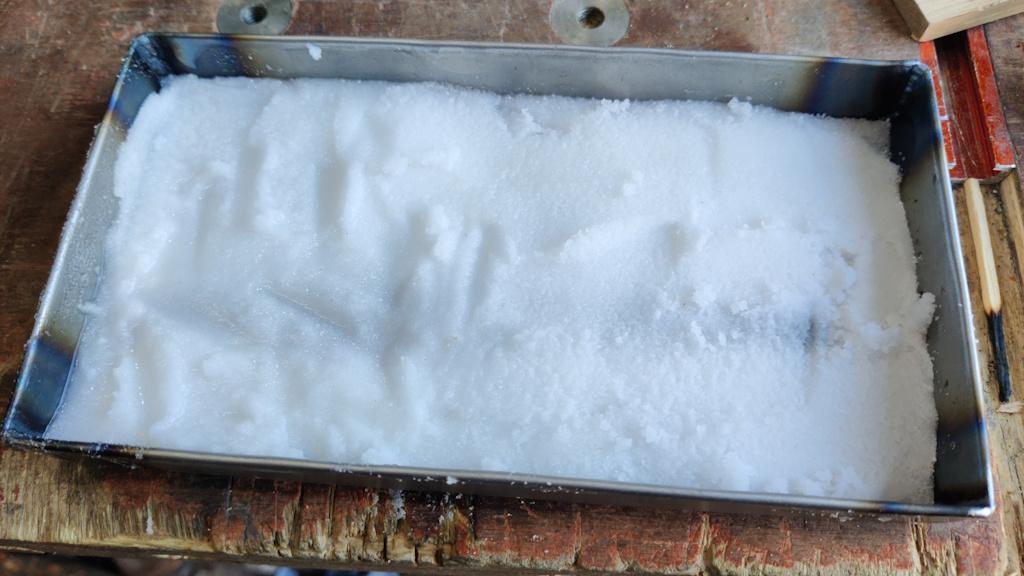
I didn't want to spend too long (or waste too much gas) playing with it, so I went back to the boric acid plan: pouring some boric acid powder into the tray and then moistening it with meths:
I then put the chamber on to heat up to 780°C. I initially had a go with the controller's programmer feature, but I'd obviously set something wrong with either the ramp rate or the hold-back level as it was constantly alternating between a short rise and then a hold-back, resulting in very little current flowing. I thought I'd set the hold-back threshold to be 20°C (i.e. it wouldn't try to slow the set point ramp until there was a 20°C difference between set point and chamber temperature), but it seemed to be kicking in at about 0.2°C. I decided to put off thinking about that for now and just used the standard single set point mode, which works fine for this application anyway.
As there was lots of meths in the enclosed space of the oven I was a little nervous of what might happen, so I set it running and then went and sat in the garden, just within sight of the chamber but with plenty of clear space in between (and a wall blocking most of the view). I needn't have worried though: the chamber isn't really that air tight: it's obviously air tight enough to allow it to get hot reasonably quickly and stay there, but there were little puffs of smoke coming out of the back of the chamber as the meths burnt off, so there's obviously enough in the way of a gap for it to be relatively safe. Nevertheless, I put a face mask on before opening the door, just in case.
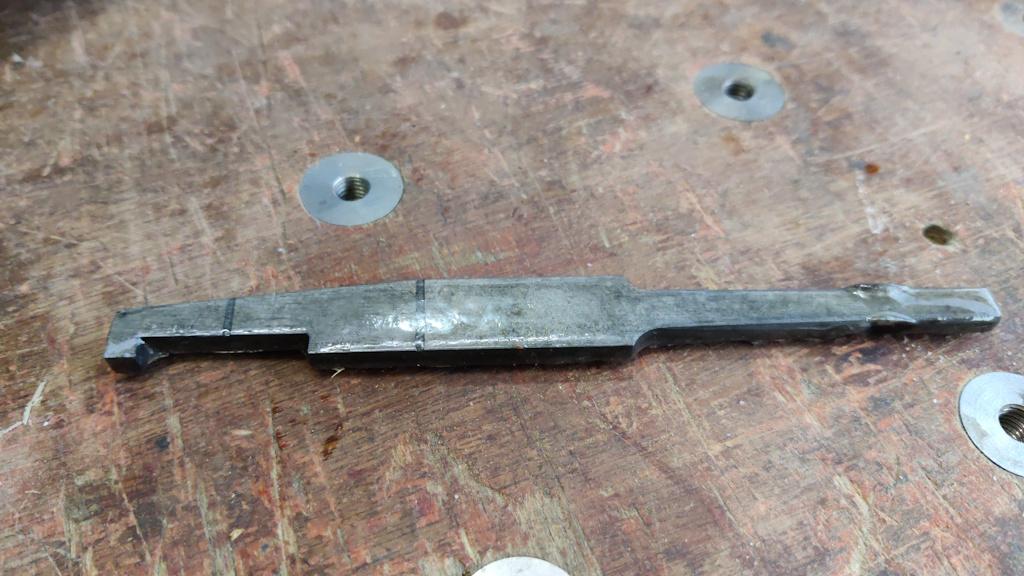
When the part had come out of the oven and been quenched in vegetable oil, it had a glassy coating all over it from the boric acid:
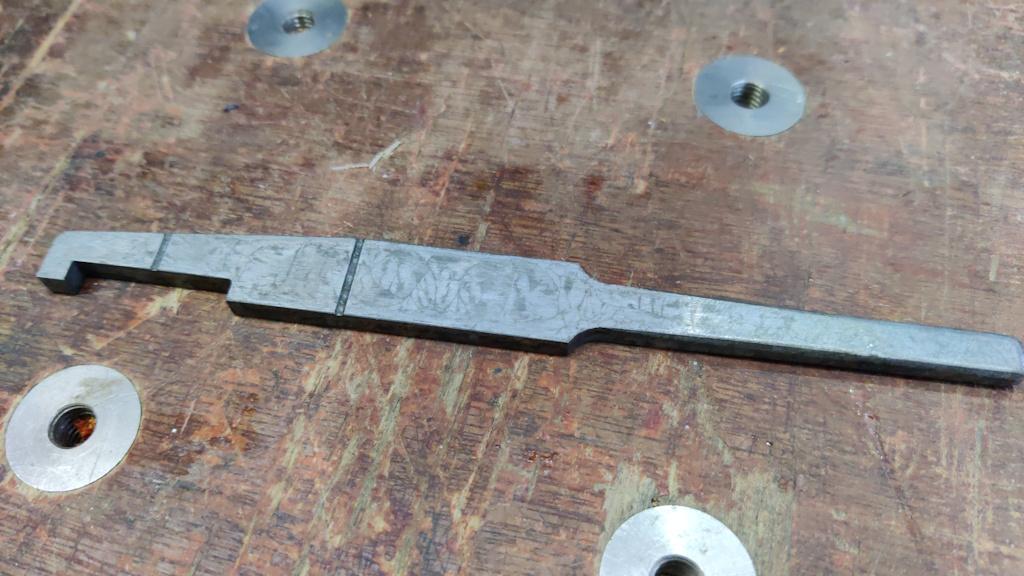
That glassy coating is very easy to remove: you just put it in a container of some sort and pour boiling water over the top. That leaves it looking like this:
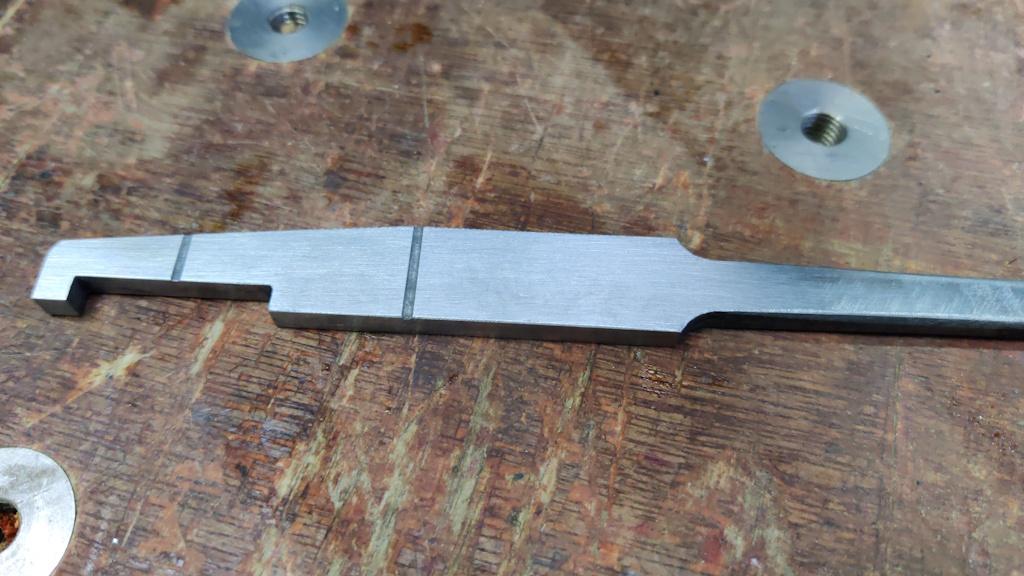
Somewhere between 30 seconds and a minute a side on 180 grit wet-and-dry paper leaves it looking like this:
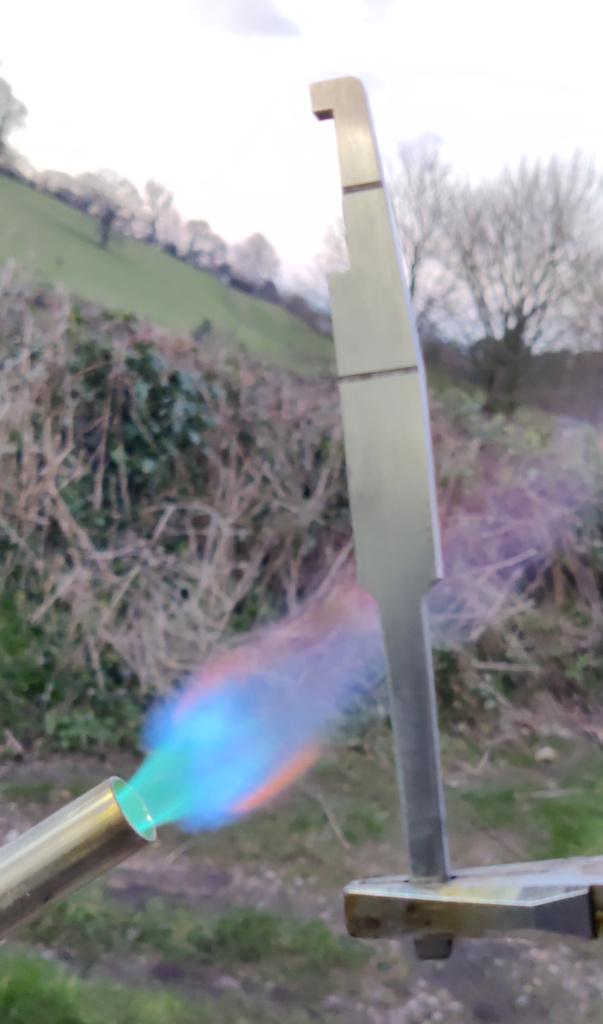
For this part, I decided to temper it with the blowtorch rather than the oven. There are a couple of reasons for that. The first is that I couldn't be bothered to wait for the oven to cool down. The second (and probably more important one) is that I wanted most of the part to be tempered to a higher temperature than the tip. Here's a very blurry photo of it being tempered in the flame of a blowtorch:
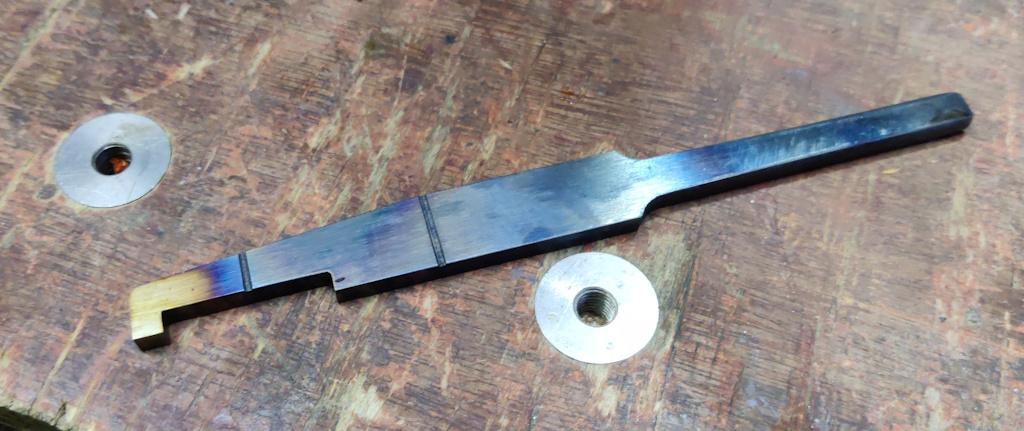
Yeah, not my best bit of photography that one. I hold it near the tang and heat it also near the tang, starting with a fairly strong flame to get it started and then turning the flame down as it gets closer to the target temperature. The rest is just done by looking at the colour: I was aiming for blue on most of the length and a straw-like colour at the very tip. That's done by moving the flame back and forth along the bit I wanted to get blue but staying well clear of the tip. As the paler colours move up the part towards the tip, I keep a careful eye on it and when the tip reaches the colour I'm after, I dunk it in vegetable oil to cool it back down again (and prevent the heat from the rest of the part overheating the tip).
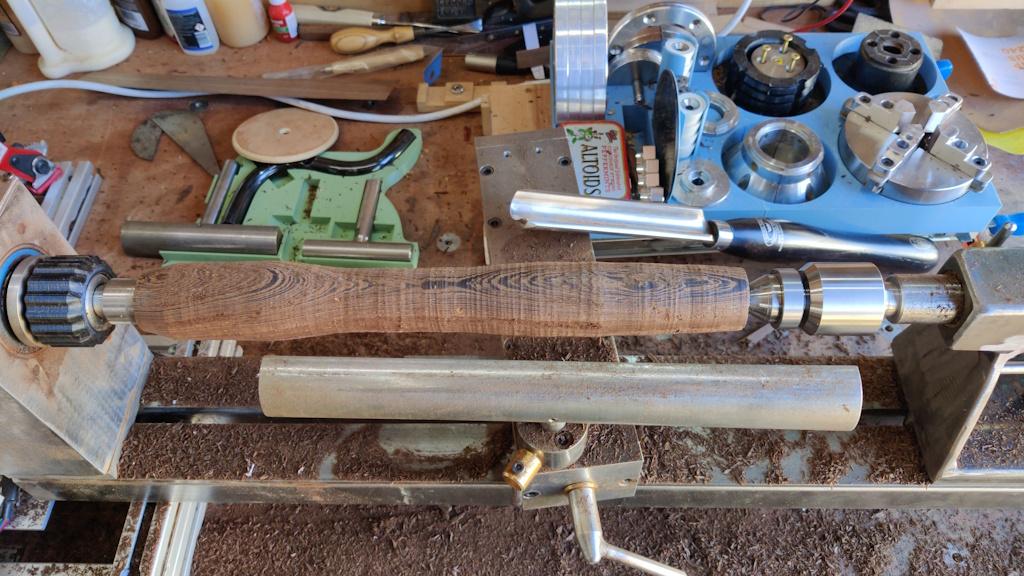
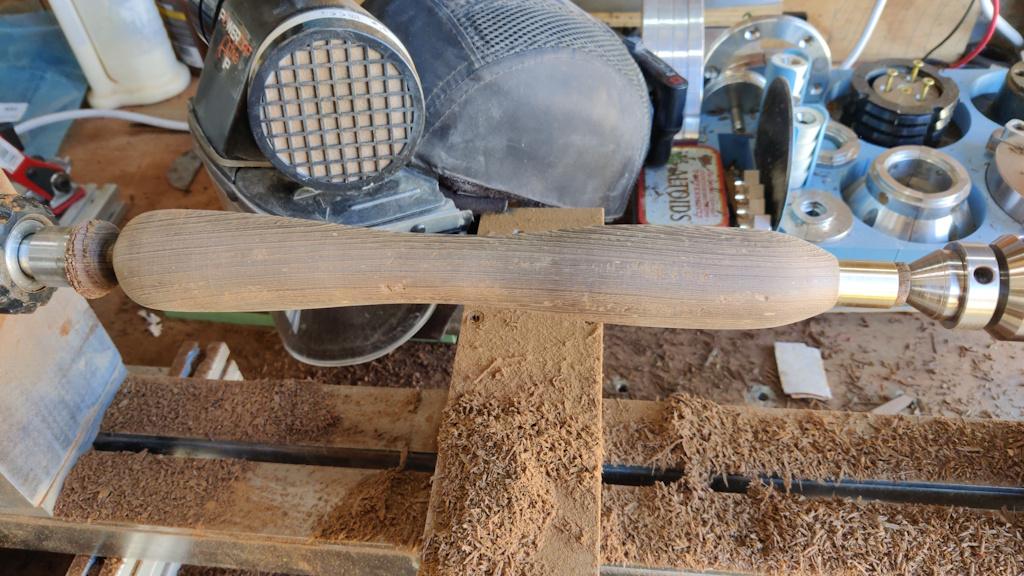
Once that was done, I gave it another quick rub-down on wet-and-dry paper and then ground some relief around the two sides adjacent to the top corner (bottom-left corner in the photo above). It was then time to make a handle, so after making a quick ferrule on the metal lathe, I got the home-made wood turning lathe out and a bit of Panga Panga from Yandles. That got roughed out with a roughing gouge:
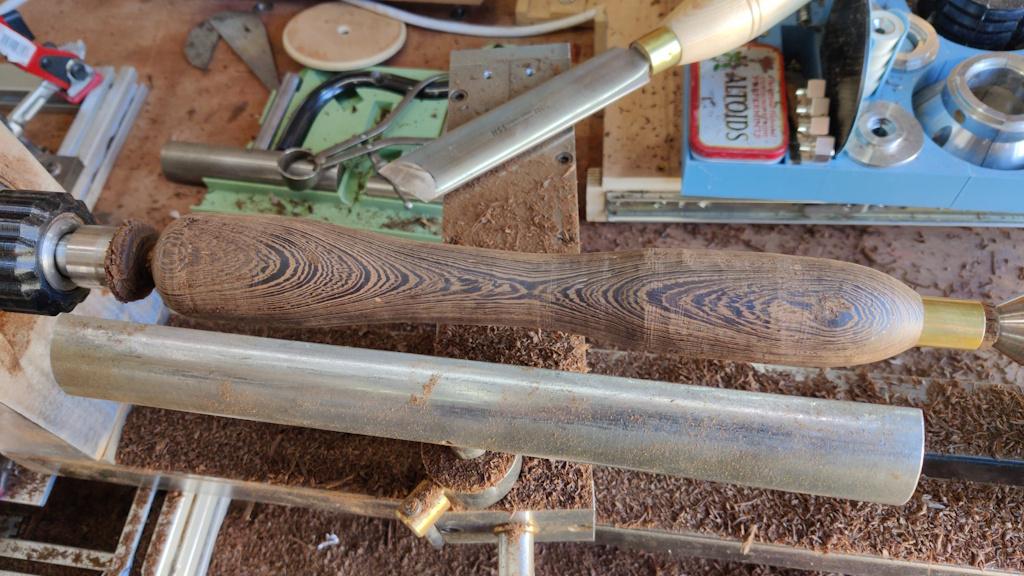
Then tidied up with a big wide skew chisel (a very good recommendation from my father: skew work is so much easier with a really wide skew chisel!)
Finally, I finished it off with sand paper:
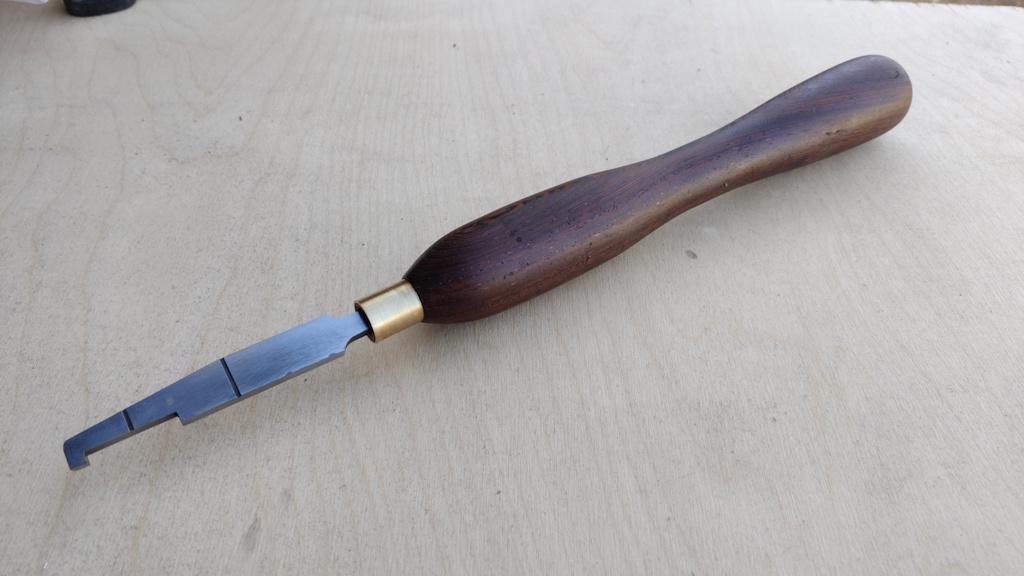
There are loads of blemishes on it (as a result of my lack-of-skill in wood turning), but for a tool that won't be used very often, I decided it wasn't worth having another go. A quick coat of Mike's Magic Mix and it was ready for a trial:
The tool is used for cutting some relief grooves for use with Crushgrind brand pepper mill mechanisms. I've got a Crushgrind pepper mill and have been really impressed with it and I thought it would be nice to make myself and a few friends/family some salt and pepper mill sets. The official tool is quite expensive for something that won't get used much, so I thought it would be much better to make my own.
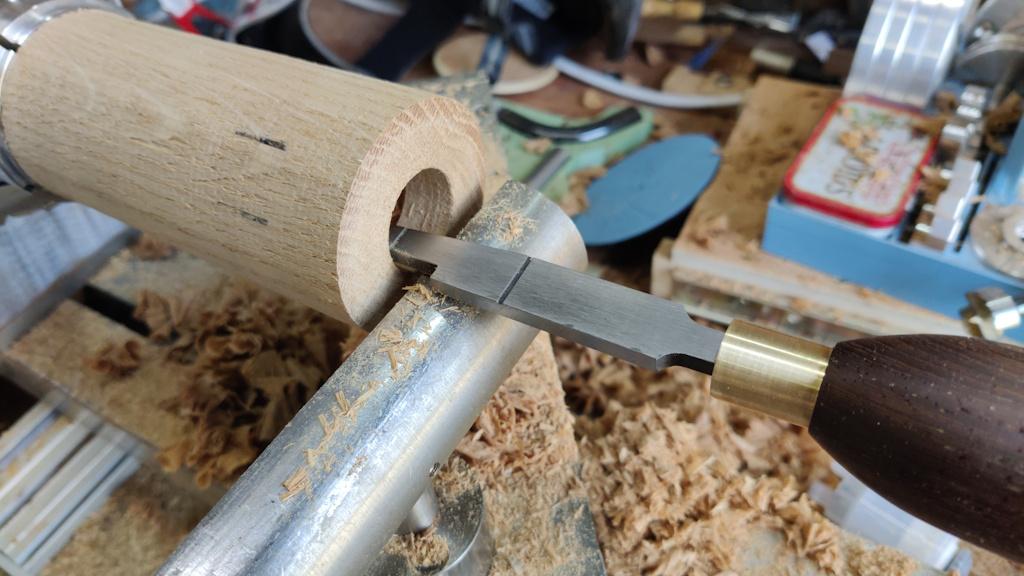
In use, it gets shoved into the hole for the mechanism; one of the engraved lines is then lined up with the outside of the part and then it's pulled back to create a 5 mm wide groove at the correct depth. The two lines are there to show the position of two different grooves that are required for various Crushgrind mechanisms:
It works very well and created the groove quickly and easily. As for the rest of the turning of the pepper mill... well, let's just chalk that one down to practice: the firewood pile just got a little bigger.
Page 35 of 35
This website is free and ad-free, but costs me money to run. If you'd like to support this site, please consider making a small donation or sending me a message to let me know what you liked or found useful.

 Return to main project page