Garden Table Build Process
Page 13 of 38
Posted 13th April 2025
Following the attempt described in the last post, I decided to go back to the bandsaw, but to keep the knife walls as a reference and to pare with chisels and router plane as appropriate.
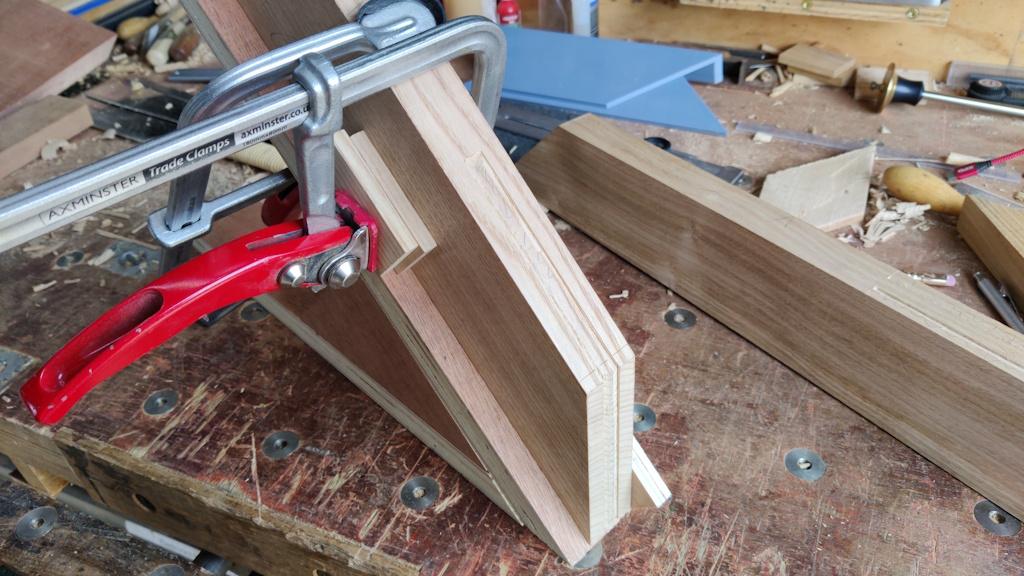
I used the same jig as seen earlier (although it's gained a little fence on the side now, purely to move the workpieces out a bit so the saw blade won't be going anywhere near the nails holding the jig together).
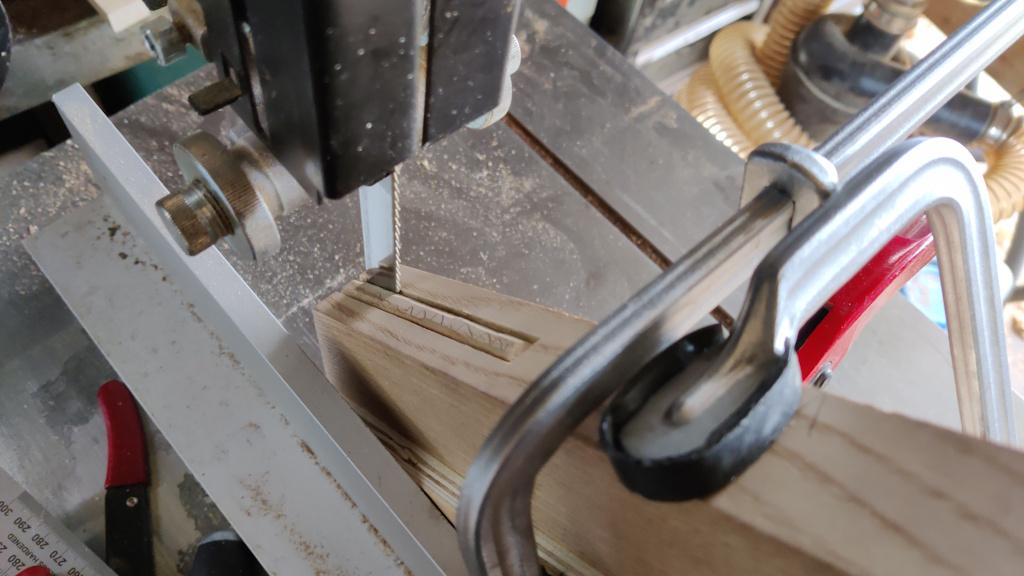
I sawed fairly close to the line (and in one case, too close to the line):
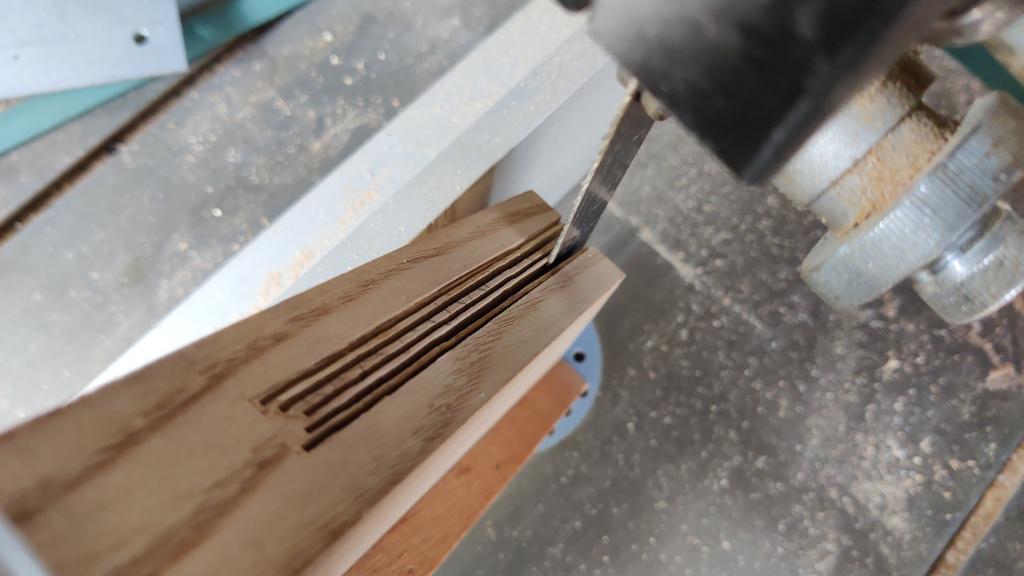
While on the bandsaw, I decided to chop the waste on the socket into little slivers to make it nice and easy to remove:
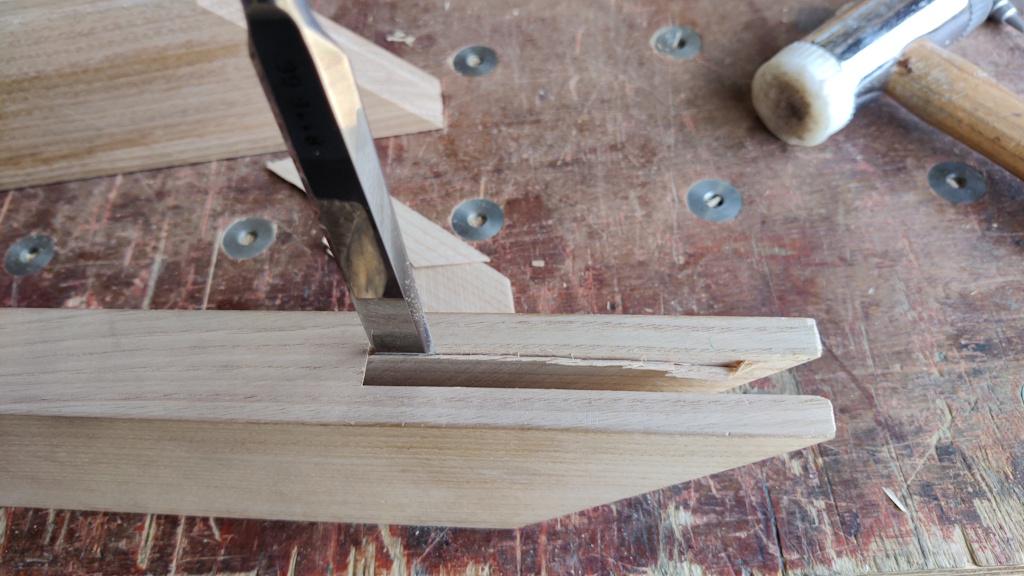
There was then lots of paring of sockets:
In a short aside, I rummaged in my drawer of aluminium bits and bobs and found this plate:
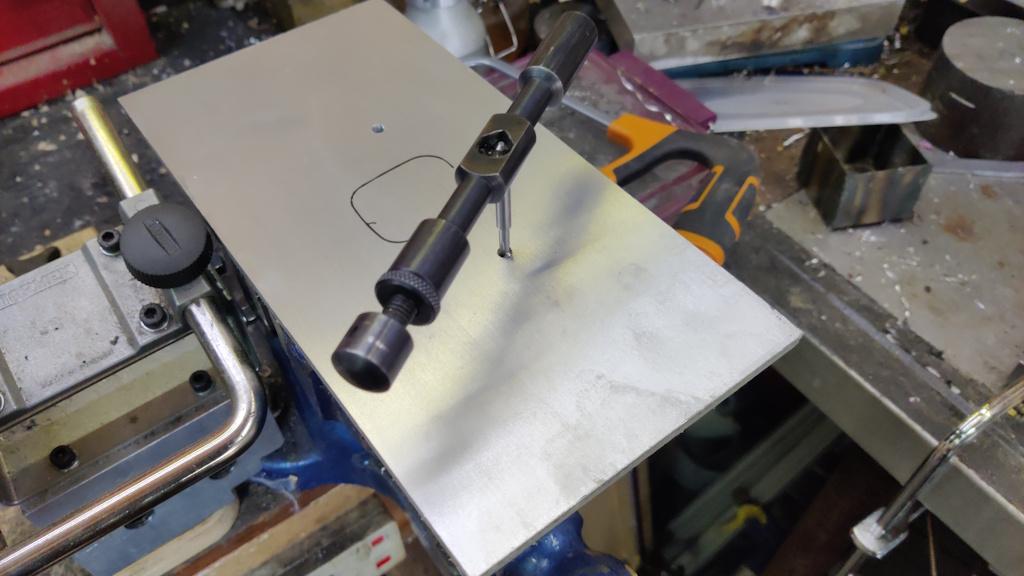
After marking it up, I drilled and tapped a couple of M5 holes:
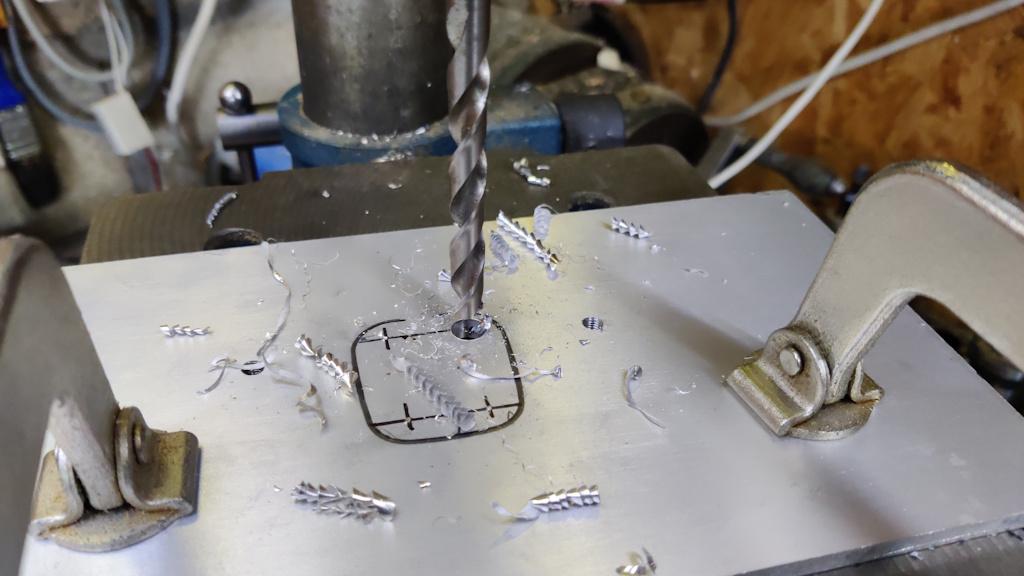
To make the hole in the middle, I started with a small spotting drill, then drilled through 8 mm:
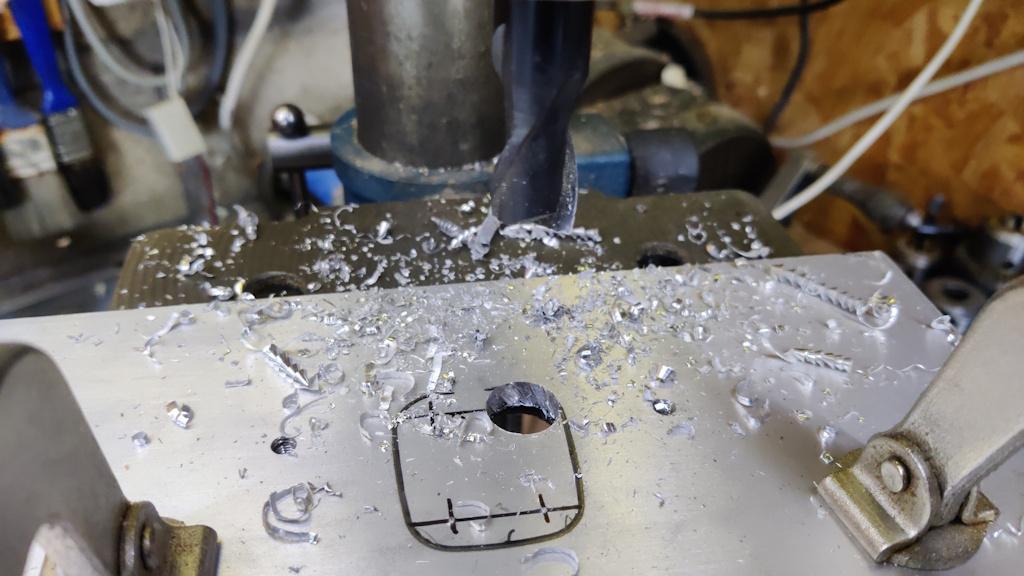
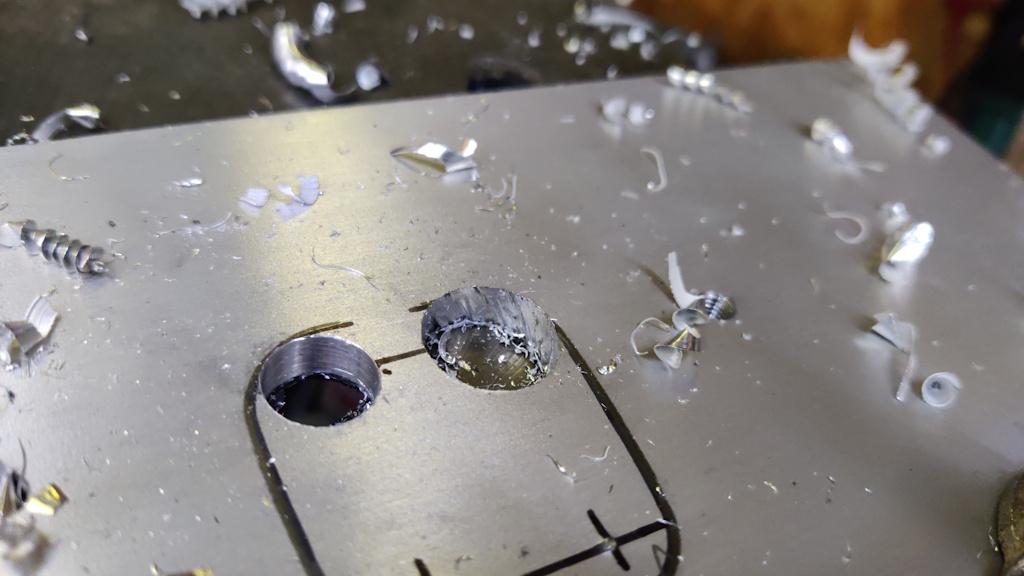
I then drilled through 12 mm (with a spotting drill as it saved moving the pillar drill's table down and losing alignment) and finished off with a 16 mm slot drill. The slot drill isn't really a good tool to use in the pillar drill (it's not especially good for either the slot drill or the pillar drill), but it did the job:
You can see the rough finish you get off the slot drill (on the right) compared to the finish from the 12 mm spotting drill on the left:
If I'd used the milling machine that probably wouldn't have been a problem.
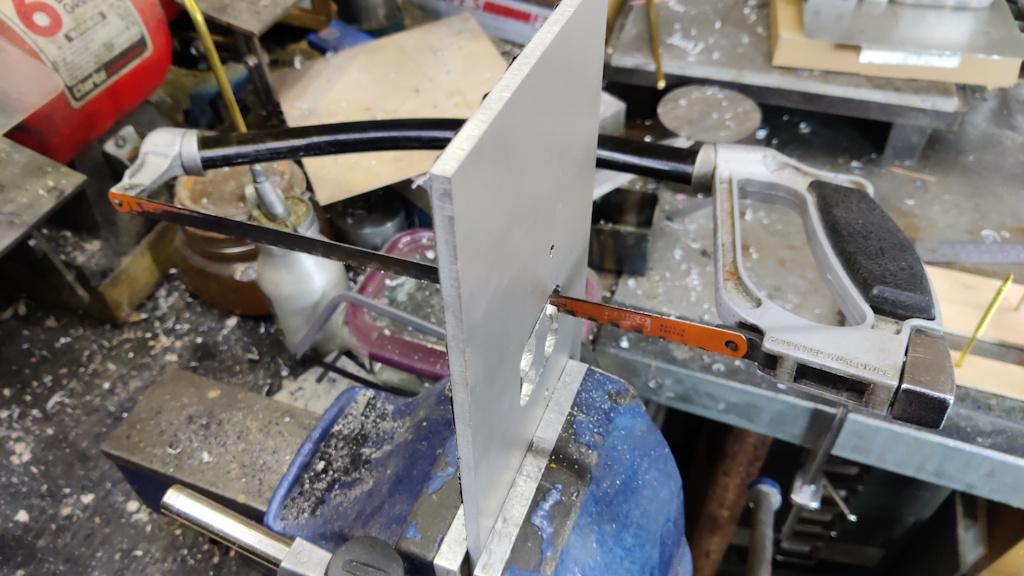
I used my so-called "3D" hacksaw to join the holes together:
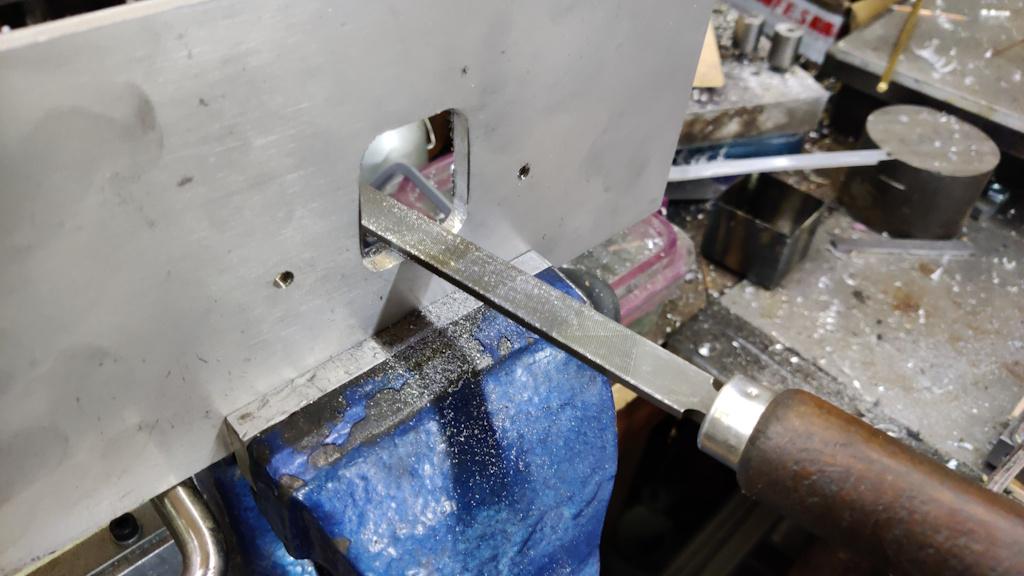
There was then an awful lot of filing (and a bit of wondering why I didn't just set up the milling machine and do the job properly!)
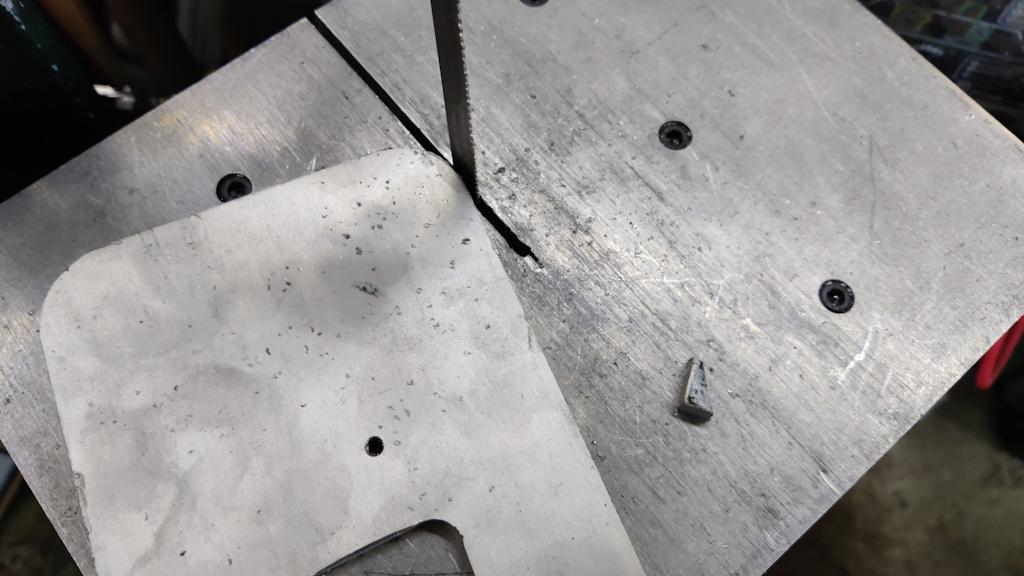
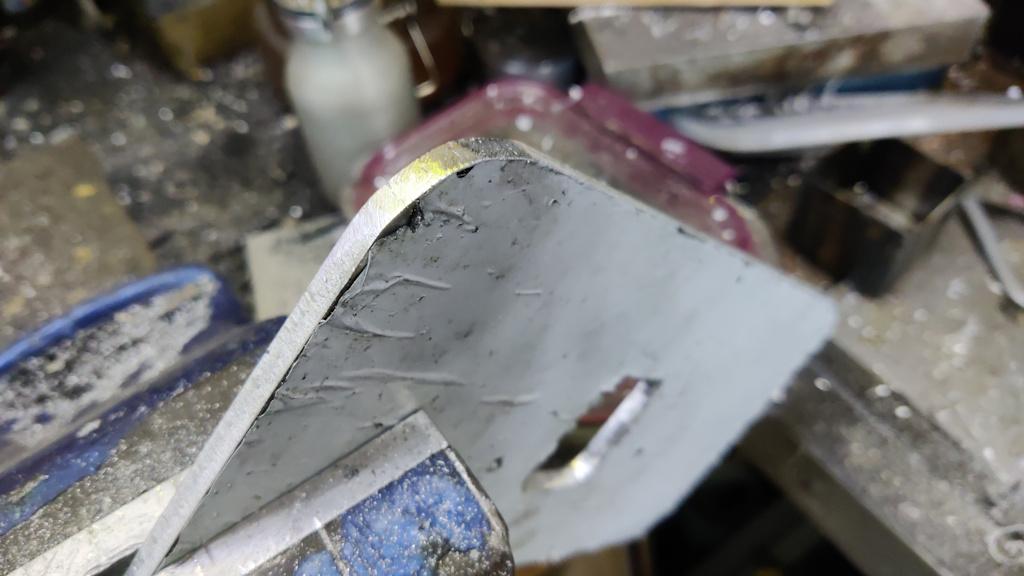
The corners got roughly rounded using the home-made vertical table for my metal-cutting bandsaw:
They also got filed:
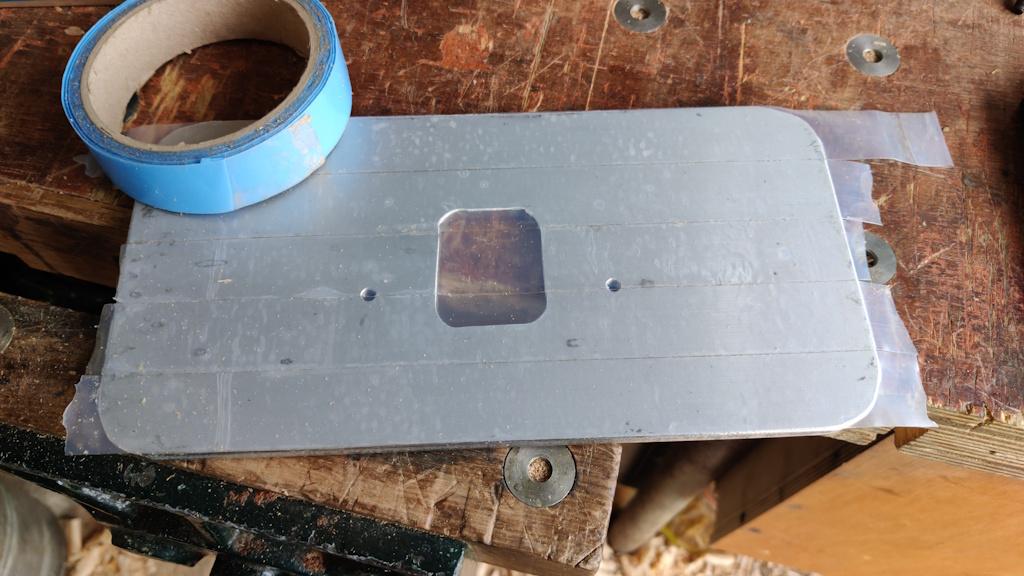
After chamfering all the edges, I laid some strips of UHMW-PE tape across the bottom surface:
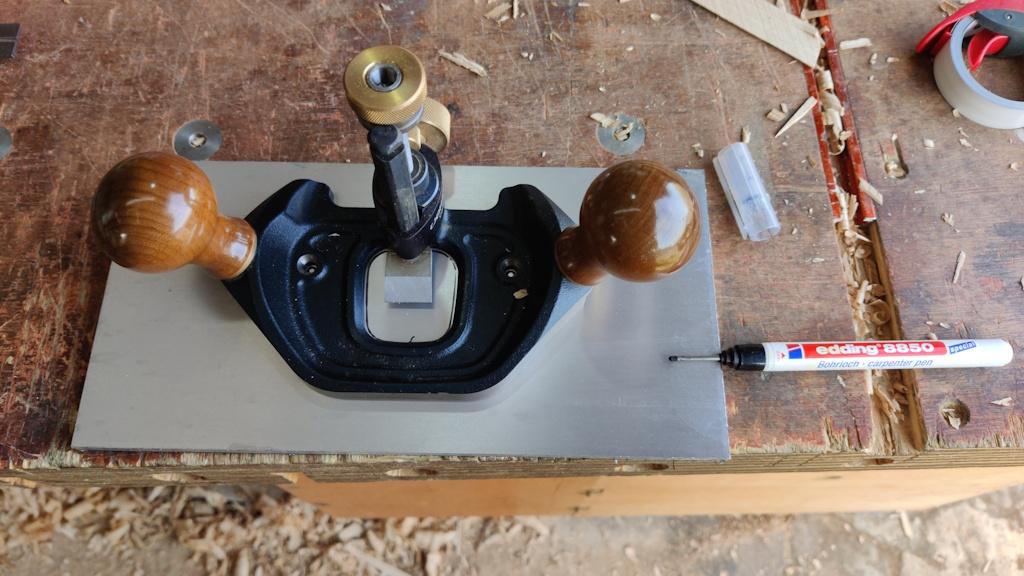
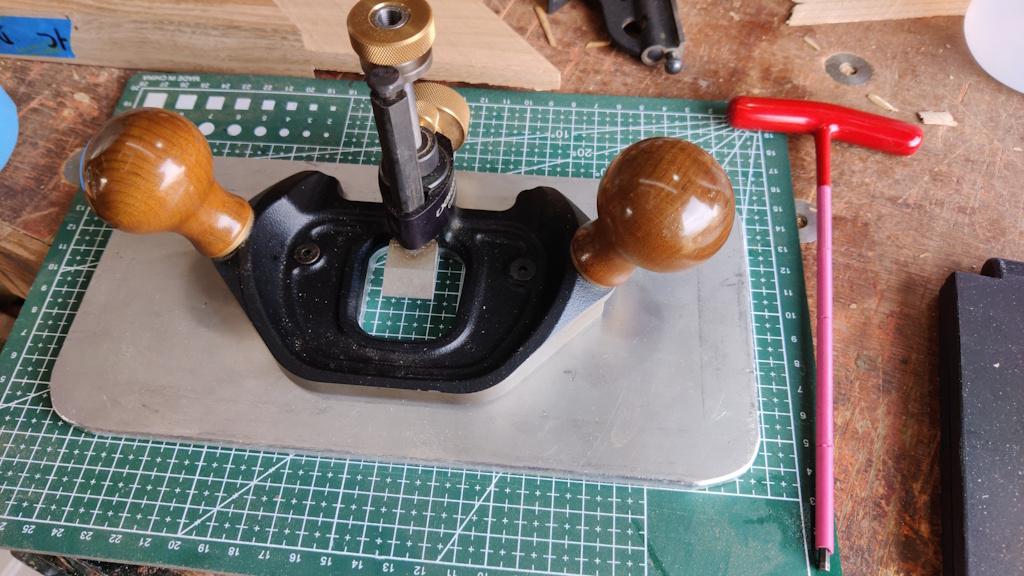
That tape is super slippery, so will allow me to press down hard on the plate (to stop it tipping) but still move it back and forth. It'll also stop any aluminium dust getting on the wood. Once the tape was trimmed to match the shape of the aluminium plate, I could mount the router plane:
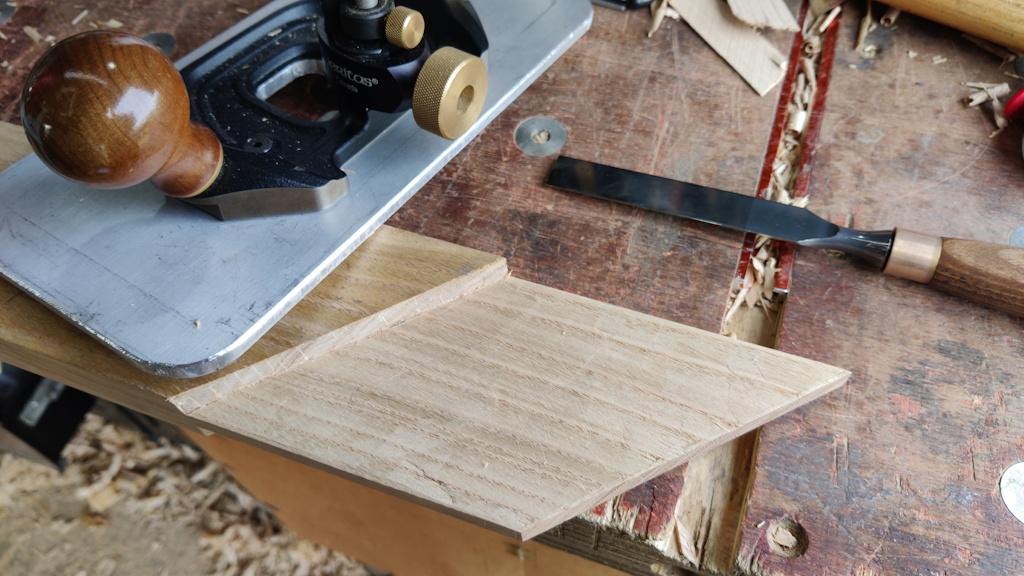
It works very well:
It doesn't have quite enough reach to get to the very tip of the tenon, but it gets close enough to make it easy to sort the rest out with a chisel. I had wondered about making the plate lop-sided: i.e. mount the router plane at one end so that there's a lot more support hanging out but only one side. The disadvantage of that would have been that it's quite useful to be able to attack in different directions and to be able to do so would require the ability to mount the router plane in either orientation and would also mean that I was constantly mounting and dismounting it. I figured it would be more pleasant to use if I just accepted that it couldn't go all the way to the tip.
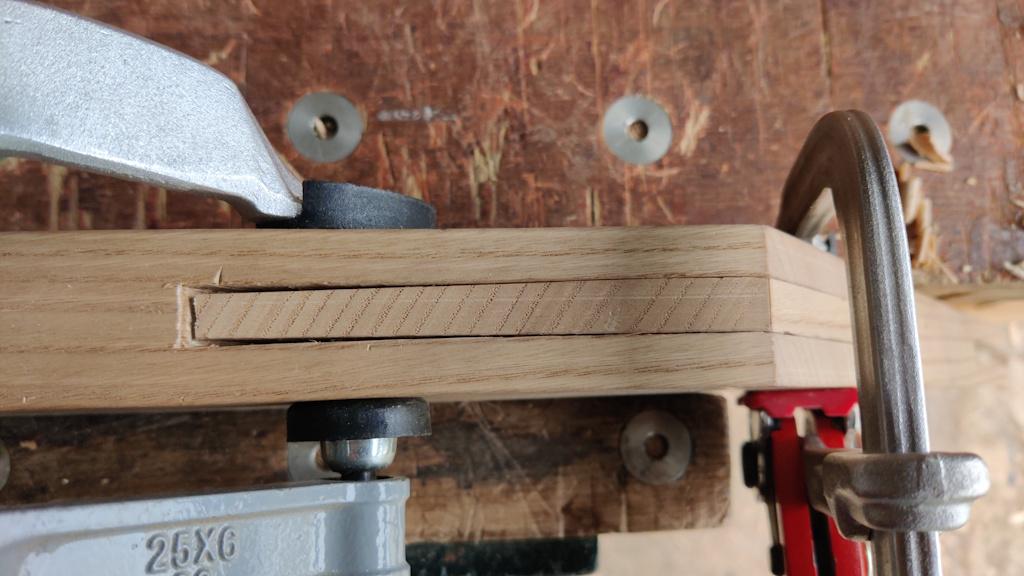
The first joint that was cut on the bandsaw and then finished with chisels and router plane looked good (and took about an hour and a half to cut in total, including marking up, sawing, paring and final tweaking to fit):
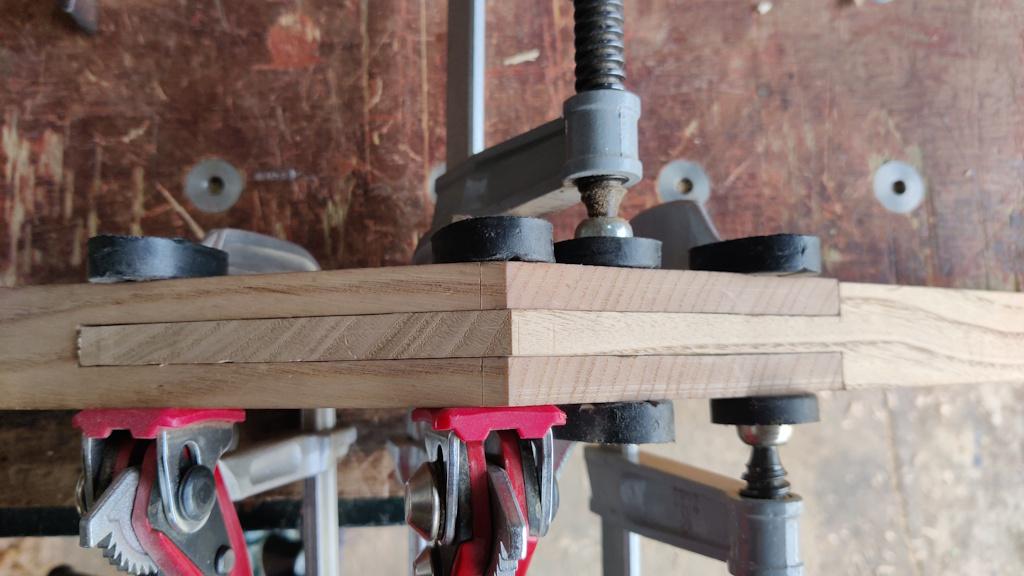
I mentioned earlier that I messed up one of them on the bandsaw cut. This is what it looked like when fitted:
I didn't pay enough attention to making sure the jig was standing upright and the saw was cutting in the right place at the bottom of the joint (which isn't easy to see while cutting). It was the last joint I did in the day and I think I was getting a bit tired; I should have stopped earlier. Hopefully I'll be able to fill that gap in. Worst case I think I can get away with just remaking one piece (the one with the tenon here), although that would mean cutting a socket to fit the piece that engages at the other end, which isn't ideal (as it's easier to tweak a tenon to fit a socket than vice versa).
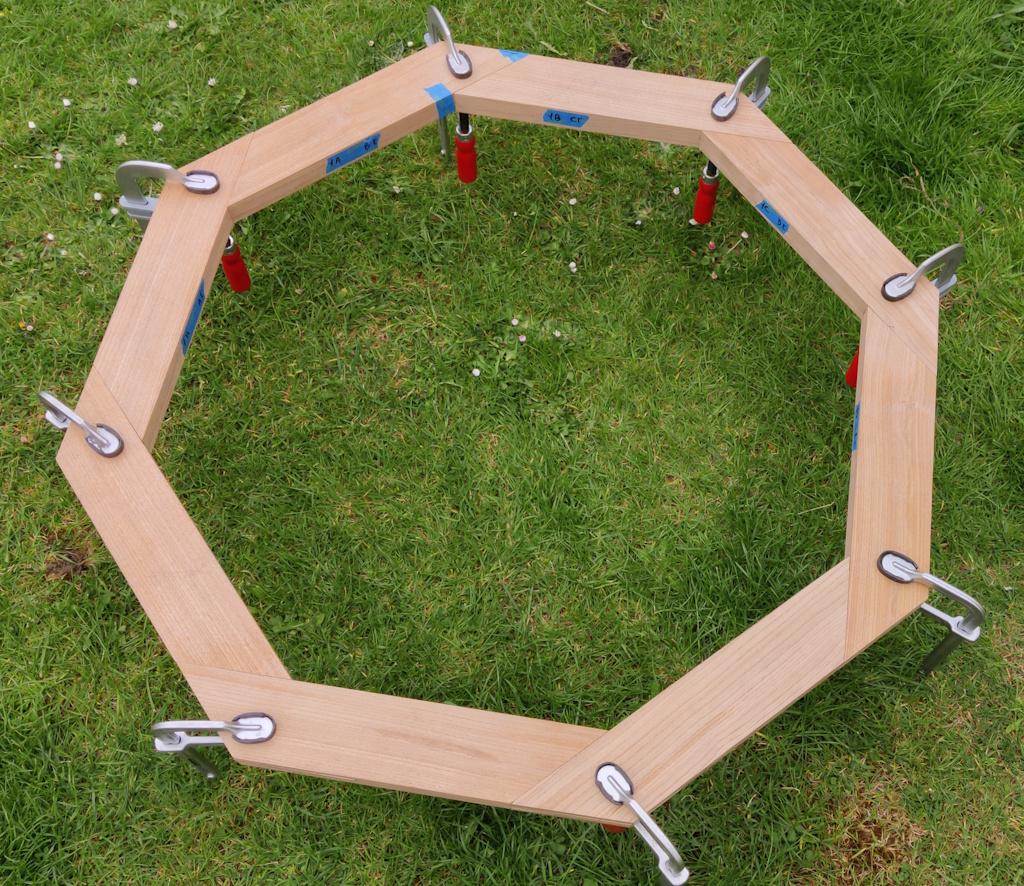
Nevertheless, over the course of the last couple of days, I've worked my way through all the pieces and it was quite satisfying to put them all together for a trial assembly:
The next job will be to prepare the wood for the two long cross bars and then to cut the mortice and tenon joints that will hold them in place.
Page 13 of 38
This website is free and ad-free, but costs me money to run. If you'd like to support this site, please consider making a small donation or sending me a message to let me know what you liked or found useful.

 Return to main project page