Garden Table Build Process
Page 14 of 38
Posted 20th April 2025
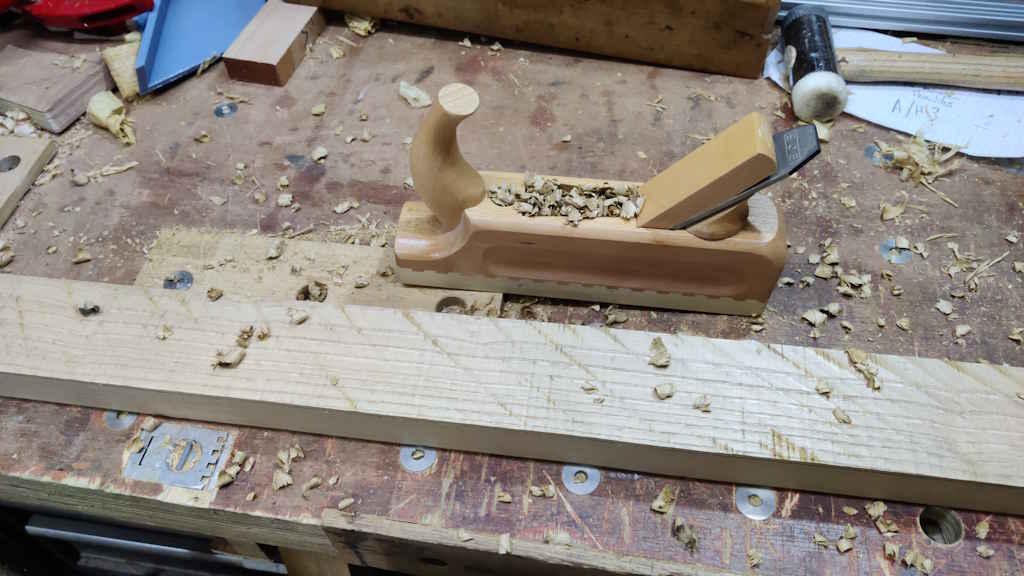
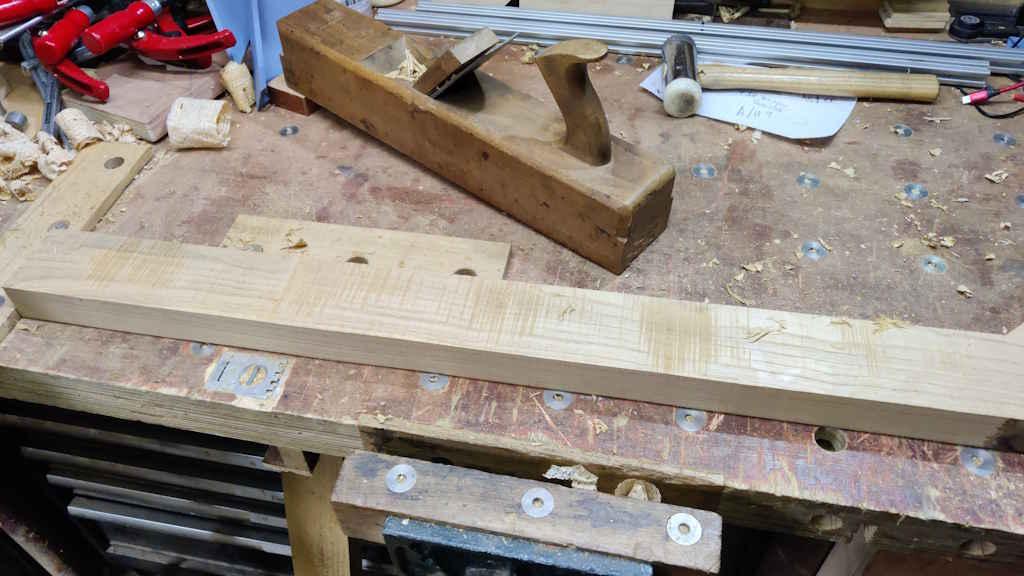
I haven't had a lot of time since the last post, but I have had the odd evening of wood preparation and I've managed to spend a decent amount of time on the table today. The evenings of wood preparation involved a bit of scrub-planing...
... and quite a lot of roughing out...
... and then finishing off with a smoothing plane to give some planks for the cross bars:
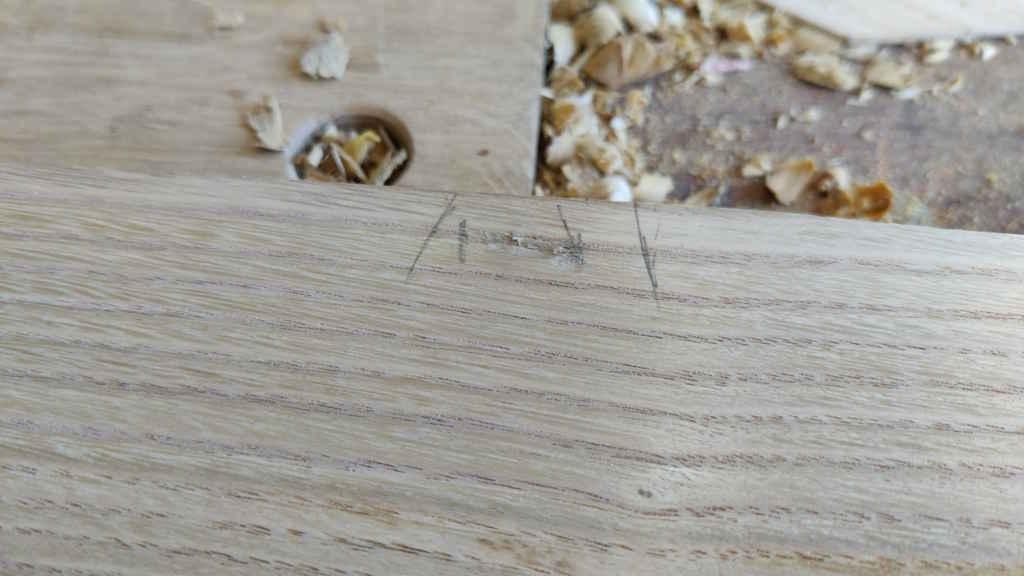
I also planed the edges square with a #7, but didn't take any photos of that (there are plenty of them elsewhere on this thread though!). After finishing the second cross bar, I dropped my plane on it and made a sizeable dent in the middle. Much swearing ensued. I considered chopping the piece in half and using it elsewhere, but I decided to try steaming it with an iron and see what it looked like. After a couple of goes with a damp tea towel and a hot iron, it looked like this (pencil marks added by me to show the affected area before and after steaming):
That was a lot better than the "before" photo (which I didn't take so you'll have to imagine it). It's still not ideal, but it occurred to me that it was conveniently right in the middle of the plank and close to an edge, so I can use that location for where the parasol hole will be drilled and hopefully the dent will disappear completely.
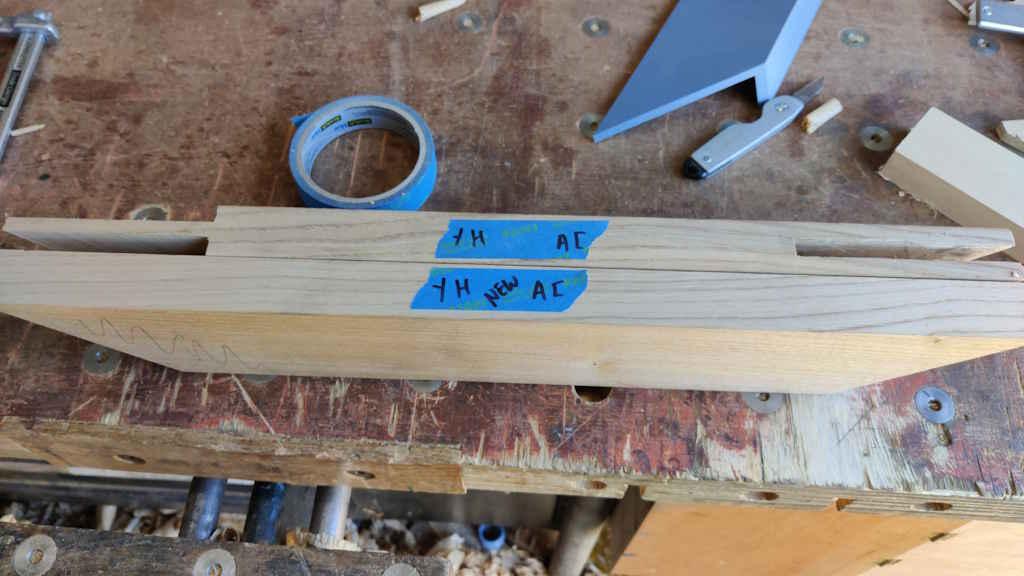
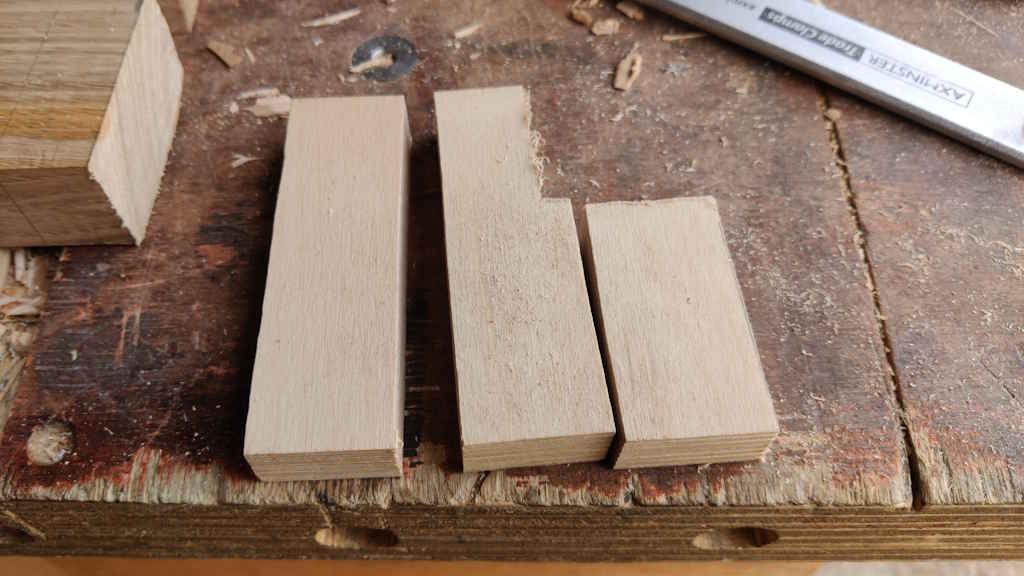
While I was planing, I decided to make another rim plank to replace the one with the shoddy joinery shown in the previous post. Here it is next to the one it will replace...
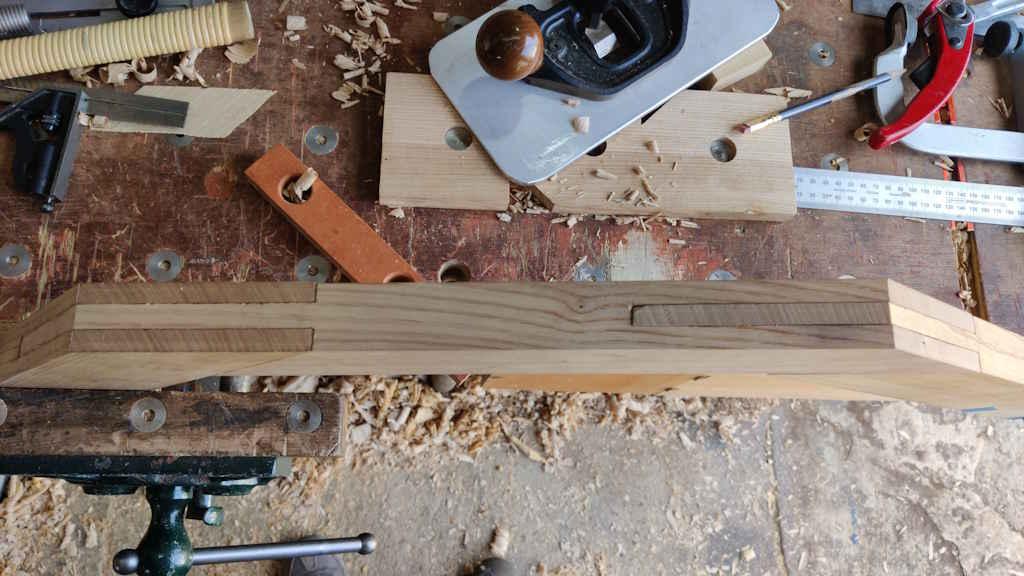
... and here it is with the joints on both ends cut and pared to fit:
The process was the same as before so I didn't bother taking any photos. I'm much happier with that than with the other one. The only downside is the grain direction on the face is different, so that means there will be even more grain direction changes around the rim. Hopefully if I just plane it with a high angle plane it'll come out okay, but worst case I'll resort to a card scraper, cabinet scraper or scraper plane (anything but sandpaper!)
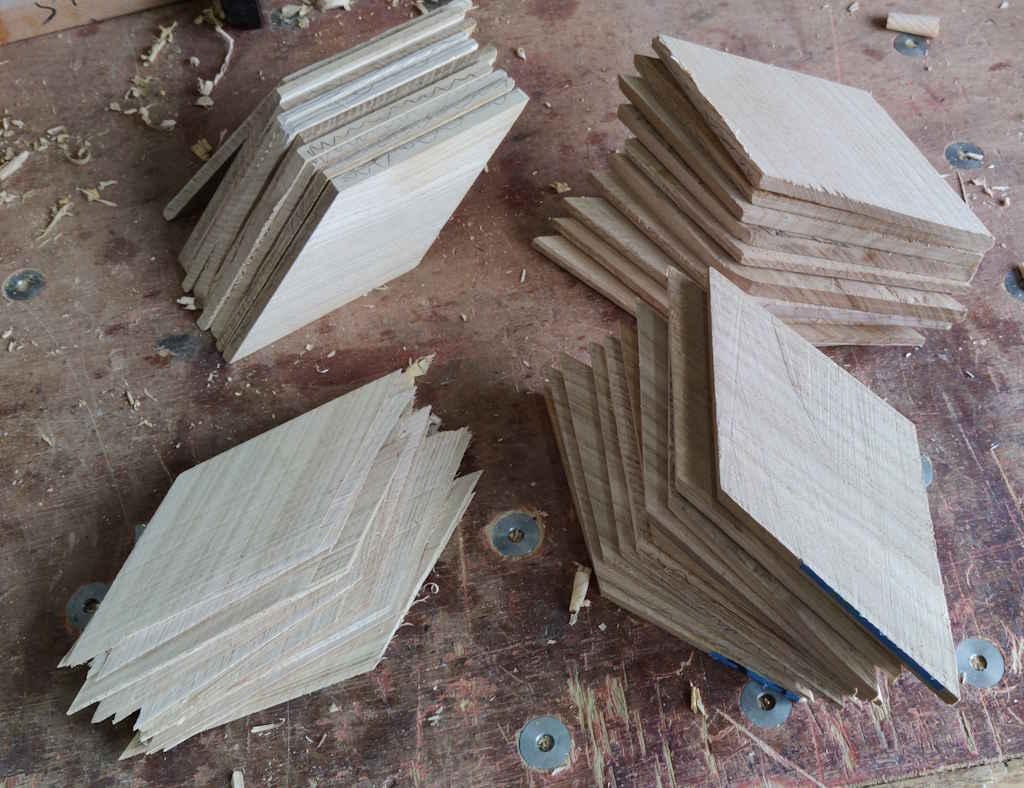
Does anyone have an urgent need for a lot of sweet chestnut parallelograms?!
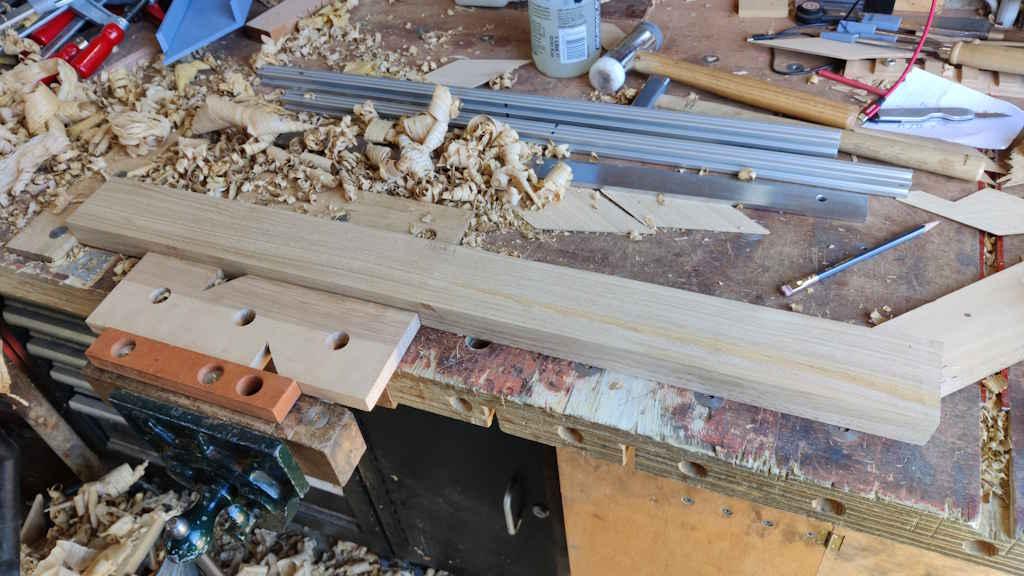
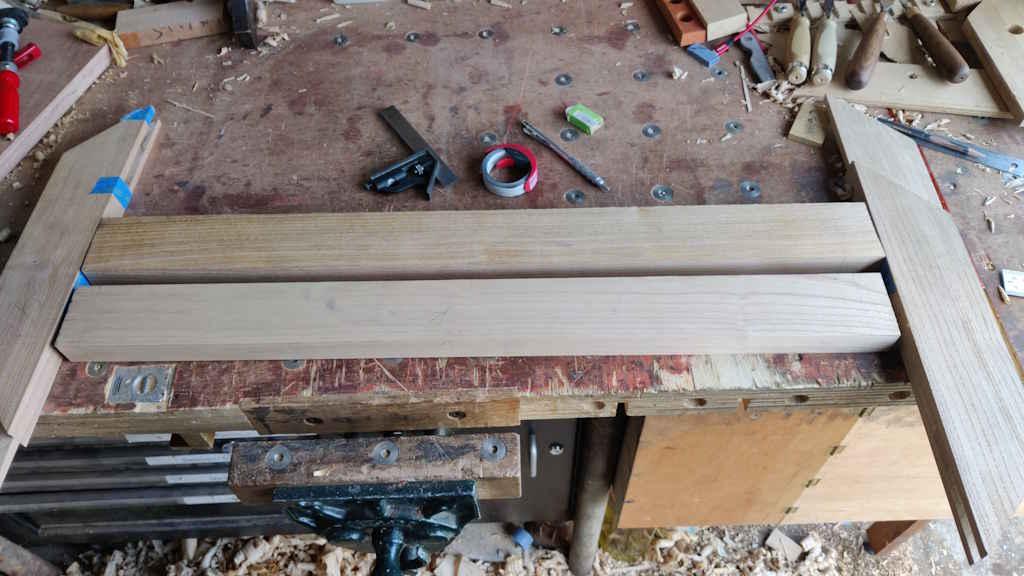
The grain on the two cross bar planks I prepared are quite different from one another, but it would be very wasteful of wood to try to get a perfect match so I decided not to worry about it. With a few years of sitting outside, they'll all fade to grey anyway. Here are the two cross bars positioned with the corresponding rim planks to give an idea of how they'll (hopefully) go together:
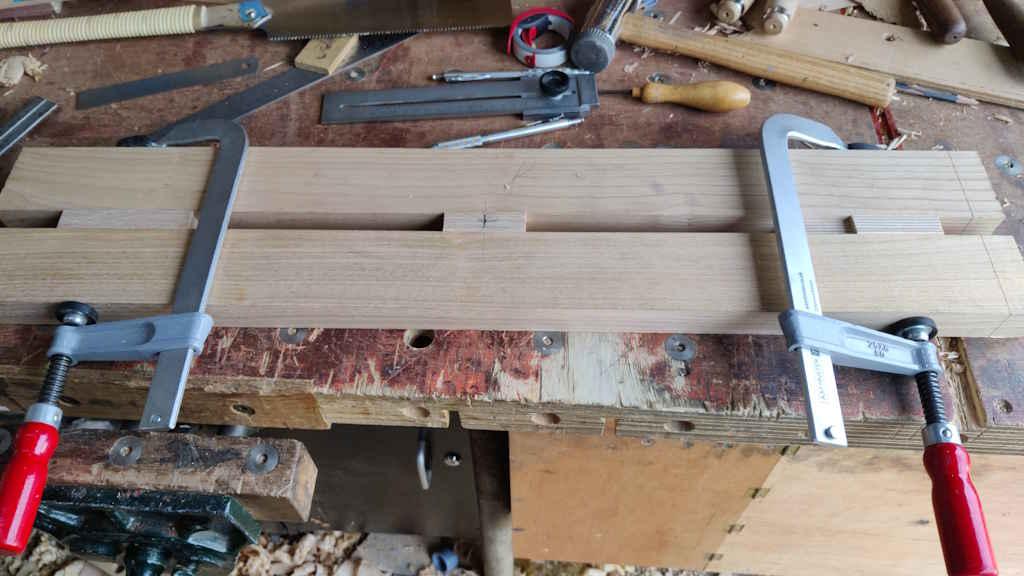
I rummaged around and found a little off-cut of 18 mm plywood. That got chopped into three pieces:
The pieces then got clamped in between the two cross-bars and a centre point marked:
You can also see in that photo that I've marked the position of the shoulder line (I think it was just in pencil for that photo, but I've since gone round with a knife). The distance between the two centre lines was based on a measurement I took when the frame was assembled (but has since been taken apart). Ideally it would probably be based on holding the bars up to the assembled frame, but with so little space in the workshop, I was quite keen to dismantle the rim frame as soon as possible so I decided to just risk working off a measured dimension.
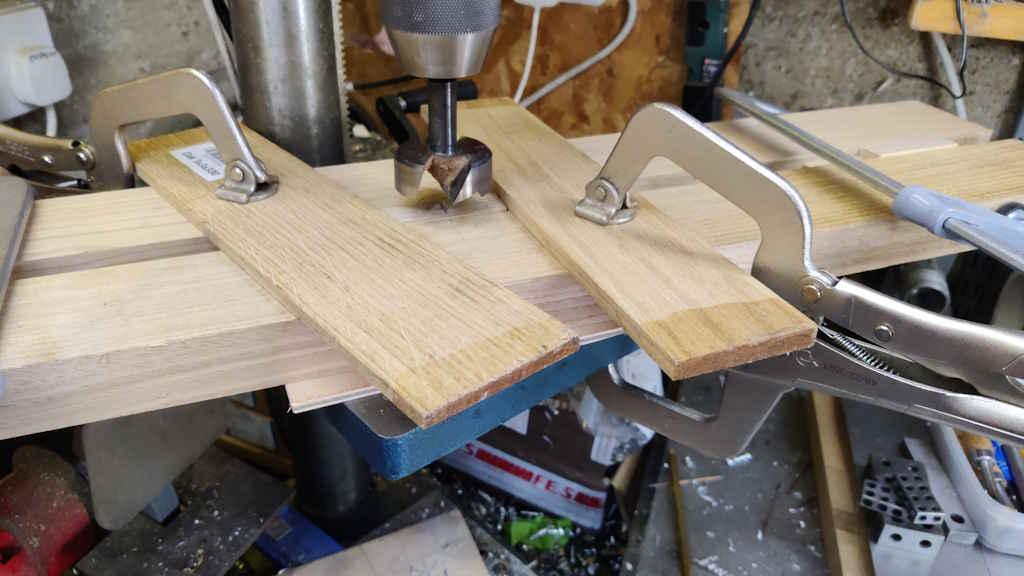
The clamped-together bars were taken over to the pillar drill, placed on a sacrificial bit of scrap plywood and clamped in place with some C-clamps (my preferred option for pillar drill work as they're so quick to fit):
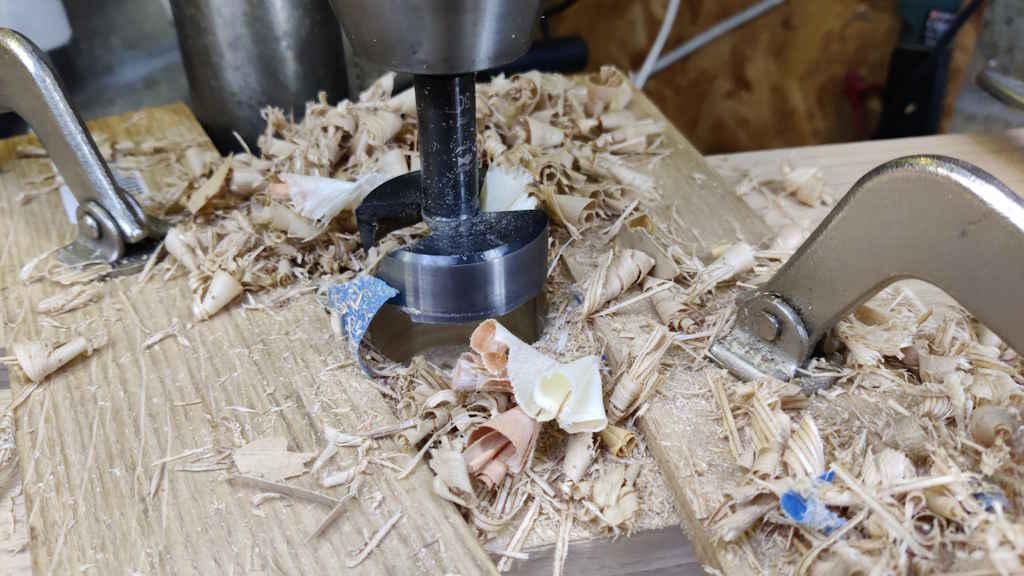
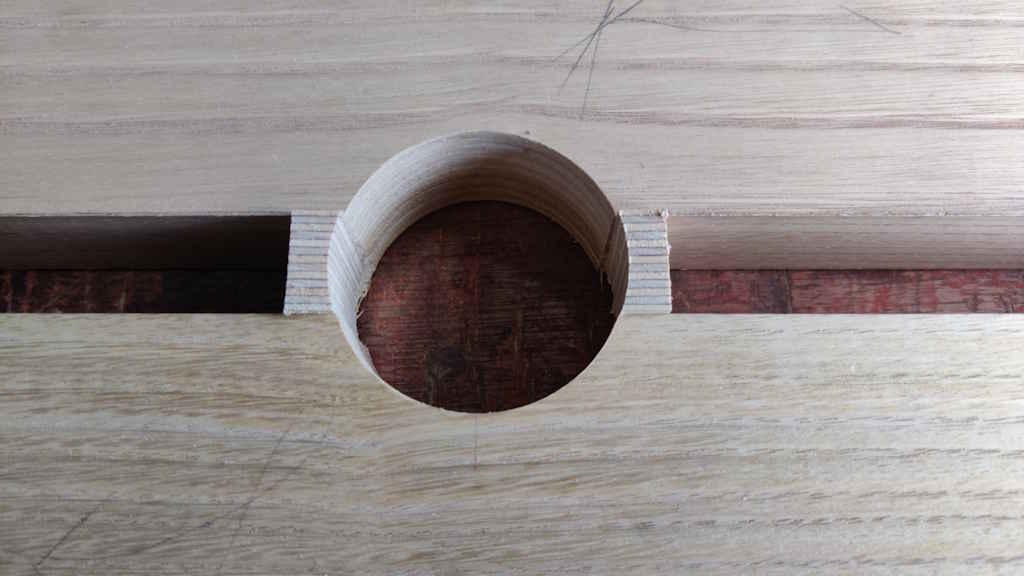
A 50 mm Forstner then worked its way through the middle; I stopped when I saw bits of plywood coming out:
That's given me a fairly neat (and very oversize) hole for the parasol shaft to come up through. I had been planning to do a somewhat smaller hole, but decided to go with my biggest decent quality Forstner bit as it gave the best chance of getting rid of that dent from when I dropped the plane.
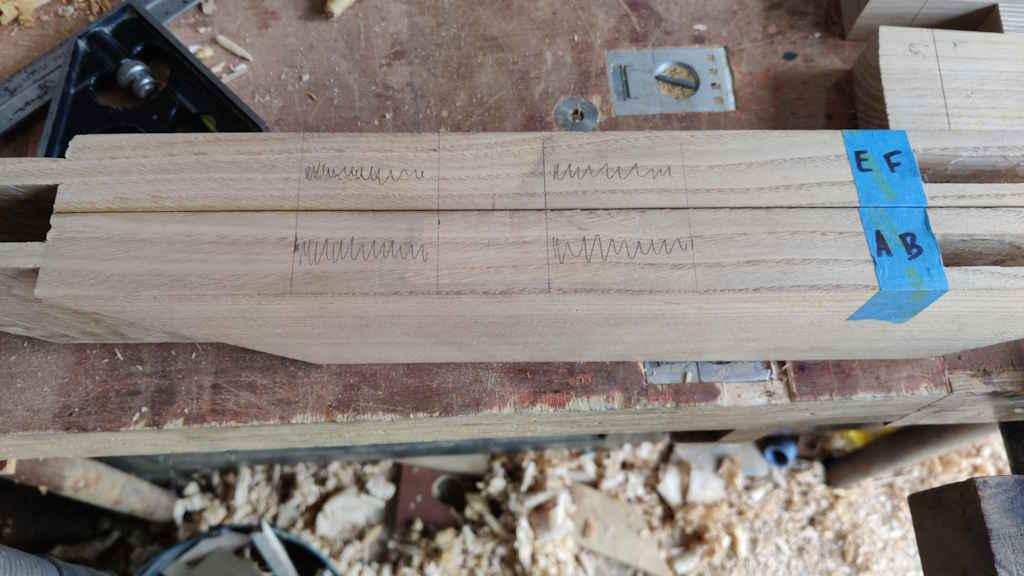
The next job was to decided where the mortices were going to go. I decided to have a 10 mm-ish shoulder all round on the tenon (leaving a 10 mm by 50 mm tenon). With the cross bars still clamped together, I could take some measurements of where the tenons would be relative to the centre line and then mark those positions on the two rim planks:
The width of the tenons was marked using a pair of marking gauges, one for each line:
As is my current preferred practice, I'm going to use a smaller mortice chisel than the size of the hole that I'm aiming for:
I do have a 10 mm mortice chisel, which would cut the mortice to size, but I don't really see the benefit of doing so. Paring an undersize mortice only takes about 30 seconds or so. Working to the size of the mortice chisel means I have to be a lot more careful when chopping the mortice (to make sure the chisel doesn't twist at all) and that means that the chopping bit of cutting the mortice takes a bit longer, so overall the total time ends up being about the same.
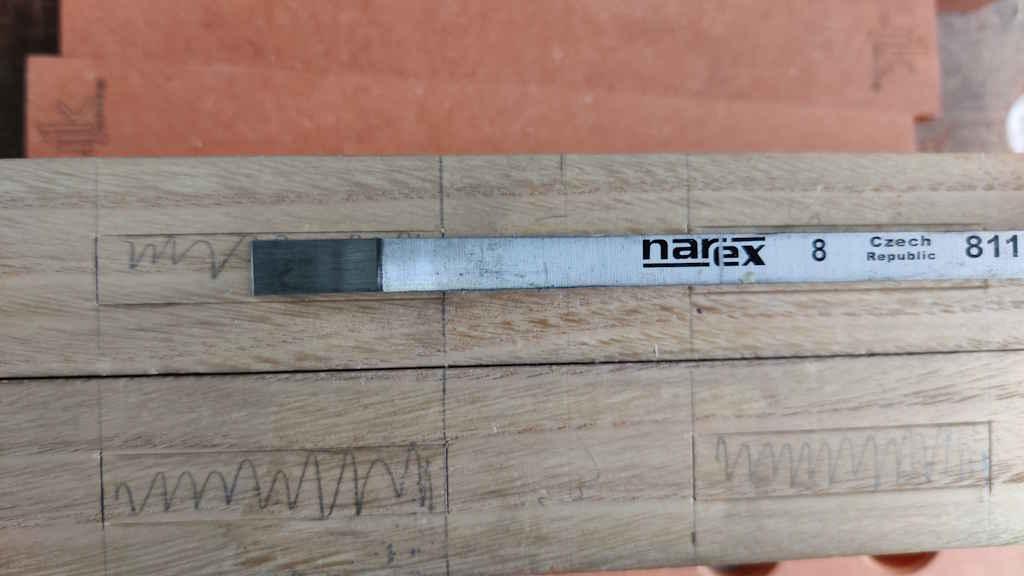
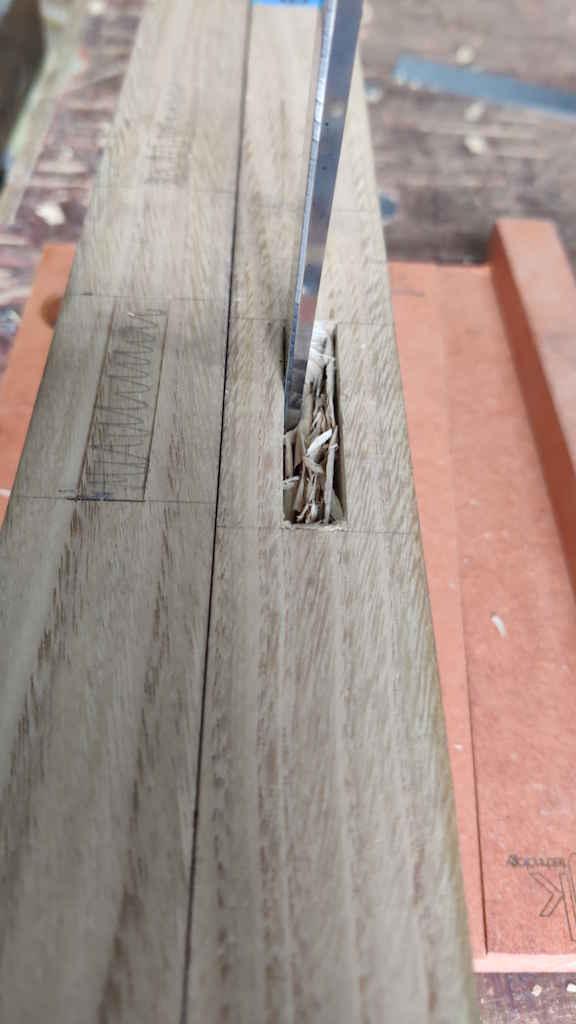
Paring is just a case of dropping a bench chisel into the marking gauge lines and pushing down (hand force is plenty):
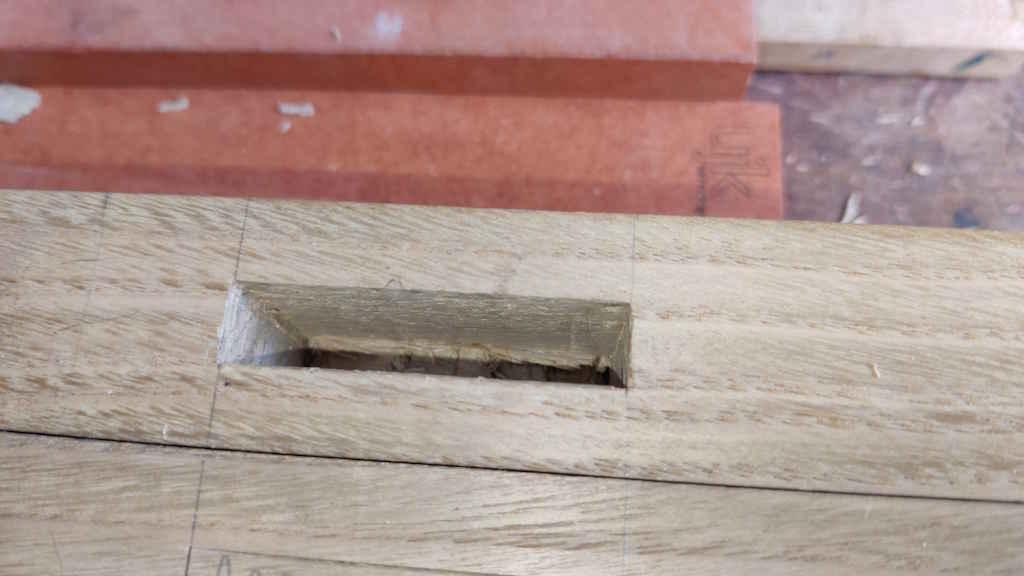
As well as allowing me to do the chopping bit of the mortice preparation a lot quicker (as I don't have to pay as much attention), the chop-small-and-pare method leaves a lovely finish on the glue surface of the mortice:
I'd be interested to hear if anyone can explain any other reasons I'm missing why working to the size of the mortice chisel is better. I know it's the recommended method in a lot of books I've read, but there's no explanation of why it's recommended and given it doesn't seem to save any time I'm struggling to understand the benefit.
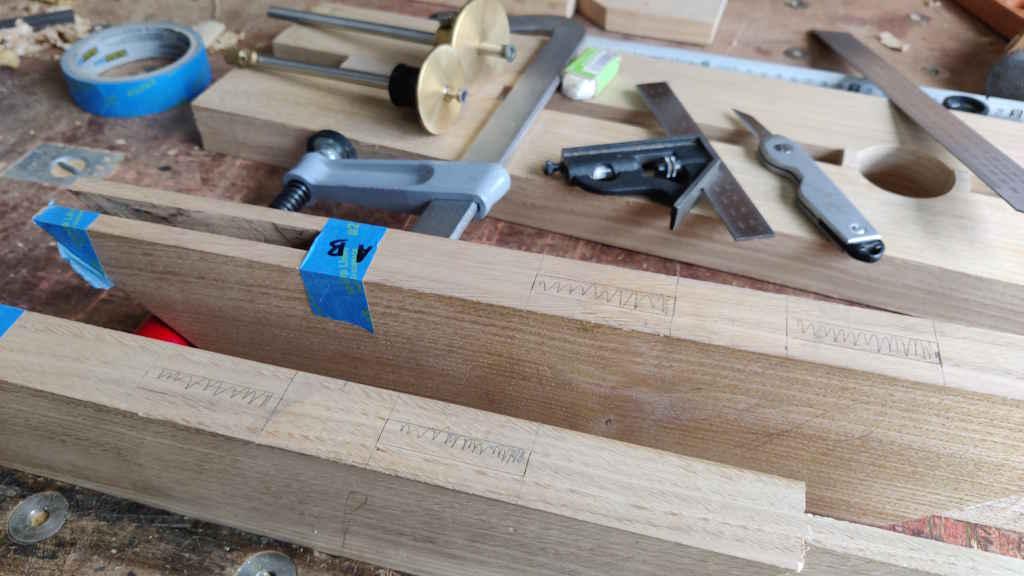
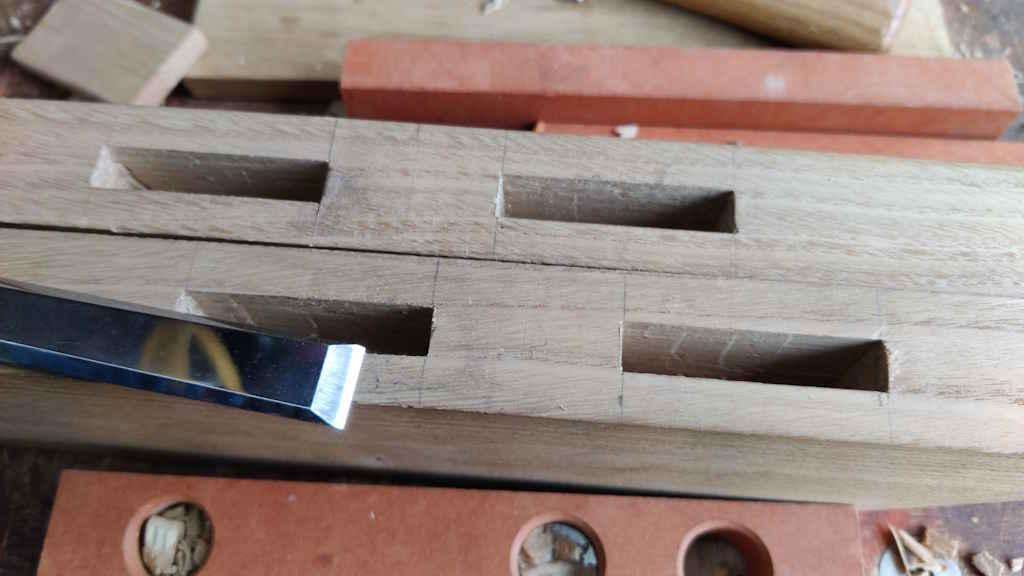
Anyway, in not very long at all, I've got four mortices chopped and paired:
I'll cut the tenons to match tomorrow and then I think I'll be pretty much ready to glue these bits together (although I might go round all the bridle joints again and just check whether any would benefit from a bit of tweaking).
Page 14 of 38
This website is free and ad-free, but costs me money to run. If you'd like to support this site, please consider making a small donation or sending me a message to let me know what you liked or found useful.

 Return to main project page