Garden Table Build Process
Page 35 of 38
Posted 18th June 2025
There's a well-known quote, often mis-attributed to Albert Einstein (but actually probably from the author Rita Mae Brown) that runs something along the lines of "Insanity is doing the same thing over and over again and expecting different results". In many situations in the past, I've tried mixing (or applying sequentially in one order or the other) glue and sanding dust with the expectation that it would nicely fill in small gaps. Every time I've tried it in the past the results have been really disappointing.
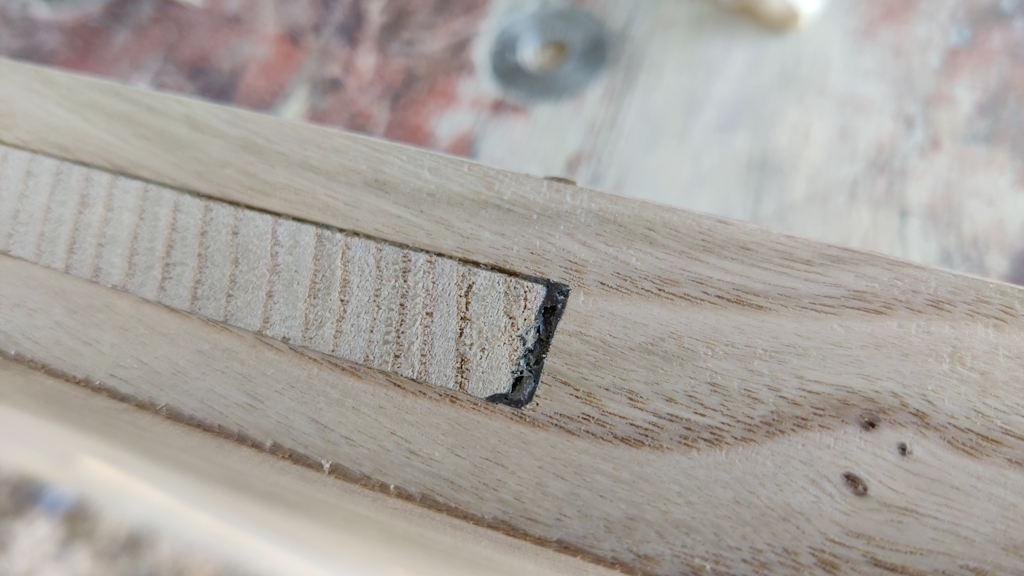
Nevertheless, for some reason (perhaps insanity?) I thought that this time would be different and I confidently (stupidly?) filled in any gaps I could see on the top and sides of the table top with a mixture of glue (mostly Titebond 3 but in a few places thin superglue) and the sanding dust I'd collected. The grain colour match is... well... not quite what I was hoping for:
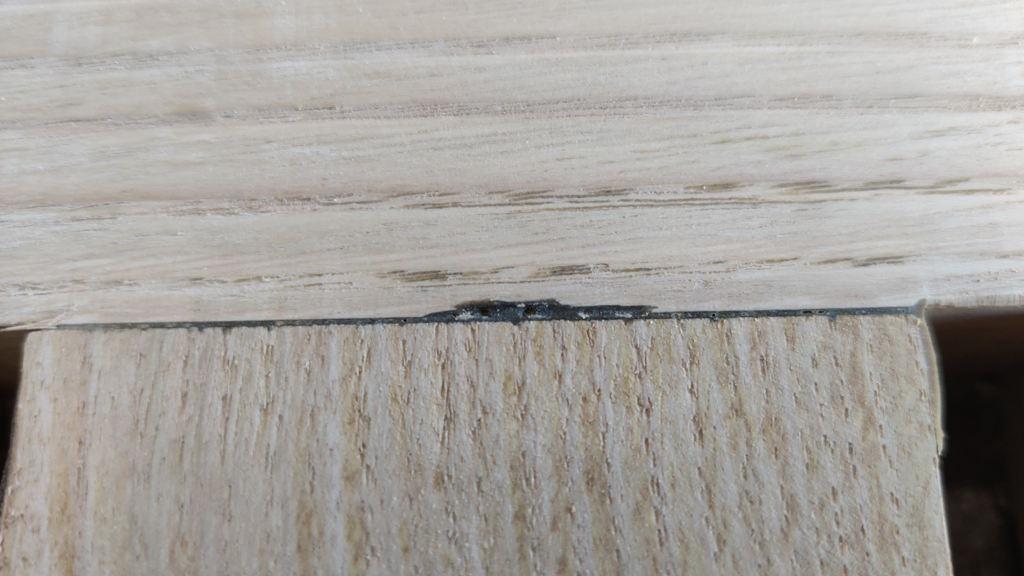
Another instance:
As penance for my stupidity I decided the only option was to clean the excess off and dig out the most prominent bits of the filler. For the sides, that was simply a case of re-planing the edge and then using an 8 mm chisel to pick out the filled in bits. For the face, I started using the random orbital sander, but it was going nowhere fast, so I switched to a card scraper, which still took a while but was much better than the sander. The gaps were very small on the top, so picking the filler out was done with a knife.
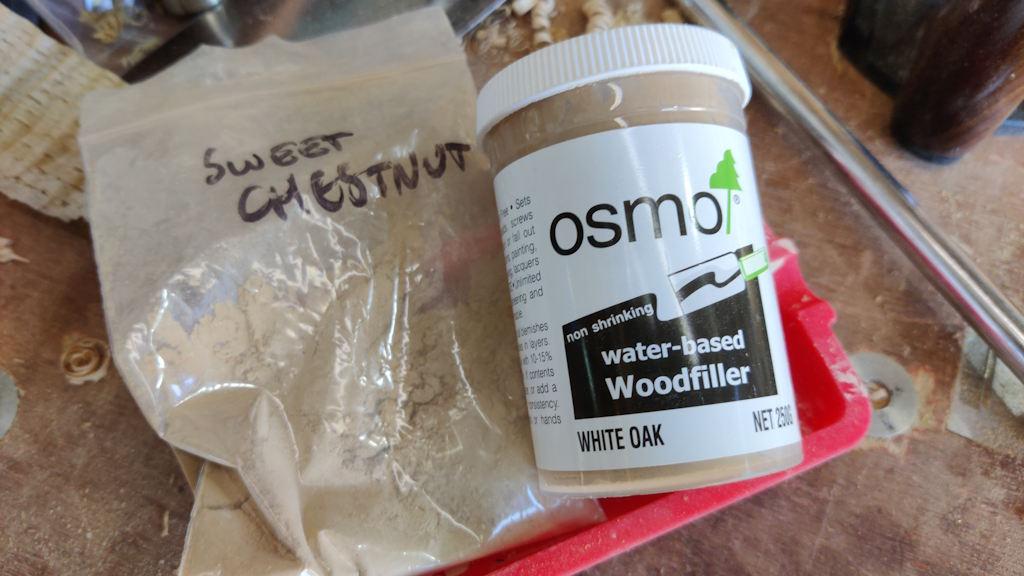
As an alternative, I decided to try a pot of white oak filler that I bought about five years ago:
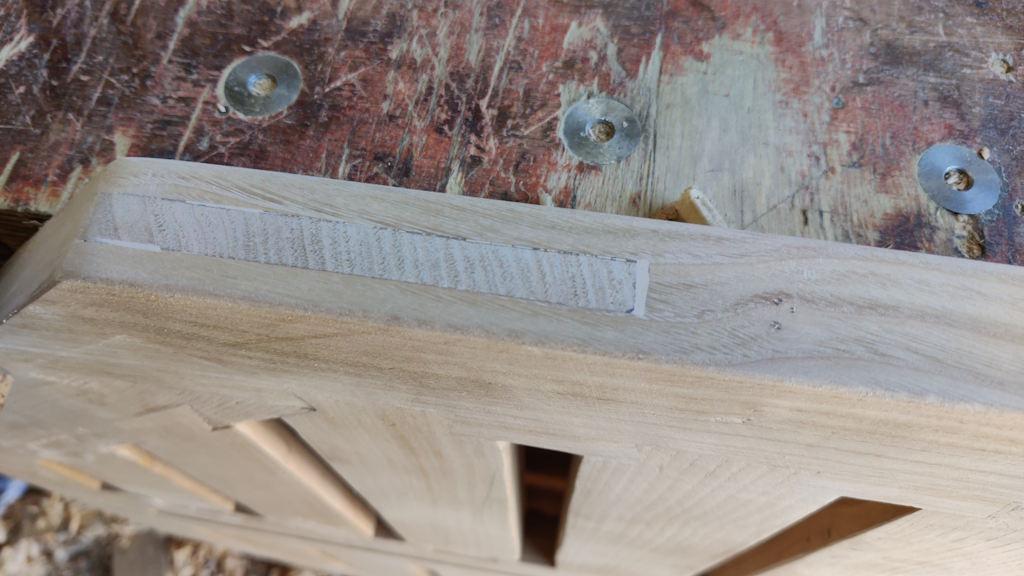
That was perhaps a bit better, but still not great:
On the top surface, I think it'll be fine as the gaps are all very small. I think I'm going to rely on the fact that people won't generally be looking that closely at the edges and at least it isn't as obvious as it was with the dust/glue mix filler.
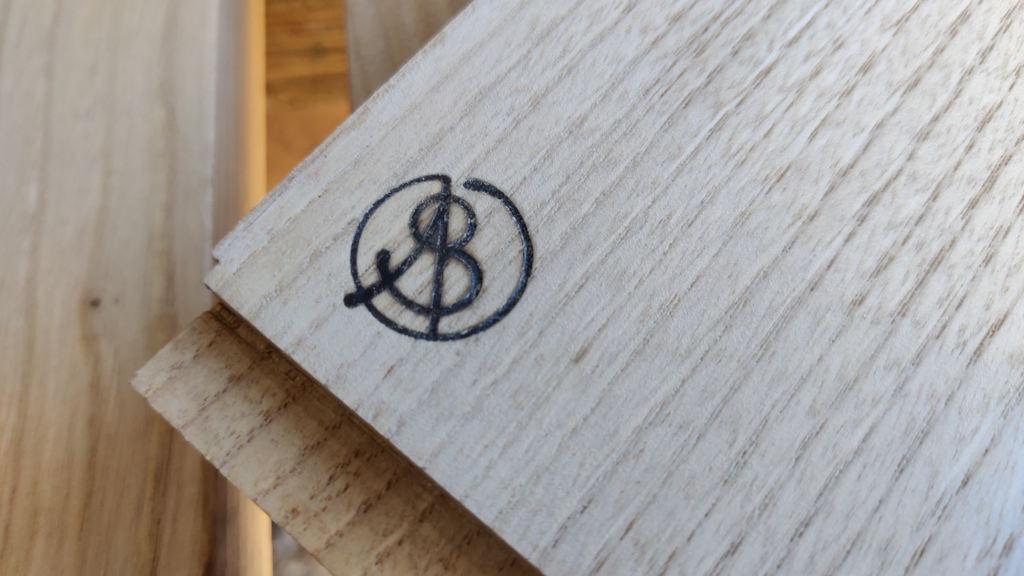
I've still got some more gaps to fill; I'm doing small areas at a time so I can see how they look before doing too many more (after the pain of getting carried away with that awful dust/glue mix). In the meantime though, I thought I'd do something a little more productive and less frustrating: gluing the arms into the column. Before doing that, I wanted to add my logo:
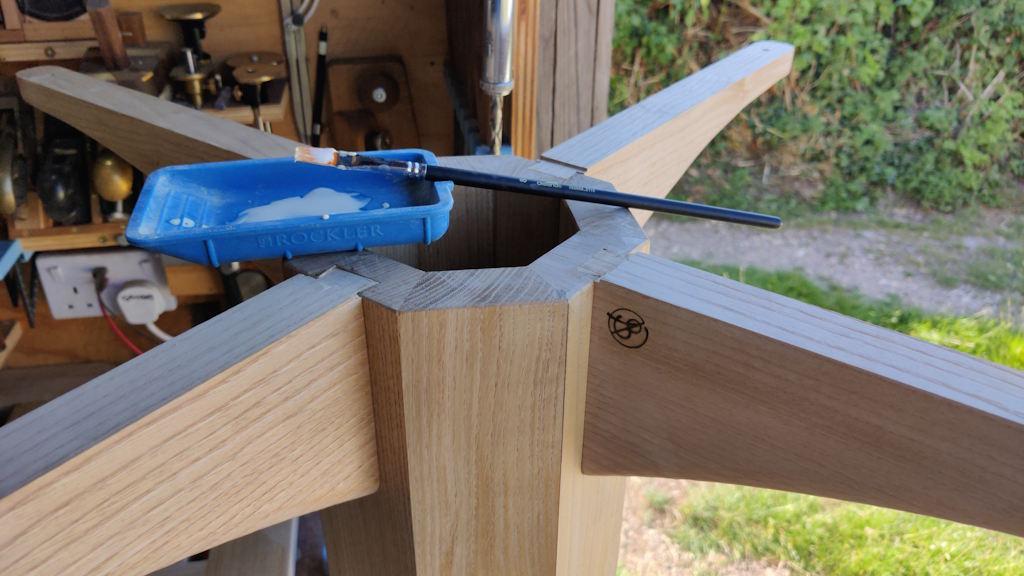
I probably need to practice a bit more with the brand (in particular getting the orientation right), but I think it looks okay. With the logo burnt in, I could glue the arms in:
I haven't used any clamps as I think the sliding dovetails should do the job of clamping without any assistance. As I've said before, I'm going to leave gluing the legs in until we've had a chance to try the table out and see how the height feels, so this will be the last bit of gluing for a while.
Apart from all the filling / sanding down filler, there aren't many things left to do now I think. I'll probably fit some thin plastic spacers under the feet (to keep the wood off the ground), I need to drill the pilot holes for the screws that attach the table top to the column arms, and that's about it. The current plan (unless lots of people reading this think it's a really stupid idea) is to leave the table unfinished, so that at least will save a big and very tedious job!
Page 35 of 38
This website is free and ad-free, but costs me money to run. If you'd like to support this site, please consider making a small donation or sending me a message to let me know what you liked or found useful.

 Return to main project page