Garden Table Build Process
Page 36 of 38
Posted 21st June 2025
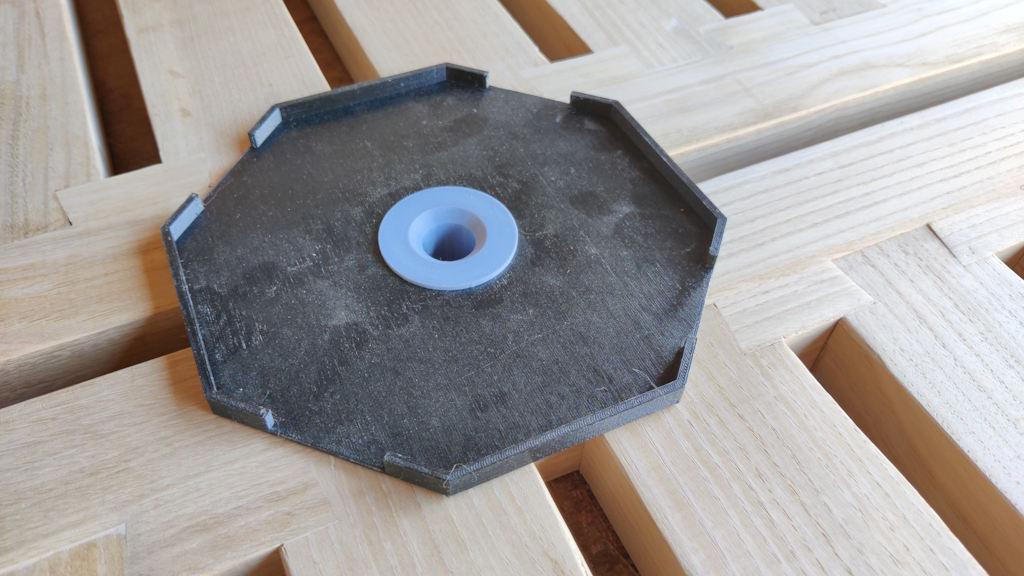
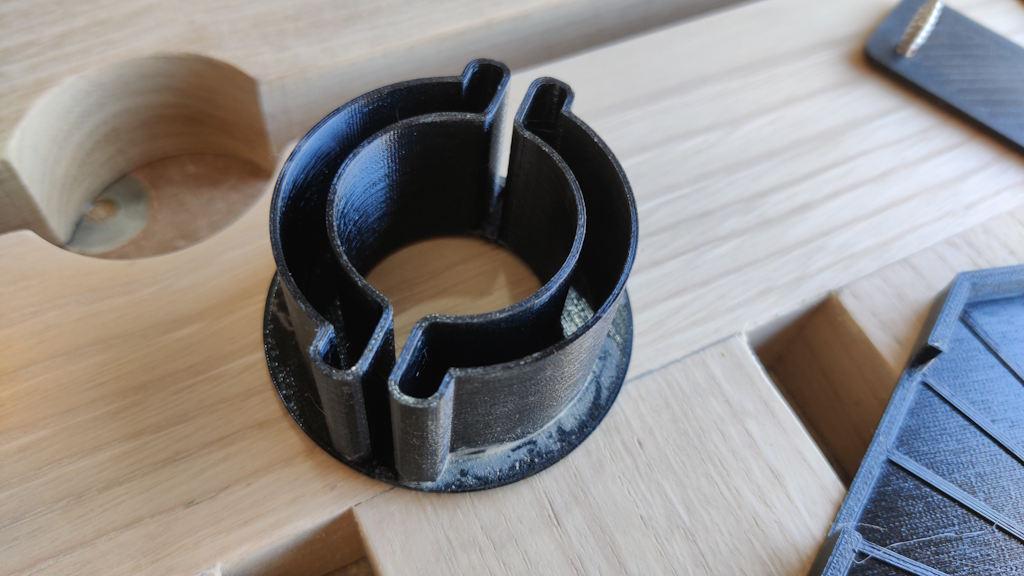
Just a small update. A few minor jobs ticked off the list. I printed a little (temporary) alignment piece to line the plastic spacer thing up with the central hole in the table top:
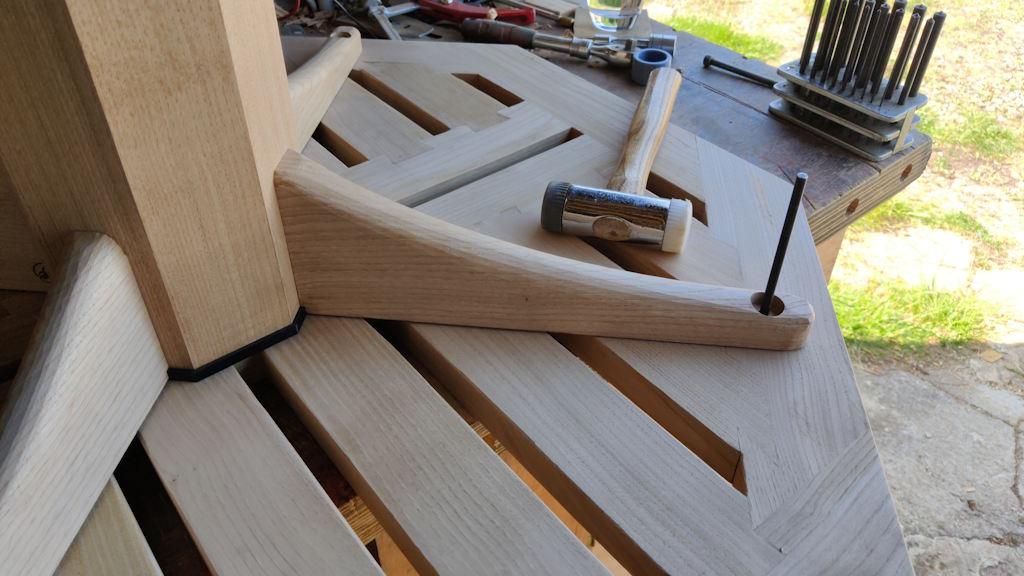
I could then mount the column/arms on the plastic spacer and it would guarantee that it was central to the top. That made it nice and easy to mark the screw hole locations (ready for pilot drilling) using a transfer punch:
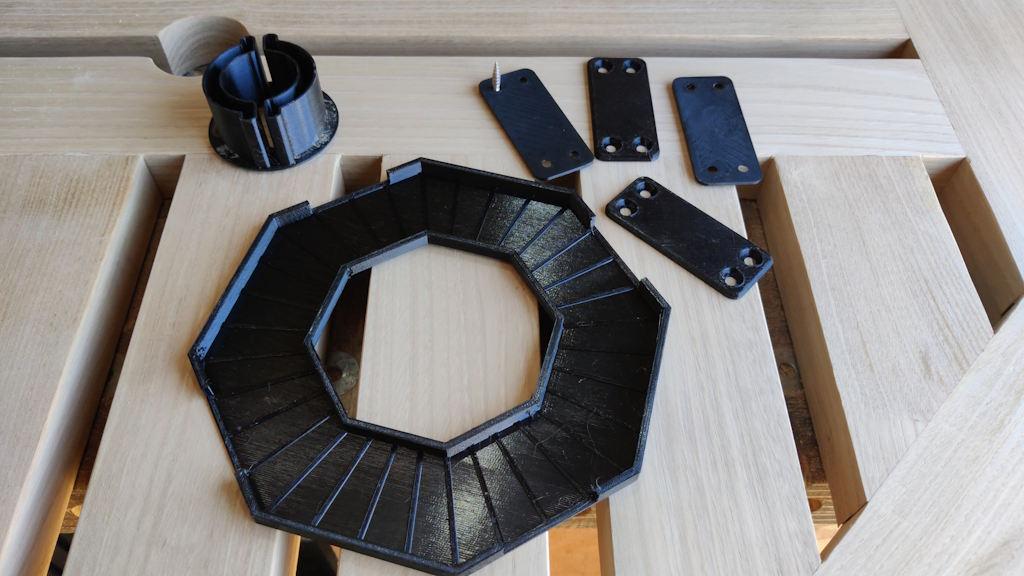
I've also printed a handful of extra bits and bobs:
At the back-right, there are some simple plastic spacers that will get screwed to the table feet (once the height is finalised) and will keep the wood a few millimetres off the ground to help longevity. In the front is a new version of the column cap and back-left is an insert for the parasol hole.
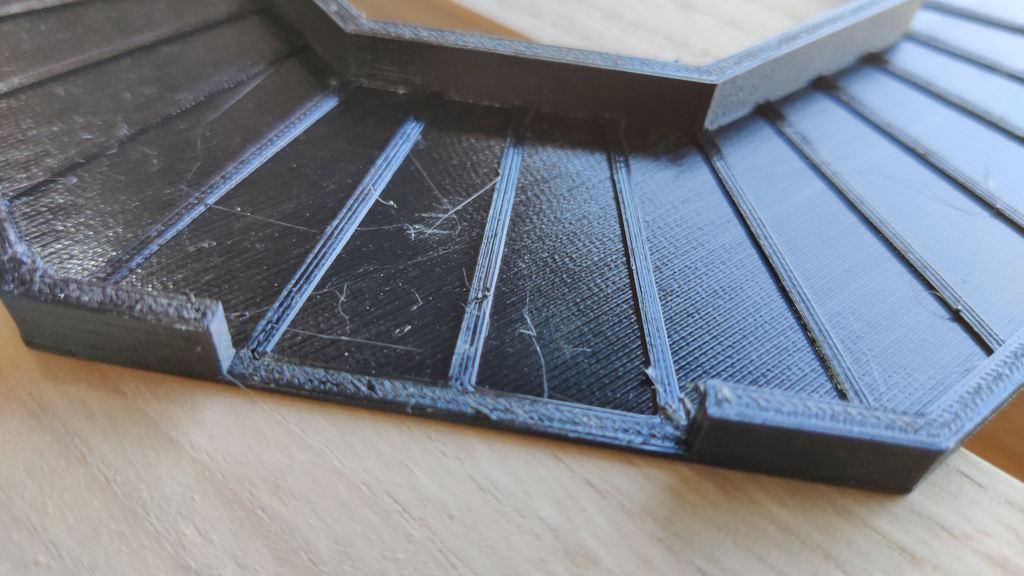
The new column cap is smaller and thinner and has ribs on the underside. The idea of the ribs that is that they will hopefully allow any condensation to escape. The idea of it being thinner is that it leaves a small gap above the spacer and below the table top, so water is less likely to pool there. I'll see how it goes and keep an eye on it (above and below). If it's causing more problems than it's solving it'll be very easy to remove later.
The parasol hole insert thing just protects the edges of the holes from being battered if the parasol sways in the wind. It's designed to be fairly flimsy (while still looking okay from above). The benefit of it being flimsy is that, if/when the central cross-bars expand with humidity, the plastic thing should just flex rather than restricting that movement.
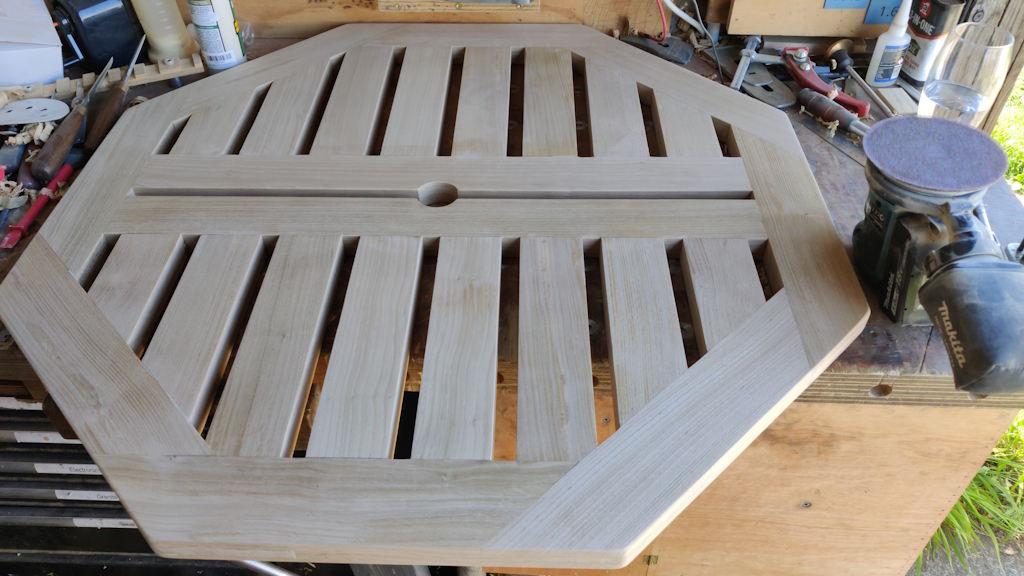
The rest of what's been going on whenever it has been cool enough to be in the workshop has been noisy, dusty and tedious sanding:
The result of the filling is very visible to me, but I suspect no-one else will ever notice it, so I'm going to accept it as I'm really keen to get this project over and done with. We'll be considering the height a bit over the next day or two and then will hopefully get the legs finalised and glued in very soon and then I'll call it done.
Page 36 of 38
This website is free and ad-free, but costs me money to run. If you'd like to support this site, please consider making a small donation or sending me a message to let me know what you liked or found useful.

 Return to main project page