Garden Table Build Process
Page 37 of 38
Posted 22nd June 2025
It's finished! Well sort of. It's finished in the sense there are no major jobs (that I can think of) left to do, but it isn't finished in that I'm still waiting for the glue holding the legs on to dry. When that's done, the top will get screwed back on and then it's genuinely finished.
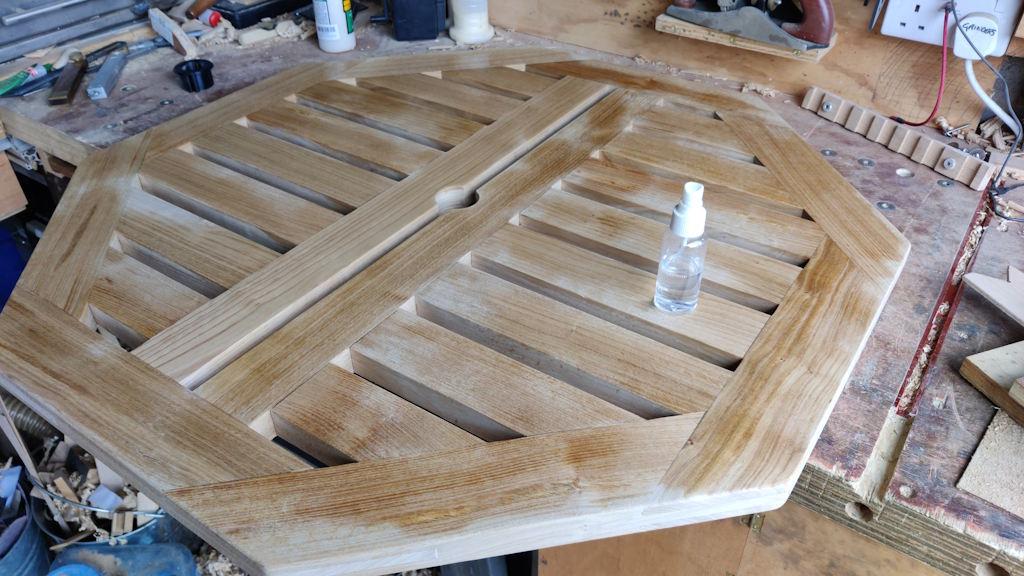
While we've been thinking about table height, the table top was in the garden and got rained on slightly. I say slightly: it was only a few drops really. However, it highlighted another good job to do as the bits that had been rained on felt a bit rough. When applying finish to wood, the first coat (at least) causes the grain to raise slightly and that's why it's best to sand the surfaces down after the first coat. This table isn't getting any finish, so in lieu of that, I got a little atomiser bottle and sprayed water all over the top:
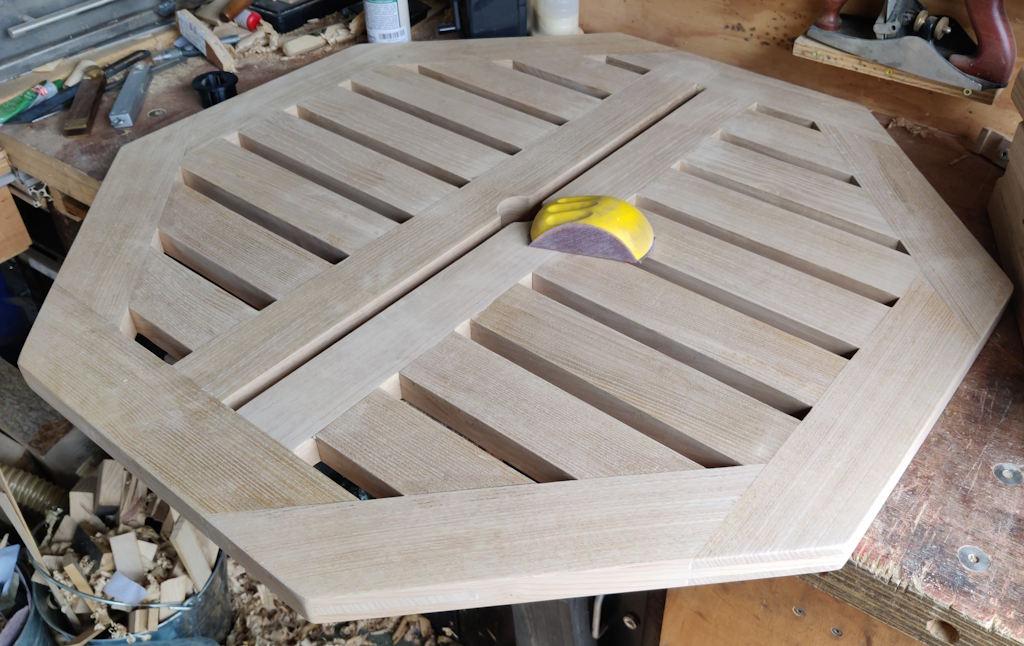
When that had dried, I stuck a bit of 240 grit sandpaper on a hand sanding block and went over the whole top surface to deal with the raised grain.
I'm sure it'll still roughen up with more water applied, but then it'll roughen up with other things being applied too (like red wine, jackdaw poo etc!) There's no point being too precious about the surface of a garden table in my opinion.
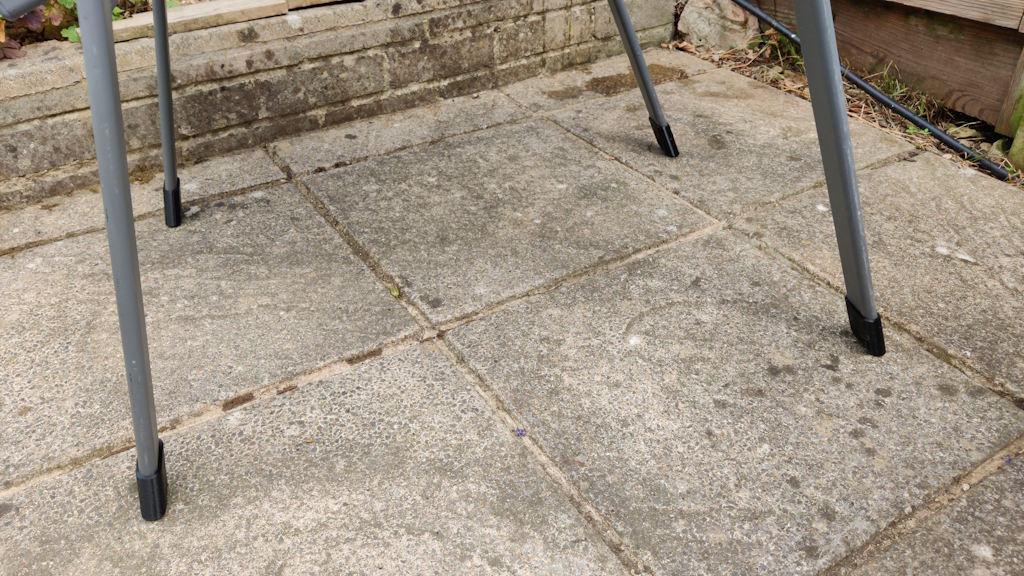
I've said a few times that we've been debating the table height quite a bit. That wasn't as simple as it sounds as I also took this as an opportunity to debate the chair height! We have some simple metal frame / plastic mesh chairs (from B&Q). They're very comfortable but a bit too low for us. I've never done anything about it before as the old table was also similarly low but now that I have the opportunity to get the right table height, I can also adjust the chair height.
Of course that introduces another variable, so we spent a while trying different chair heights (with off-cuts under the legs) and finally settled on raising them up by 25 mm. To raise the chairs up, I 3D-printed (with 100% infill) some simple blocks that go over the end of the chair legs:
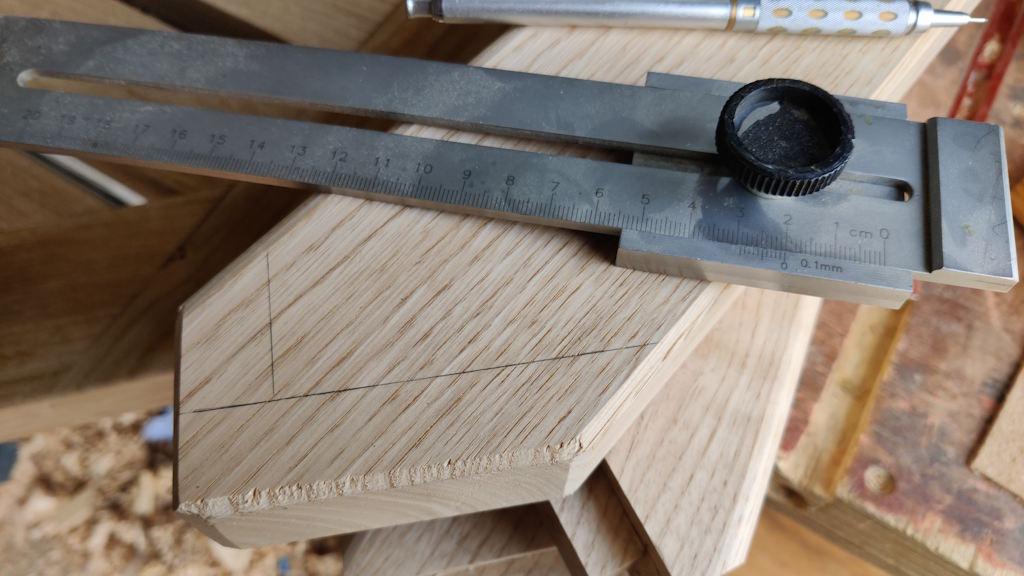
With that done, we could set the table up in the garden and again tweak the chair height with blocks of wood (this time ignoring how comfortable the chairs were) until the table felt right. That height tweak ended up being 20 mm, so that's how much I need to take off the legs:
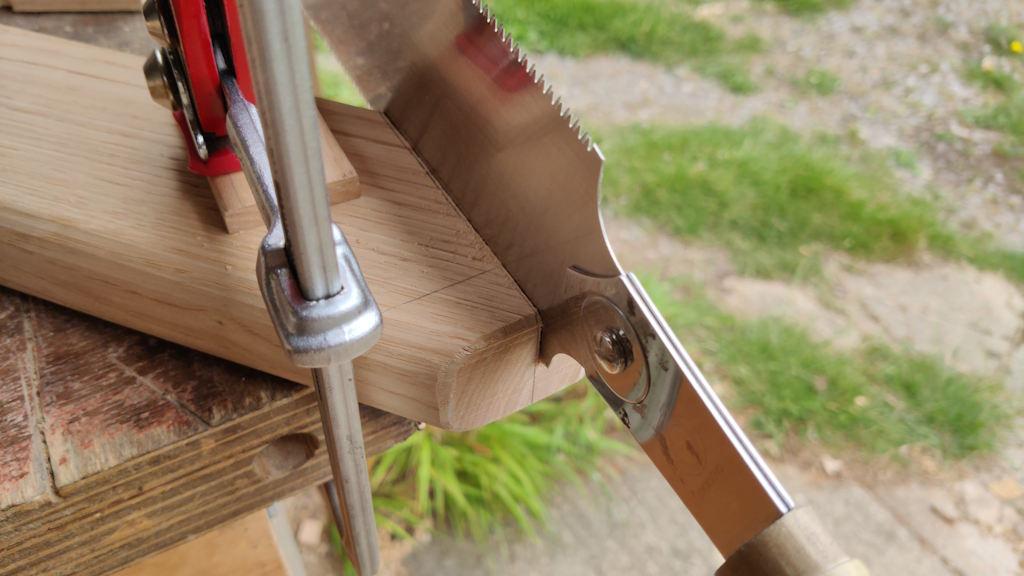
Having marked all the legs, I sawed off the bottom...
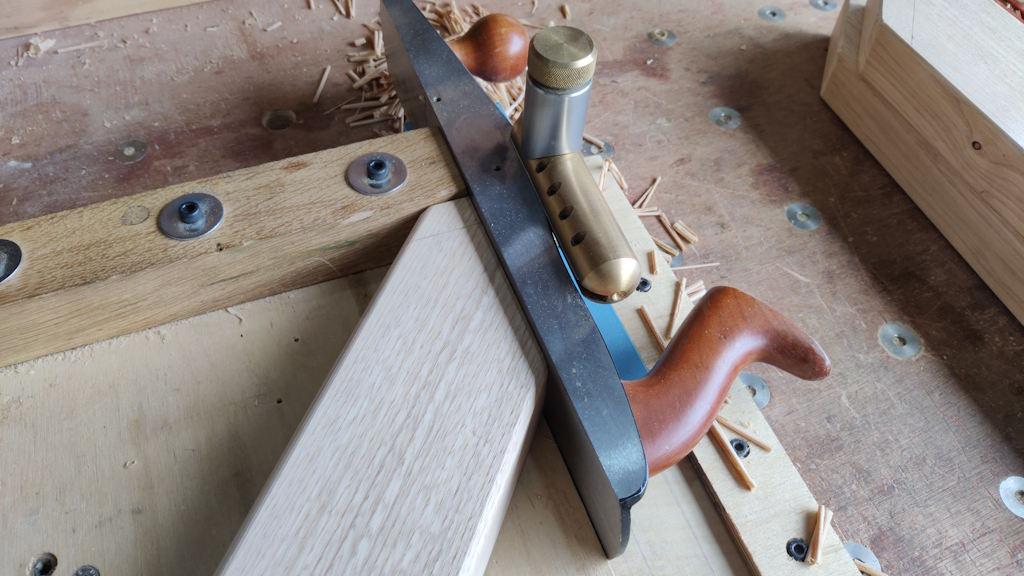
... then shot the end smooth...
... then repeated for the end.
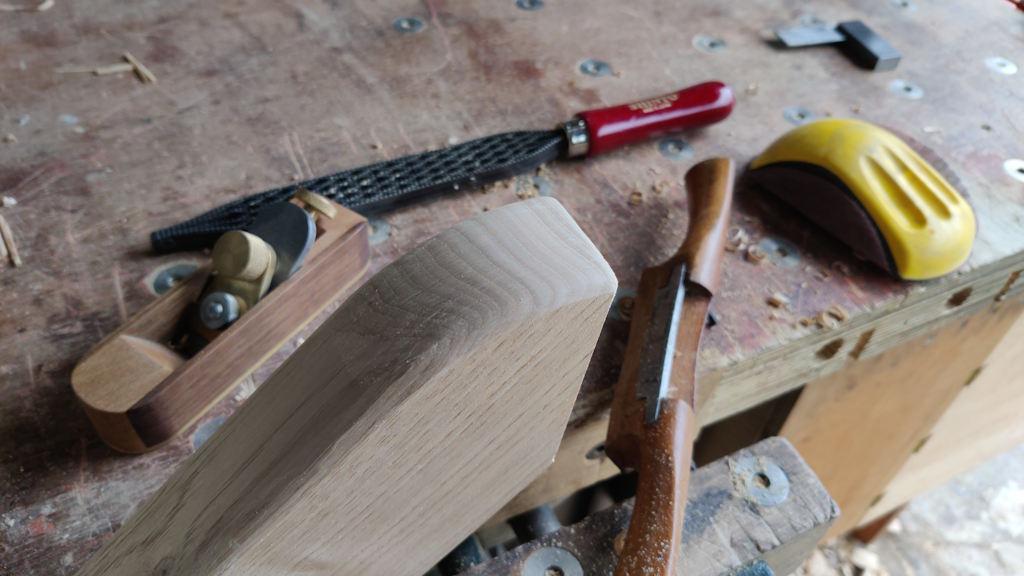
With that done, I decided to round the end over, using a saw rasp for the rounding, a spokeshave to continue the edge round-over down around the end round-over and my little home-made block plane to chamfer the bottom edges. Finally, the sandpaper block smoothed out the rough finish left by the saw rasp:
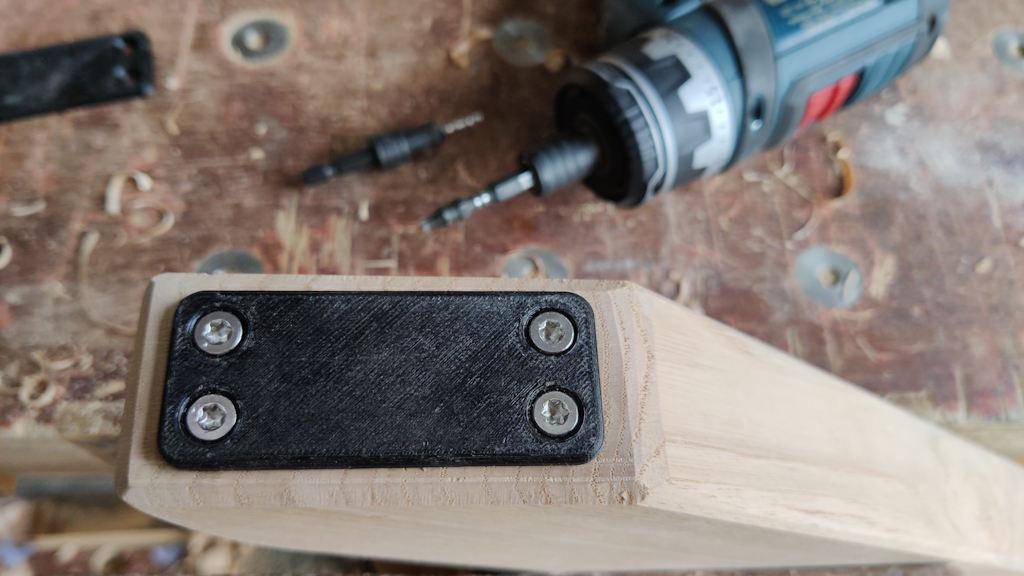
The last job on the legs was then to drill four pilot holes in each one and to screw the plastic spacers (which will hold the wood above the paving slabs and hopefully reduce water ingress) in place:
I decided to try clamping the legs in place (if you remember, I didn't bother with the arms: just relying on the tapered dovetail). It was probably unnecessary again, but I thought it might be good practice for the techniques involved for whenever I have to do something like this for real.
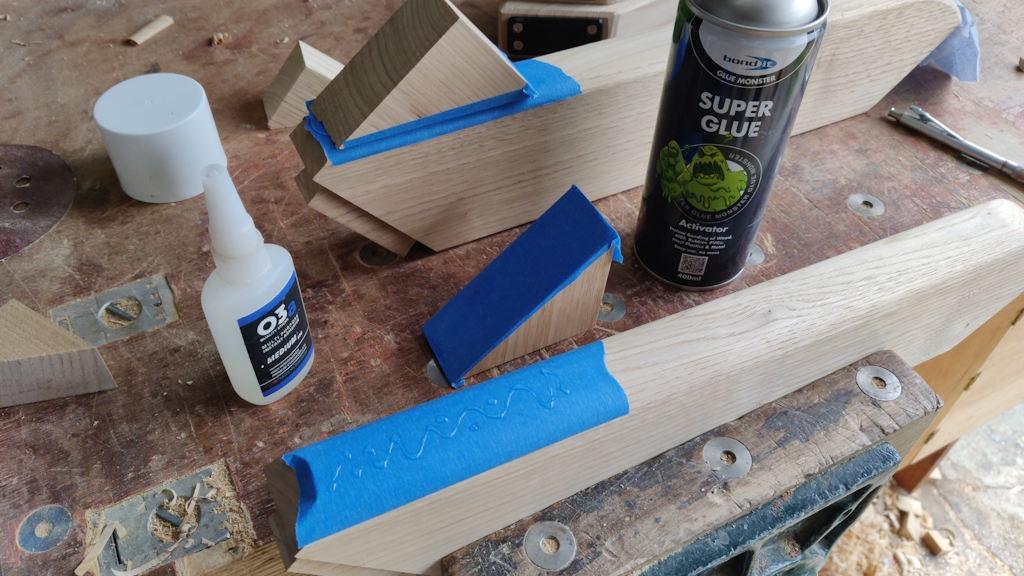
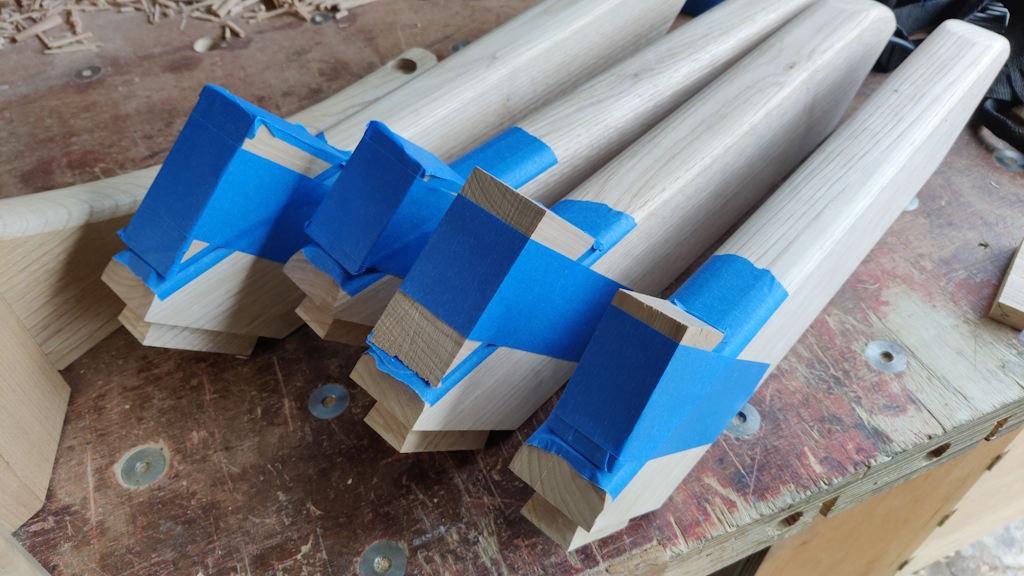
I dug around in the wood bin and found some of the off-cuts that had come off the ends of the legs. Using masking tape, superglue and superglue activator, those blocks got attached to the sloping edge of the legs:
Two of them promptly fell off as the masking tape hadn't stuck to the off-cut for some reason. I re-did those two with the masking tape wrapped all the way round and then added some more masking tape as I figured it couldn't hurt:
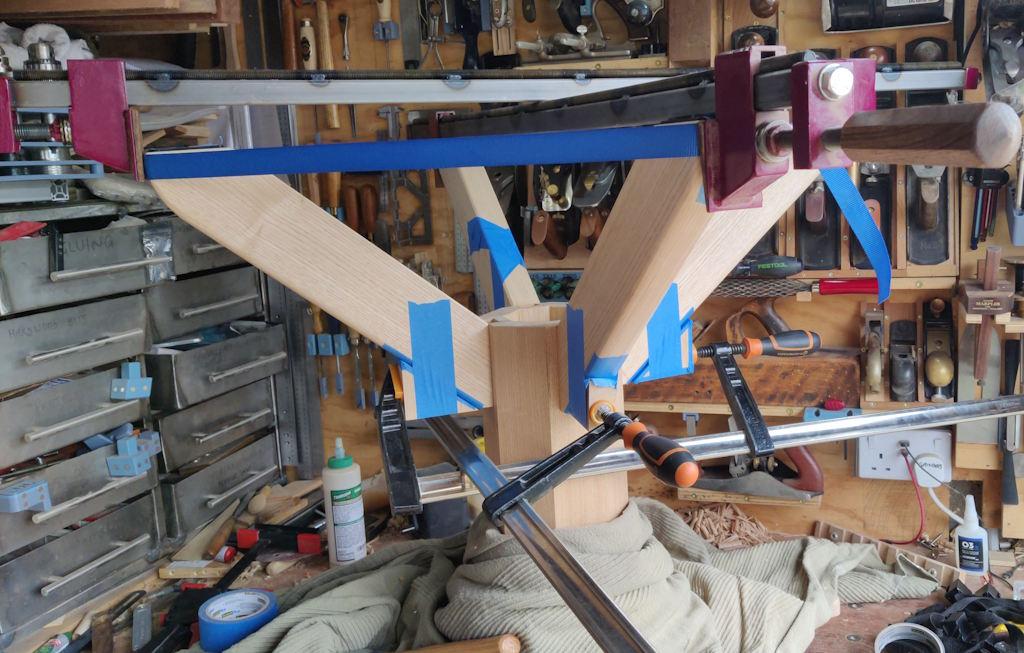
I could then daub glue all over the relevant surfaces, tap the pieces home and then use some F-clamps across the clamping blocks. I also added a simple strap around the top end of the legs, but I couldn't pull that tight without it working it's way round the round-over, so I used my home-made bar clamps instead.
The khaki-coloured blanket/throw thing wrapped around the bottom of the column and the arms was there to protect the arms in the event that the F-clamps fell off. I was glad to have used that as I when I went back to the garage an hour or so later I found that both F-clamps had fallen off! Thankfully in this case they probably weren't really needed anyway so it doesn't matter.
That's pretty much it I think. I'll leave the glue overnight and if I have time tomorrow evening I'll move the table into the garden and that'll be that.
Page 37 of 38
This website is free and ad-free, but costs me money to run. If you'd like to support this site, please consider making a small donation or sending me a message to let me know what you liked or found useful.

 Return to main project page