Garden Table Build Process
Page 7 of 38
Posted 29th March 2025
Well, today was a good example of why "measure twice, cut once" isn't necessarily sufficient. Sometimes it's a good idea to "think three times, measure twice, cut once"!
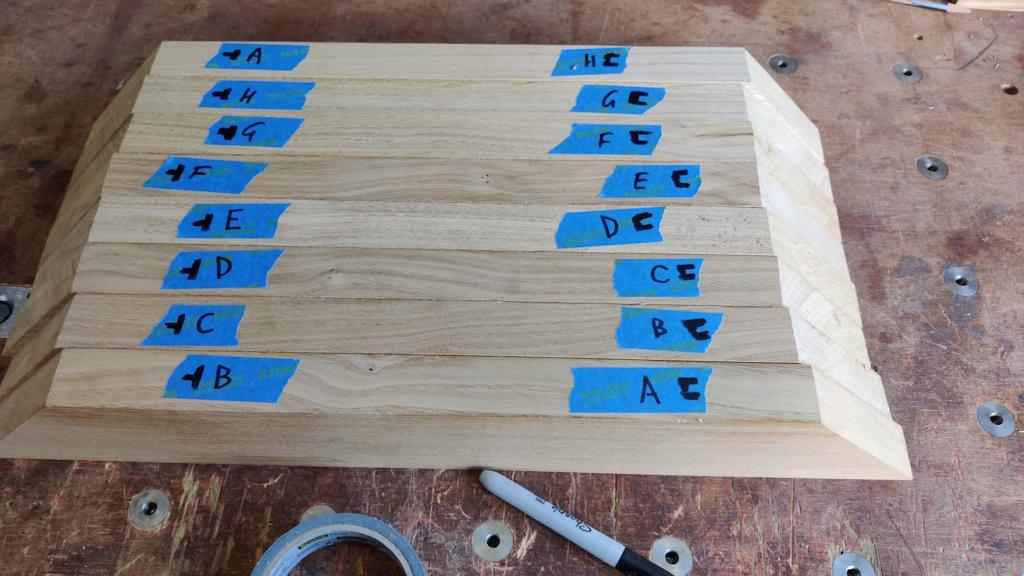
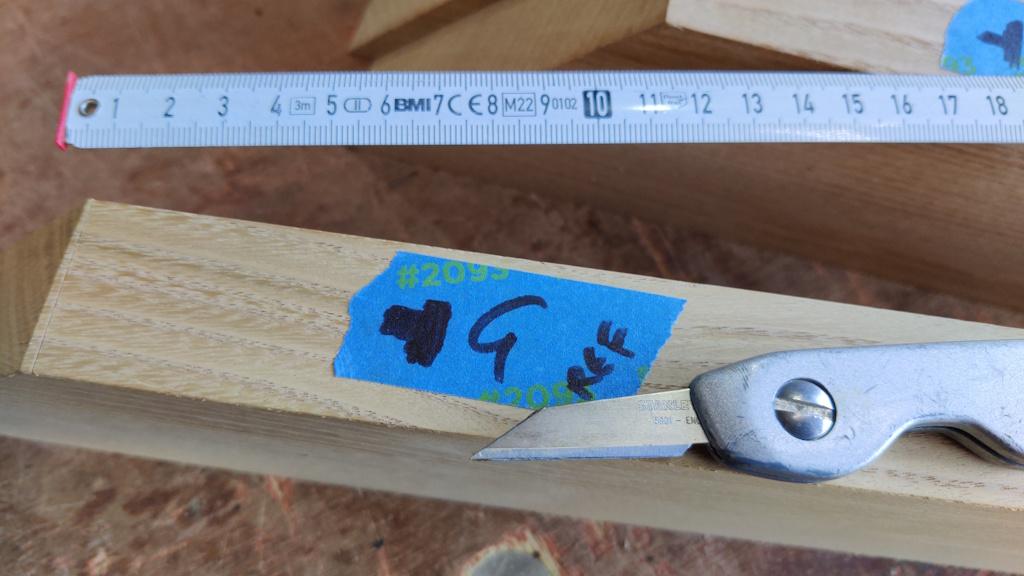
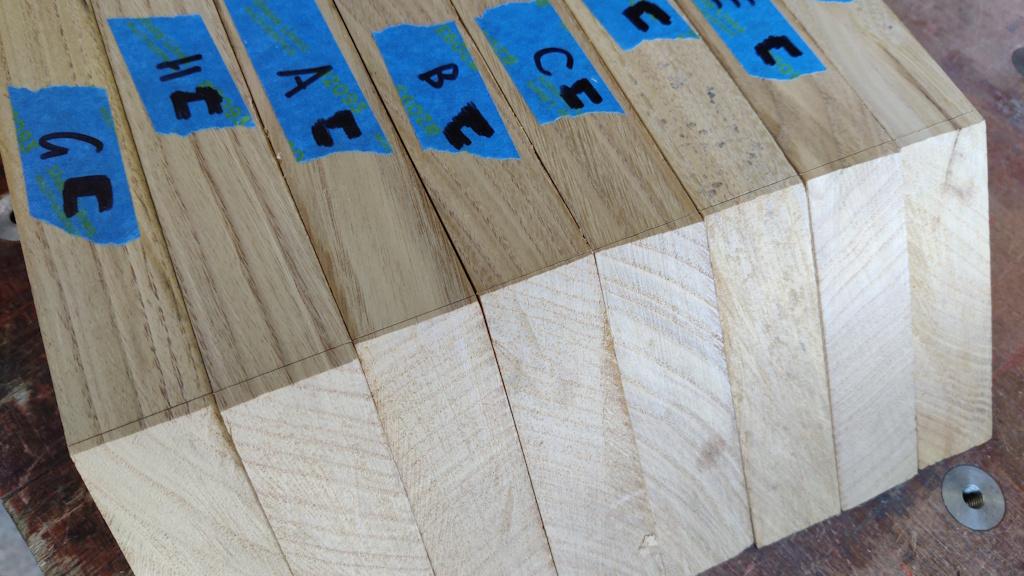
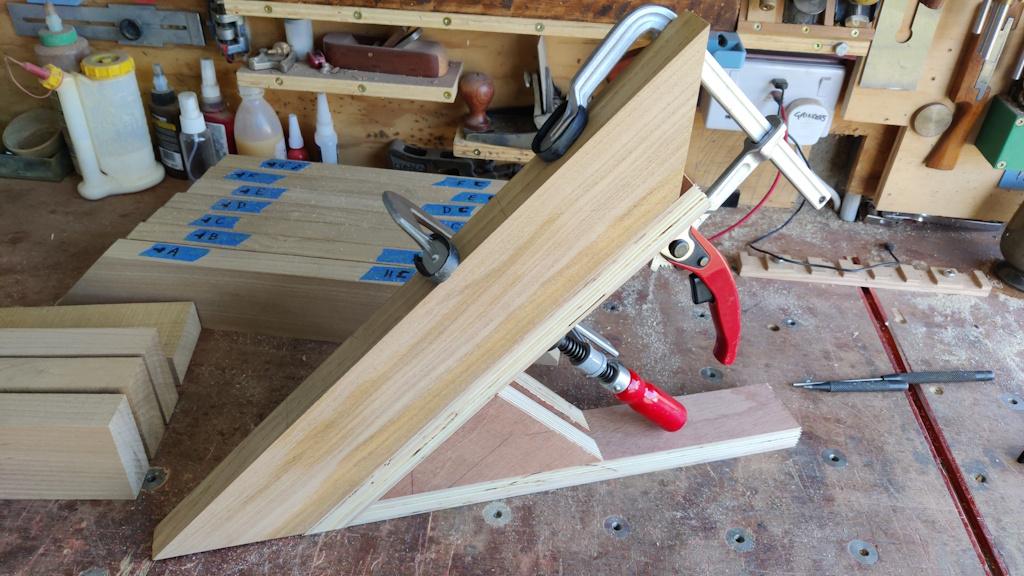
I started by getting all the planks I prepared back in August and labelling them to show which order they'd be assembled around the ring. There are three that will need to be planed in one direction and five in the other, so I made sure the three were next to one another. In practice I may just plane it with a high angle plane (which seems to work fine on this sweet chestnut), in which case the grain direction isn't as critical.
I picked the shortest of the planks and used it to choose a distance between edge marks. The distance I picked was 372 mm; that will form the length of a side of the octagon. That should result in an octagon that is 972 mm across corners and 898 mm across flats.
The shoulder marks from that reference board were then transferred to all the other planks, which should result in a regular octagon if I don't mess anything up.
I then used a combination square to transfer those marks all the way around the plank, marking the outside on the ends that will have the outside bit (socket) of the bridle joint and just marking the ends on the tenon end. All very precise, but in completely the wrong place. More on that later.
I knocked up a very quick and simple jig for the bandsaw out of some off-cuts of 25 mm plywood that I'd been given by a neighbour:
Despite never having cut a bridle joint before, I decided to just go for it with these planks rather than doing a trial run on a scrap board. The reason for that was a combination of a few factors:
- I didn't have any prepared wood of a similar-ish thickness (or material);
- I've (thankfully) got plenty of sweet chestnut, so messing up one or two pieces won't be the end of the world;
- It can't be that hard, can it?!
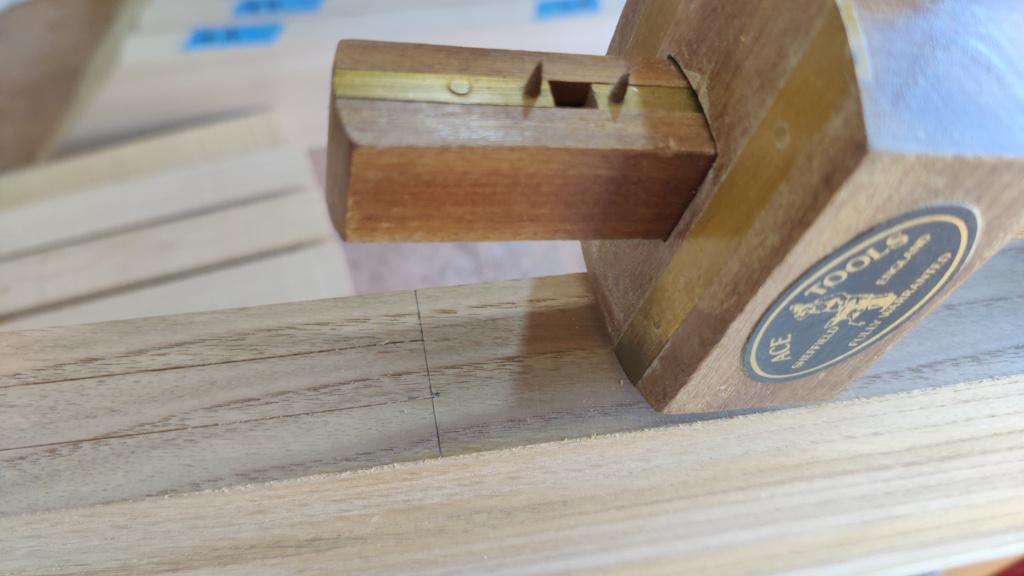
To mark the rip-cut lines, I used a mortice gauge on the first joint attempt:
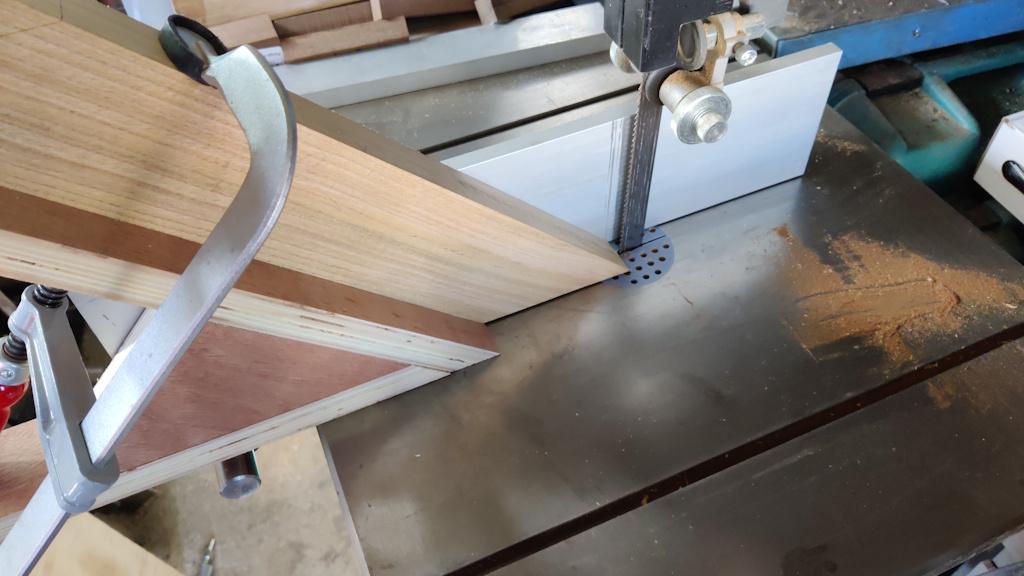
Bandsawing was done with the part pushed against the fence, using the scribed lines (later reinforced with pencil) to set the fence in the right place:
After the first cut, it was clear that the bandsaw needed adjustment:
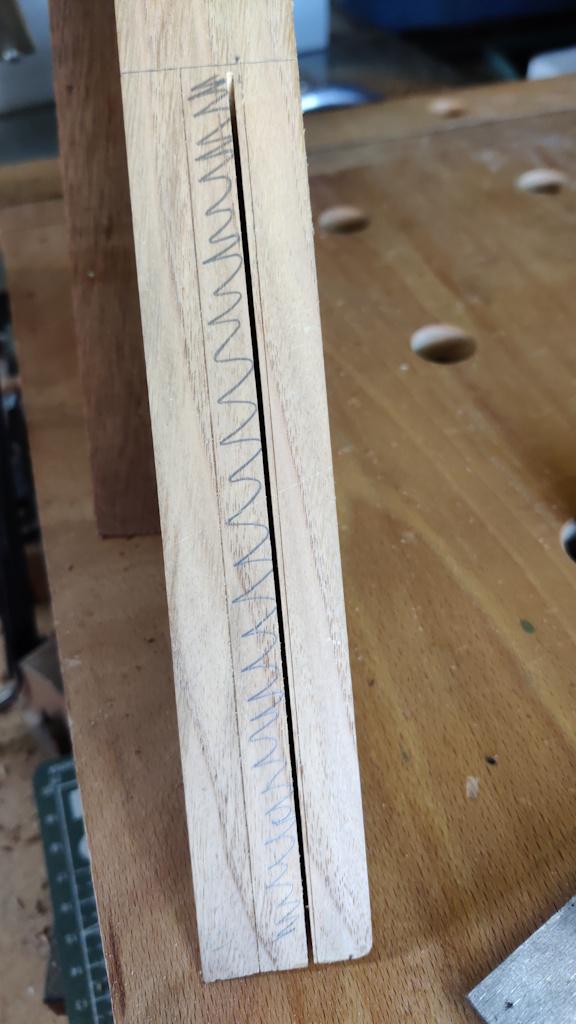
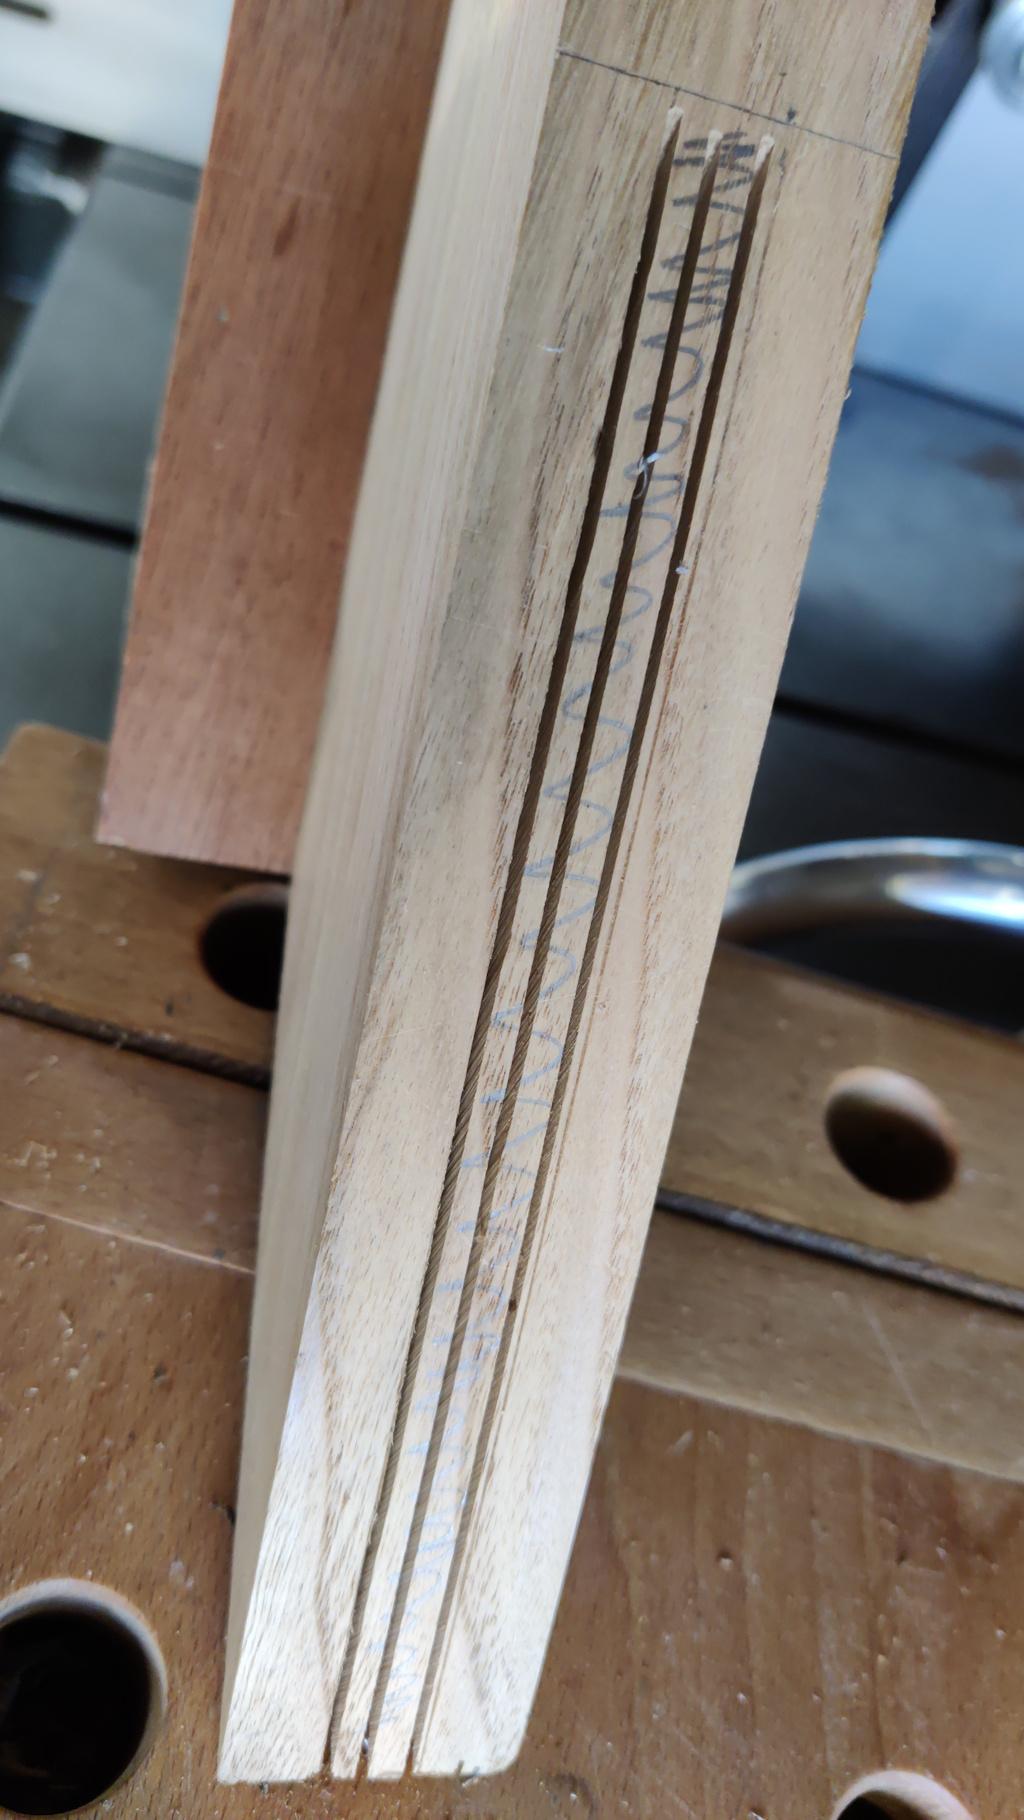
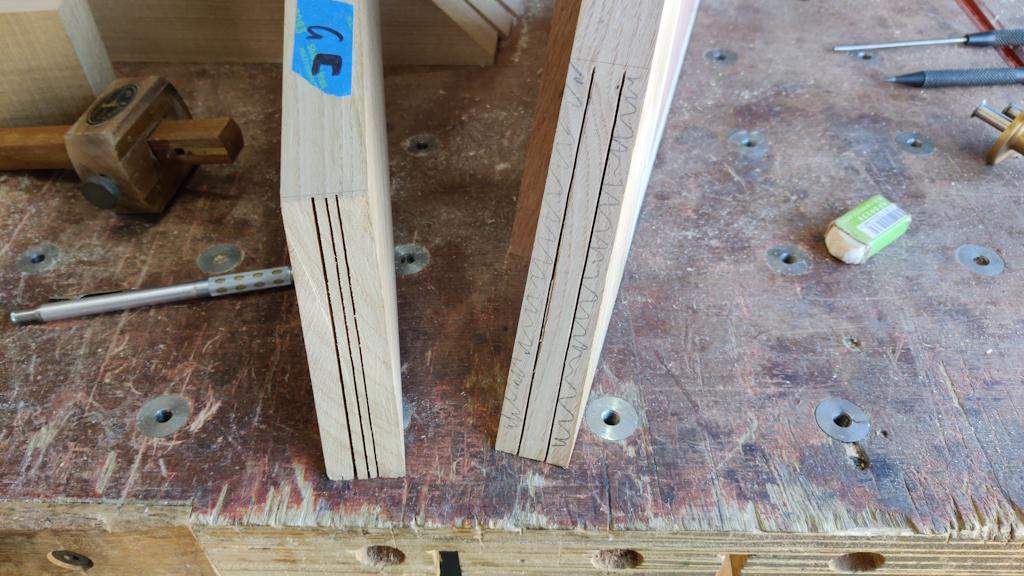
I did a central cut, partly to check the adjusted bandsaw accuracy and partly to make it slightly easier to get the waste material out later. After the adjustment, the cuts were much better:
Things went nice and smoothly on the other part as well, this time cutting on the other side of the gauged lines:
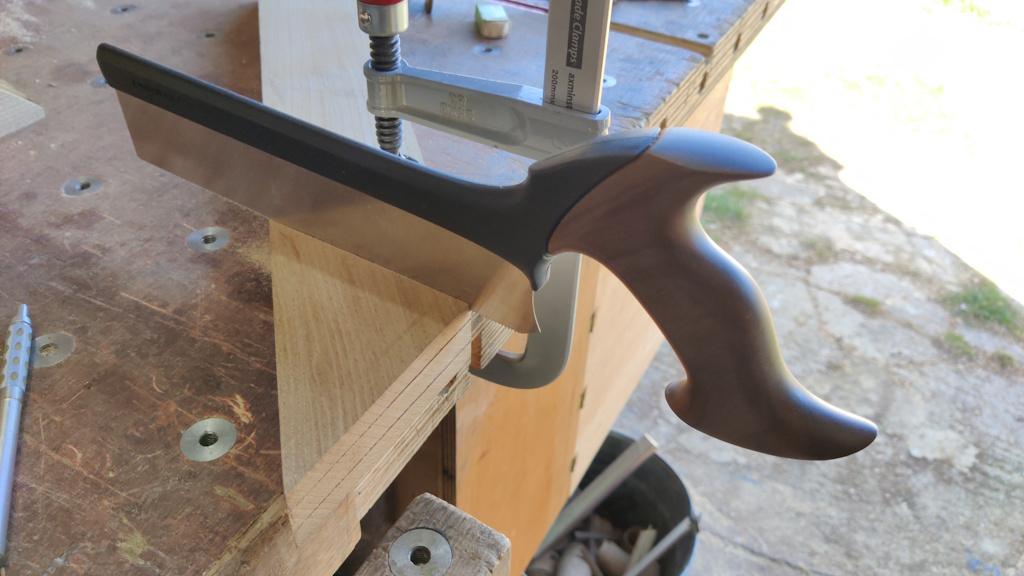
For the tenon piece (is that the right name?), I used a western-style cross-cut saw for the first side...
... leaving a bit of waste to be chiselled out later:
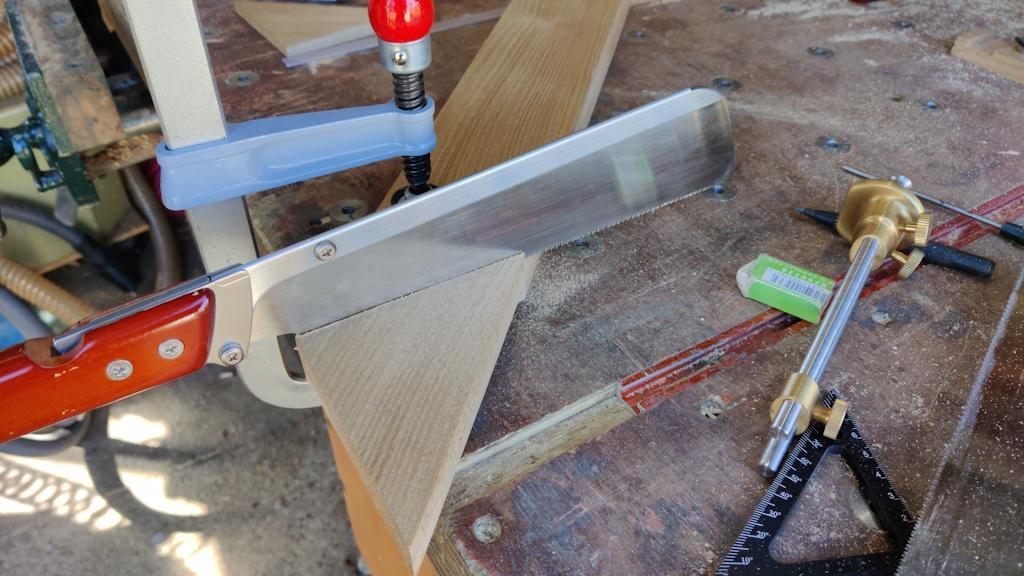
For the other side, I switched to a cross-cut Dozuki:
I quite like trying out the different types of saws when trying new techniques as I find some things better with one and some with the other. It didn't make much difference in this case really.
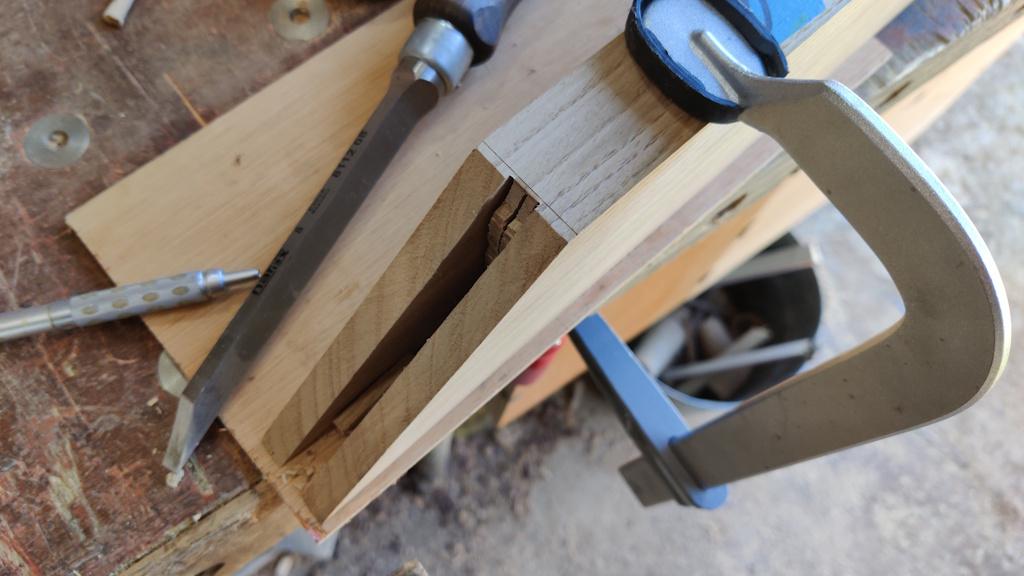
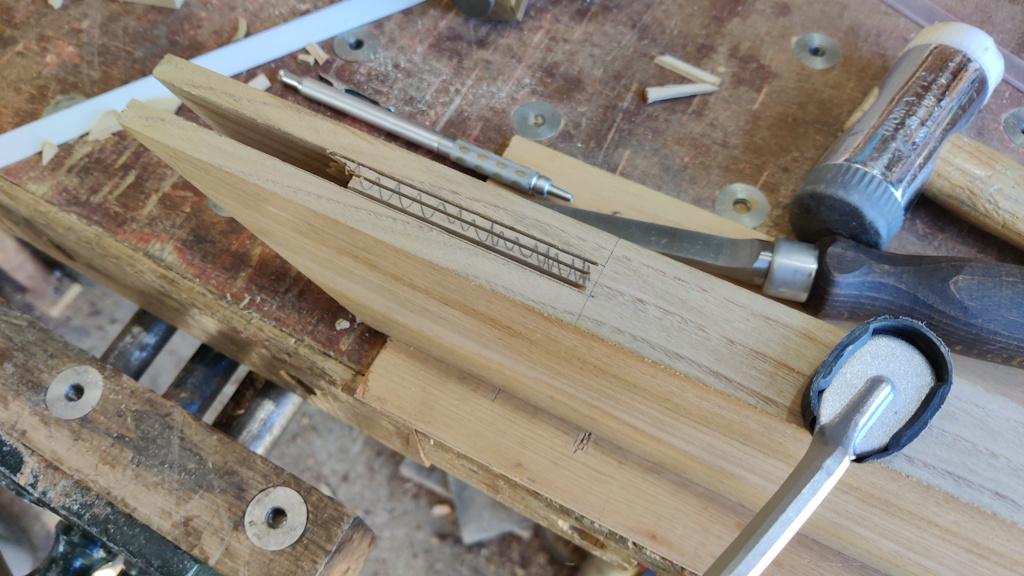
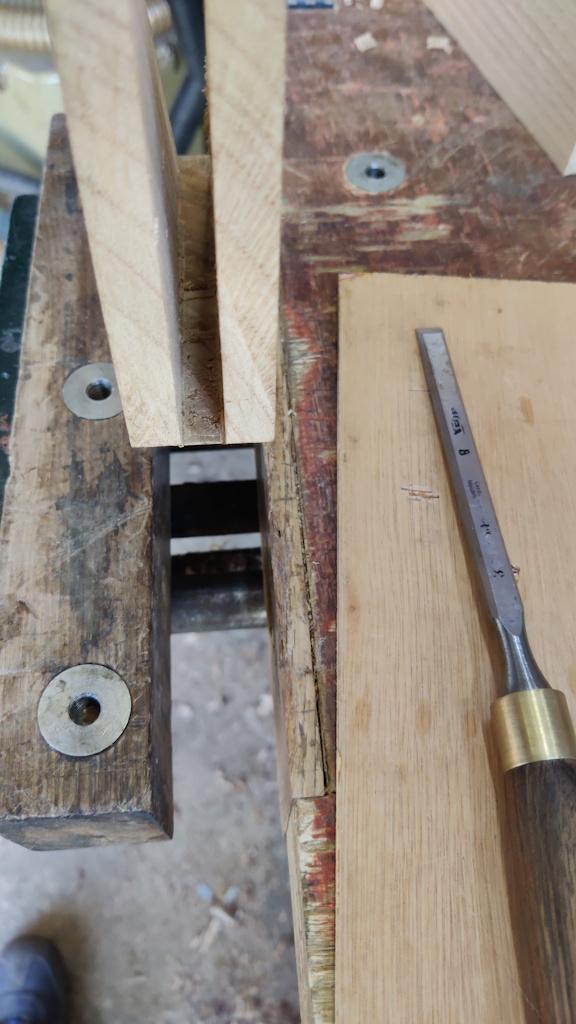
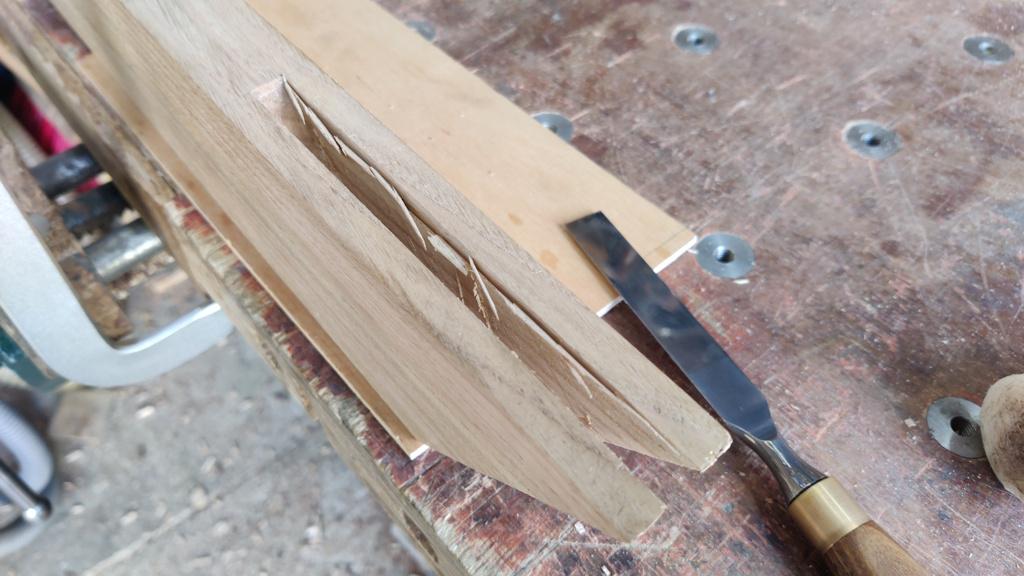
To clean out the socket, I started with an 8 mm mortice chisel (the socket is about 11 mm wide), going straight down first of all:
That left it looking like this when I flipped it over:
I could then carry on chiselling to get it close to the line:
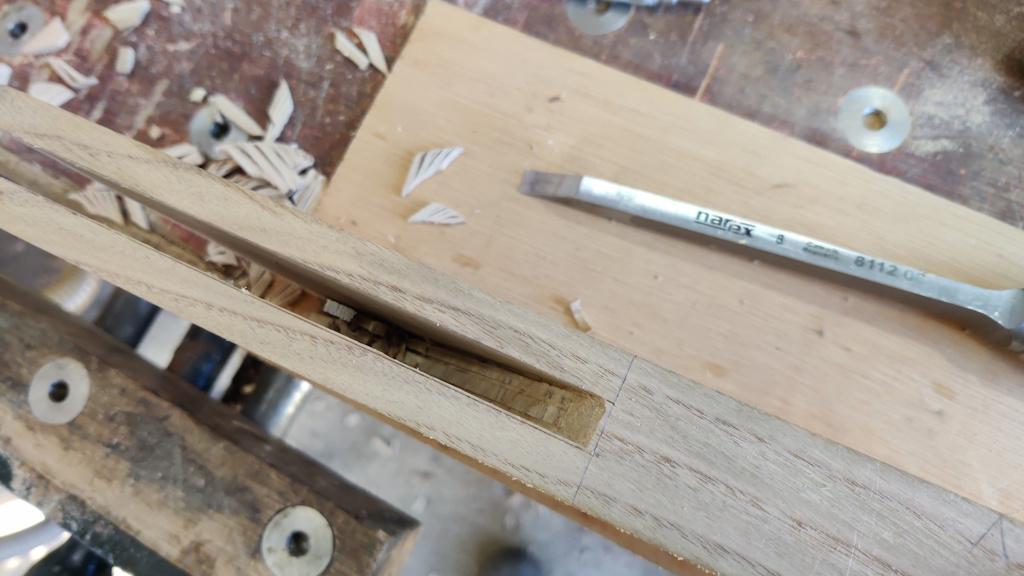
I then switched to a bevel edged chisel to clean up the bottom:
A bigger one was used to clean up the sides:
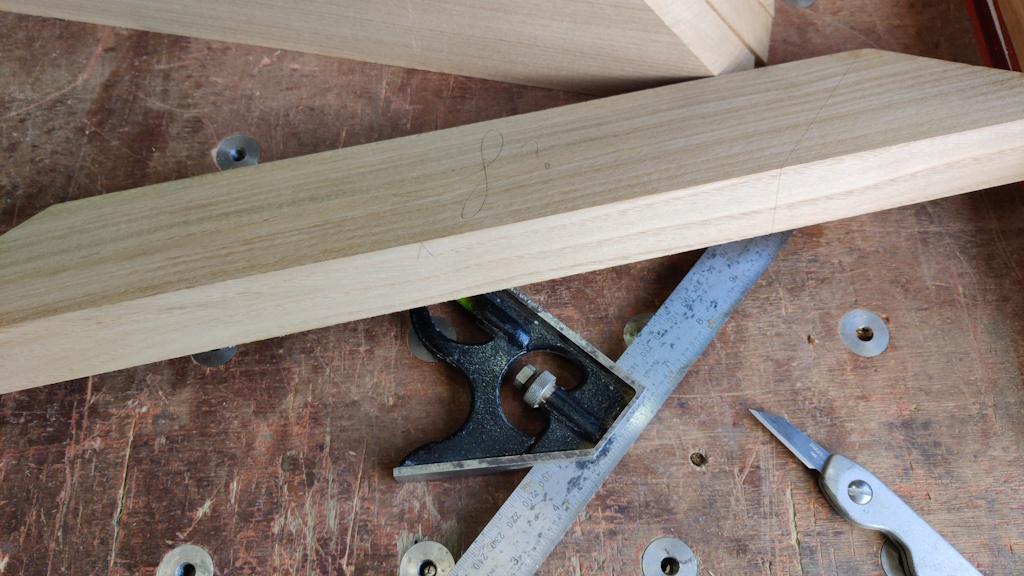
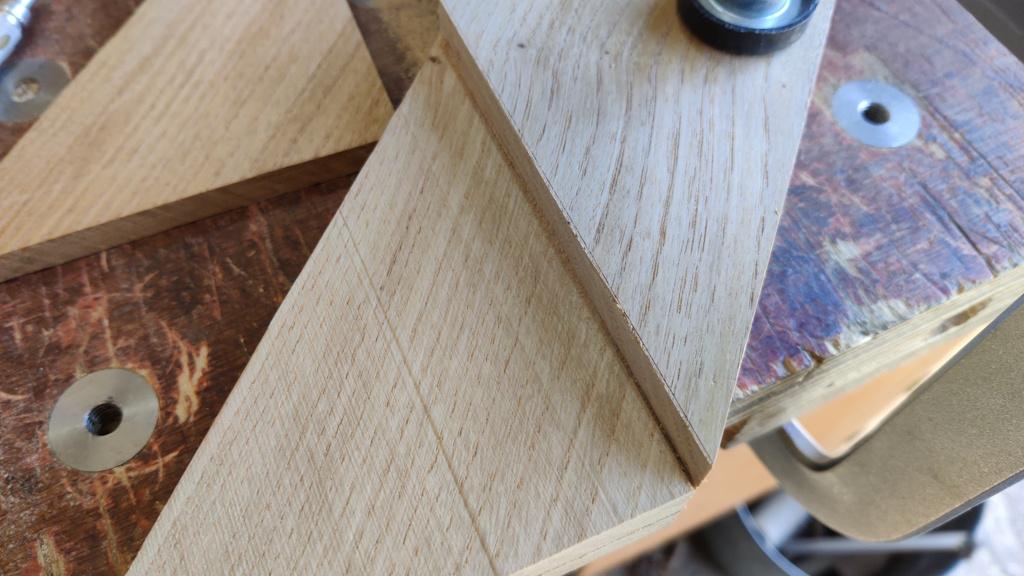
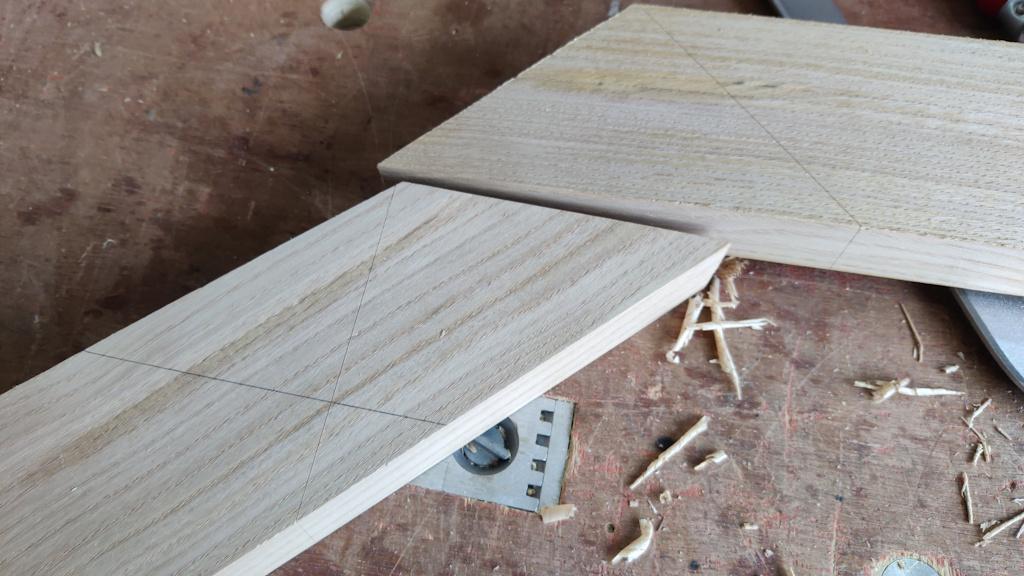
At this point, I started looking at doing a test fit to see how well they sat together and that's when I realised I'd marked them up completely wrong and they'd never go together correctly. In this photo (of two other planks), the knife line (on both planks) is where I'd marked them up; the pencil line is where I should have marked them up:
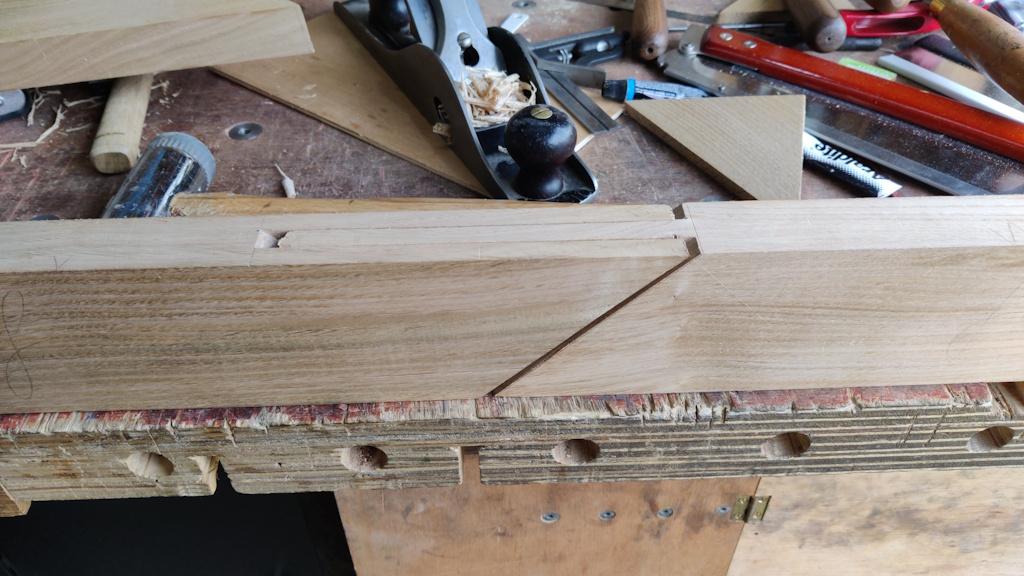
Nevertheless, I carried on getting them to fit together, using a carriagemaker's rebate plane to tweak the tenon until they slid together (with some sizeable gaps around the edge, plus some humongous gaps where I hadn't got round to chopping the shoulders yet):
Those two pieces are now waste (but thankfully, as I said, I have more sweet chestnut - I see lots more hand planing in my future!)
Continued in the next post...
Page 7 of 38
This website is free and ad-free, but costs me money to run. If you'd like to support this site, please consider making a small donation or sending me a message to let me know what you liked or found useful.

 Return to main project page