Shelf Unit Build Process
Page 4 of 11
Posted 5th May 2024
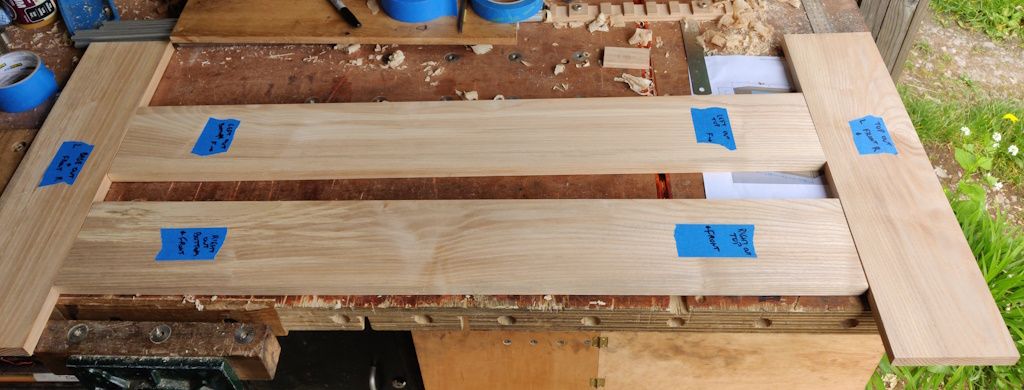
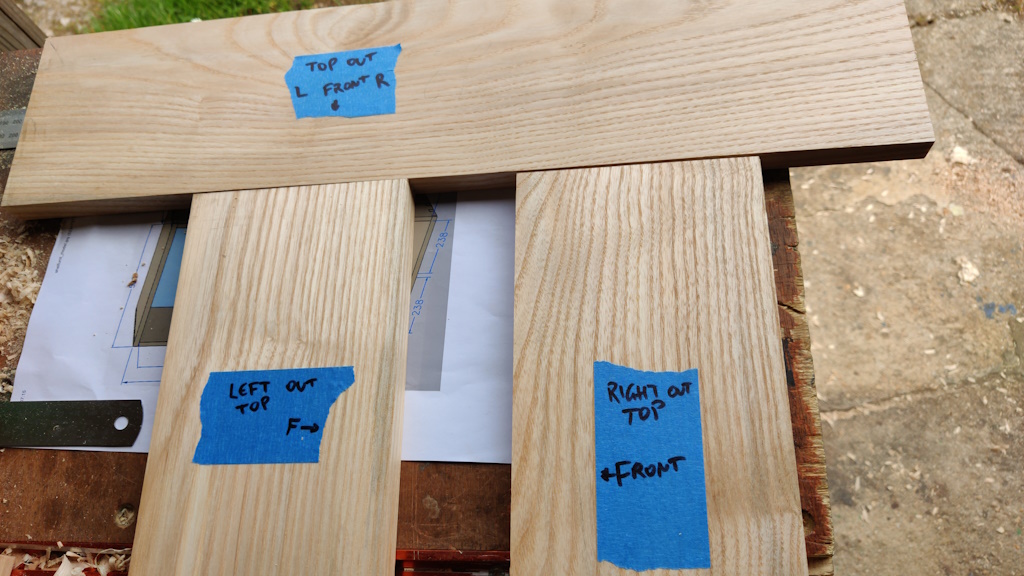
Today has been all about dovetails. I started by arranging the outside pieces and deciding which face was going to be the inside, the outside and which edge the front and back. I then marked them up in my preferred way: with a big piece of masking tape and some very explicit pen marks:
These will continue to be used after cutting the dovetails: I'll refer to them when fitting the shelves as well, hence why it's handy to have the front of the unit marked on them to minimise (but definitely not eliminate) the chance of future stupidity.
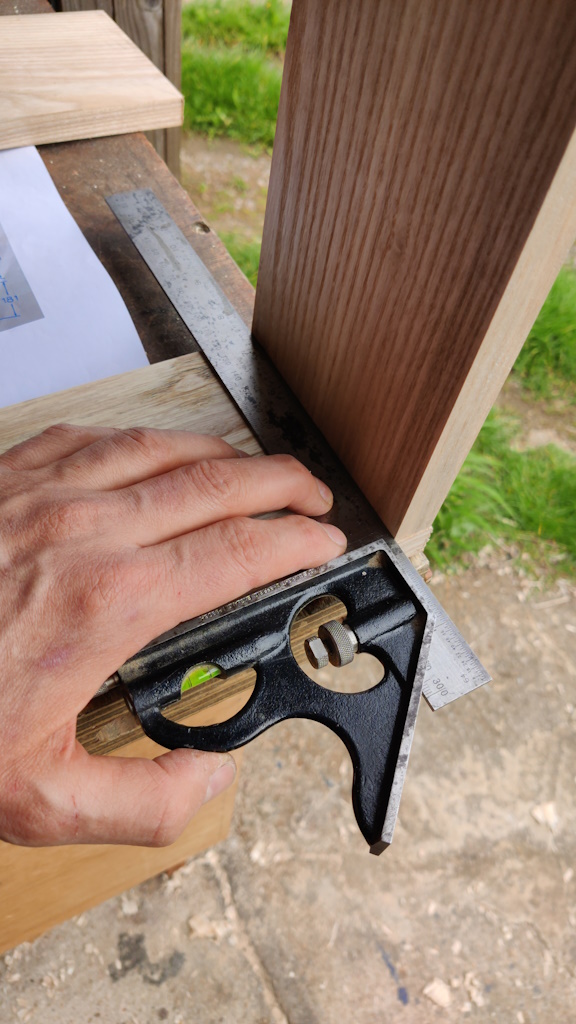
To mark the depth of the tails, I used a square against the face edge and offered up a mating board. I then flipped the mating board over and checked that it would definitely sit fractionally sub-flush with the end grain in either orientation:
Checking both ends of the board means that, rather than marking the two tail boards independently, I can transfer the base-line marks across from one board to the other and ensure that the inside dimension of each tail board is the same (which helps make sure the unit ends up with 90° corners):
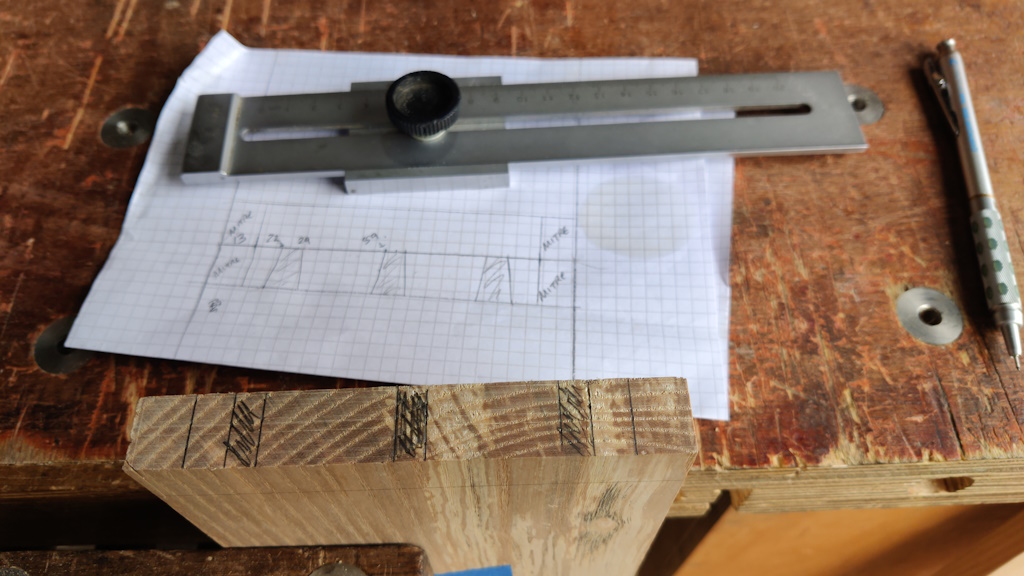
I then drew around the board on a bit of paper and sketched out a plan for the tail sizes, which then got marked onto the end of each board:
I've done that a few ways in the past, sometimes using dividers, sometimes just doing it entirely by eye. However, when I'm doing mitred dovetails I prefer to be a bit more cautious and draw it out and be confident that it's going to look okay.
This is the first time I've done mitred dovetails with the mitre in the tail (rather than in the pin), so that's another reason for drawing it out and spending more time thinking rather than cutting.
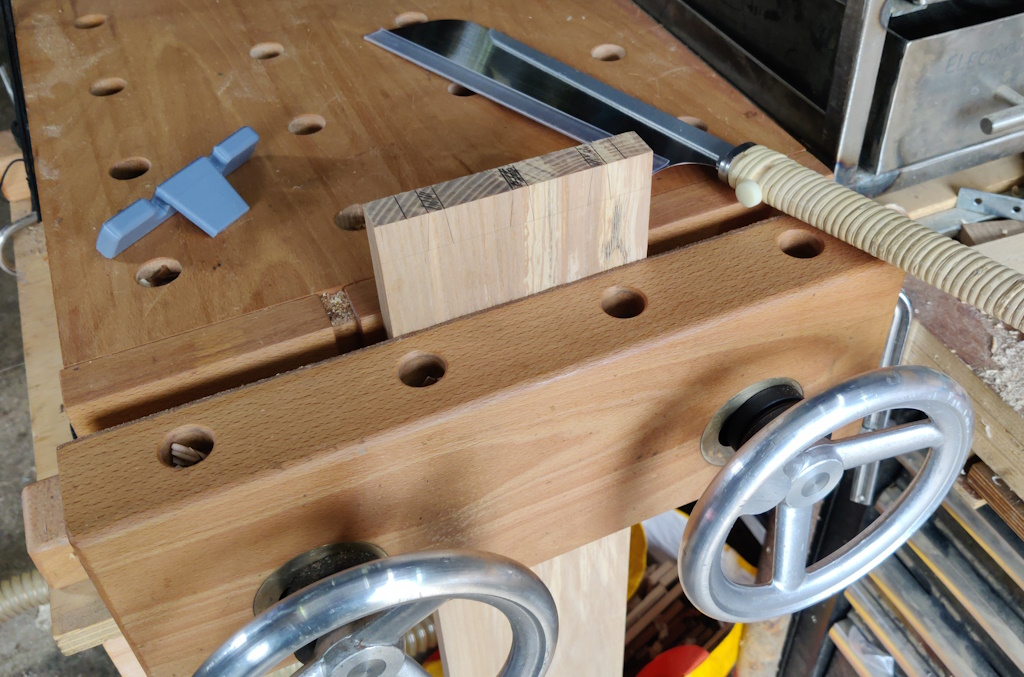
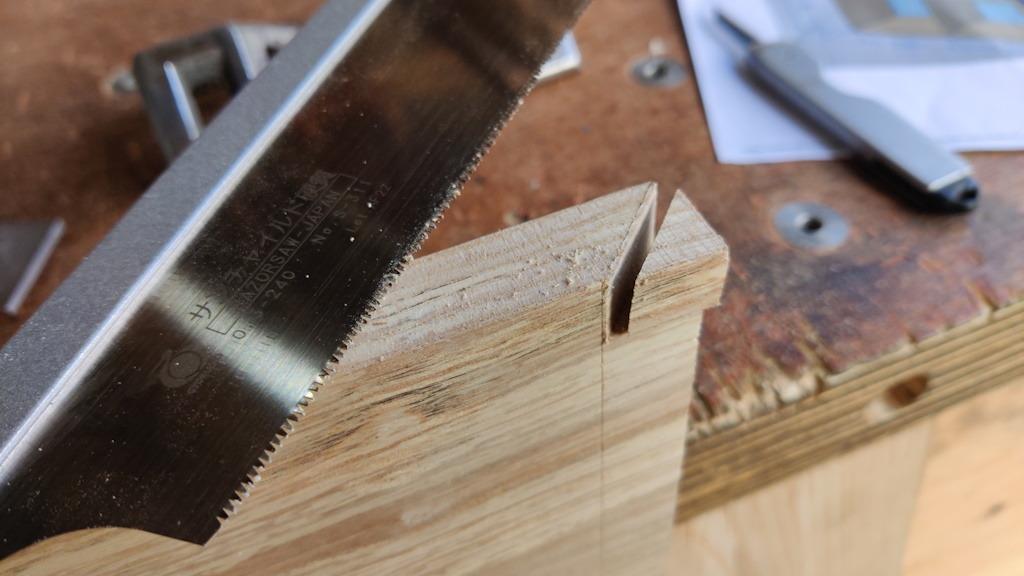
With the marks done, I could saw out the tails, with the outside face of the board facing out so I can clearly see the line I'm aiming for on the most side that will (arguably) be most visible when it's assembled:
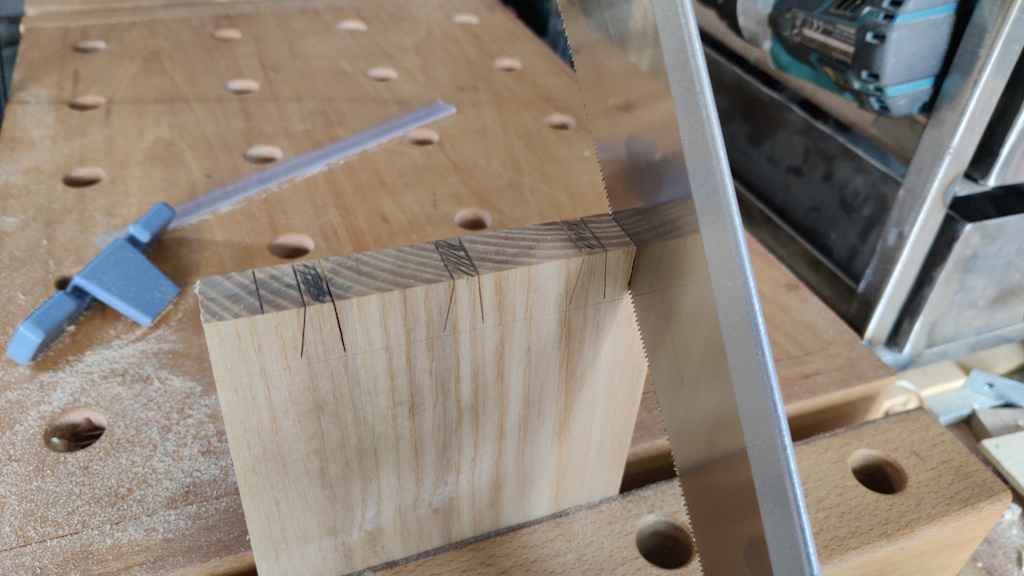
I then flipped it round and lifted it up a bit higher to do the angled saw cut for the edge of the mitred section:
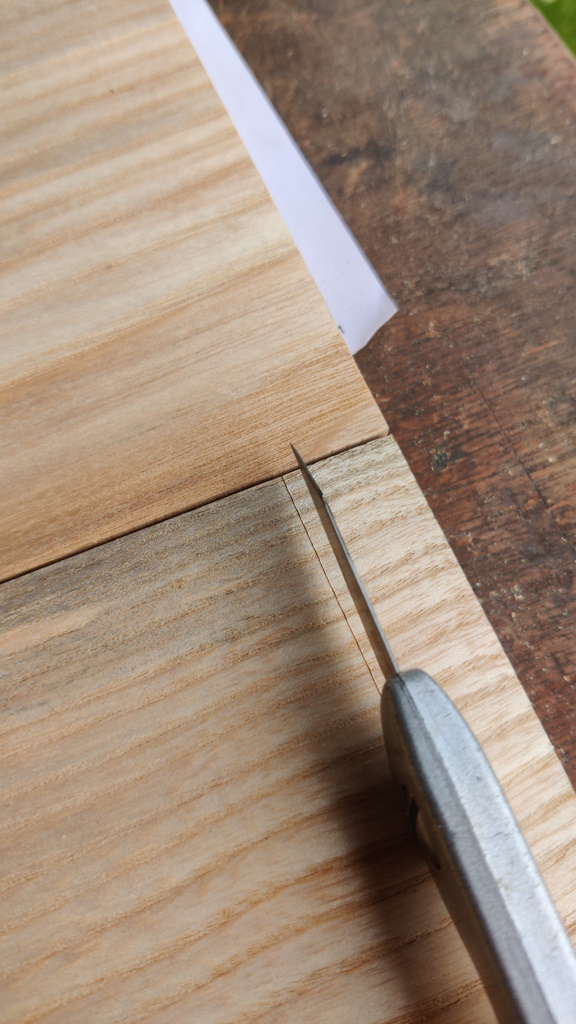
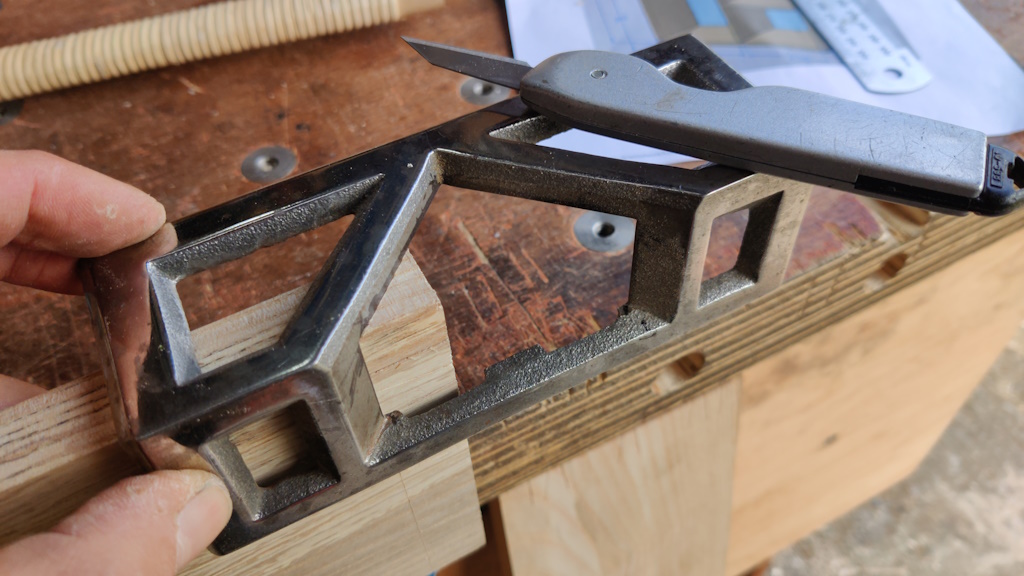
Before sawing off the mitred corner, I used an old mitre marking tool to make a knife line at 45° on the edge of the board:
The corner then got sawn off, leaving plenty of material to make up for my lack of faith in my sawing skills!
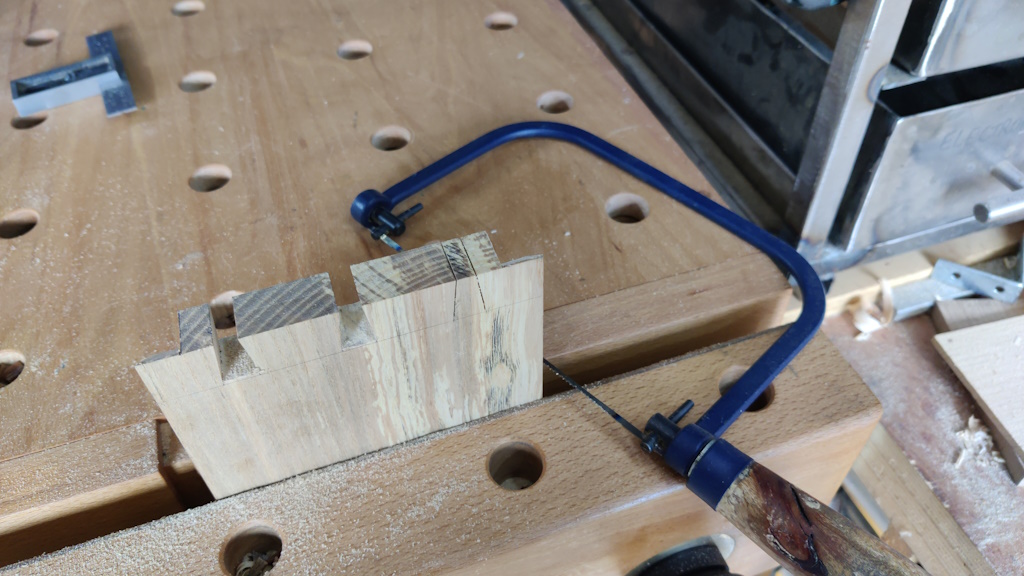
The pin sockets then got chopped out, with the outside face of the board facing me for the same reason as before. I did some of these with a coping saw and some with a fretsaw, just for a bit of variety!
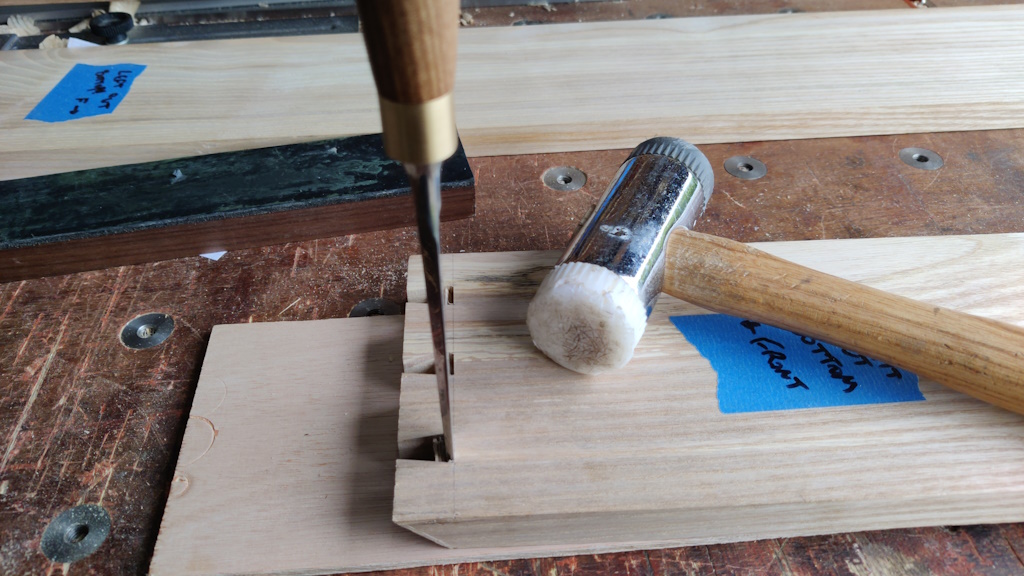
I used a 10 mm chisel for all the pin sockets:
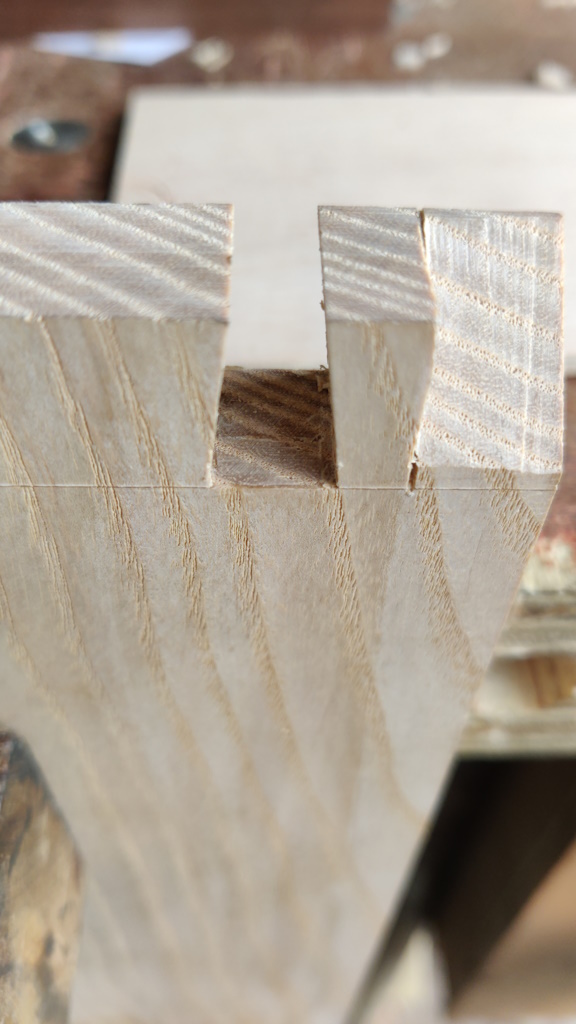
The ash was much more nicely behaved in chiselling than it was when planing, leaving a nice smooth surface in the pocket...
Page 4 of 11
This website is free and ad-free, but costs me money to run. If you'd like to support this site, please consider making a small donation or sending me a message to let me know what you liked or found useful.

 Return to main project page