Shelf Unit Build Process
Page 5 of 11
Posted 5th May 2024
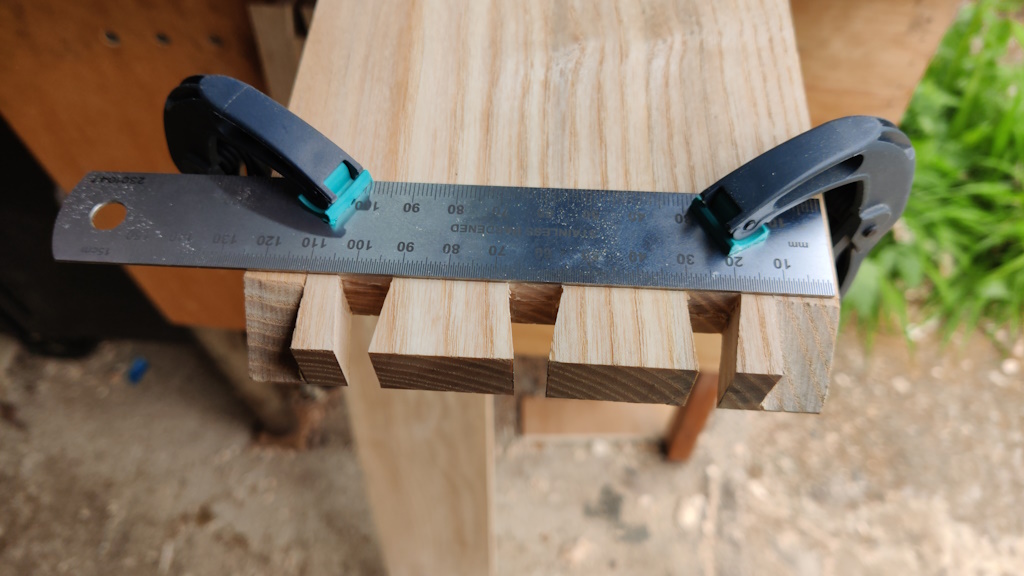
To transfer the lines from the tail board to the pin board, I used my usual ruler trick: clamping a 1 mm thick steel rule to the tail board using a couple of spring clamps. The rule sits right on the knife line:
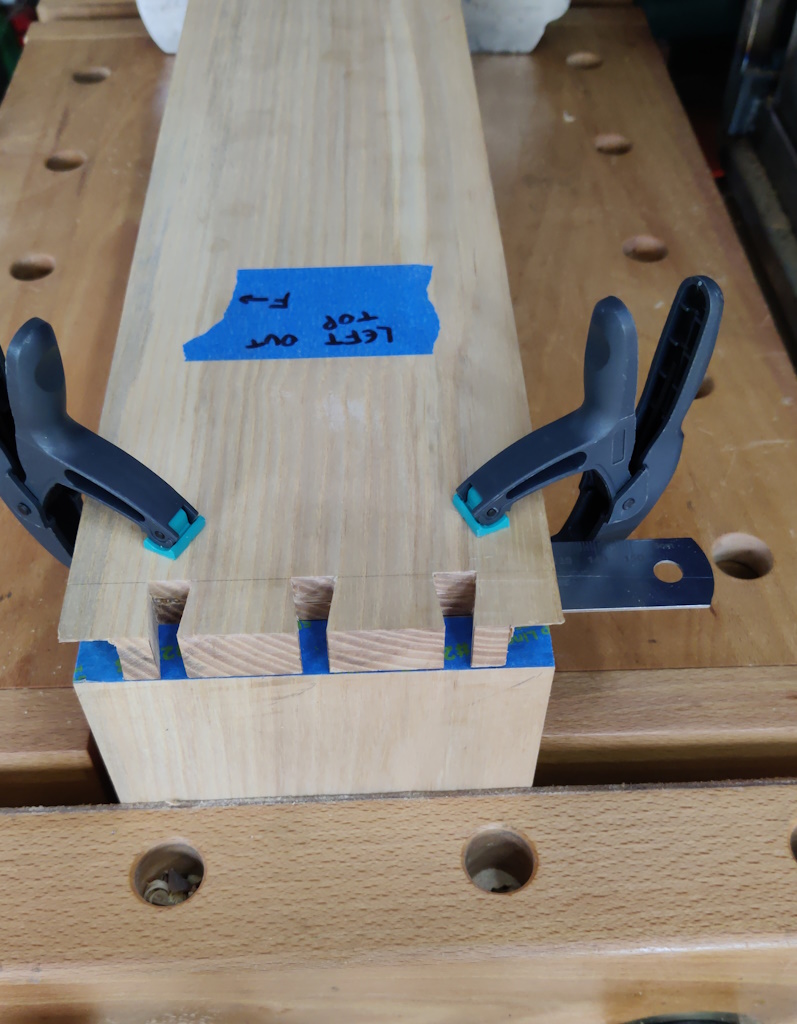
After putting some masking tape on the end of pin board, the tail board can be slid up to the pin board: the rule sits against the inside face of the pin board and should provide perfect alignment with minimal effort:
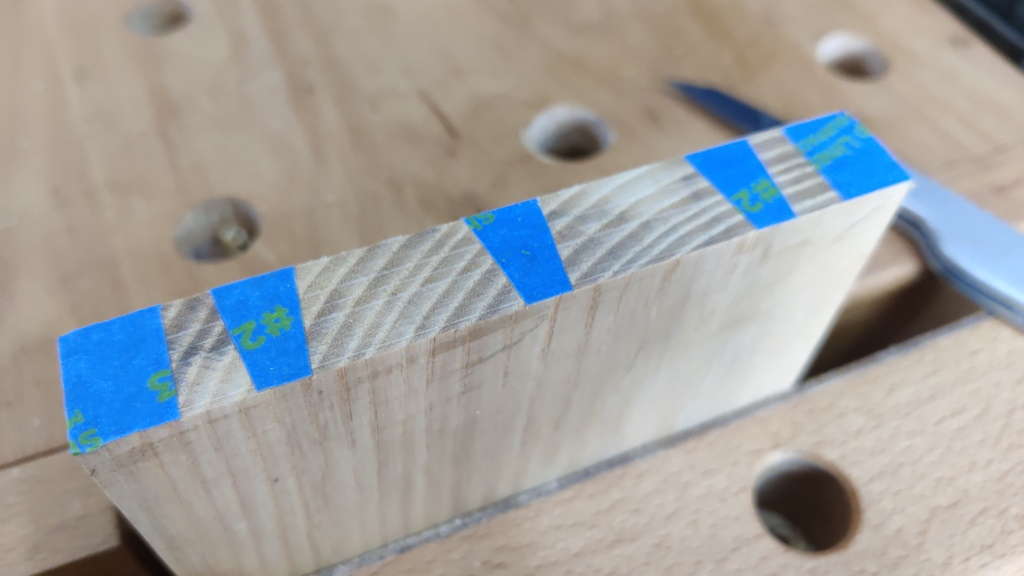
Once the cut lines had been transferred across, I peeled away the masking tape in the waste areas...
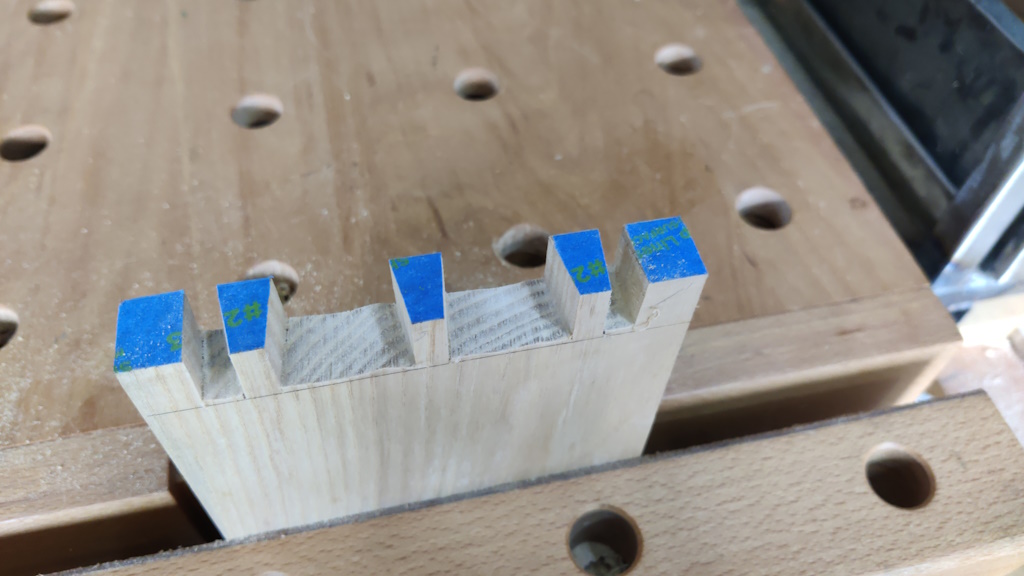
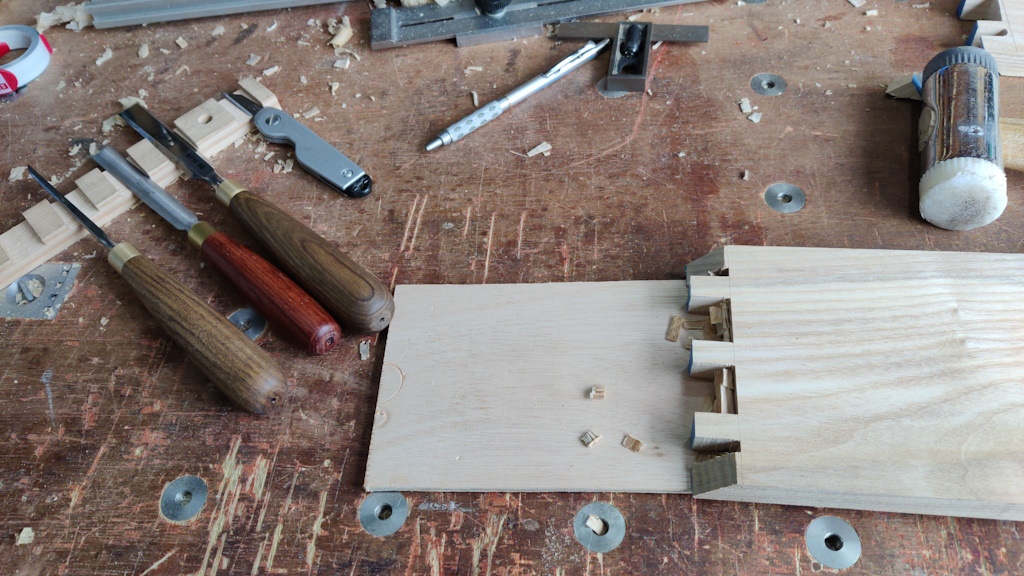
... and then sawed out the waste:
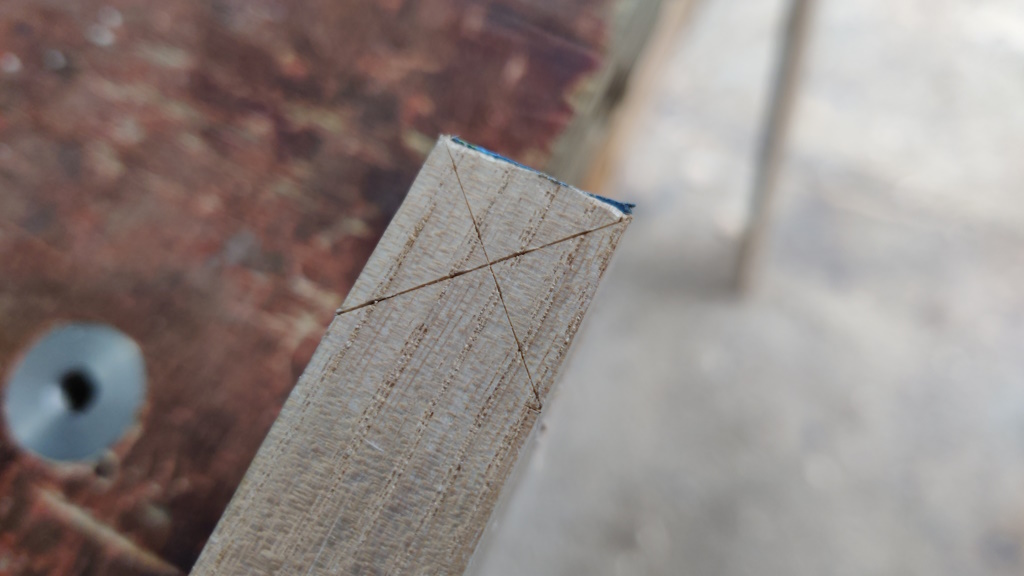
When marking and sawing the mitres, I very, very nearly made a big mistake, but thankfully stopped myself after a light knife cut rather than after a heavy saw cut::
I'm lucky that I did that on the edge that's going to be on the back of the shelf, so even the knife line won't be visible.
With that done, it was time for more chiselling, this time using a 12 mm chisel to get very close to the line and then a 16 mm chisel for the final cuts. I figured that there was a lot more material to remove here (as the tail sockets are a lot wider than the pin sockets on the other board), so if I saved the wider chisel for just the final cuts, it would stay sharper and leave a better final finish.
The bits by the mitres were cut with a 5 mm chisel.
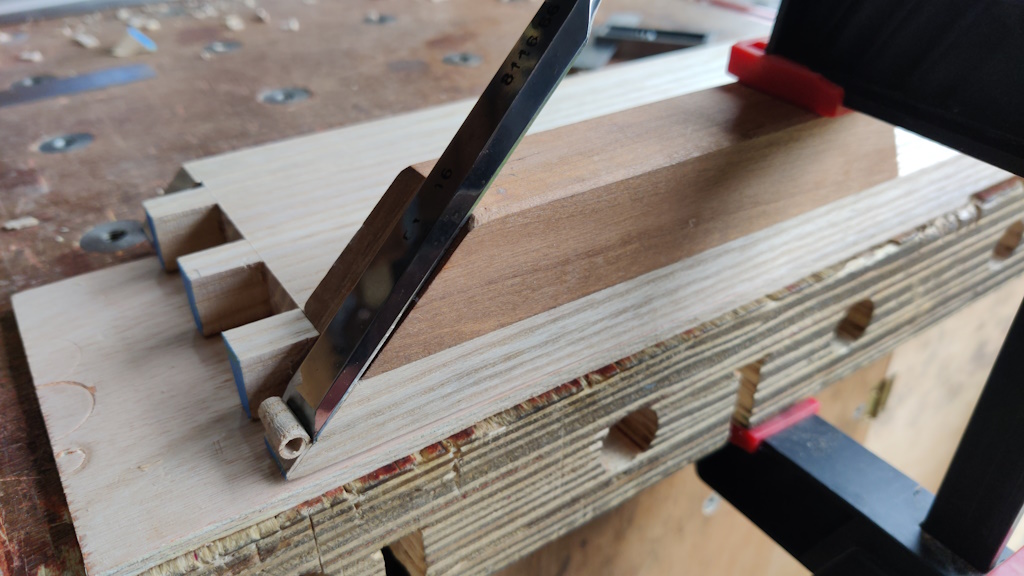
To sort out the mitres, I clamped on a bit of cherry that I'd previously planed to have a 45° angle on the end. A chisel could then be used to pare the end. In an ideal world, I'd probably be better to do this in several goes, doing test fits in between until I get a perfect fit. Laziness won, however, and I just pared to the knife line.
I also pared a little relief on the inside corners of the tails, to make them go in a bit easier and to give space for any glue that gets pushed down in to the corners:
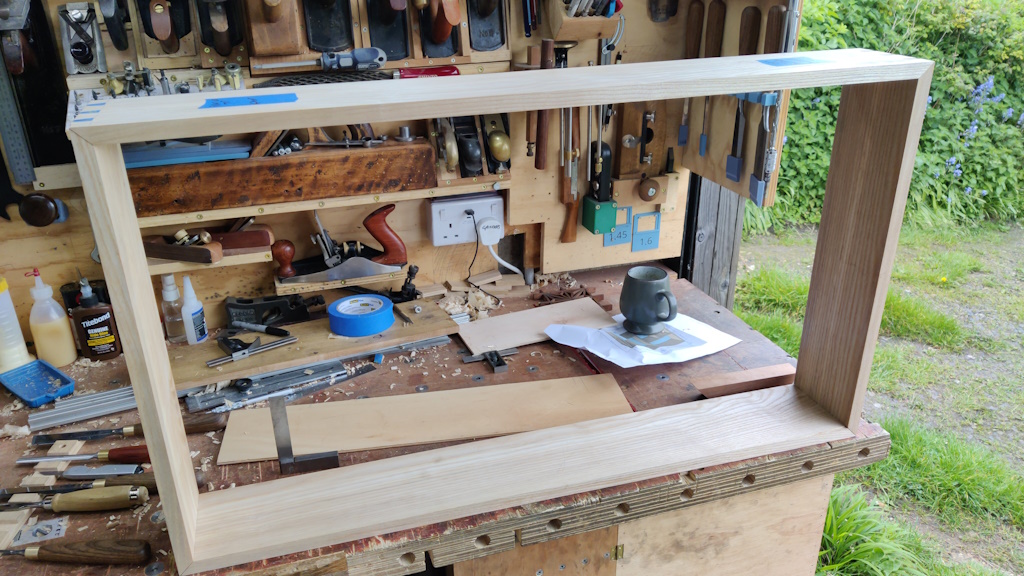
It was then time for a trial assembly:
That didn't go as easily as I would have liked: the joints are very tight. I always find it quite hard to work out where I need to pare material away to achieve a better fit (and not end up with big gaps). I've seen some youtube videos where they try putting things together and it leaves clear "burnish" marks on the bits where it's rubbing, but either my eyesight isn't good enough or those burnish marks don't seem to appear for me.
Anyway, after a few bits of back and forth, the joints went home, albeit with more mallet-based persuasion than is probably ideal. They'll probably need a bit more tweaking later to ease things up and make sure there's room for a bit of glue. Perhaps by the time I get to that stage I'll work out a way to determine where I need to adjust things.
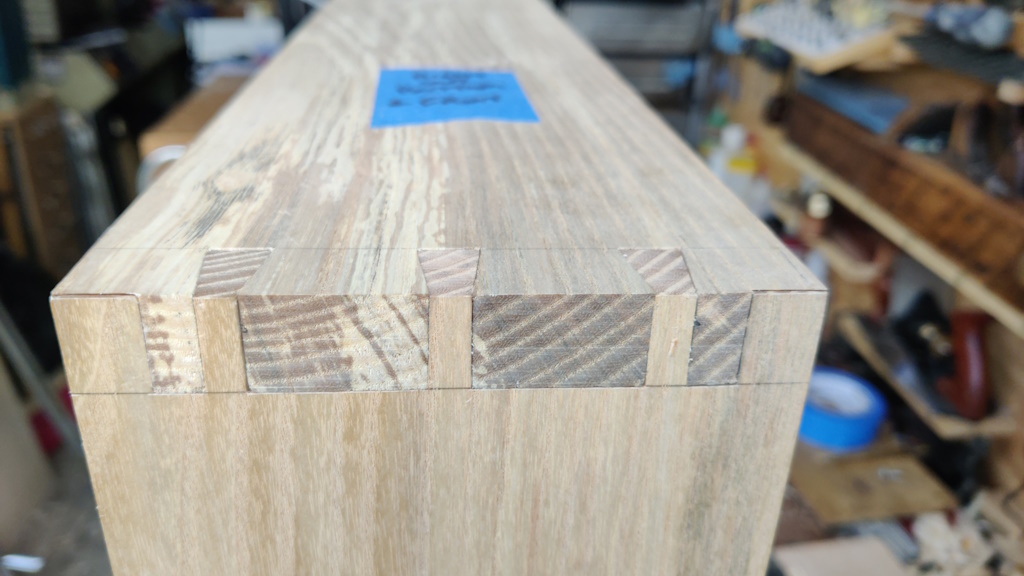
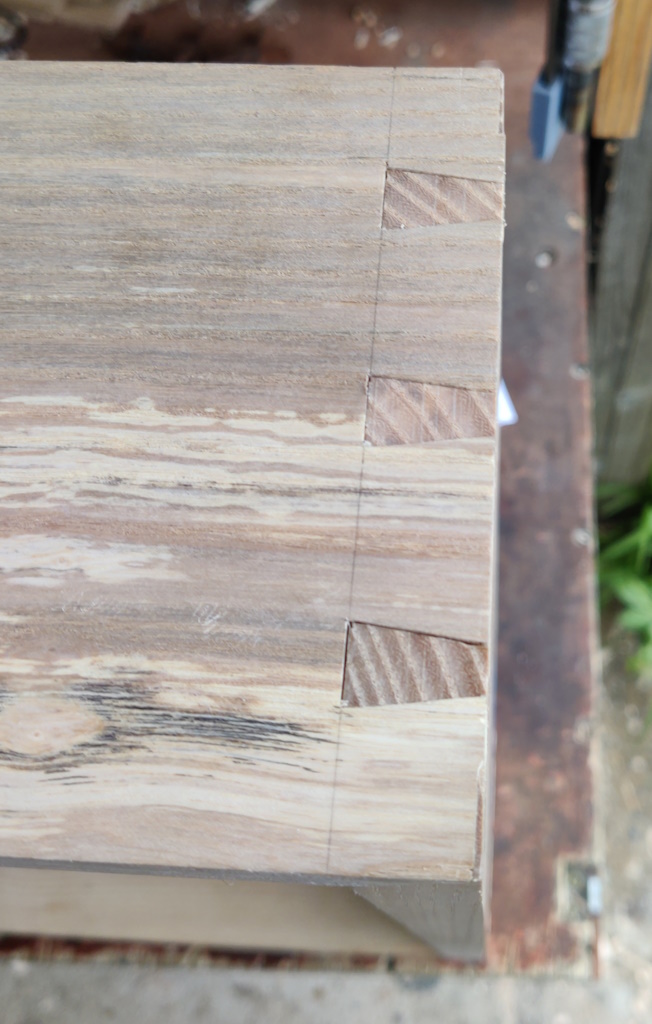
The joints look okay to me, although there's the odd small gap on one or two of the mitres (serves me right for not creeping up on a perfect fit). They're small enough that I don't think it'll be especially obvious once the units assembled and on the wall.
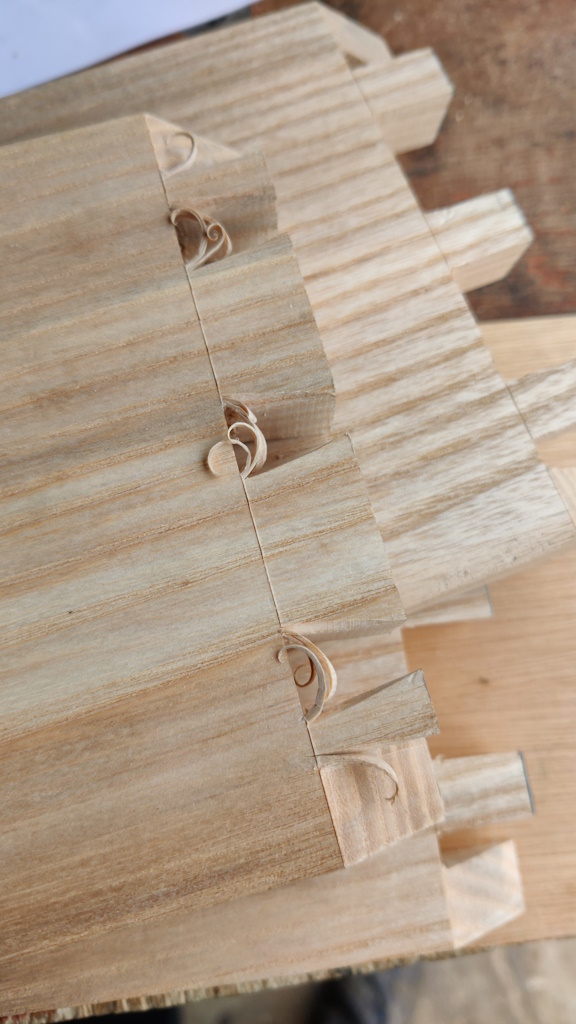
Here's a couple of photos of one of the joints dry-fitted (chosen purely on the basis of it being the first one I looked at, so I'm not claiming it to be the best or the worst of the bunch!)
The next job is probably to start working on the tapered dovetail housing joints (aka tapered sliding dovetails). I'll probably do one or two practice goes before doing anything for real as my only experience of dovetail housings is a couple of practice joints I did a few months ago when thinking about this project. Enough time has passed since then that I feel the need for some more practice.
Page 5 of 11
This website is free and ad-free, but costs me money to run. If you'd like to support this site, please consider making a small donation or sending me a message to let me know what you liked or found useful.

 Return to main project page