
Marking Knives Build Process
 Return to main project page
Page 1 of 2
Posted 1st August 2026
I've decided to make some marking knives. I only need one of them (arguably I don't need any of them!) but making a few means I've got more room for mistakes and if all goes well I can also give one to my other half to use for leather work. I currently use a Stanley Folding Pocket Knife (as does my other half) and it's absolutely fine so there's no good reason to make my own marking knife. However, I enjoy making tools and I enjoy using the tools I make so why not?
I'm going to base it on Matt Estlea's design, although I must confess that I haven't actually watched his video (assuming he has one) about how they're made. He sells them on his website in a variety of beautiful woods. In some ways I'd like to buy one of his to support his work but the price is a bit steep for me and as someone who enjoys making tools I know I'll be much happier making my own.
Matt Estlea's knives are based on Swann Morton blades. We've got a big stash of the blades for the Stanley folding knife, so I thought I'd base mine on those instead.
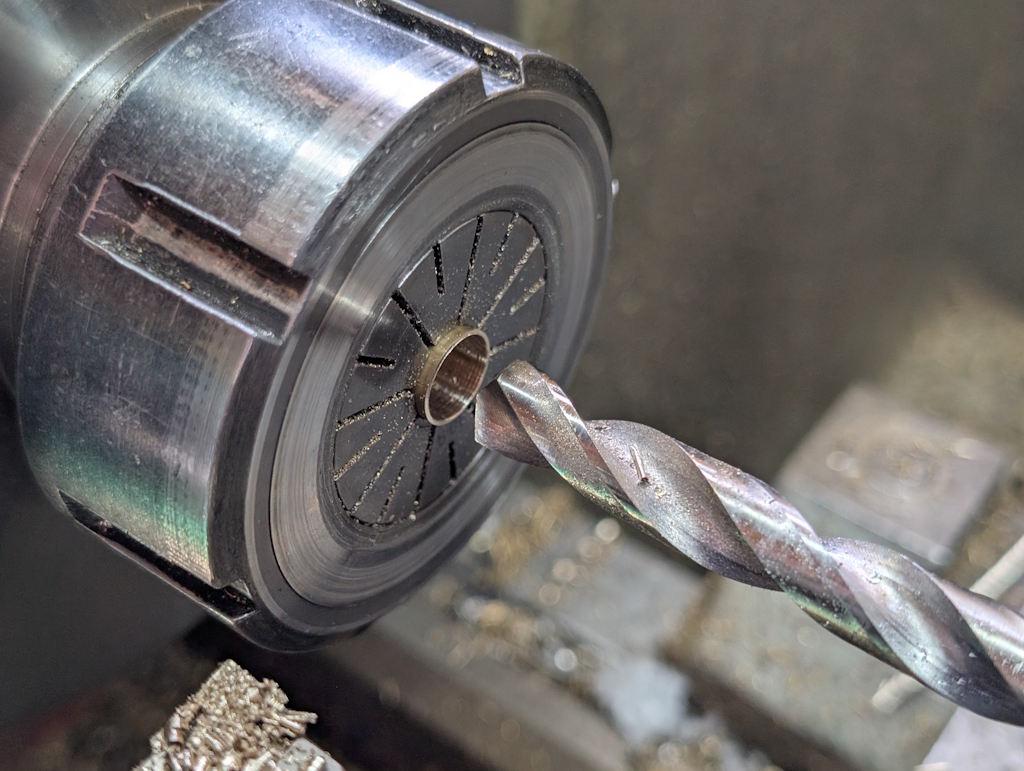
I started with a bit of 10 mm brass bar. Arguably it would have been better to go with something a bit bigger but I've got loads of this size. I mounted it in a collet on the lathe and drilled a 9.1 mm hole through it (which doesn't leave much material). I did this with the brass fully inside the collet so that there was no chance of the thin brass getting bent:
I then pulled it a bit further out of the collet chuck and took a tiny skim off the outside, thereby making it even thinner in wall section!
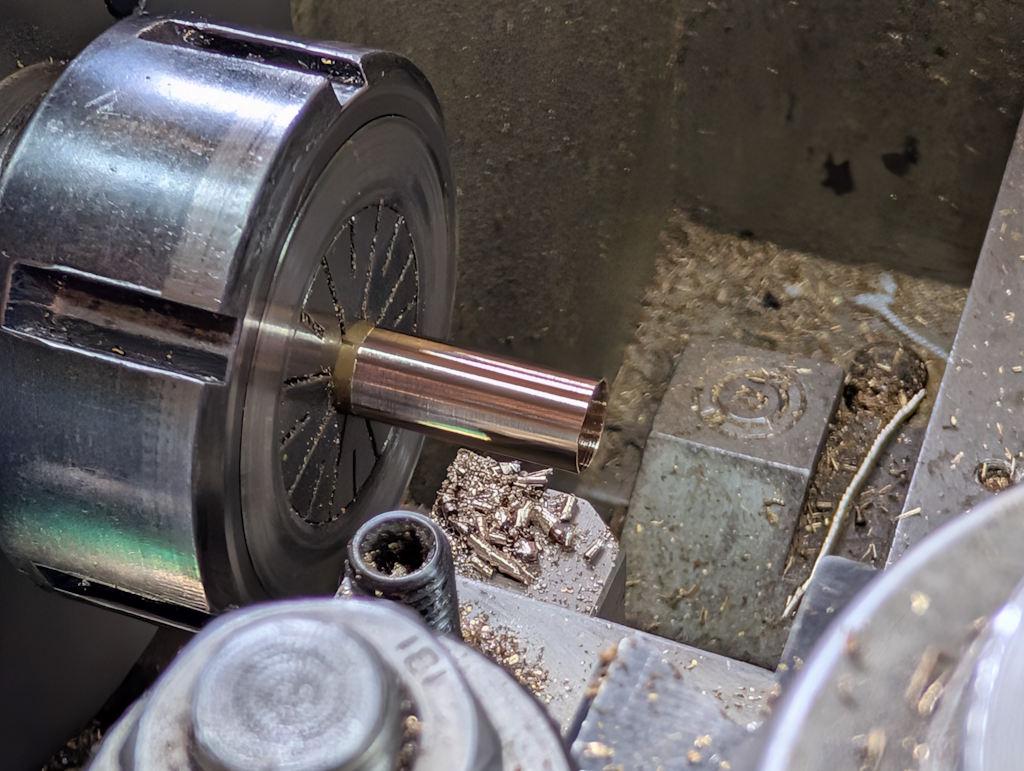
In that photo and to a lesser extent the next one, the brass looks quite reddish as if it's some unusual copper-rich alloy, but it's just normal CZ121 showing a bit red as a result of some camera oddity.
Having parted off the thin wall tube and tidied up the rear end to bring it down to 21 mm long, I got another bit of 10 mm brass and shaped the end:
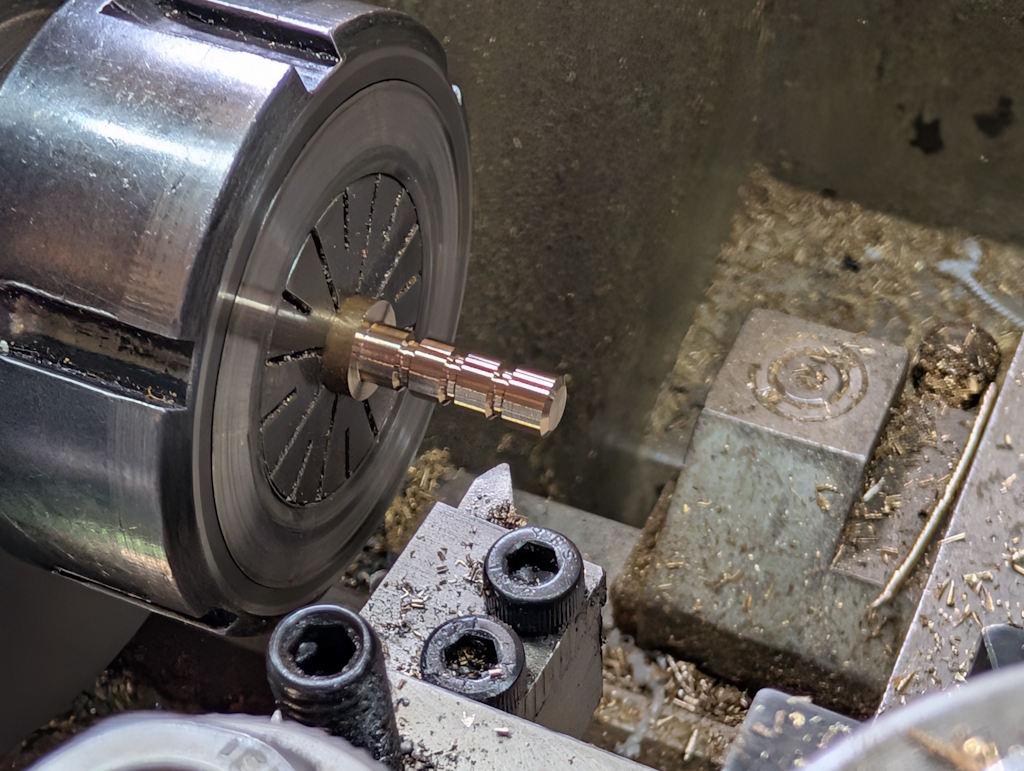
Those grooves will give some epoxy something to hold on to.
After flipping it the other way round and holding it on the reduced diameter section, I skimmed the outside down to 9.1 mm so it was a smooth but snug fit in the tube:
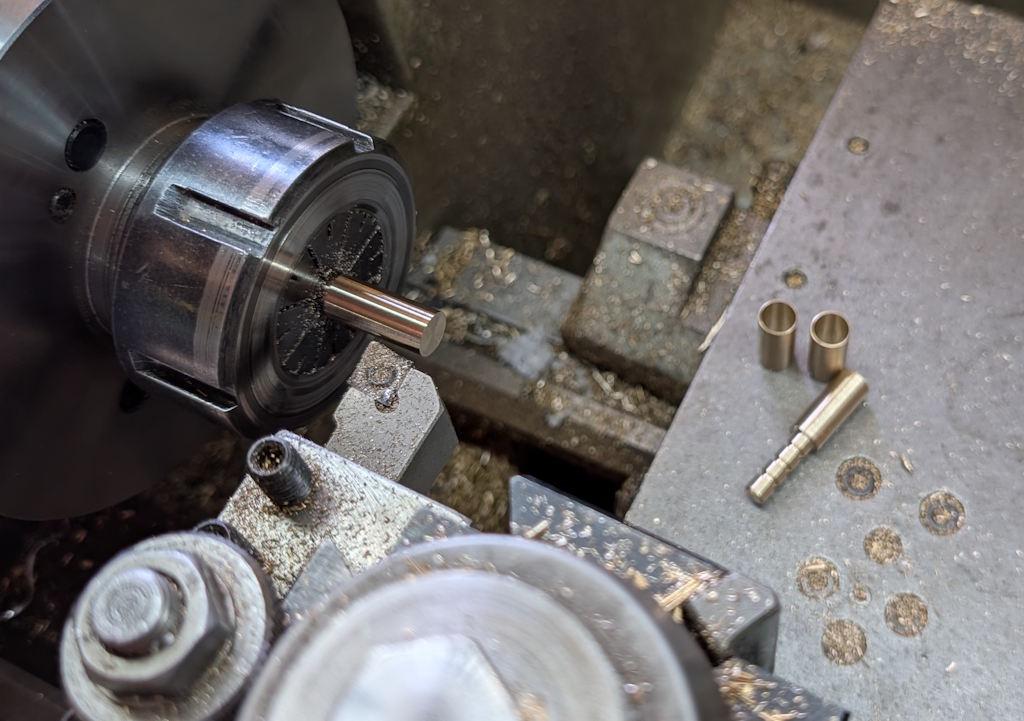
You can see some of the other parts in the background: I made the brass bits for one marking knife all the way through, then came back and made the other two in parallel.
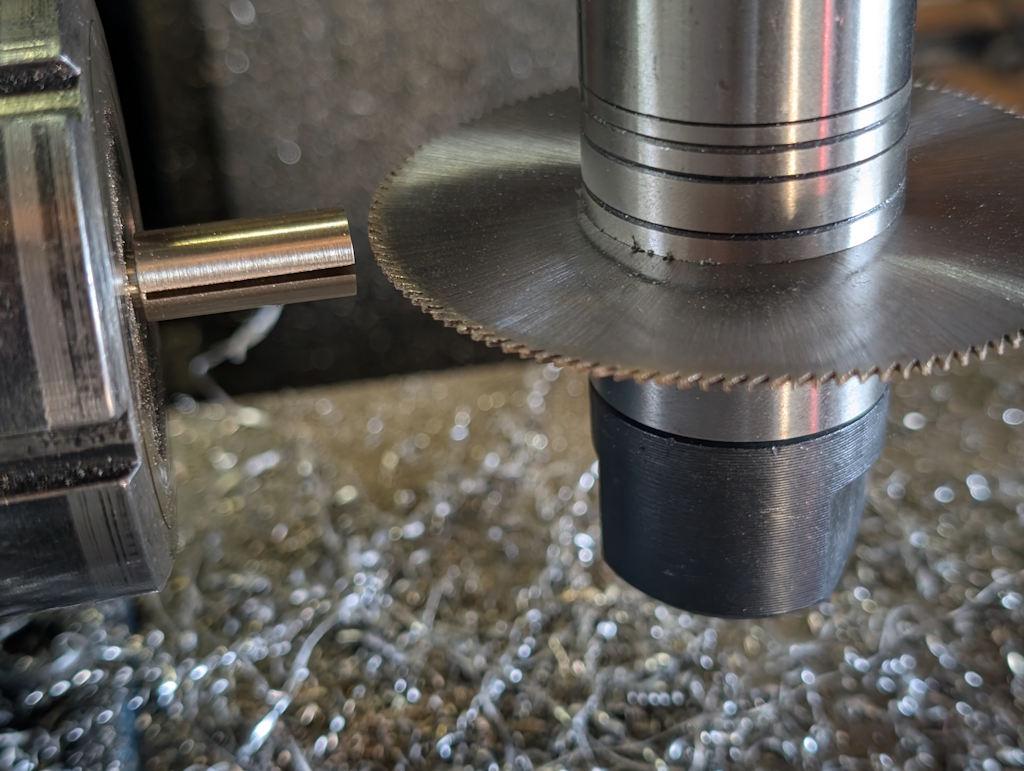
Each piece then went over to the milling machine, to be held in a collet block. A 0.8 mm slitting saw was plunged straight into the end, stopping about 0.5 mm from the end of the wider section so that there was a tiny wall to keep the epoxy from coming out into the slot.
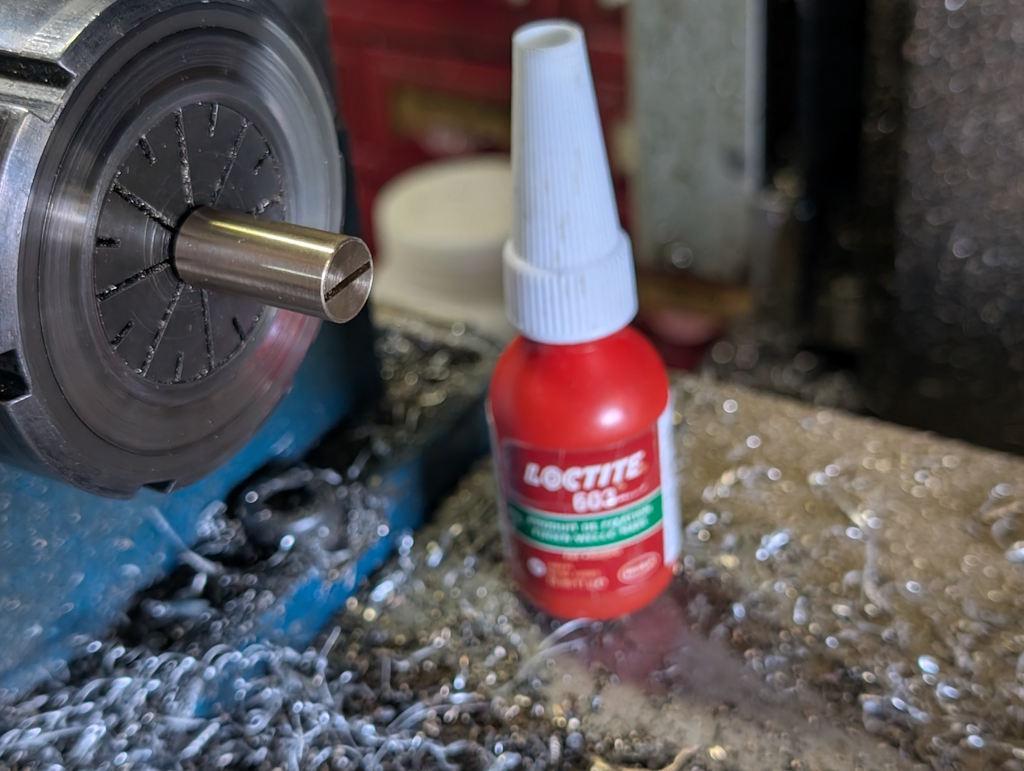
While the inner piece was still held in the collet block, I used some Loctite 603 to fix the tube over the top:
I could then drill half-way through both pieces and tap M5. I didn't notice until quite a bit later that the outer piece on this one cracked:
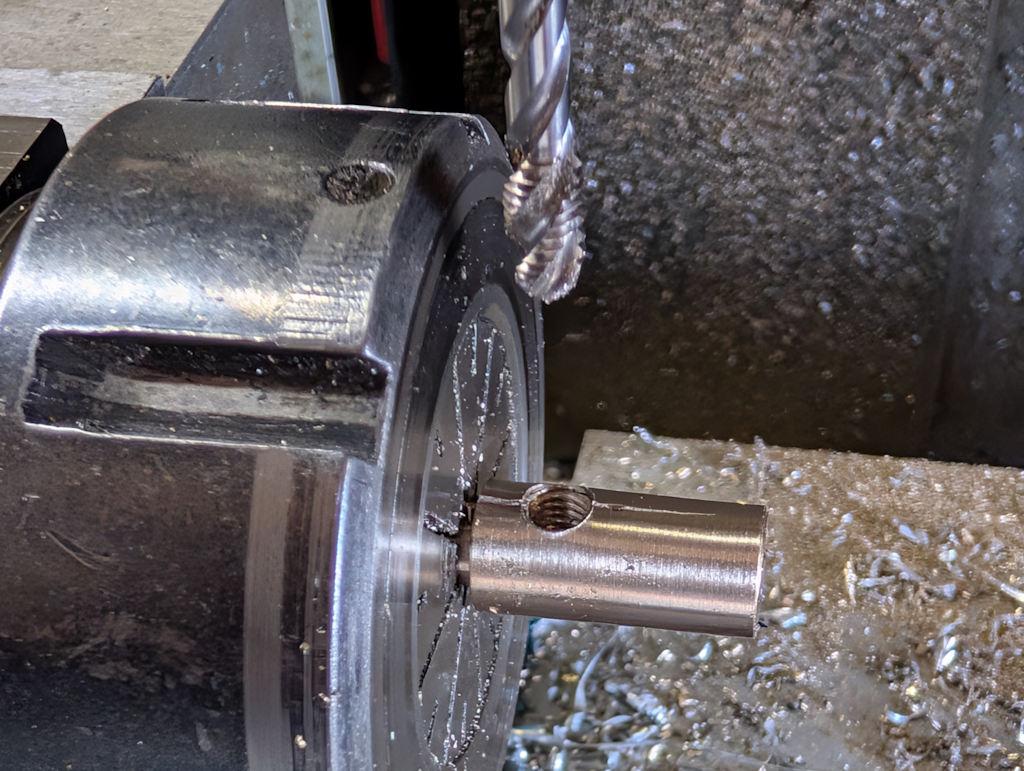
The other ones were okay and with the crack it was easy enough to get this one off and clean the surfaces with acetone, so I made a new tube with a 5 mm hole (rather than an M5 tapped hole) in it and glued that in place of the cracked one.
With that, the blade holders are done. Next up is to prepare some handles.
Making the handles starts by roughing some wood (English Walnut in this case) round, holding it in a chuck and drilling a hole in the end:
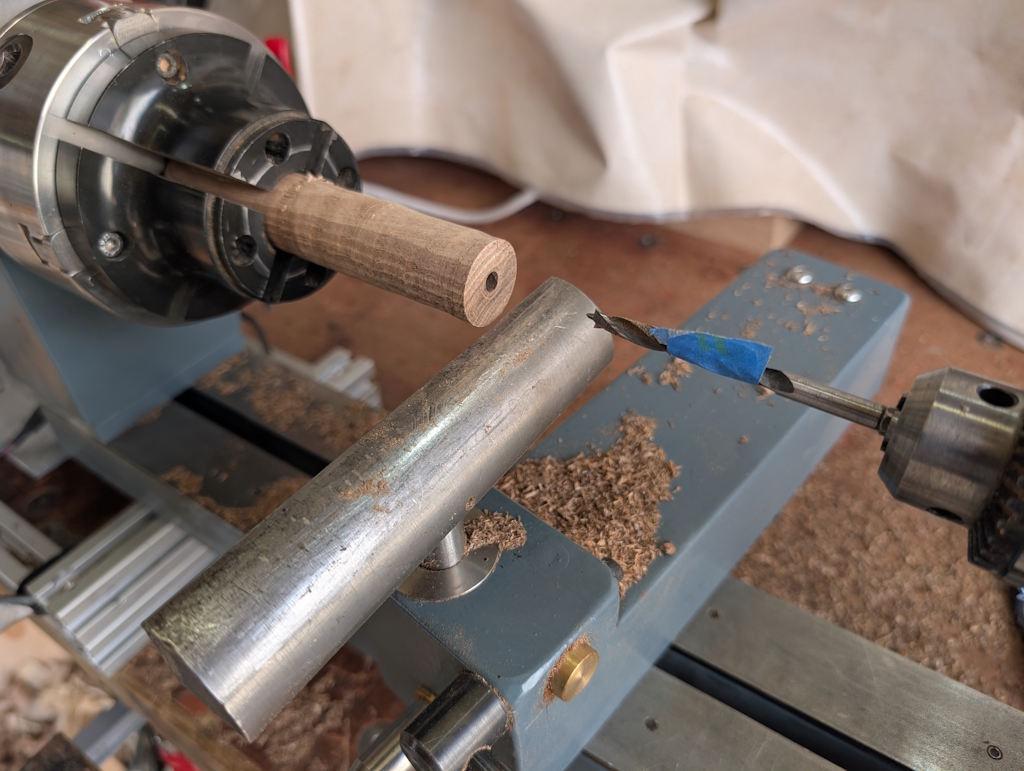
The hole is an easy sliding fit over the brass. I didn't want it to be a tight fit as there's no ferrule stopping the wood from splitting. I initially pondered about making the brass tube quite a bit longer so that it would overlap the rear of the slit part of the inner piece and hence function as a ferrule. However, the wood being gripped by the ferrule would be so thin it felt a bit pointless and making the visible bit of the brass longer wouldn't have looked that good I think.
Epoxy gets shoved in the hole and daubed all over the shank and then the blade holder gets pushed into place, cleaning up the squeeze-out as it emerges.
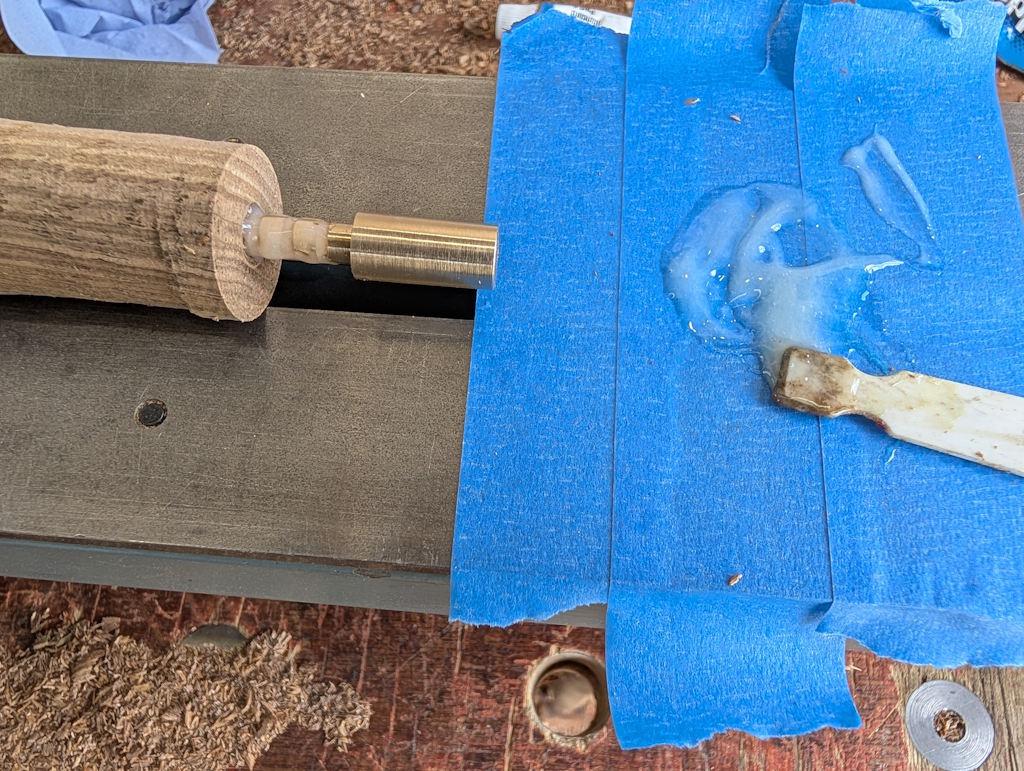
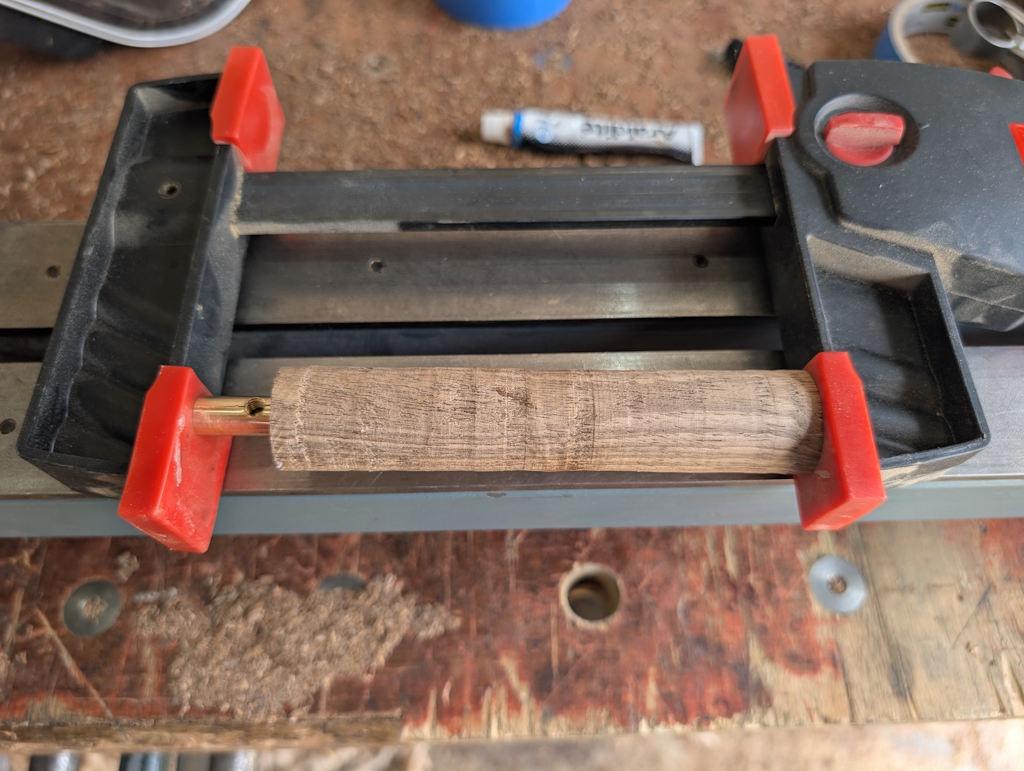
They're now held in place with clamps and will be left overnight for the glue to set.
Page 1 of 2
This website is free and ad-free, but costs me money to run. If you'd like to support this site, please consider making a small donation or sending me a message to let me know what you liked or found useful.