Block Plane for Travel Tool Chest Build Process
Page 1 of 10
Posted 23rd April 2024
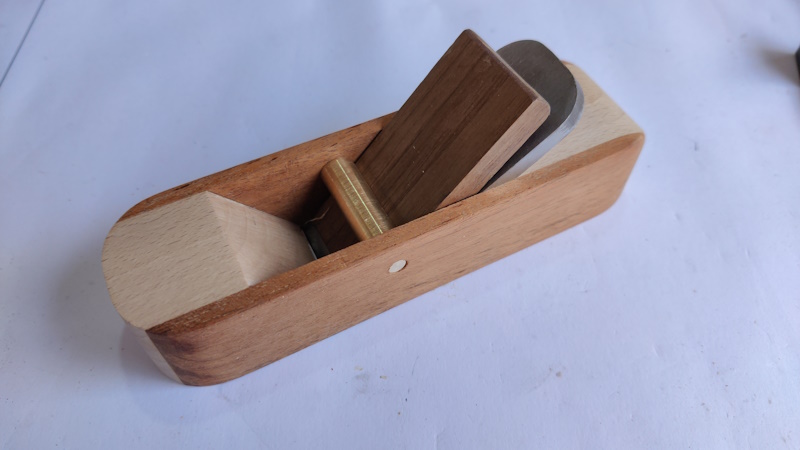
When making my Travel Tool Chest, I made a dedicated block plane to run in the track in the integrated shooting board. This is a photo of the plane:
That's actually the fourth attempt at the plane. The first one was an attempt to make it out of a solid block of beech. I need more practice at chiselling before I can use that approach! The second one worked okay but had a habit of clogging up and was hard to clear due to having a much bigger cross-pin thing. On the third attempt I drilled a hole in the wrong place and that resulted in it becoming firewood. The fourth version (shown above) works well, but I've wanted to have a go at something a little more ambitious so I thought I'd try a fifth version. If the fifth version fails, I've still got the fourth version as a fall-back option!
At the time of writing this, I've mostly finished making the latest version, but I thought I'd post it in the form of a work-in-progress despite it no longer being in progress. I'll do one update a day or thereabouts to try to tell the story gradually (and not necessarily in the order that I actually made things as I'll describe one part at a time whereas in practice I alternated back and forth quite a bit).
Materials to be used for version 5 are beech, American black walnut, brass, stainless steel and gauge plate (tool steel). Let's start with the blade, made out of 5 mm × 30 mm gauge plate.
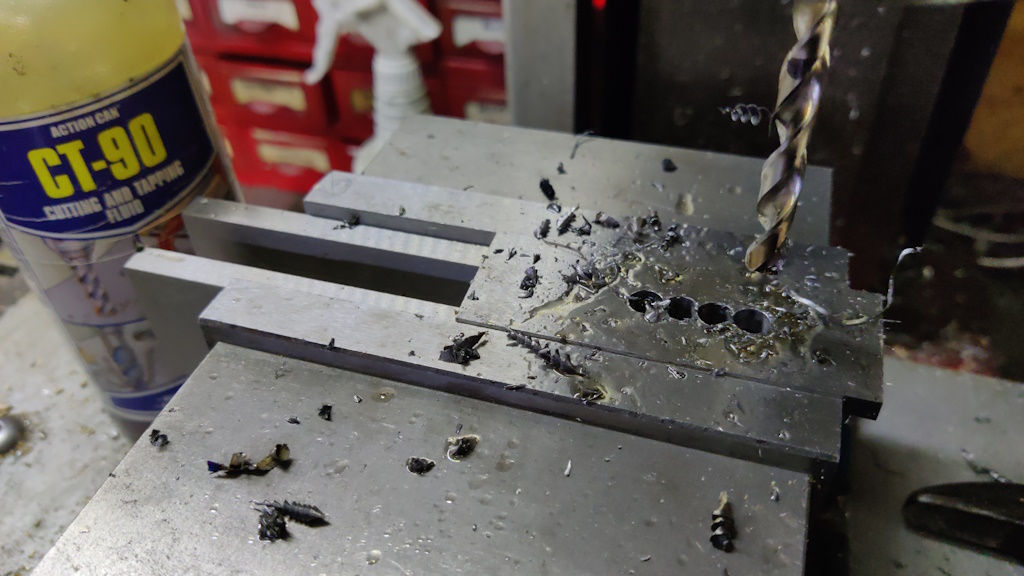
I started by mounting the gauge plate blank in the milling vice and drilling a series of 7 mm holes:
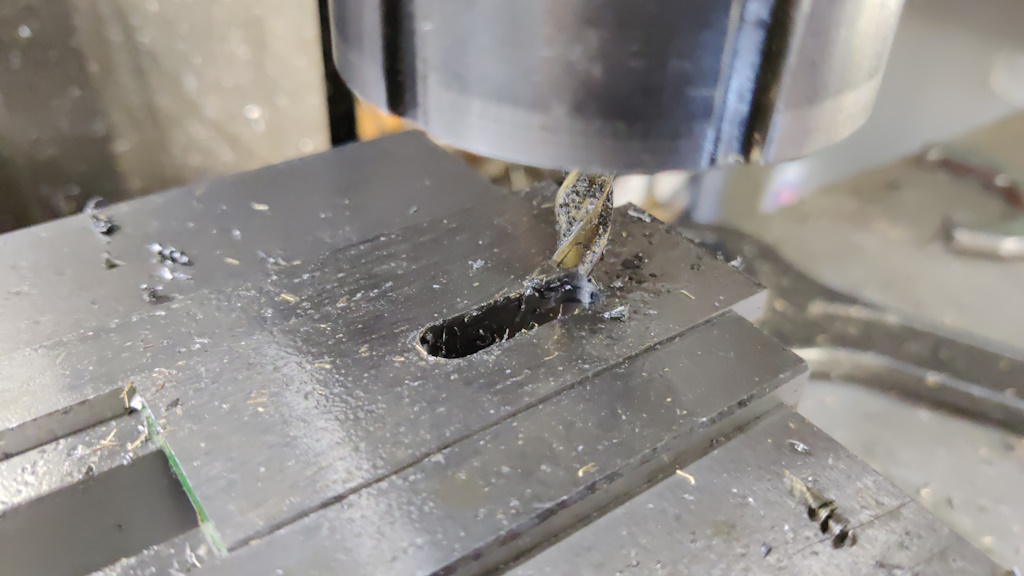
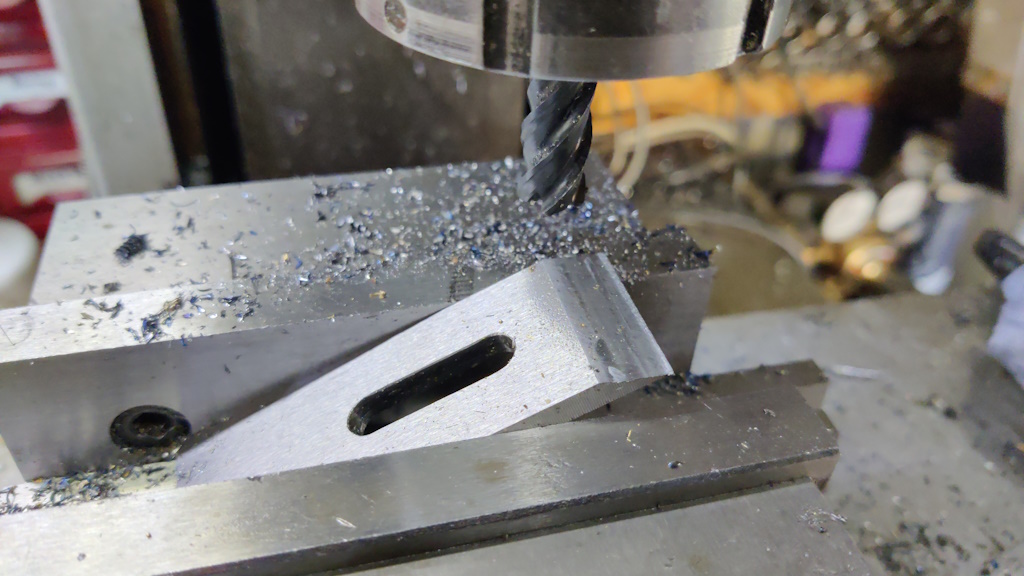
An end mill was then used to join the holes together and widen the slot slightly, resulting in an 8 mm slot (I later came back and made it a little longer, although that was probably not necessary):
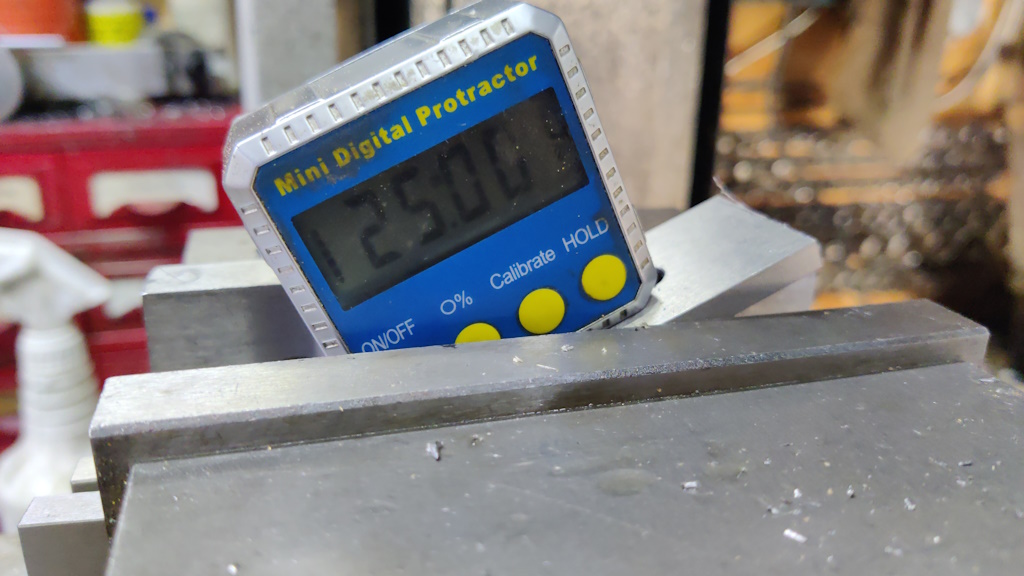
To save grinding time later, I milled a primary bevel on one end. I started by using a digital angle finder thing to set the blade at an angle in the milling vice...
...then milled the bevel:
This blade is going to be adjusted in a manner similar to a Norris adjuster, but there isn't really space in a little block plane for that sort of mechanism. Therefore I'm going to use something a bit custom (which almost certainly won't work as well). The blade needs some slots for the adjuster screw to push against. To allow for blade angle adjustment, these slots need to be curved, but the centre of curvature will depend on the position of the blade. That makes it impossible to come up with a "proper" centre (as it'll move when the blade is sharpened).
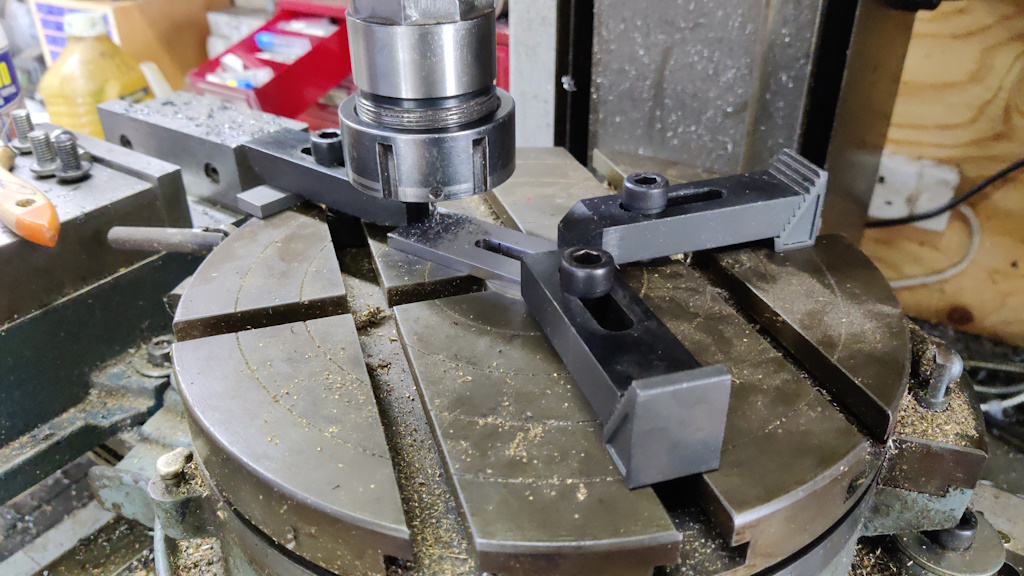
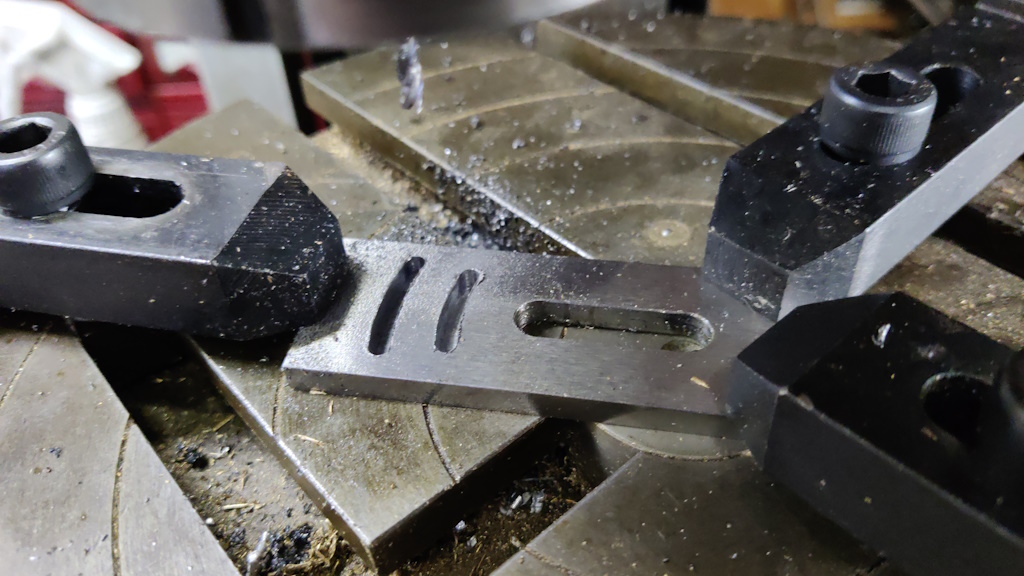
However, in practice, I'll be sharpening the blade with a honing guide and hence the end should stay square with the sides. Therefore, the amount of lateral adjustment needed should be very small and hence a slight mismatch in the centre of curvature of the slot shouldn't matter that much. To that end, I just picked a fairly arbitrary point along the slot and centred that point on the rotary table. I then milled a couple of 4 mm wide slots:
With a 4 mm centre-cutting end mill in the chuck and that end mill sticking out quite a long way (so that the chuck cleared the table clamps), I didn't hold much hope of getting through the cut without breaking the end mill, but I took very light cuts (about 0.1 mm per pass) and took my time and amazingly the end mill survived:
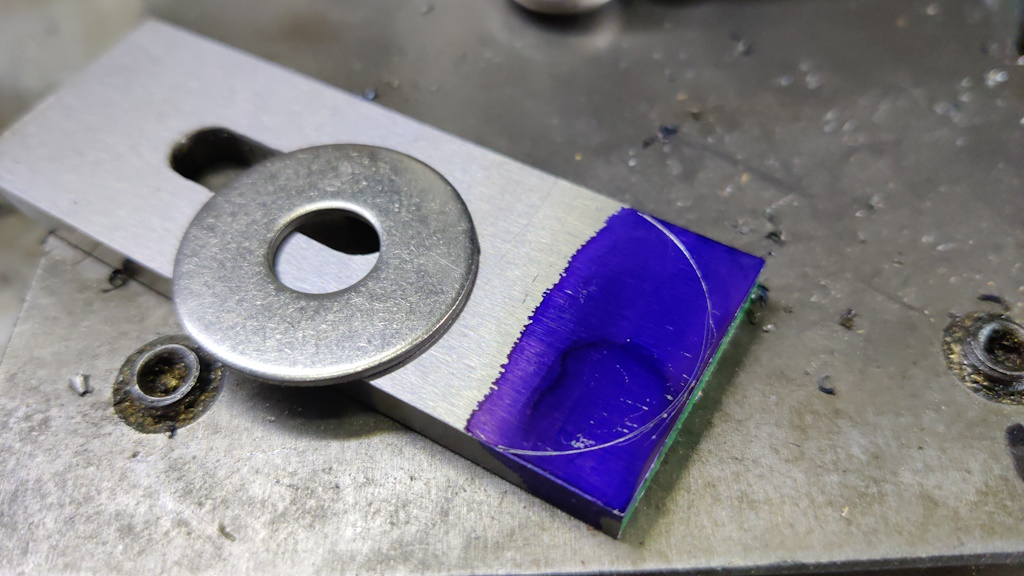
To provide a slightly nicer (and more comfortable in the hand) shape to the rear of the blade, I marked a curve on it using a 30 mm penny washer:
I then roughly hacksawed it to shape and then ground it smooth with a belt sander.
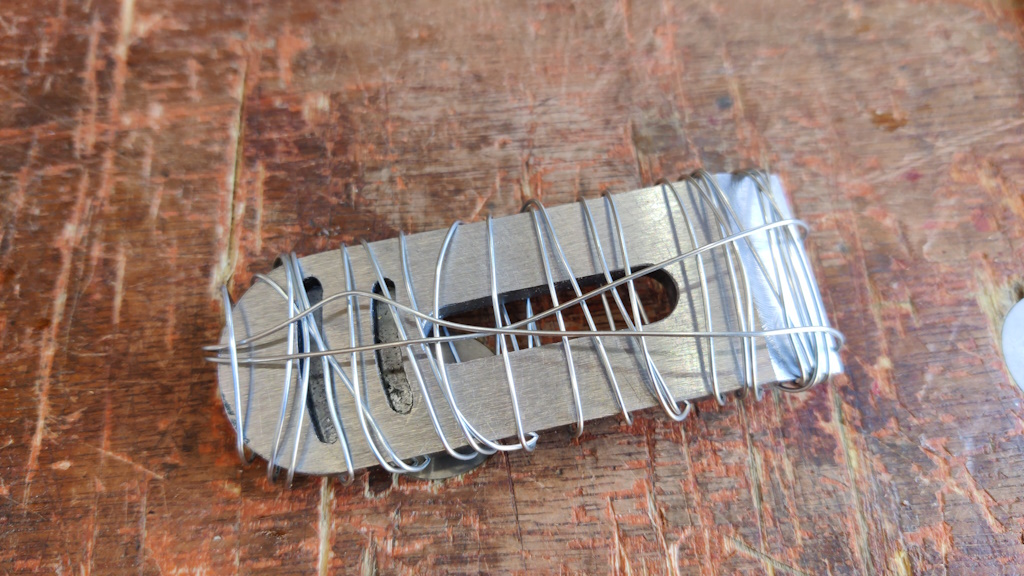
The blade then got wrapped in some soft steel wire:
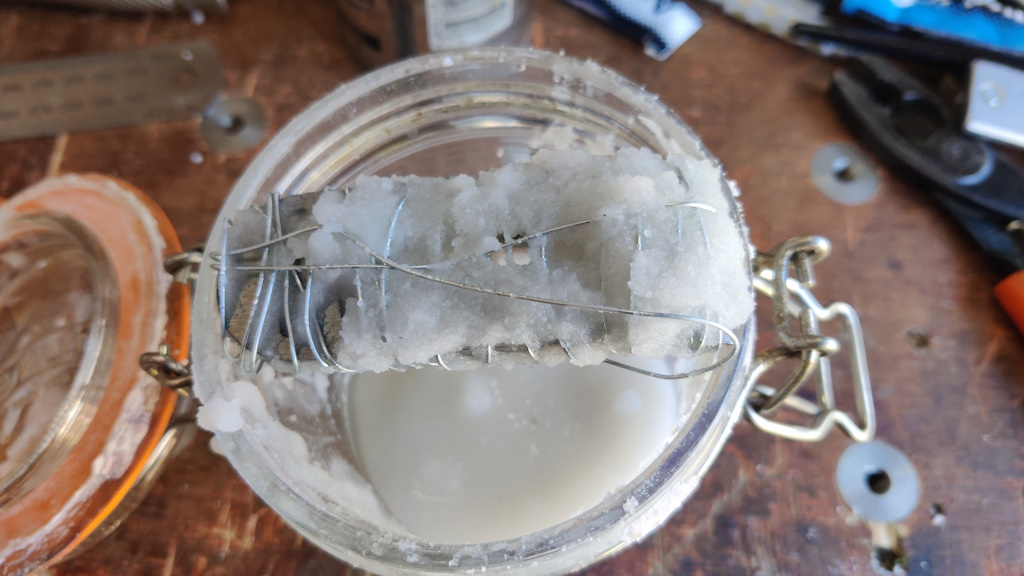
The wire is there to help keep this stuff in place:
That's a mixture of methylated spirits and boric acid. The boric acid reduces the amount of oxidation that happens when heat treating. Heat treating without any sort of protection usually results in lots of black scale forming on the steel, but with the boric acid that effect is minimised. The boric acid forms some tough crystals on the surface of the steel, but they're fairly easy to remove by soaking in boiling water.
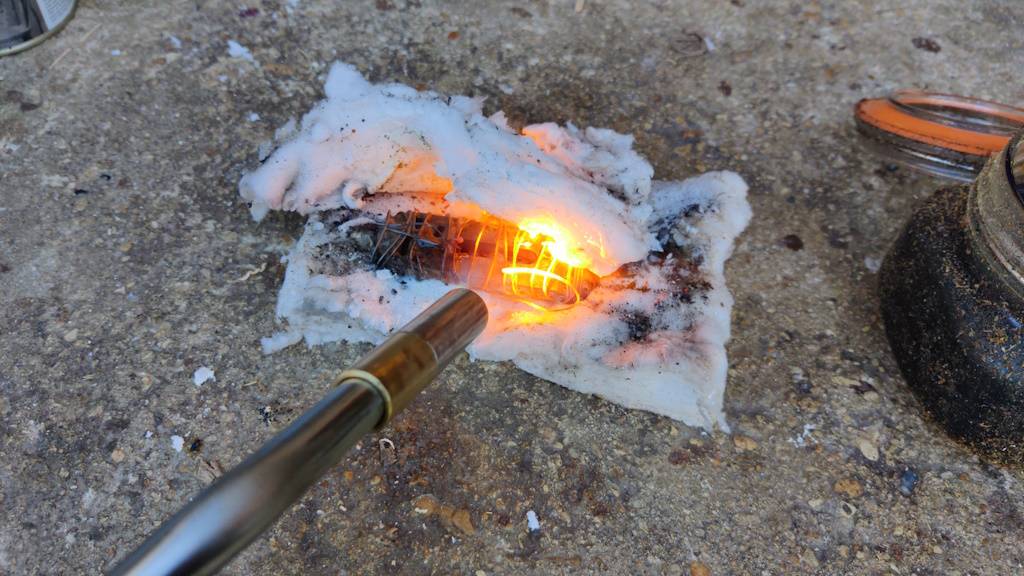
With the boric acid coating applied, I placed the blade in a little housing of heat-resistant ceramic wool and applied lots of heat with a MAPP torch:
Once it was glowing red and wouldn't stick to a magnet, I plunged it into vegetable oil to quench. After cleaning off the boric acid and lightly sanding it, I then heated it again (more gently this time) and quenched once it was a straw colour at the end:
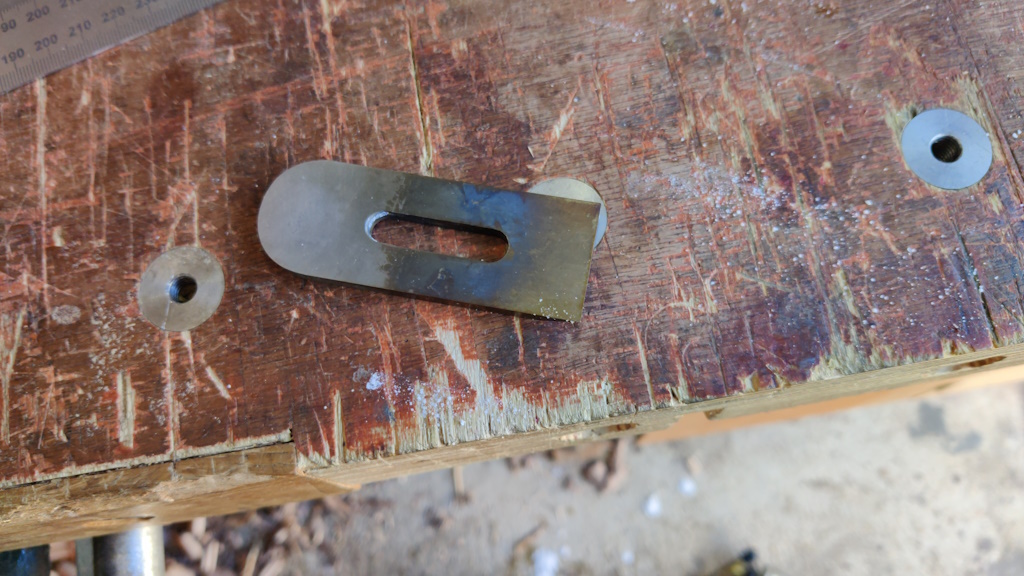
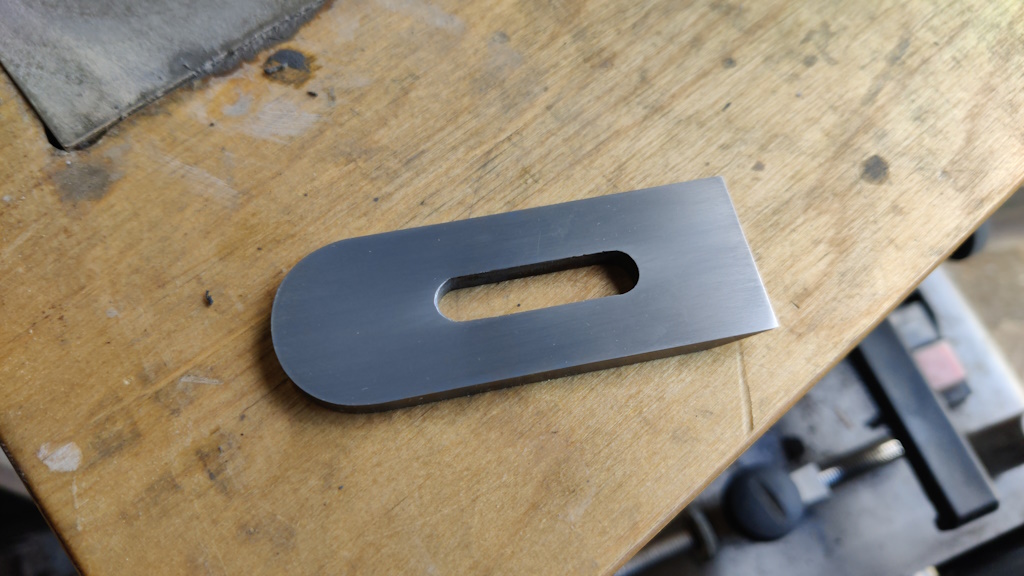
I then gave the blade a rub-down on some wet-and-dry paper and it was ready for sharpening:
Page 1 of 10
This website is free and ad-free, but costs me money to run. If you'd like to support this site, please consider making a small donation or sending me a message to let me know what you liked or found useful.

 Return to main project page