Block Plane for Travel Tool Chest Build Process
Page 8 of 10
Posted 28th April 2024
Gluing the parts together didn't go entirely according to plan. The first three screws went in reasonably easily and tightened nicely. The last one snapped off:
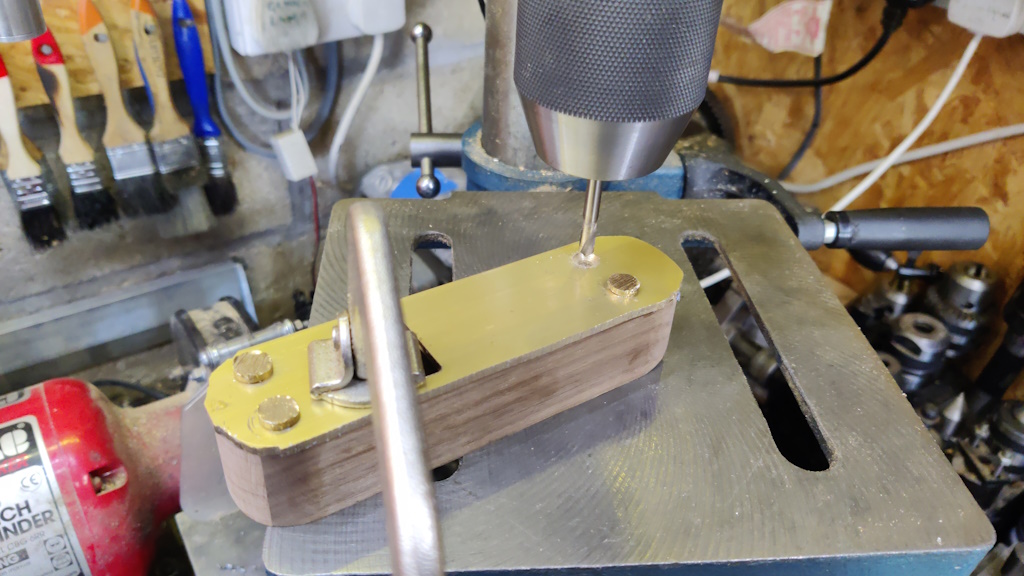
To deal with that, I took the body over to the pillar drill and used a 5 mm spotting drill to drill out the screw.
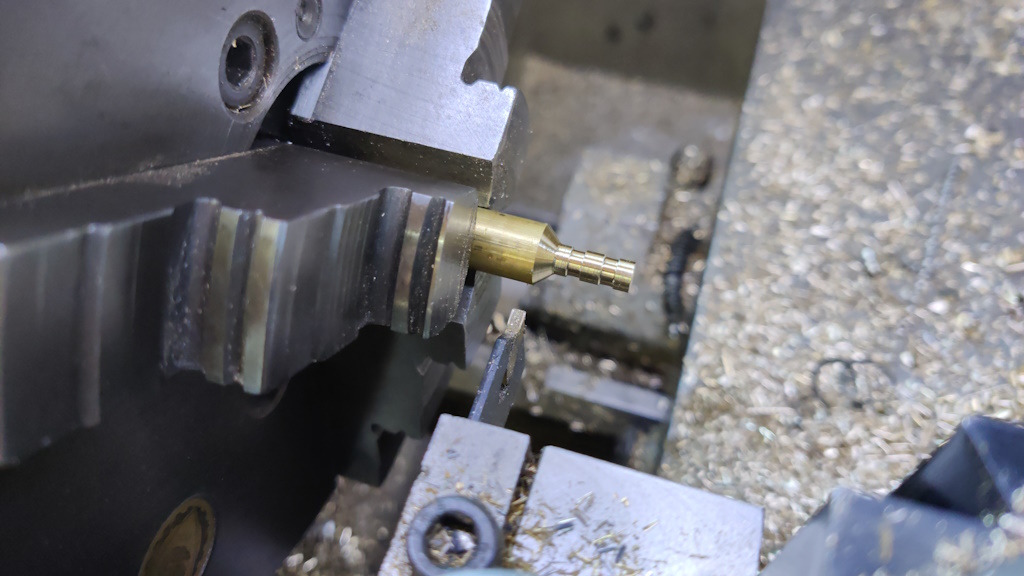
I thought of a couple of ways of dealing with the remaining hole and decided to go with the easier and quicker option with a more complicated option as a fall-back. I quickly turned a new part that I'm calling an "epoxy screw". This isn't threaded as such, but has a couple of shallow grooves cut into it to give somewhere for some epoxy to go into and hopefully give the epoxy a better grip on the brass:
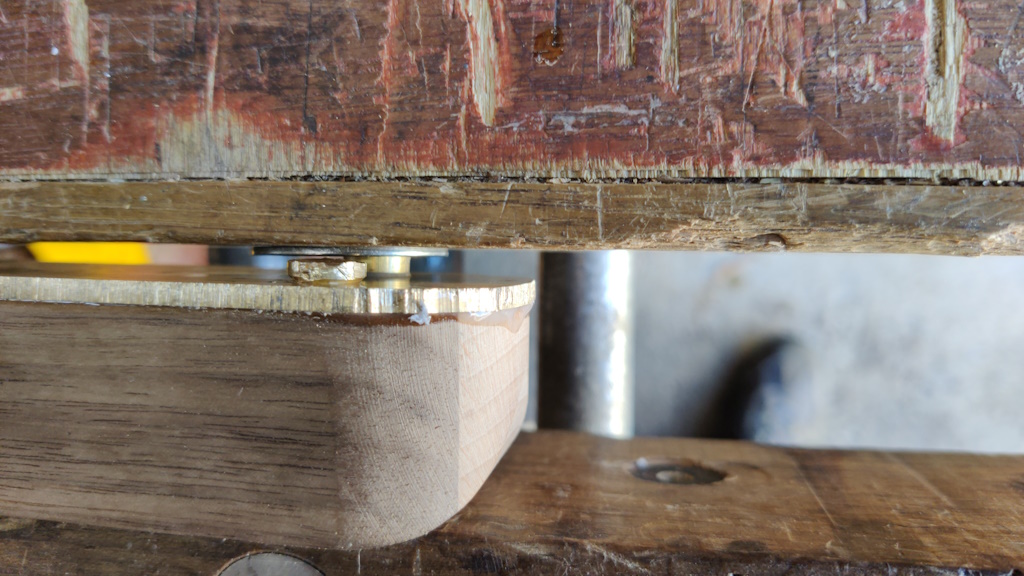
It got slathered in epoxy and some more got shoved in the hole and then the "epoxy screw" got pressed in and then clamped firmly in the vice:
My fall-back option if that hadn't worked would have been to drill and tap a hole in the base and body and then use a home-made machine screw to fill the hole.
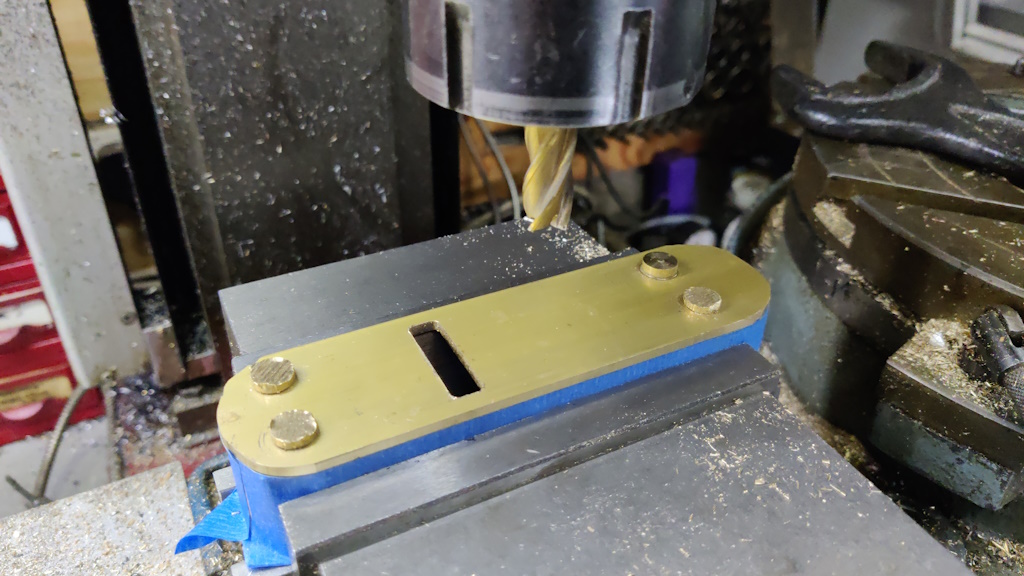
Once the epoxy had been left for 24 hours to cure, I wrapped the body in masking tape (to try to keep any oil away from the wood) and mounted it in the mill vice:
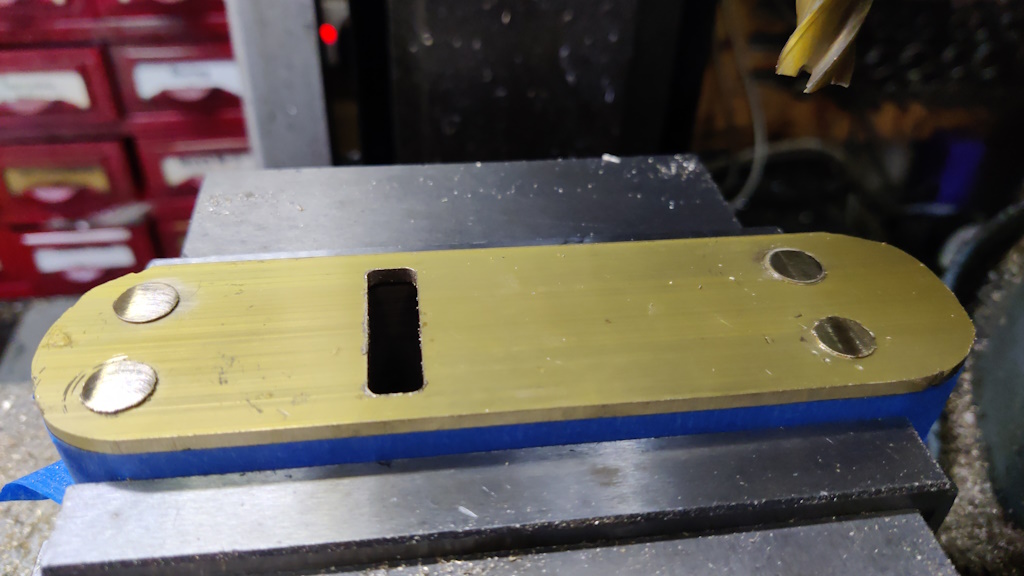
I used an end mill to reduce the thickness of the screw heads to about 0.5 mm:
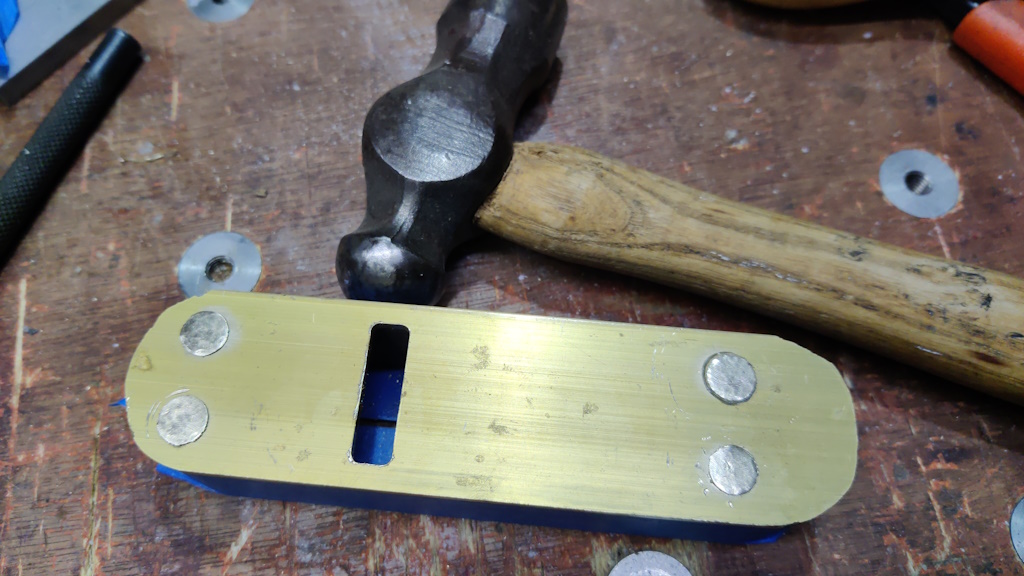
I then peened the edges of the screw heads using a ball-peen hammer:
The first two (at the rear of the plane) were done just with the ball-peen hammer, but I was struggling with accuracy. On the second two (at the front of the plane) I decided to try an alternative approach and held a pin punch on the edge of the screw head and hit the pin punch with the hammer.
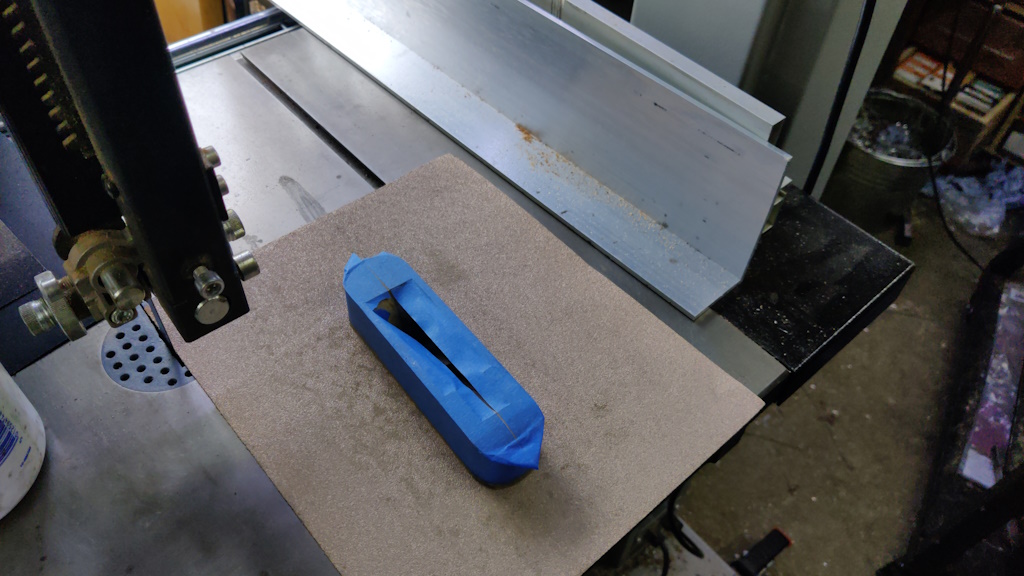
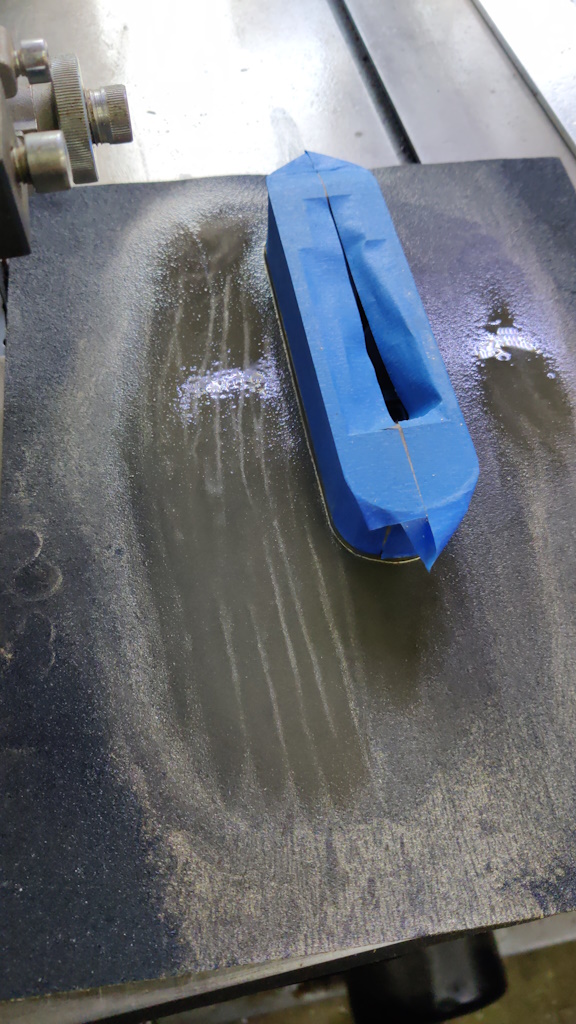
Once the heads were peened a bit (I've never done this before so I'd no idea whether I'd done enough), I put some 80 grit sandpaper on the bandsaw table and started attacking the bottom of the plane:
I kept sanding with the 80 grit sandpaper until there wasn't even the slightest sign of any remaining will-to-live, then switched to 120 grit wet-and-dry:
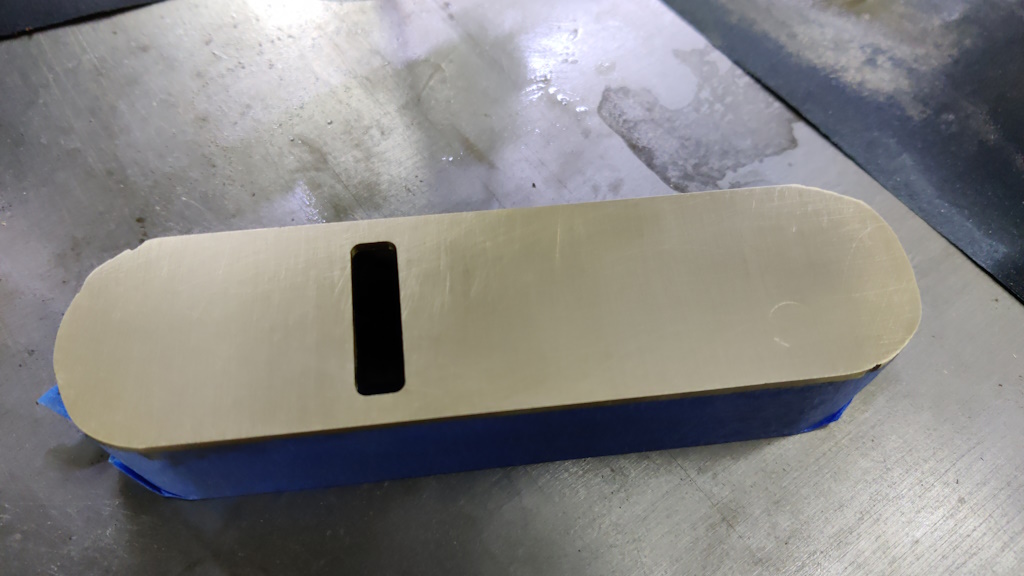
After that I gave it a bit of attention (but probably not enough, bearing in mind I was rather fed up with sanding at this stage) with 180 grit and 240 grit and then decided I'd definitely had enough for now.
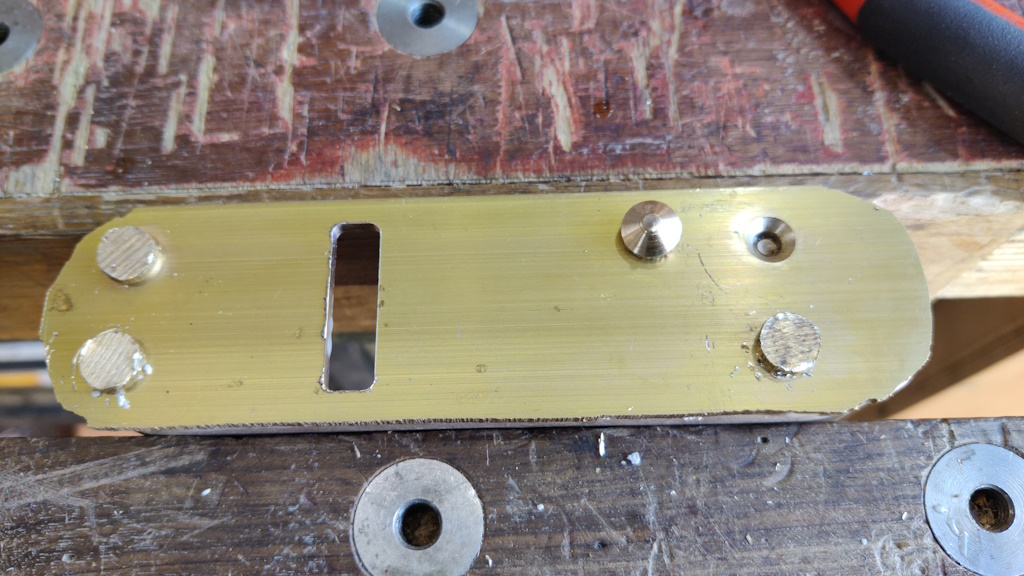
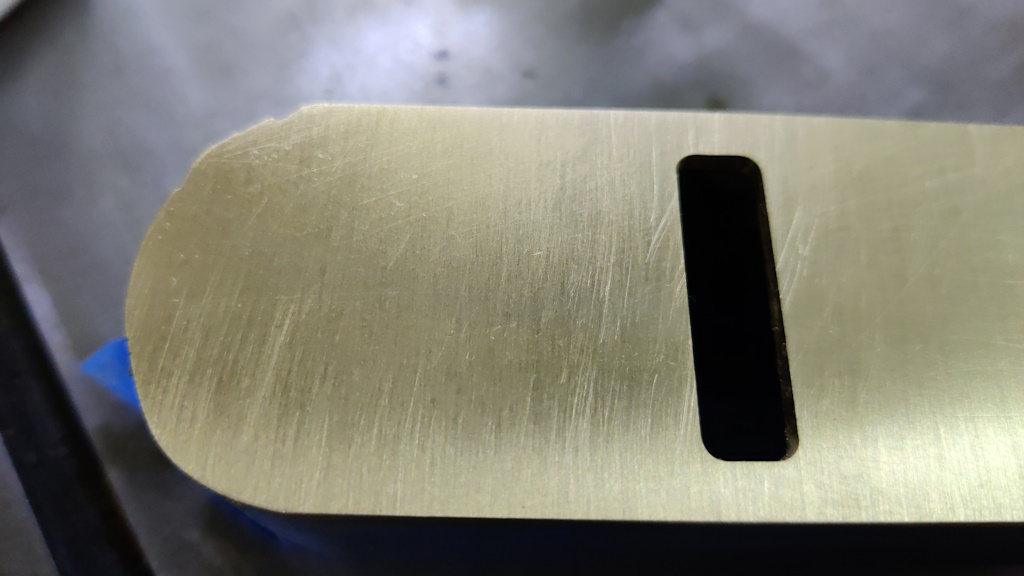
The two screws that were peened with the pin punch look really good:
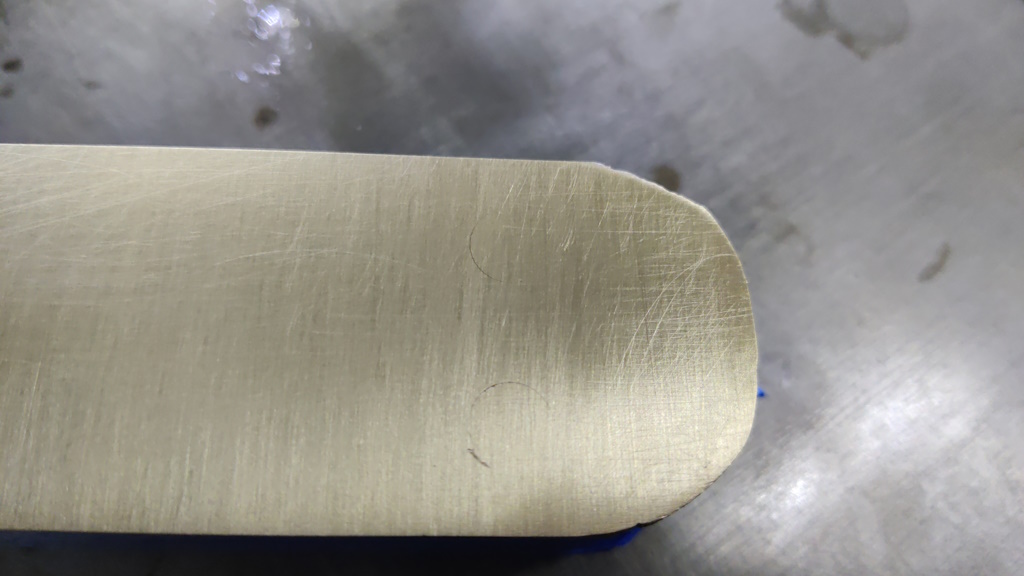
The two that were peened with the hammer aren't quite as good, but they'll have to do:
Page 8 of 10
This website is free and ad-free, but costs me money to run. If you'd like to support this site, please consider making a small donation or sending me a message to let me know what you liked or found useful.

 Return to main project page