Travel Tool Chest & Workbench Build Process
Page 113 of 144
Posted 6th November 2023
Carolyn needed an early night tonight and I was feeling restless, so I popped out to the garage to have a go at a more rounded hook per a suggestion from the woodworking forum.
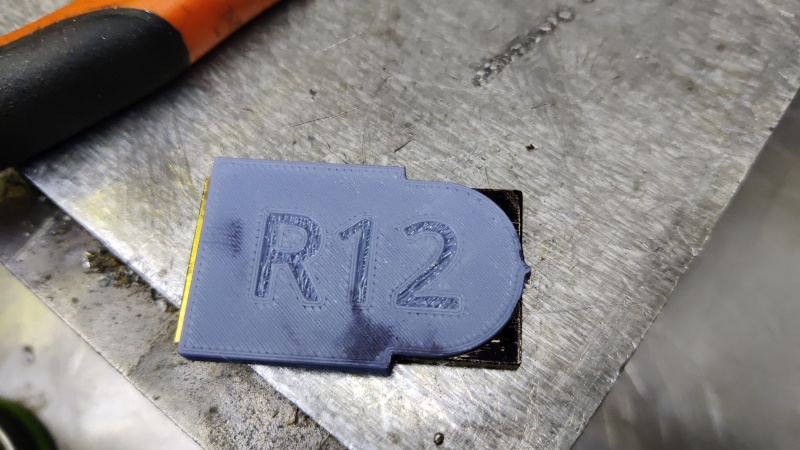
Before going out, I'd 3D printed a little marking thing to make it quick & easy to draw a curve with a scribe (I was impatient and didn't wait for the ink to dry before marking it, hence the dirty marks on the 3D printed bit):
With the curve marked, I used the little belt sander (one of these, which is intended for small wooden things but has only ever been used for grinding metal in my workshop) to remove the waste down to the scribed line.
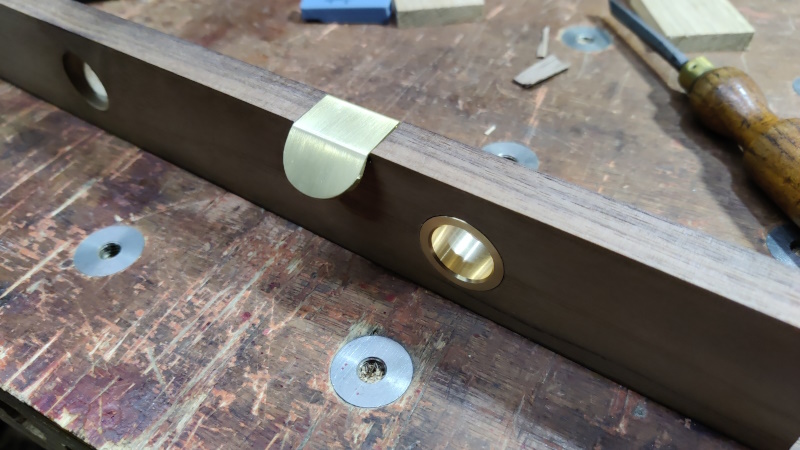
Then it was just a case of flux, bend, solder, file the soldered joints and clean up the outside (with 600 grit wet & dry instead of the angry grinder this time).
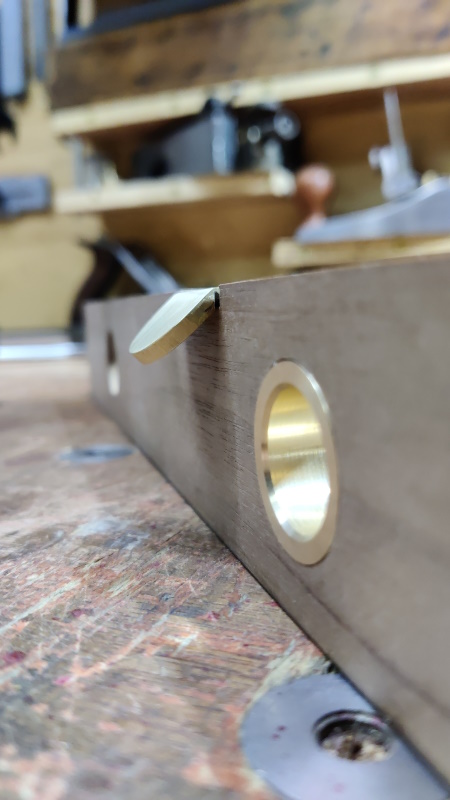
I didn't bend the hook part all the way to close the groove this time, to see what it would look like with a shallower angle (better in my opinion, plus there's more space for getting a finger under it now). If I adopt this angle, I'll have to make a new cutter for making the groove and obviously have to remake all the brass hooks, but I was expecting that anyway and it's no big deal.
Another view:
Page 113 of 144
This website is free and ad-free, but costs me money to run. If you'd like to support this site, please consider making a small donation or sending me a message to let me know what you liked or found useful.

 Return to main project page

