Travel Tool Chest & Workbench Build Process
Page 122 of 144
Posted 26th November 2023
It's been a fairly busy weekend with lots of non-workshop stuff going on, but I have managed a couple of hours each day and in that time I've made a little progress.
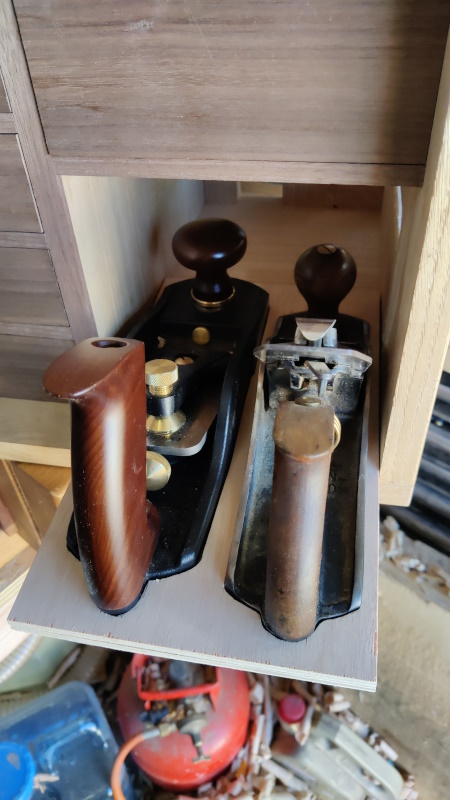
Do you remember my old plane tote? Here it is:
It was made out of two bits of plywood stuck together and was a bit naff:
I'd made that in a bit of a rush before the trip to France in June and I've since been thinking it would be nice to make something a bit better. I've been pondering on different approaches and had pretty much settled on getting a thick bit of sweet chestnut and router planing out the shapes of the two planes. I could then put a small bit of walnut on the front.
However, I've since had a brainwave and found a better way. You might remember that there were two reasons I went with the plywood plane tote rather than making a drawer for the planes to sit in:
- Getting the planes out of a deep drawer would be a bit awkward, and...
- The bevel-up smoothing plane (which I bought after having made the body of the chest) is a little bit too long to fit in a drawer (assuming a 15 mm thick drawer front and an 8–10 mm thick back).
The first one of those is easy to sort out: there's no reason the drawer has to fill the available space – it can just be a shallow drawer of a similar depth to the ones on the left of the chest.
The brainwave I mentioned was that, if I mount the planes at an angle, the toe of the bevel-up smoothing plane can sit over the top of the drawer back. As I've decided to 3D print the inserts for the other drawers, I can also 3D print an insert for the plane drawer and that'll sort out getting it at the right angle.
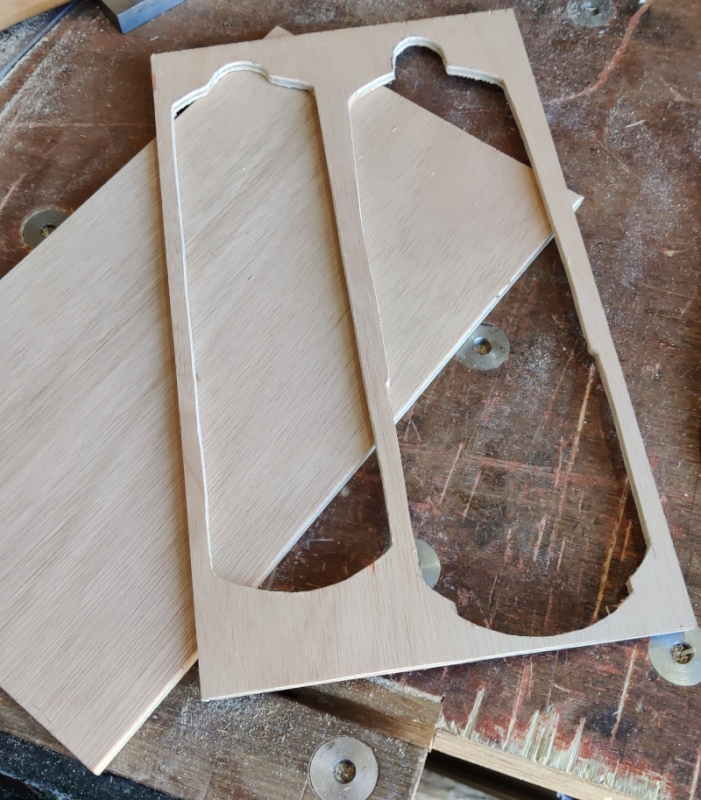
The insert will look a bit like this:
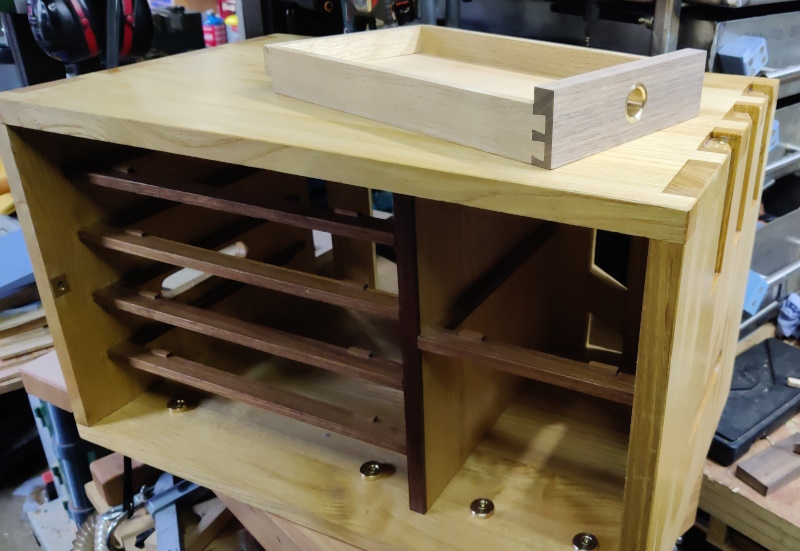
With that decided (and a 3D print done to prove the concept), I could get on with making a drawer. The drawer was made in much the same way as the previous drawers so I didn't bother taking photos of the process. Here it is:
As you can see, I've also made eccentric drawer stops for this drawer, which I think is nice as it is in keeping with the left-hand bottom drawer.
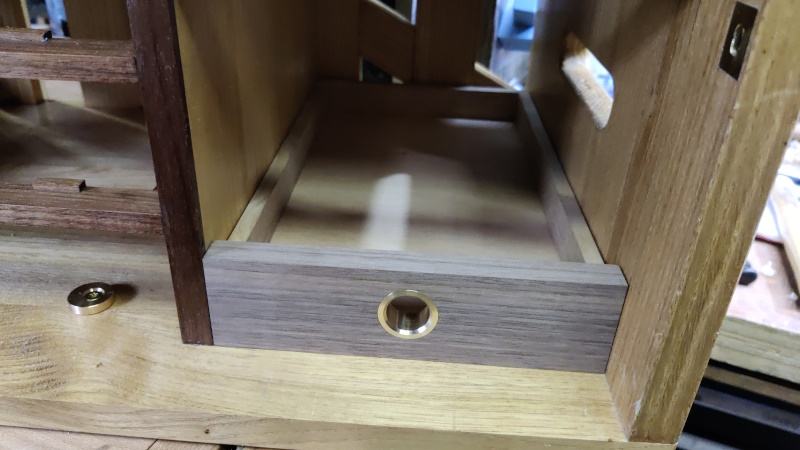
Here it is in place:
I'll make a brass "7" label for it in due course, again for consistency with the other drawers.
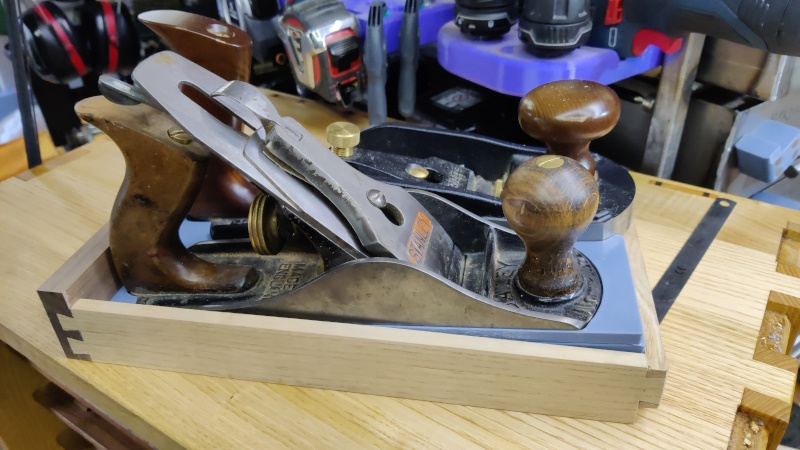
This is (sort-of) what it'll look like with the planes in place:
I say "sort-of" as I did that 3D print before deciding exactly what height the drawer would be, so the planes are lifted up further than they will be in the final version. I'll do the final print in black as well: this was just a case of using the filament that was already in the printer as it was just a test run.
Page 122 of 144
This website is free and ad-free, but costs me money to run. If you'd like to support this site, please consider making a small donation or sending me a message to let me know what you liked or found useful.

 Return to main project page