Travel Tool Chest & Workbench Build Process
Page 124 of 144
Posted 2nd December 2023
A major landmark was achieved today.
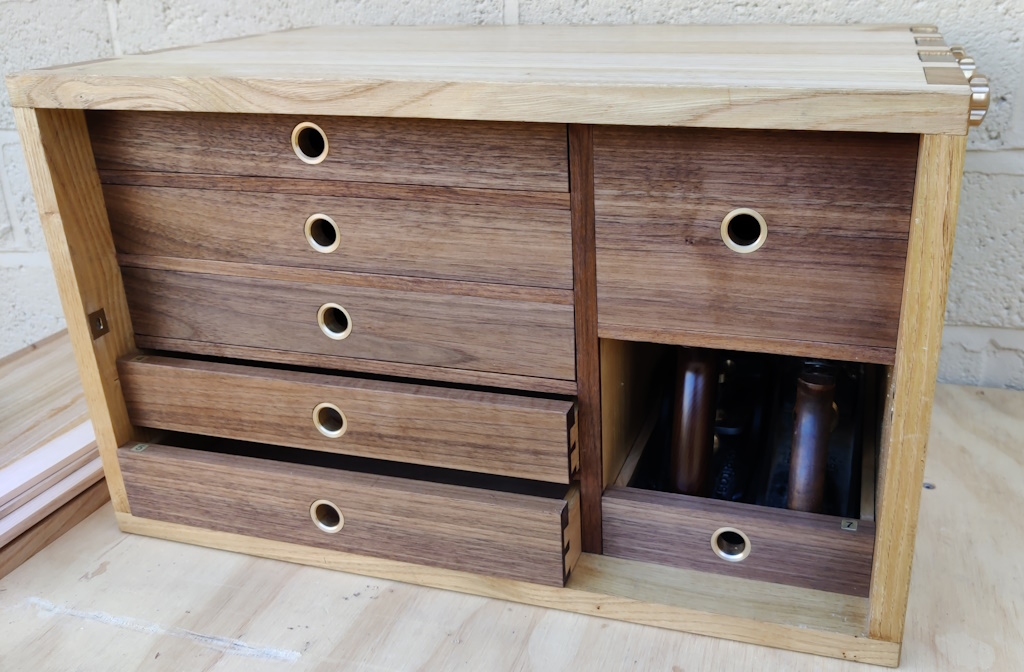
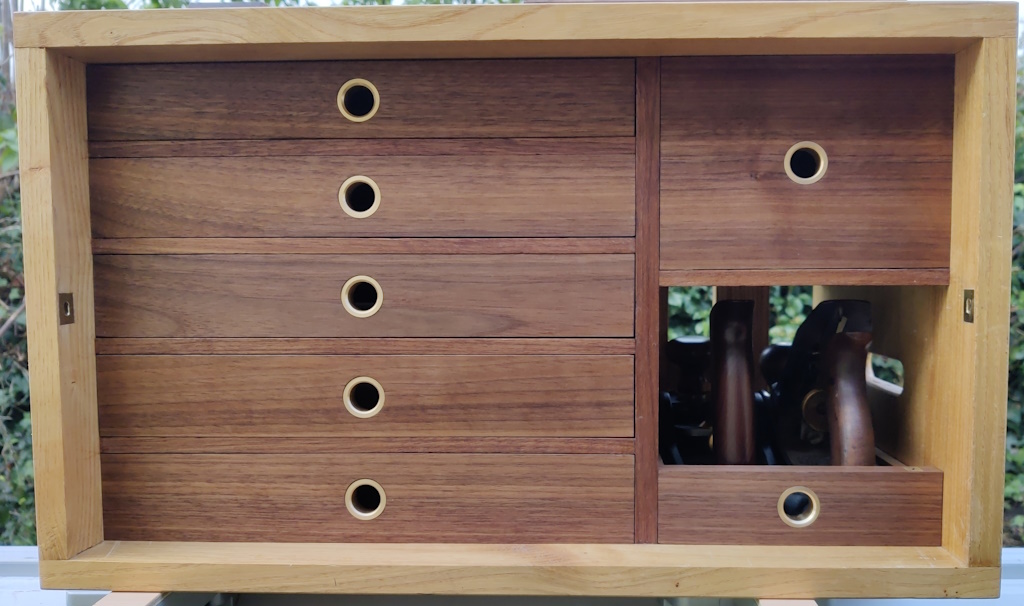
Over the last couple of weeks, I've oiled all the drawers (Mike's Magic Mix as usual) and then left them in the house for the oil to thoroughly dry. Yesterday I did two relatively minor things:
- Made a "7" badge for the new plane-tote-drawer-thing for consistency with the other six drawers.
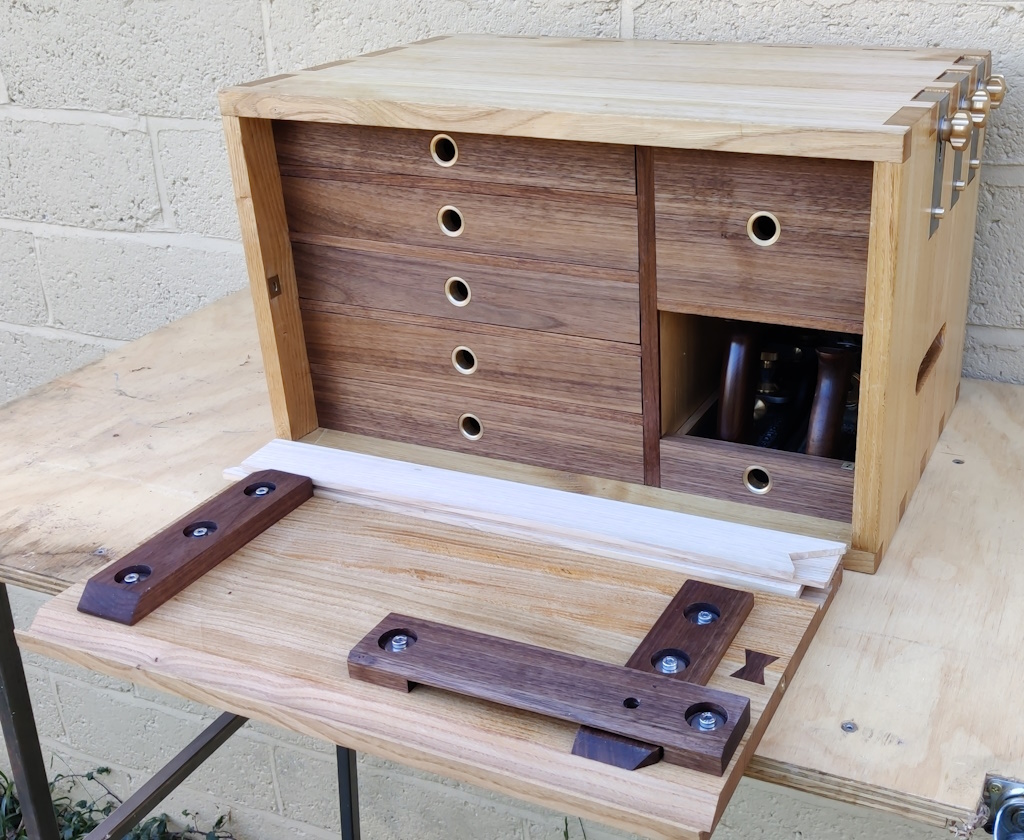
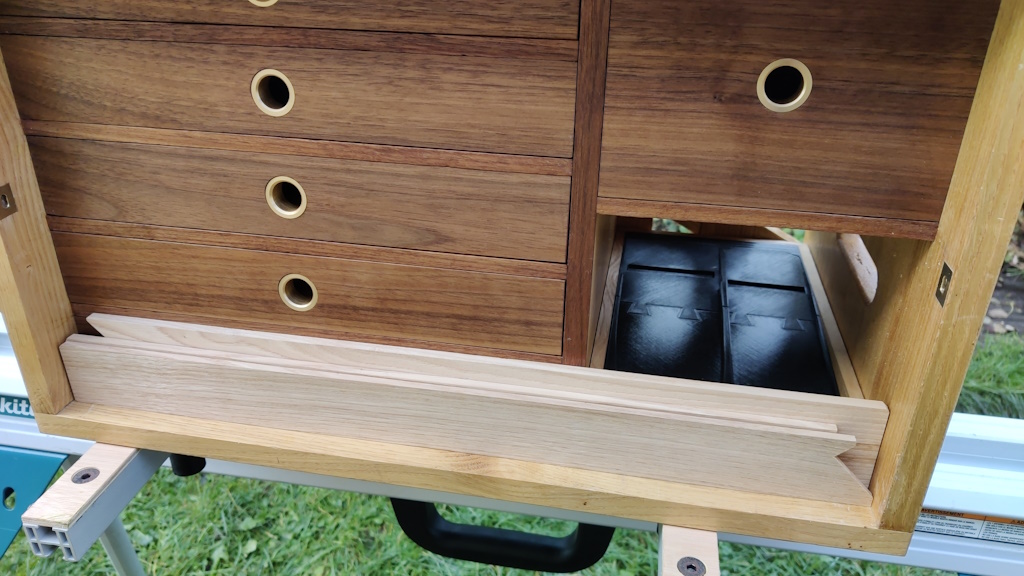
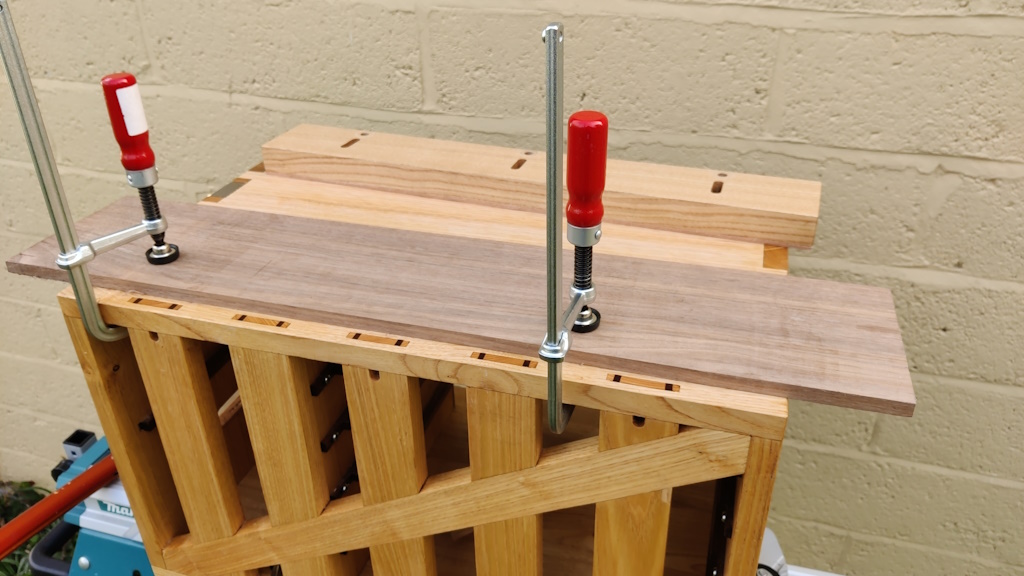
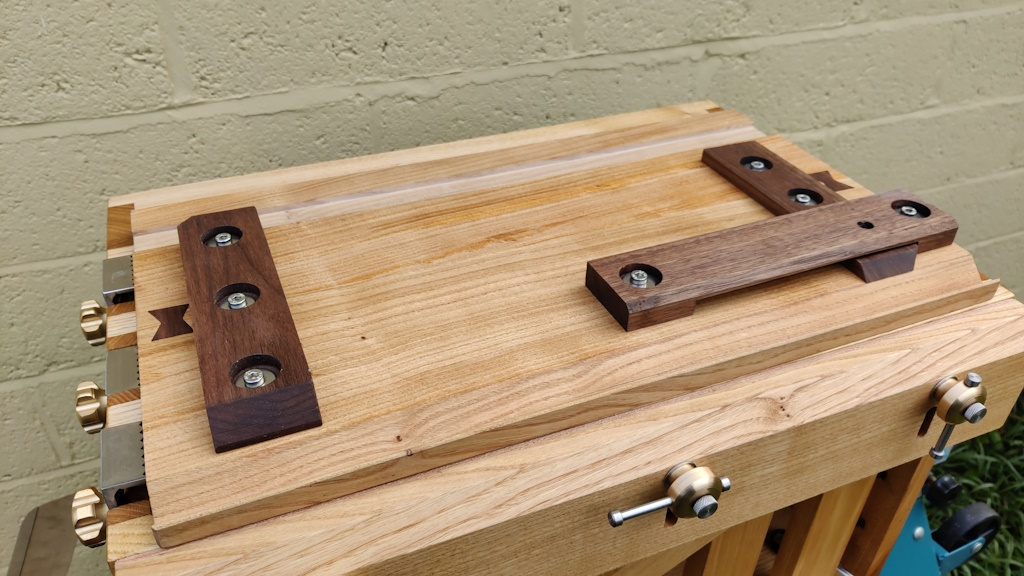
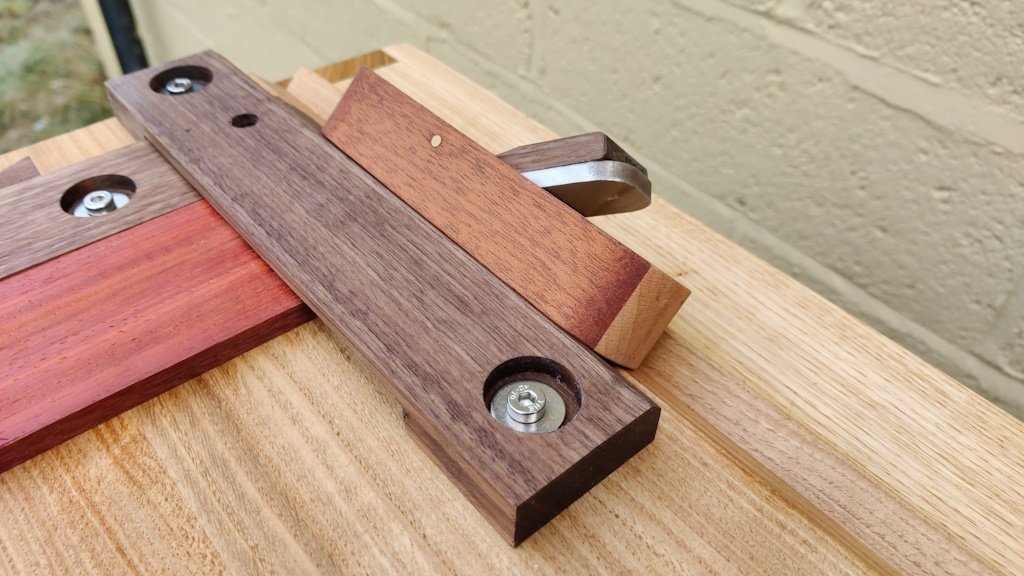
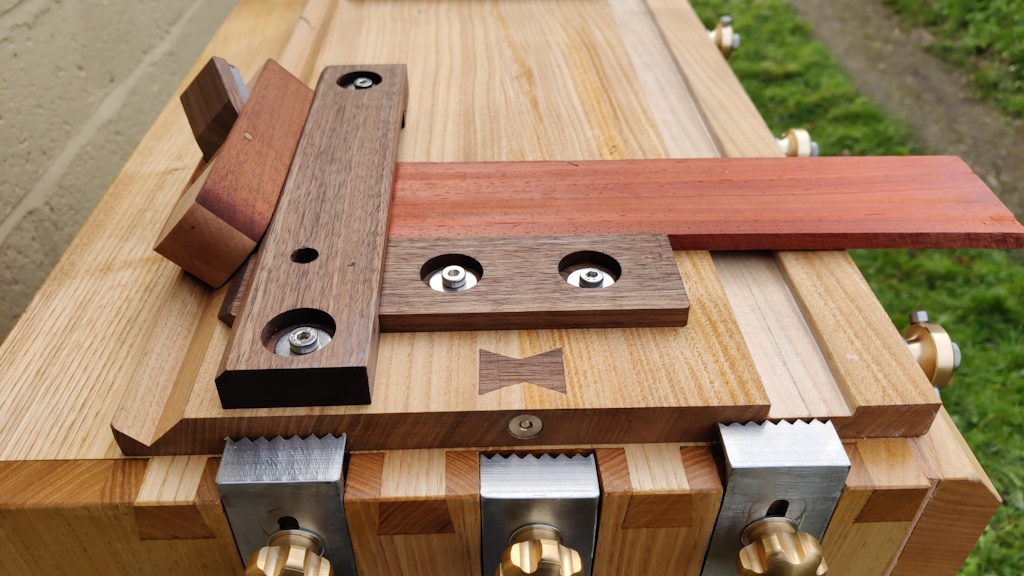
- Made a set of three "doe's feet" in different thicknesses. I don't really need three of them, but the thinner ones will be useful when working on thin stock while the thicker ones will be more robust. I can see myself using more than one: one holding the corner in the normal way and one as a general stop (using the non-doe's-foot end). However, the main reason I made three was that the thickness of the three adds up to just the right amount to stop the bottom drawers moving forward. If I think of a better thing to use the space for, it'll be easy to change it.
That might not seem like a very major landmark. However, if you ignore all the 3D CAD modelling and 3D printing that's going to be required to make all the inserts for the drawers (and which will probably take me a long, long time to get through), I think I can call the chest finished.
From first cut to completion has taken me 11 months; from first CAD model to completion more like 18.
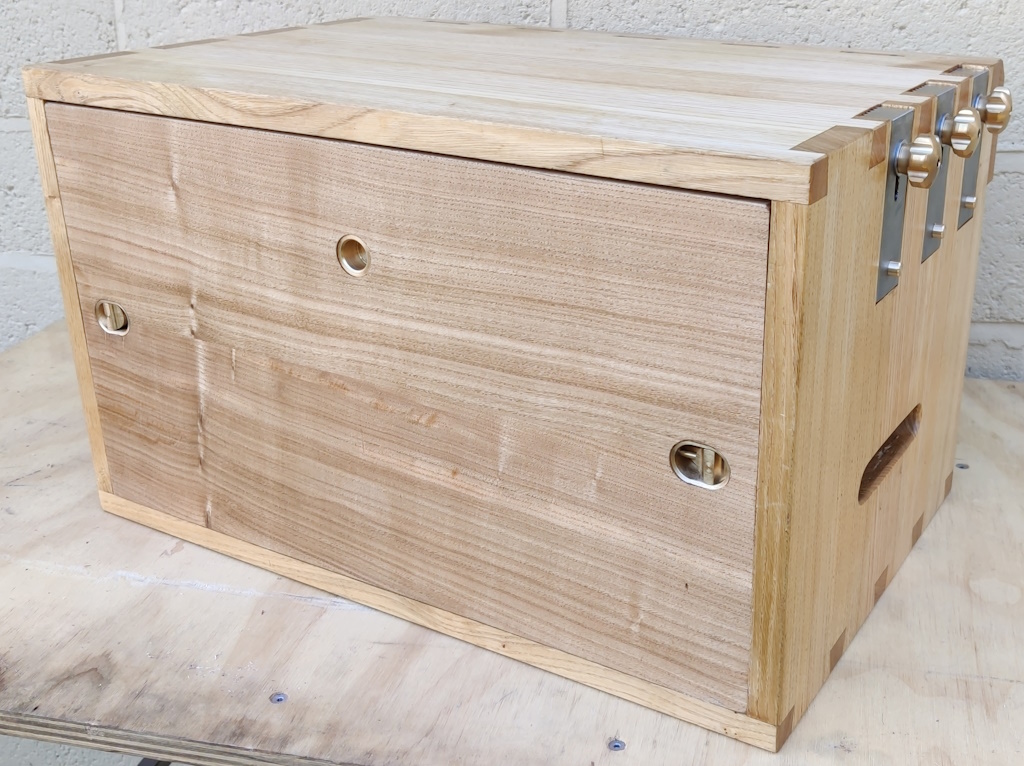
The last thing to do was take a lot of photos, so here they are:
Front view:
Front open, showing the doe's feet tucked in place:
More views of the oiled drawers in place:
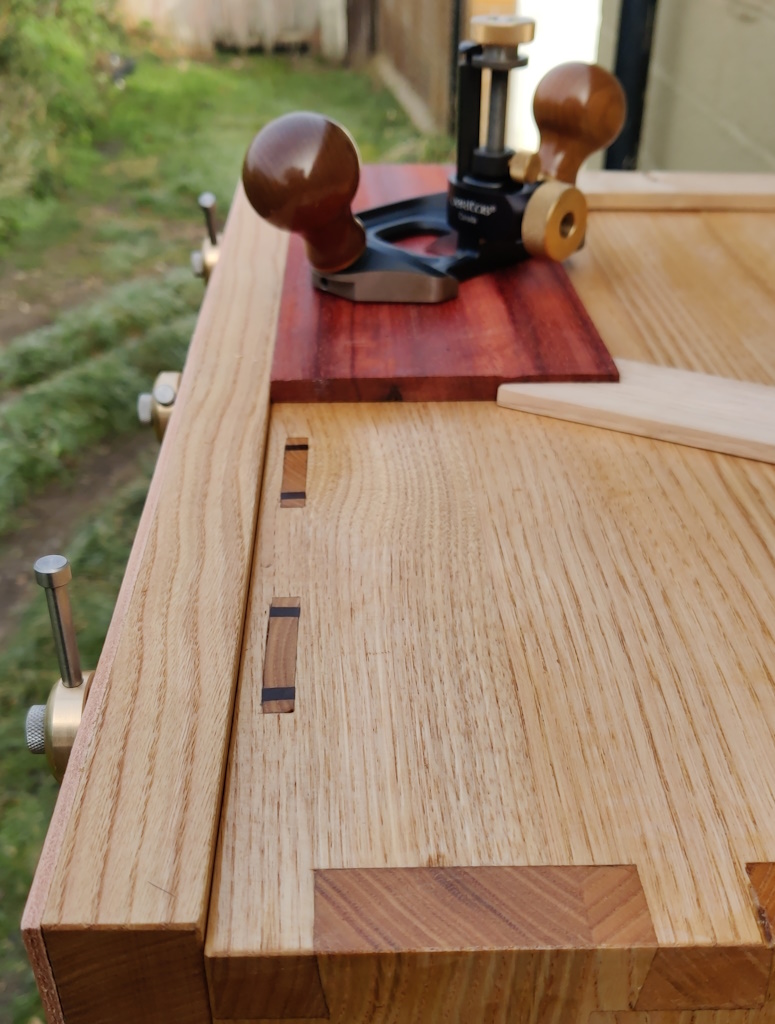
This is where the doe's feet go:
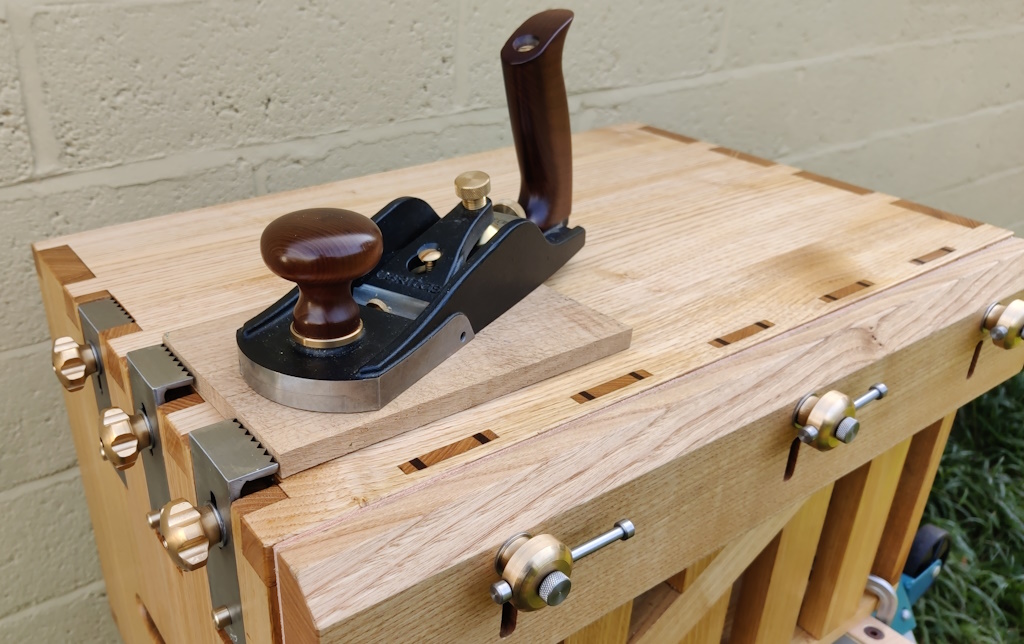
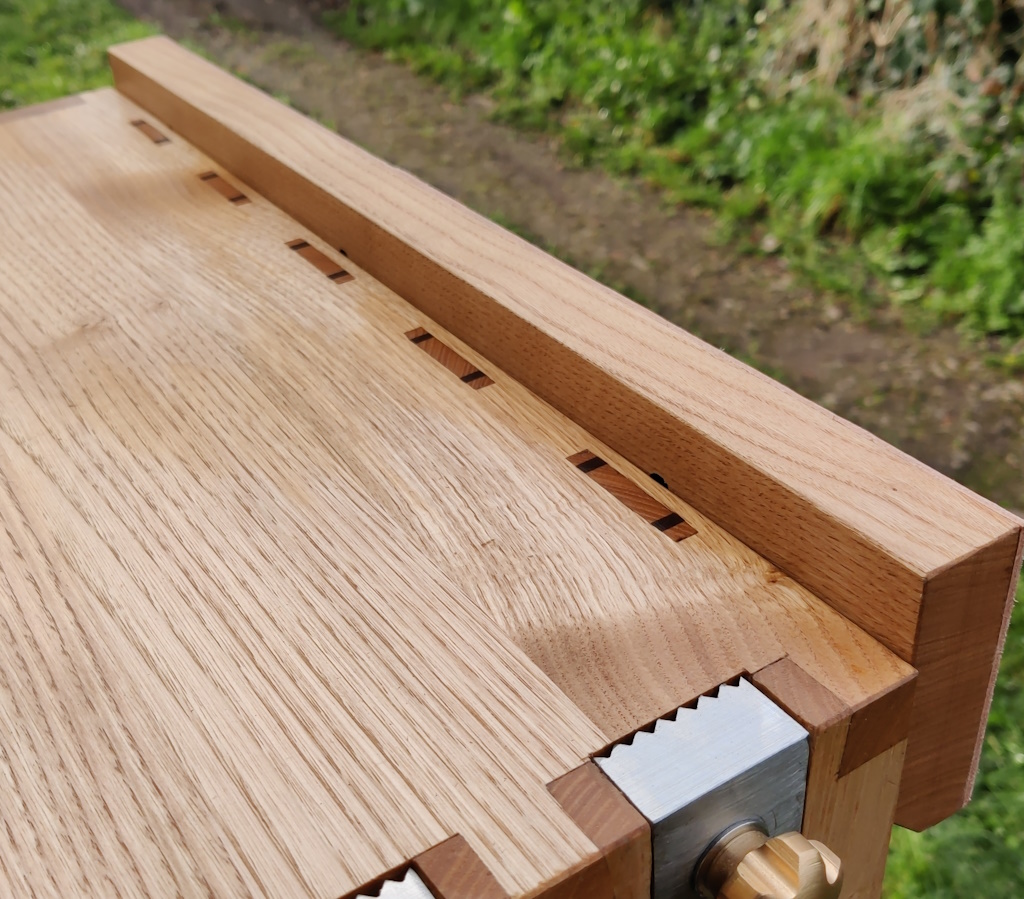
Planing stops:
Back view:
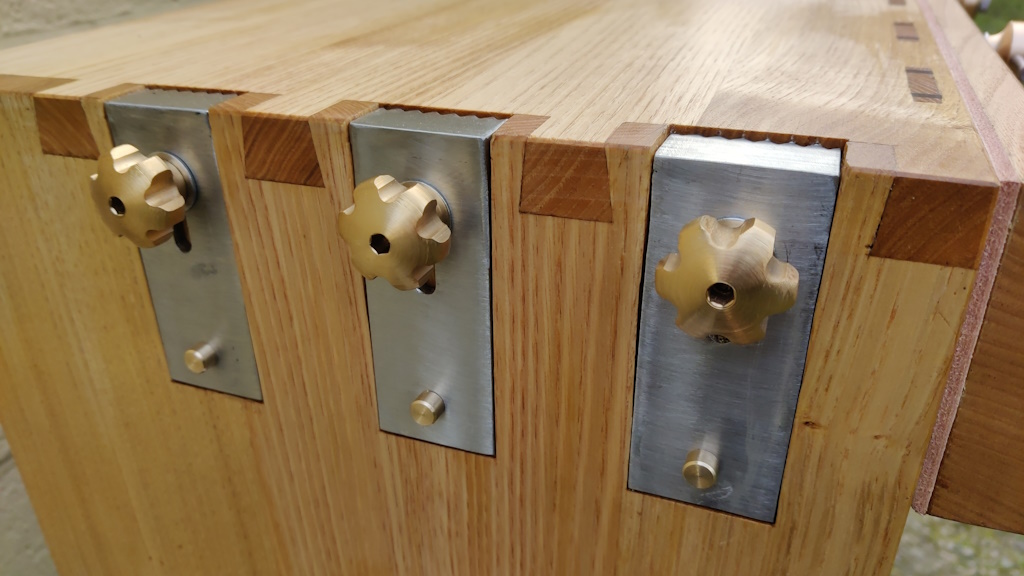
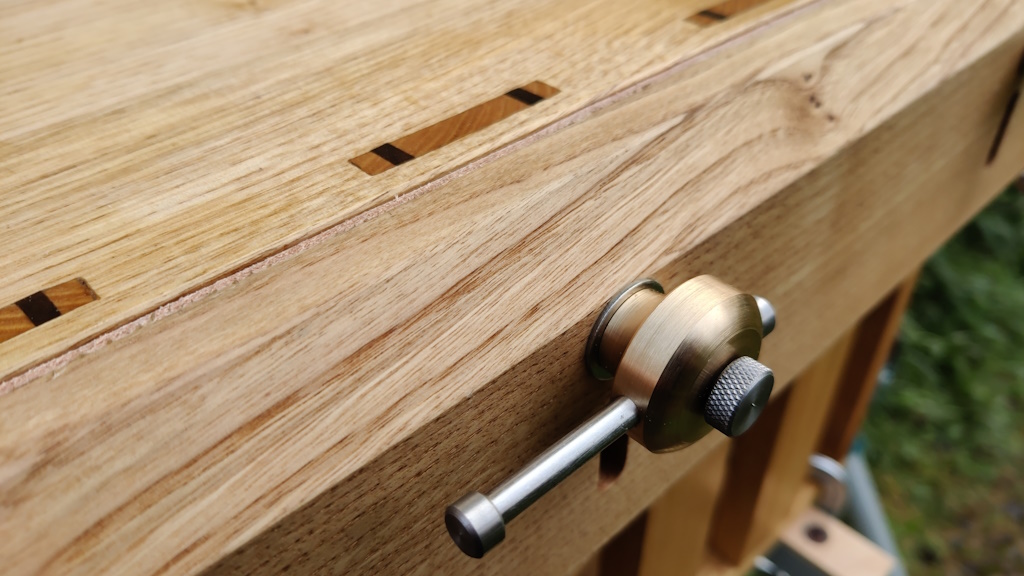
Close-up of the vice screw and a wedged tenon:
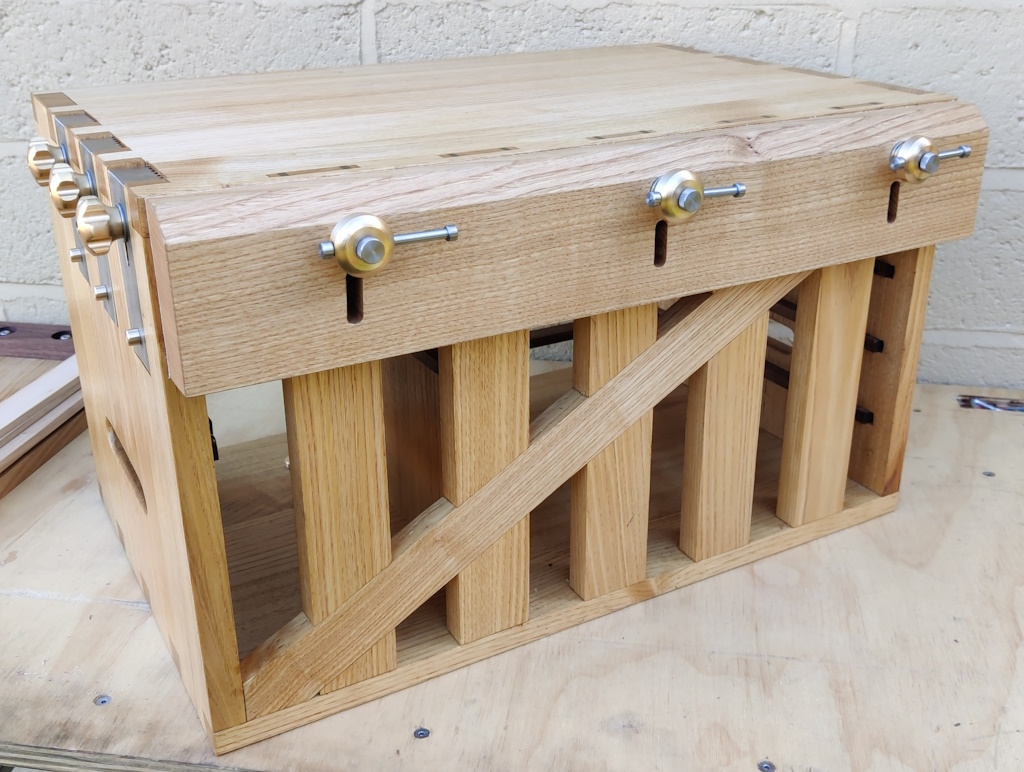
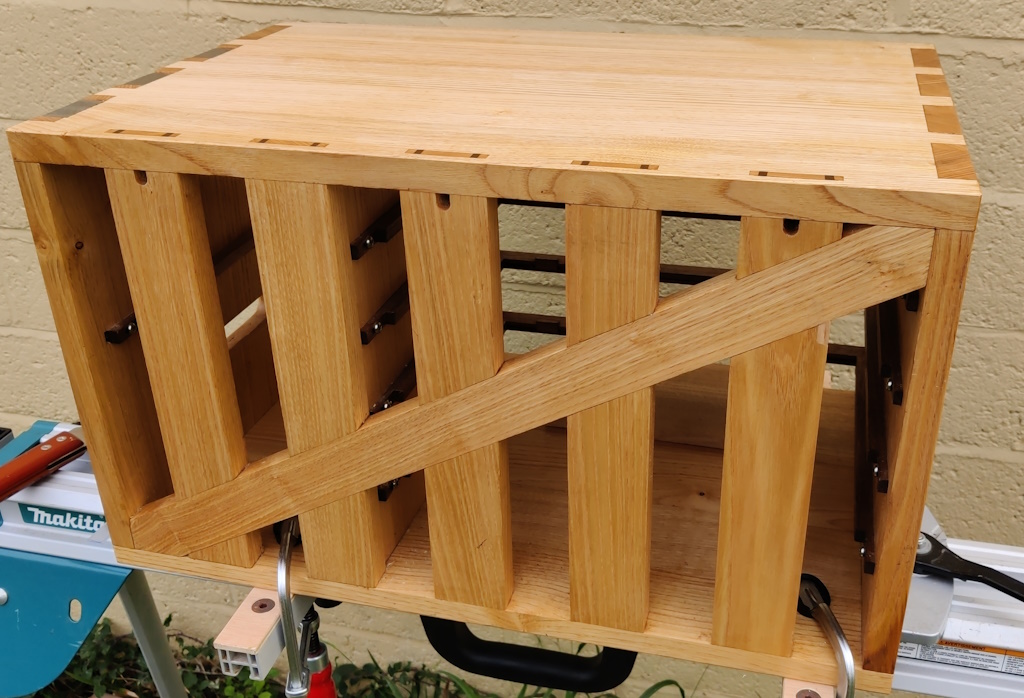
View showing the whole of the back with the anti-racking piece:
I also took the opportunity to take some photos of the various different work-holding methods that are available.
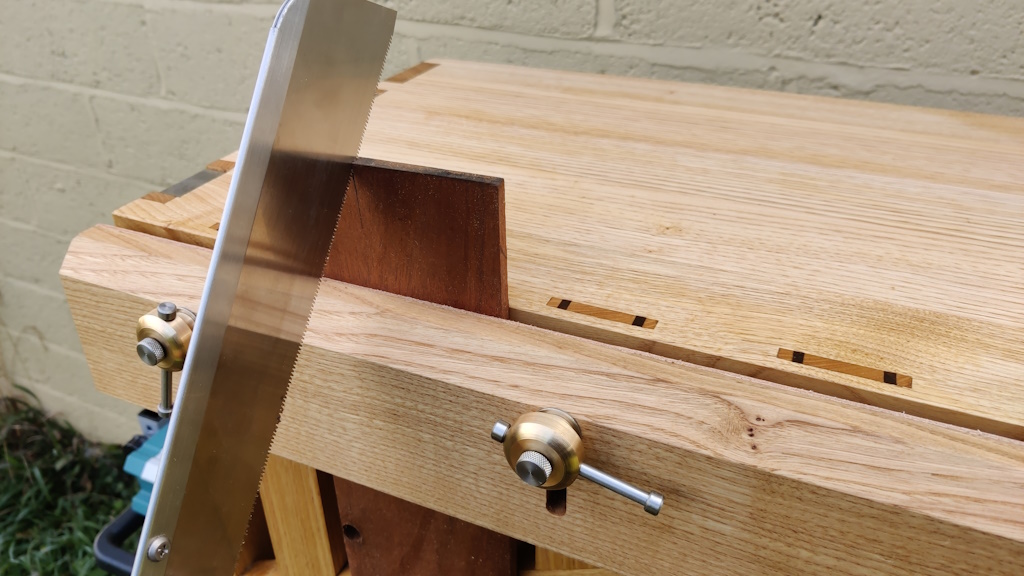
Holding a piece in the vice for sawing:
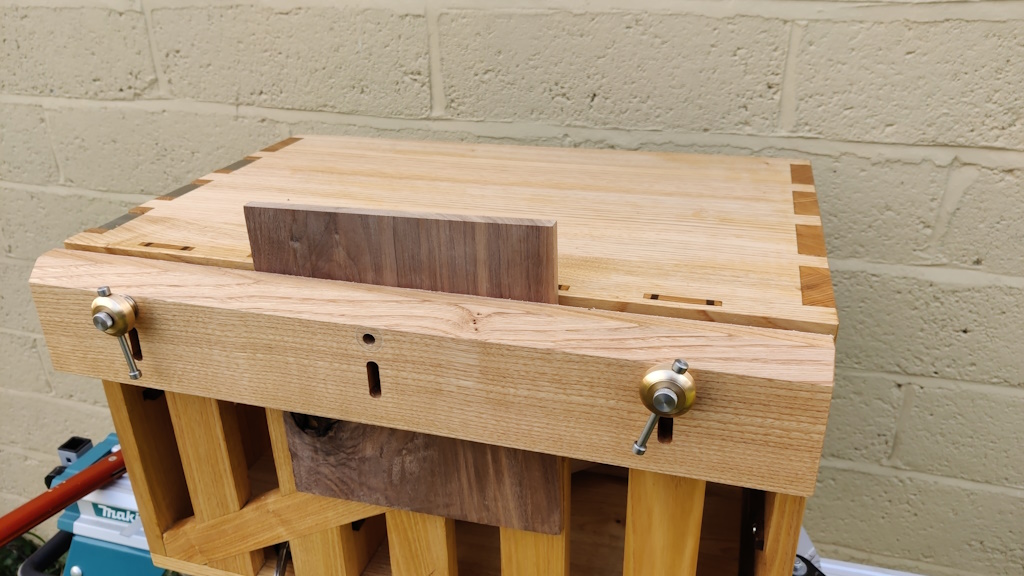
Removing the middle vice screw and holding a wider piece:
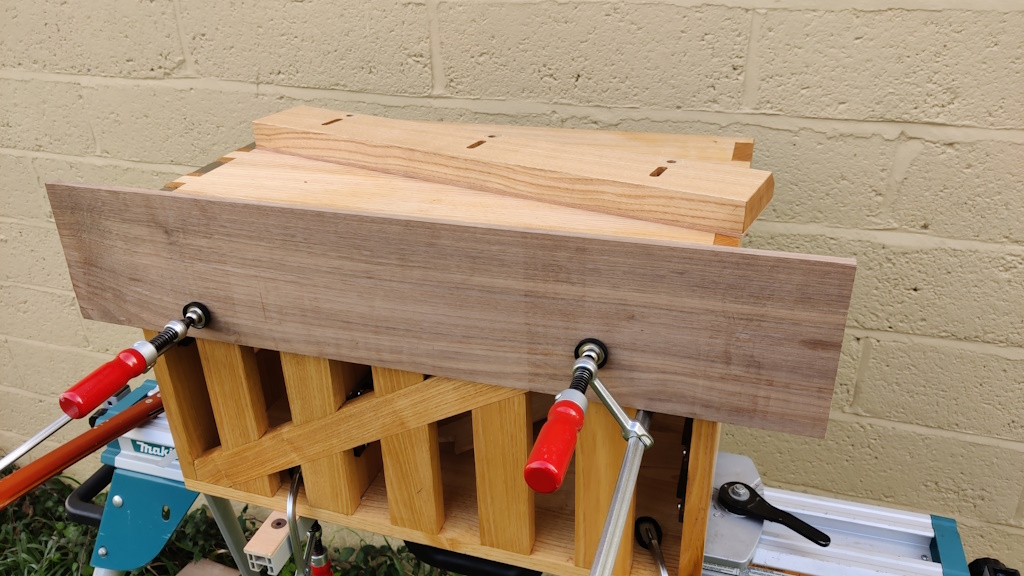
The vice jaw can be completely removed and then really big pieces can be clamped to the back for sawing to length or edge planing:
or clamped to the top for sawing or chiselling or whatever:
The planing stops can be used for simple face planing:
Or for a bit more robustness, a doe's foot can be clamped to the top:
The vice can also be flipped round (so that a solid face is against the chest rather than a leather face) and then moved up and down (this photo shows the upper limit):
That allows boards to be fully constrained while still giving complete access to the top surface:
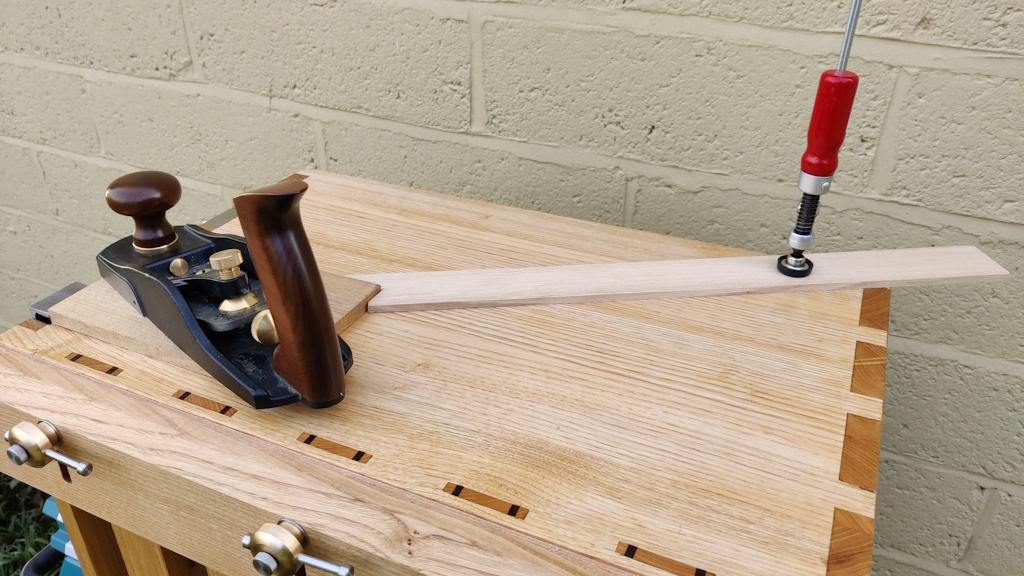
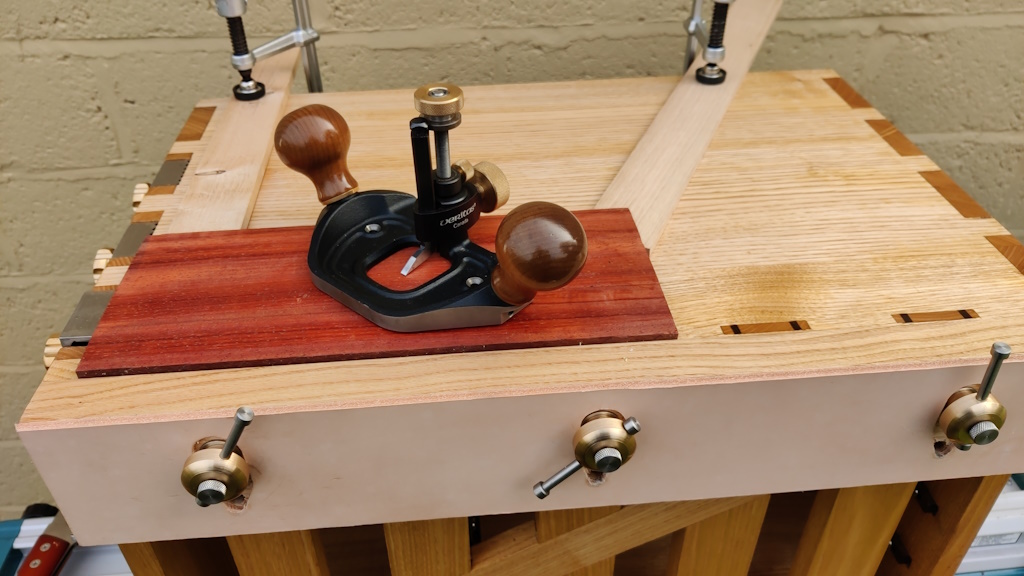
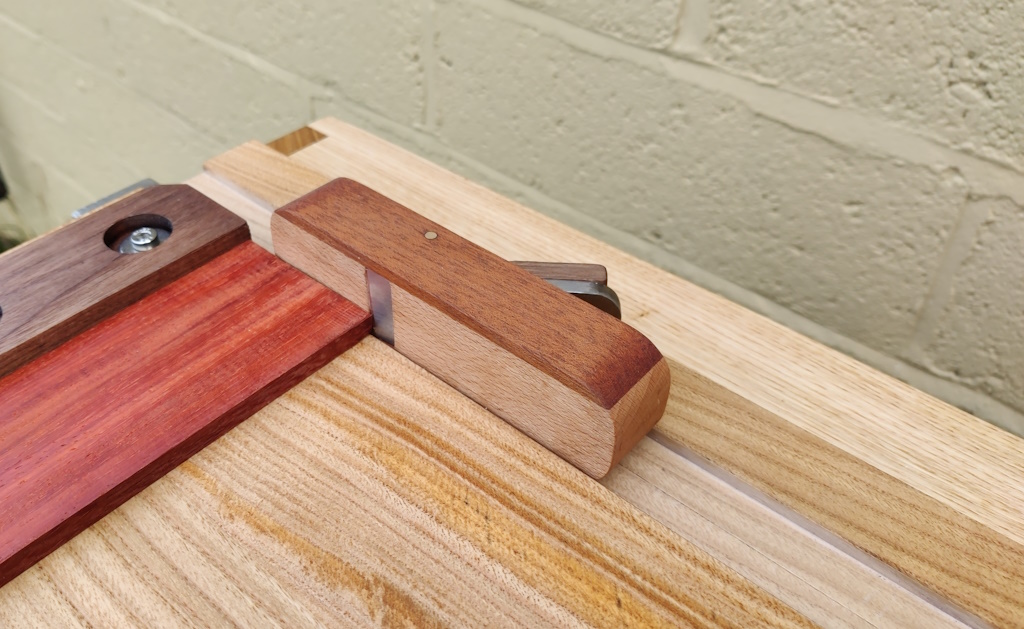
Finally (I think), there's the chest front / shooting board, which goes on top and pushes against the planing stops (this is the main reason for having three planing stops – so one is far enough over to support the shooting board near the working side)...
which can be used for shooting ends square...
... and shooting mitres:
Page 124 of 144
This website is free and ad-free, but costs me money to run. If you'd like to support this site, please consider making a small donation or sending me a message to let me know what you liked or found useful.

 Return to main project page
