Travel Tool Chest & Workbench Build Process
Page 143 of 144
Posted 28th September 2024
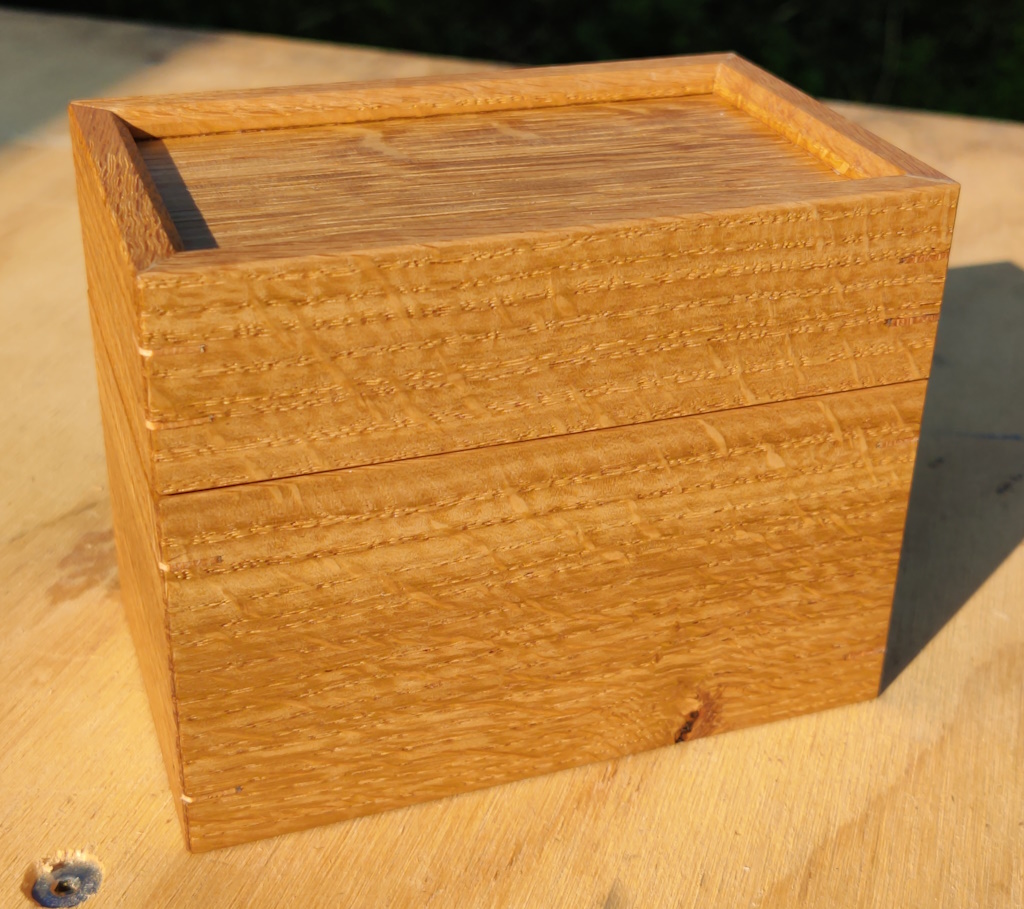
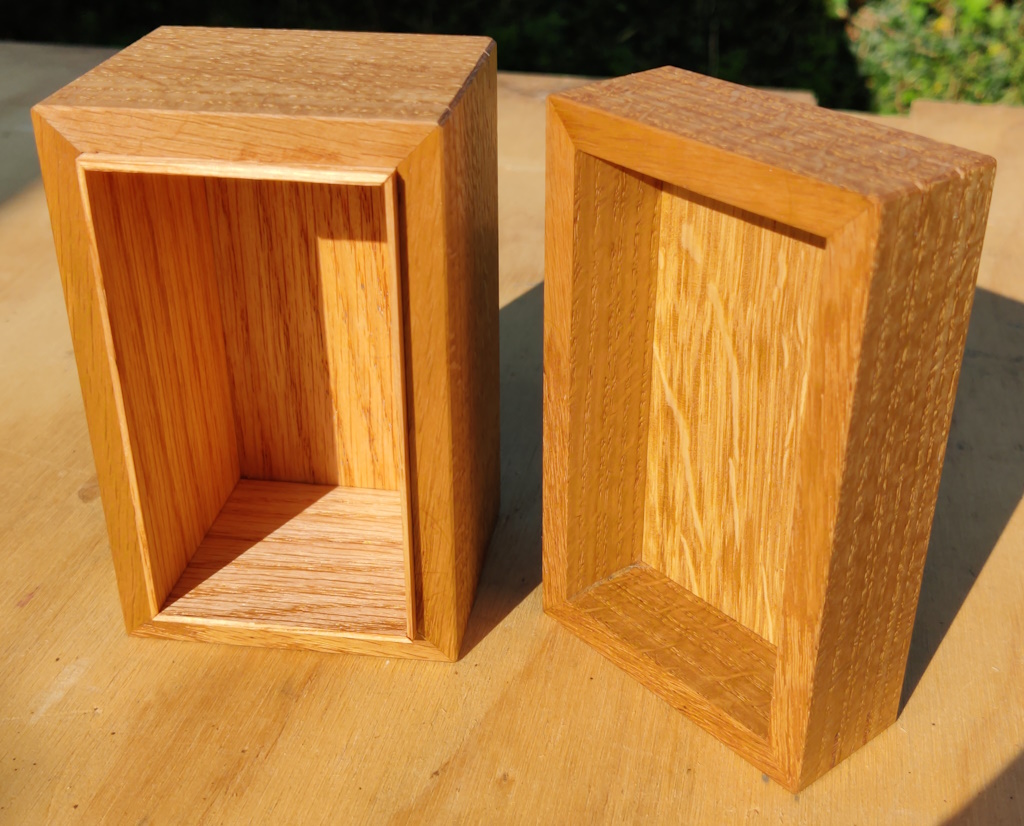
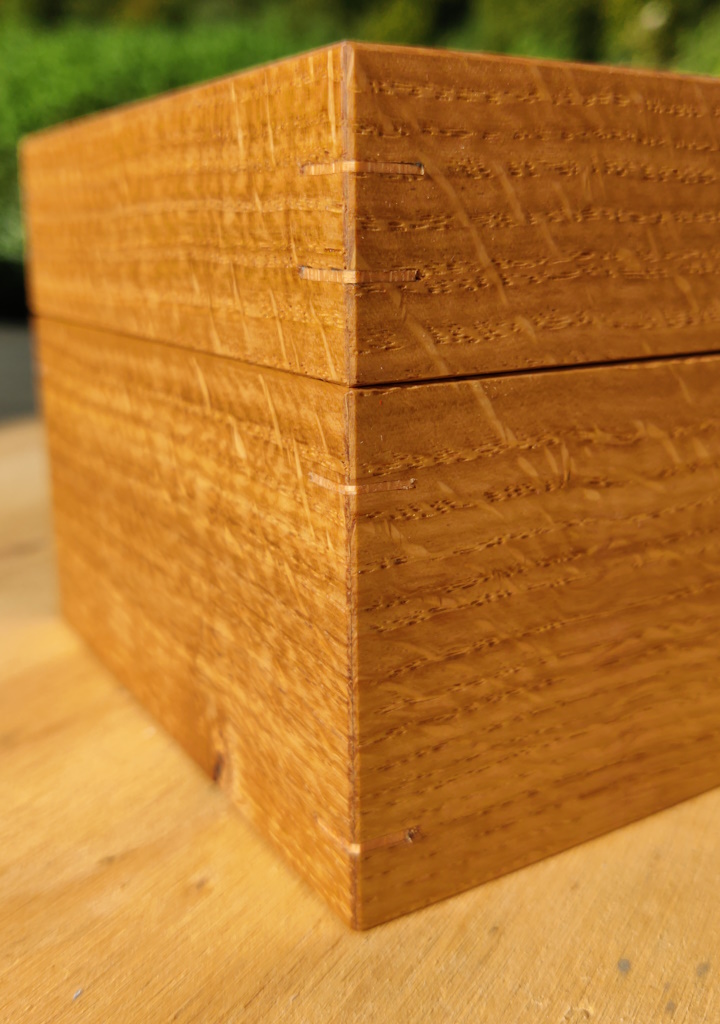
I'm back in England again now and, after a couple of days of work I had some weekend time to finish off the boxes. The oak box just needed some MMM finish applied:
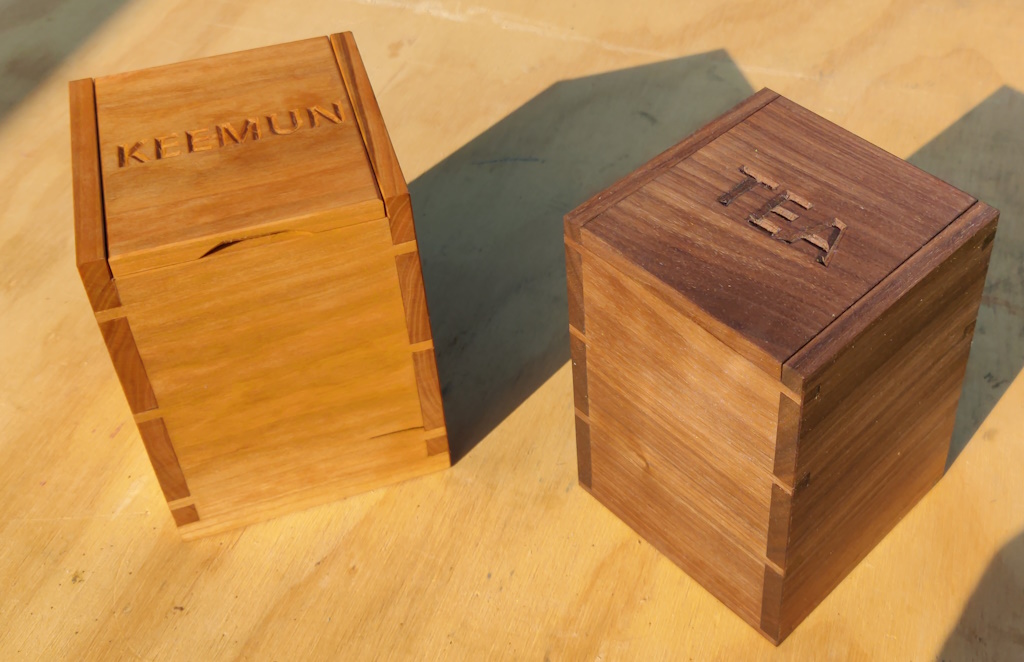
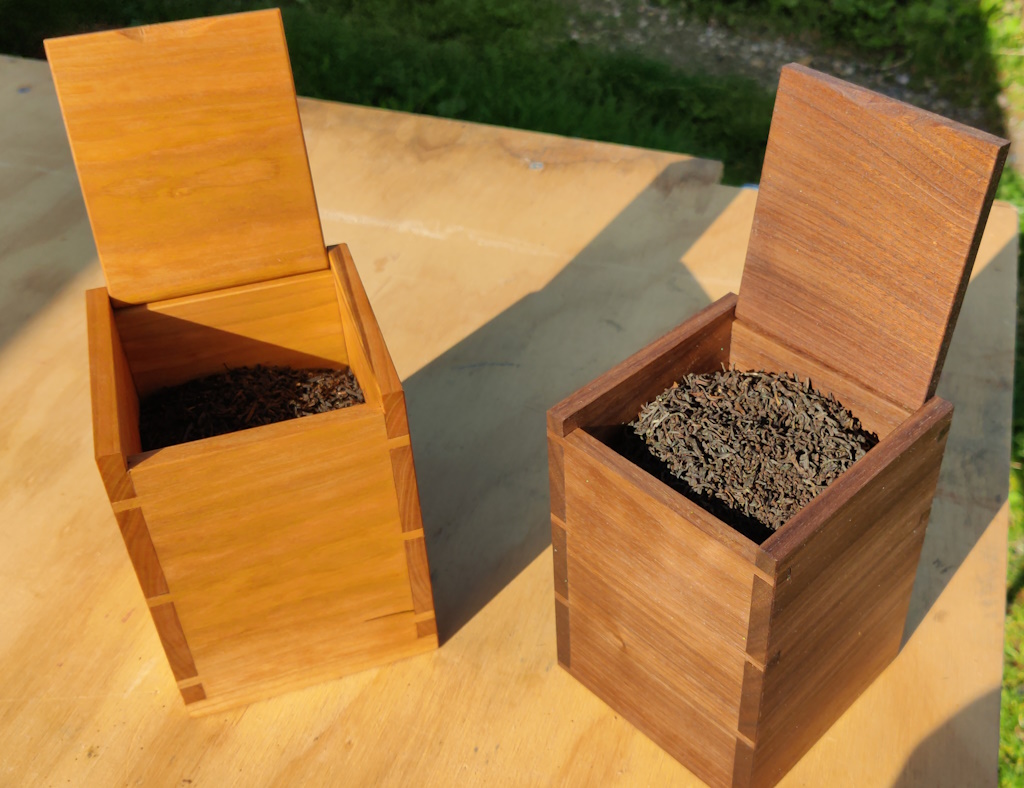
The tea caddies were also quite simple, just needing some mineral oil:
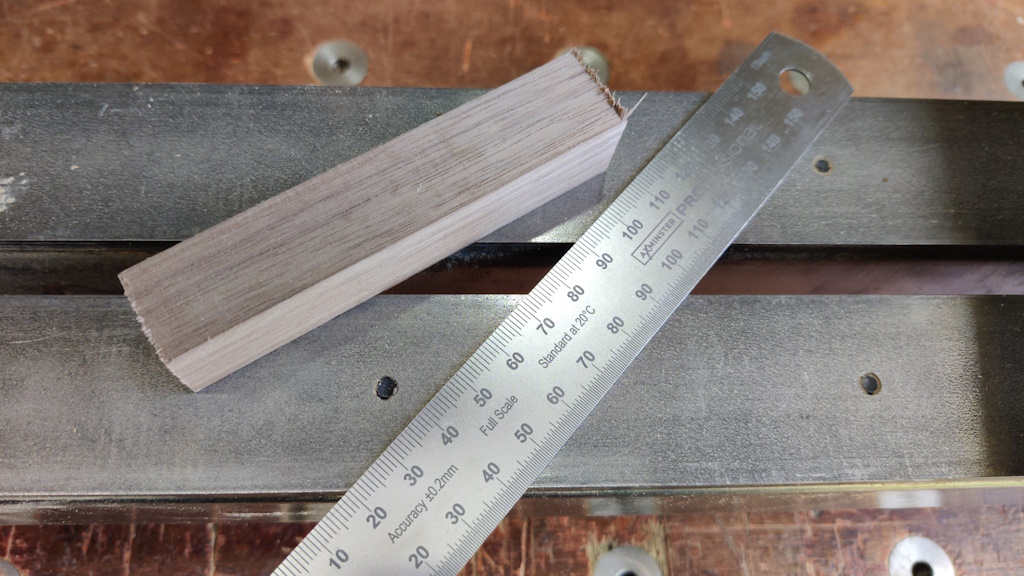
The drawer box needed a bit more work as it was still lacking knobs. I started with a bit of American Black Walnut I had lying around:
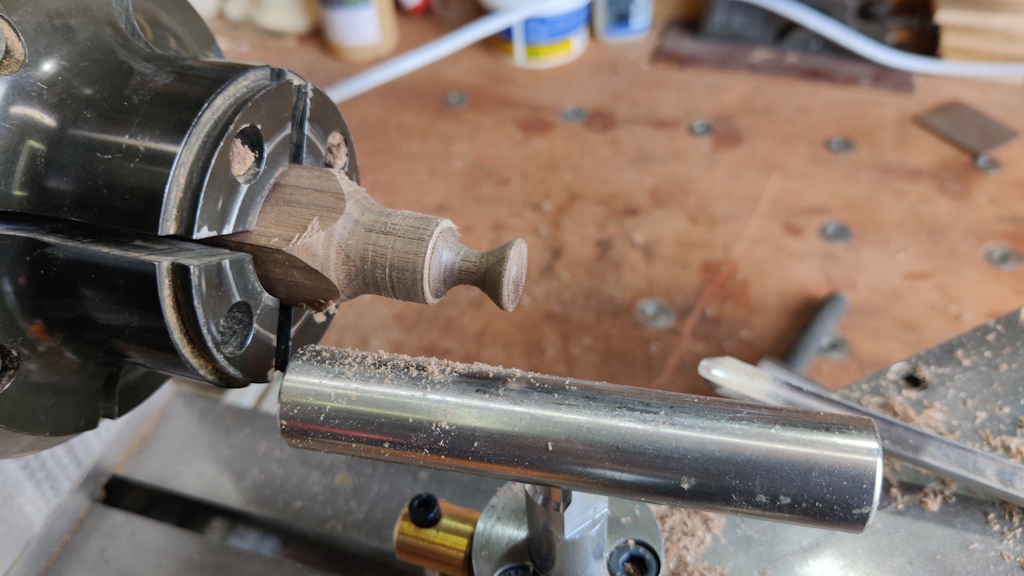
After holding it in a chuck on my home-made woodturning lathe, I roughed it down to a cylinder with a roughing gouge and then used a spindle gouge to make a shape that looked about right to me:
That got parted off with a parting tool:
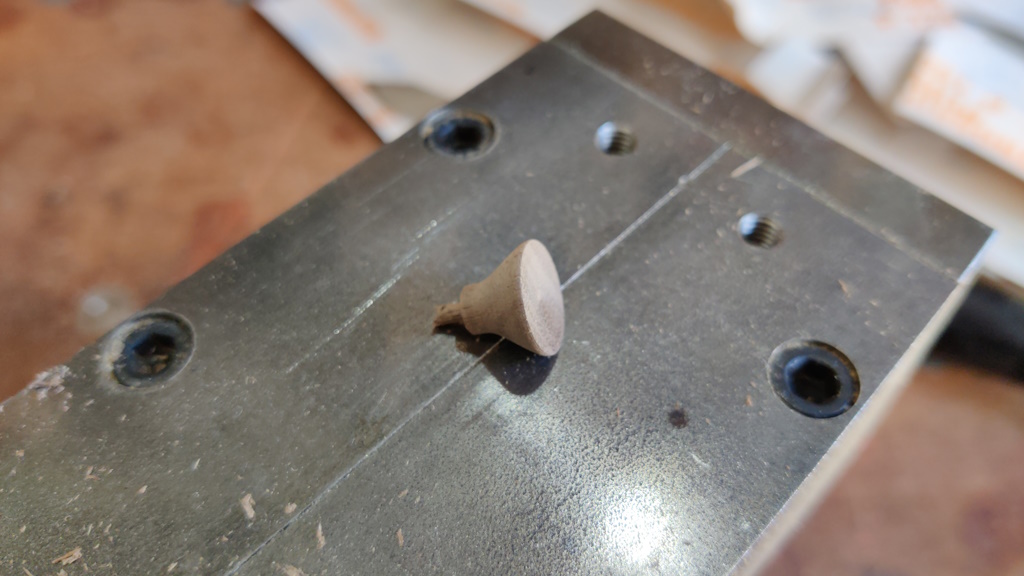
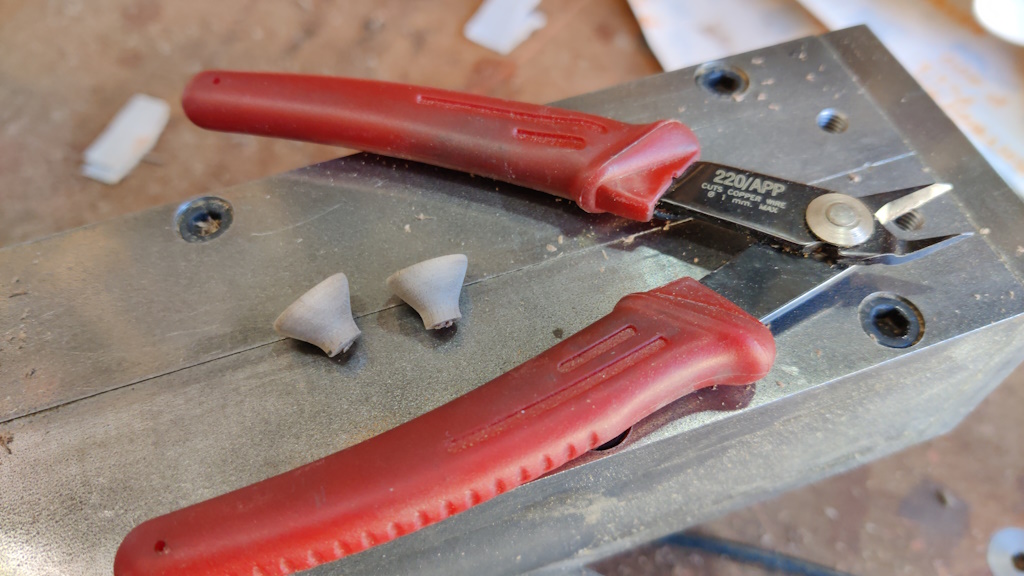
The next job was to make another one that looked at least approximately the same, something I've never tried to do before. It seemed to go very well though: I'm sure there are differences, but they're definitely close enough by my eye. Once I'd parted off the second one I removed the little pip on the back with some side cutters as it seemed the easiest way:
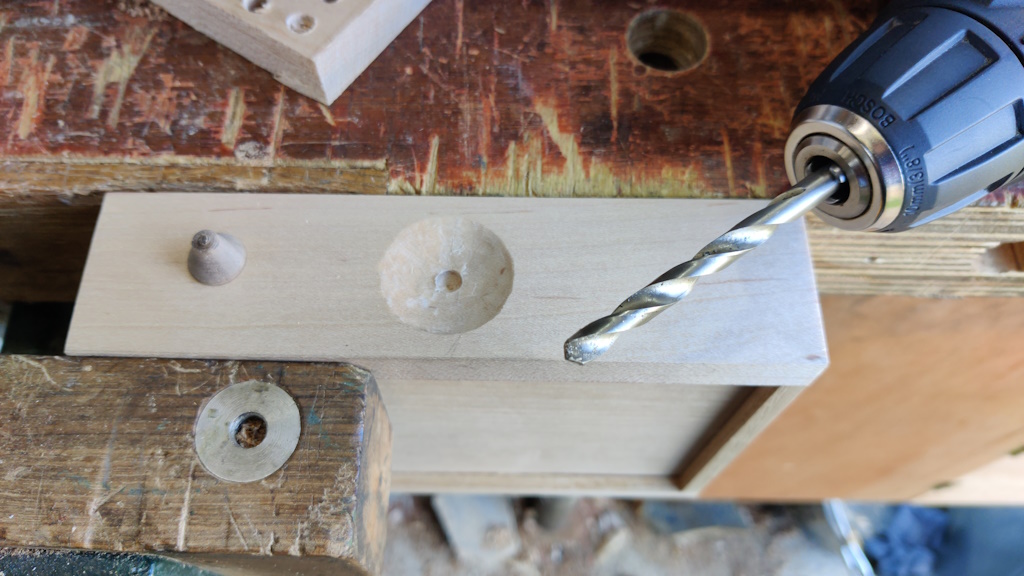
The hole in the front of the drawer then got drilled a bit bigger, only going a couple of millimetres deep:
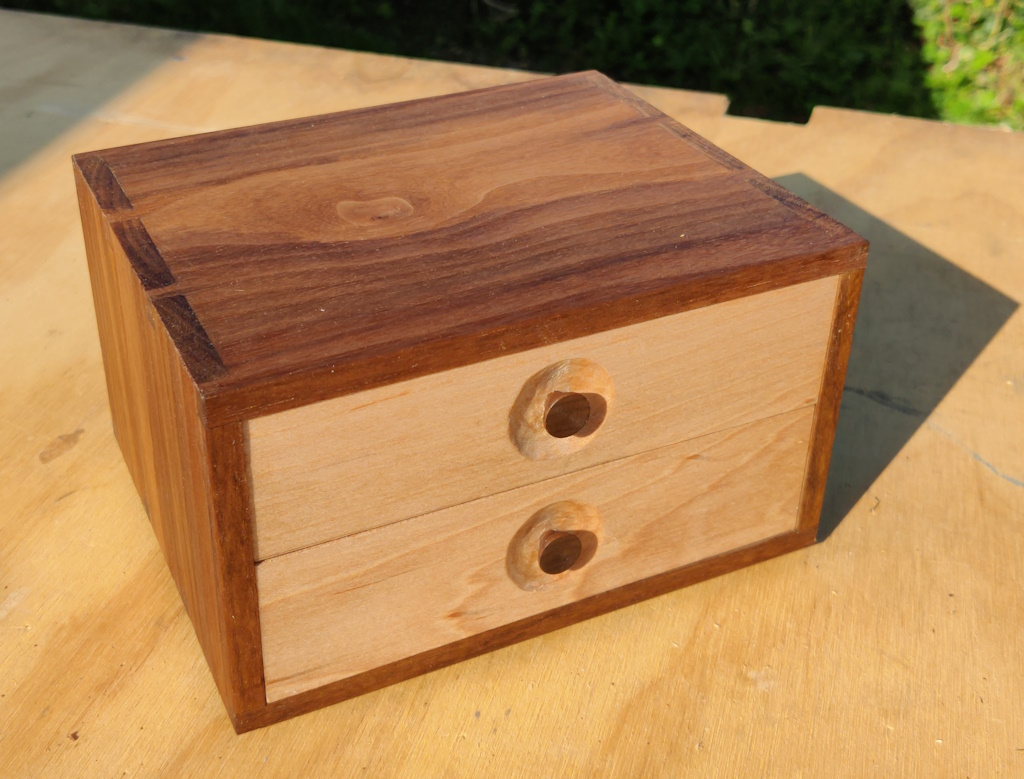
With the knobs made and the holes drilled, they could be glued into place (they were a very tight fit in the drilled hole, so I didn't bother to clamp them) and I could apply some Mike's Magic Mix:
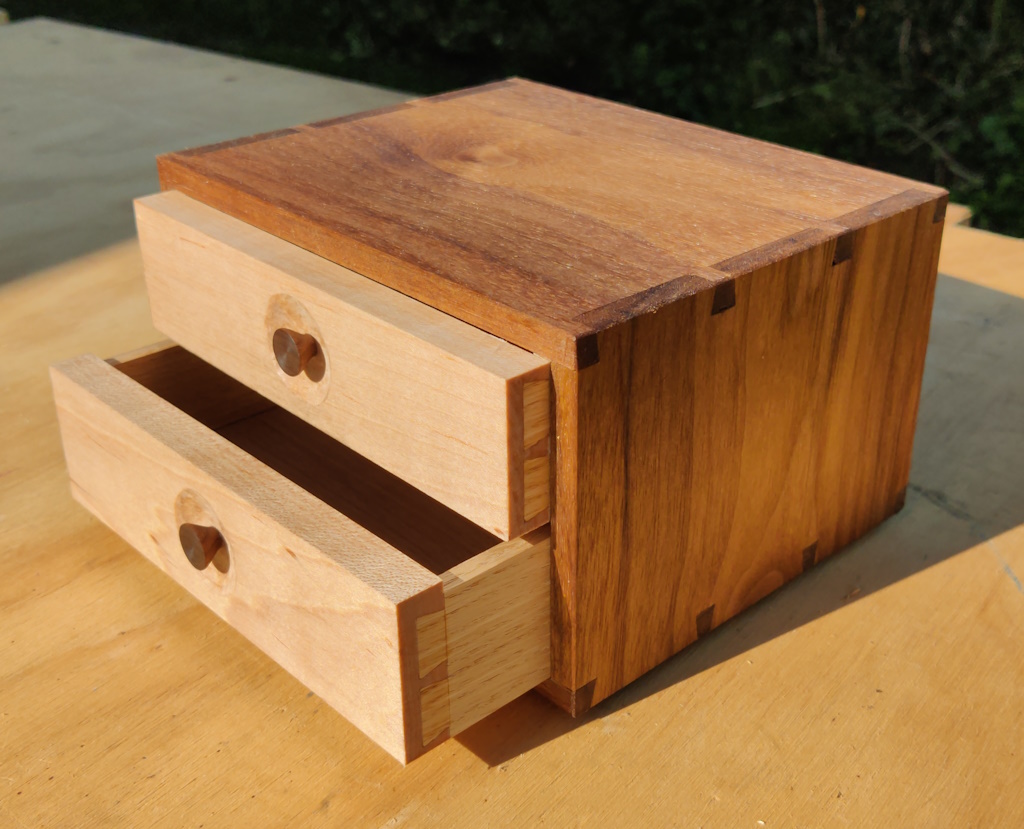
I was quite pleased with the fit of the drawers: it's the first time I've tried to make anything with multiple drawers in an enclosed carcase so the first time I could try closing one drawer and watching the other one open from the air pressure:
Page 143 of 144
This website is free and ad-free, but costs me money to run. If you'd like to support this site, please consider making a small donation or sending me a message to let me know what you liked or found useful.

 Return to main project page