Travel Tool Chest & Workbench Build Process
Page 16 of 144
Posted 11th February 2023
Prepare yourselves for more photos that look much the same as previous photos!
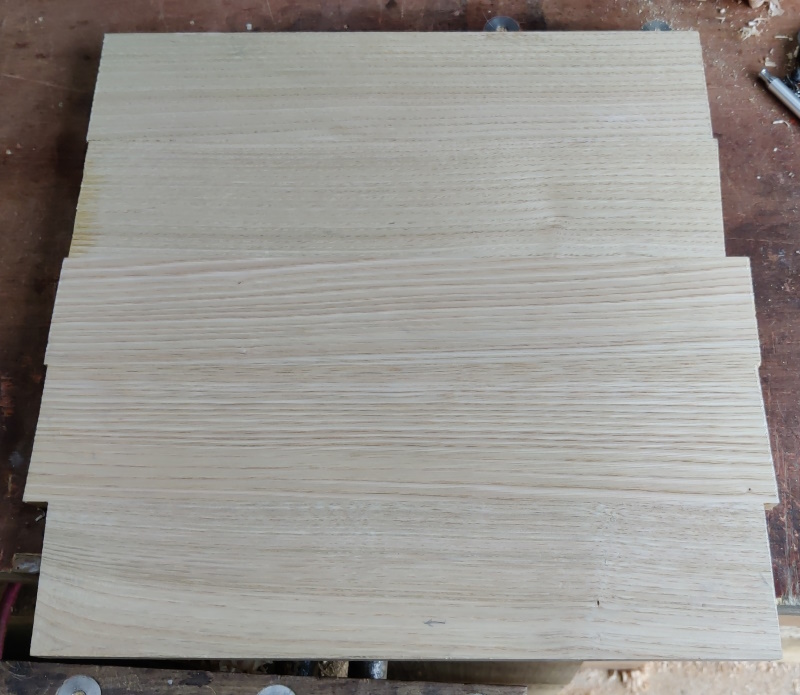
The first panel looks good to me:
The second side panel is now prepared:
Mainly for my future benefit, I thought I'd write down the process I went through to make these panels.
Firstly, I gave the outside face of each piece a single pass with a #5 plane. The only reason for this was to take note of how nice they were to plane and to pencil on an arrow to show a direction that planed nicely. In all but one case, I got this right first time (and in the other case I stopped after less than 20 mm of the first cut, so I could just turn it round and plane the face in one pass). I don't know whether that's down to good judgement on my part or whether most of the sweet chestnut is just very easy to plane in either direction, but I'm happy that when the planks go together I'll be able to plane the whole piece in the same direction which will make my life easier later.
If I did this again I'd try to make a note on each piece when doing the initial dimensioning rather than having to take another pass later.
I then lay the panels out on the bench and stared at them for a bit to decide which side of each would be the outside and which one would go where. These aren't book matched panels or even particularly similar in grain structure, they're just a bunch of bits I got out of the stock I had. Most are fairly close to quarter sawn, so I'm not worrying too much about alternating end grain, although I did have a look at the ends in case I'd missed anything more dramatic. One or two have got quite changeable grains and two had knots in them, but more on that later.
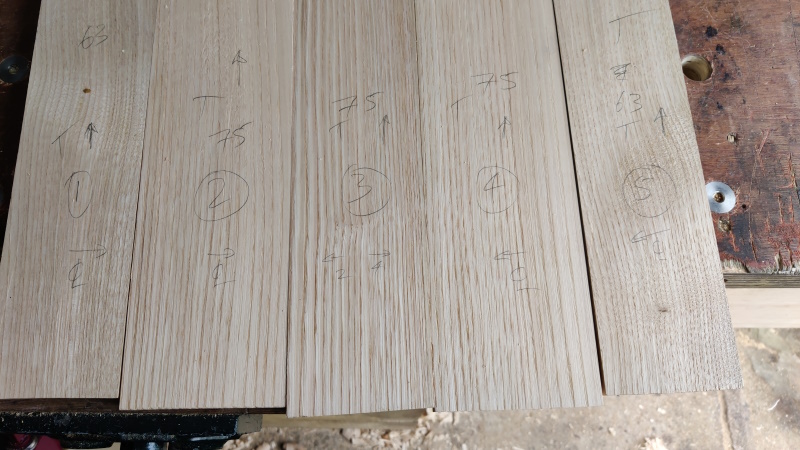
With the panels laid out, I could use a pencil to write various cryptic symbols on them so that I don't forget which one goes there. I also wrote the target widths on each board to minimise the chance of visits from our friend the c*ck-up fairy.
This photo was taking later in the process, but it shows the marks quite well. I probably went over the top with markings, but better safe than sorry. The "T" means that these pieces will be the top of the chest; the arrow is the planing direction; the numbers in circles are the order that the boards go (marked on both sides of the plank) and the arrows point towards the centre line (or in the case of the middle board, towards planks 2 & 4) so that I don't put them in the wrong order 5 to 1 instead of 1 to 5 (which is possible given that the marks are also on the underside in case I assemble them upside down).
I then decided to "cheat" and run the pieces through the bandsaw to reduce the width to slightly oversize. I do quite enjoy hand saw ripping (as opposed to resawing!) but I figured the bandsaw would produce a nice clean edge that would minimise the risk of the boards ending up too narrow after planing.
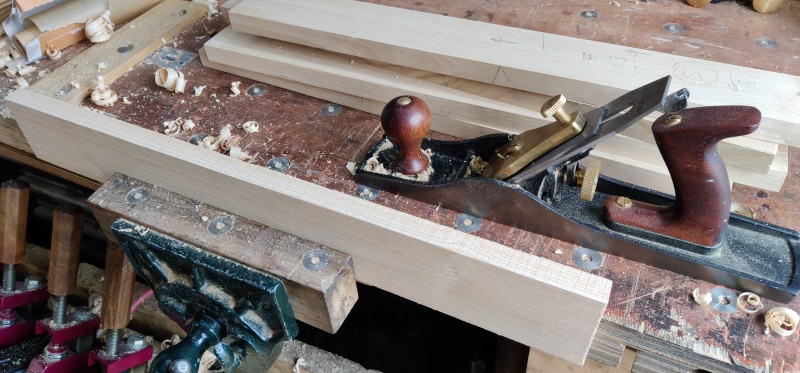
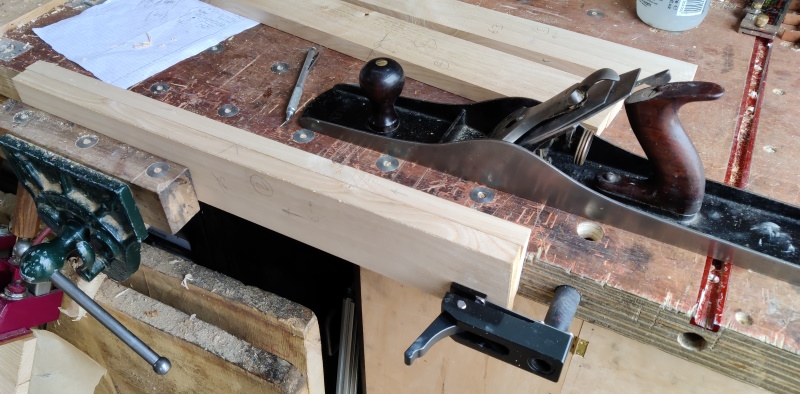
With that done, I put each plank in the vice and cleaned up the bandsaw marks with my #5.
I then put them in pairs in the vice (with an extra clamp holding the end to the bench) and kept taking passes with the #7 until it was cutting all the way along both pieces.
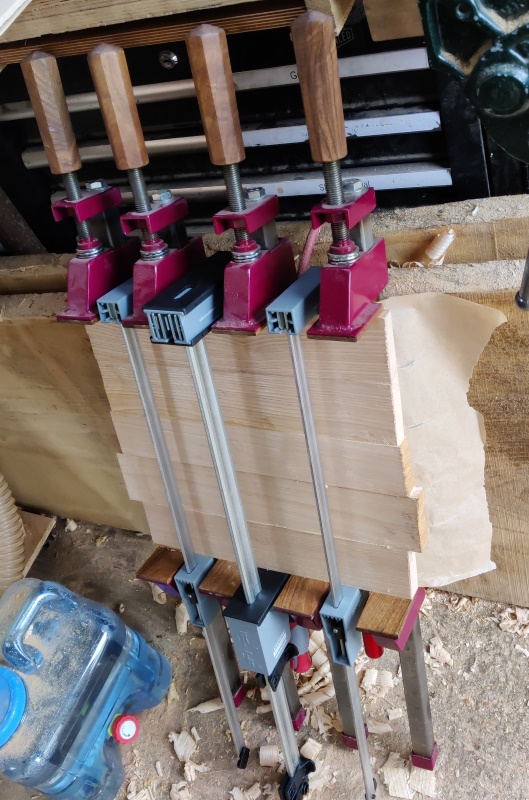
Once the second side piece comes out of the clamps (probably soon after lunch), I'll clamp up either the top or the bottom: both are ready to go, depending on what I decide to do about one knot.
I mentioned earlier that two of the planks had knots in. One of these was near the edge, so I decided to use that one as one of the (narrower) outer pieces and that resulted in the knot being cut off. That was a nice easy solution.
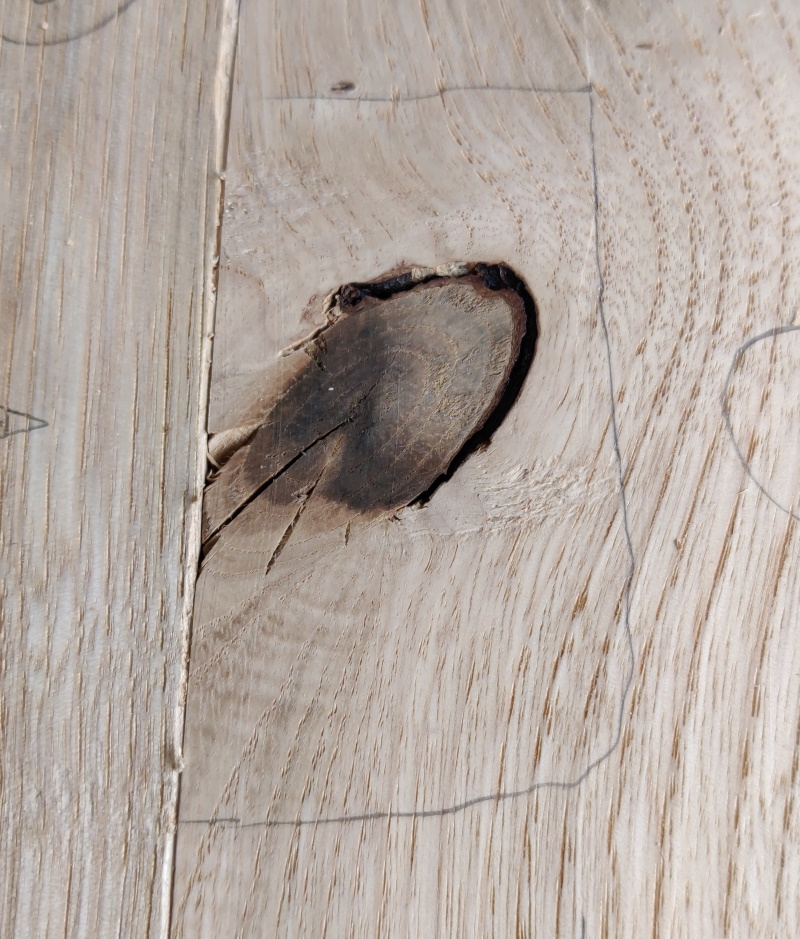
The other one is quite a large knot and I didn't want to waste the plank that it was part of. To minimise aesthetic issues or problems with planing the top surface, I put that knotty plank into bottom part of the chest, so it won't be visible, but I'm also planning to cut out the knot and use a graving piece / aka Dutchman to remove it.
I've picked this plank to be the middle one of the five that make up the bottom, so hopefully it won't affect the structure.
As you can see, the knot is right on the edge of the plank. What I haven't decided yet (but need to, sometime in the next few hours!) is whether to cut out the knot, fit a graving piece and then glue the planks together or instead to glue the planks together and then drill/chisel out the knot and fit a graving piece.
The first option would be easier (as I'd have access to the edge of the plank for the cutting out), but the second option (which I'm leaning towards at the moment) would mean the graving piece could straddle the joint and probably make everything stronger.
I'd welcome any thoughts on this (as long as they come in the next few hours before it's too late to change what I've done).
Page 16 of 144
This website is free and ad-free, but costs me money to run. If you'd like to support this site, please consider making a small donation or sending me a message to let me know what you liked or found useful.

 Return to main project page