Travel Tool Chest & Workbench Build Process
Page 47 of 144
Posted 19th March 2023
I decided I couldn't put it off any longer and it was time to make some decisions and cut some housings. I've done one so far and it hasn't gone perfectly, but it could be worse. I've decided to go with 5 drawers on the left and one on the right with an opening at the bottom right for the smoothing planes (as shown in most of the recent CAD models). Hopefully I won't regret that later!
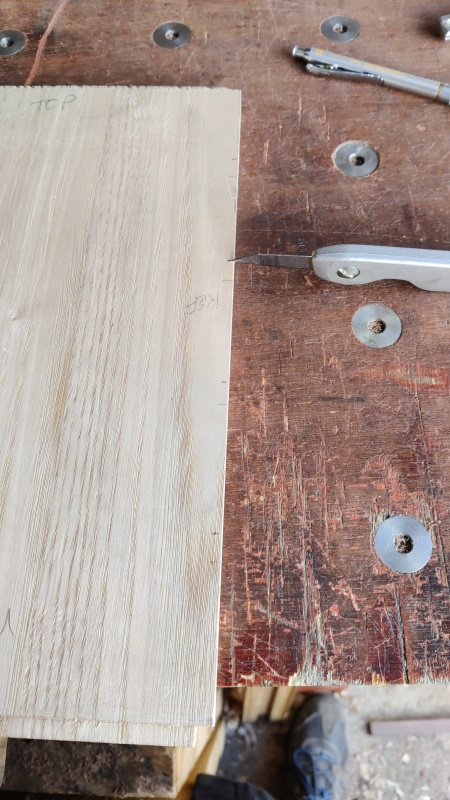
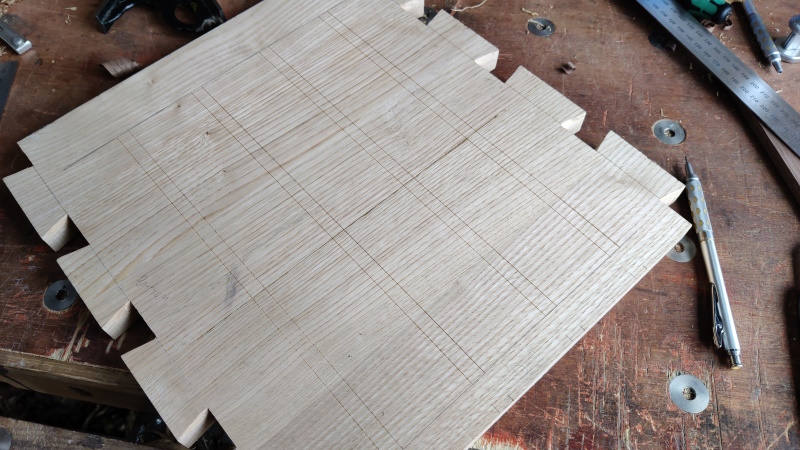
I started by marking the positions of the tops of the drawer runners on the middle upright piece (measured from the bottom of the chest):
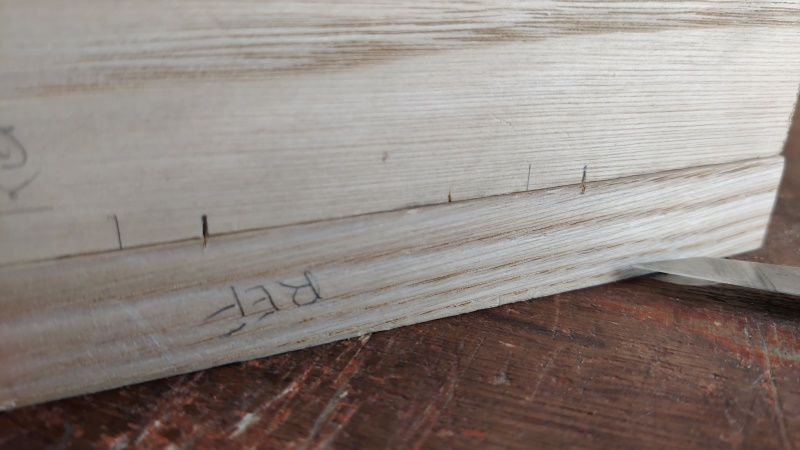
I then put the middle shelf on the side piece and transferred the marks across.
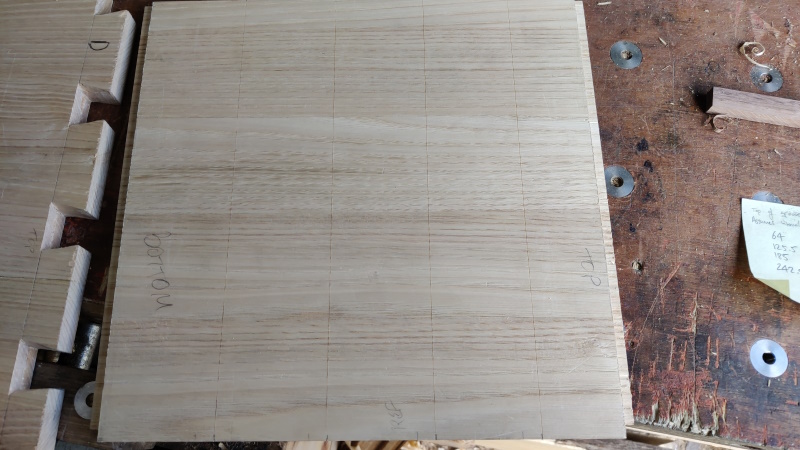
The top marks could be extended all the way across the middle upright:
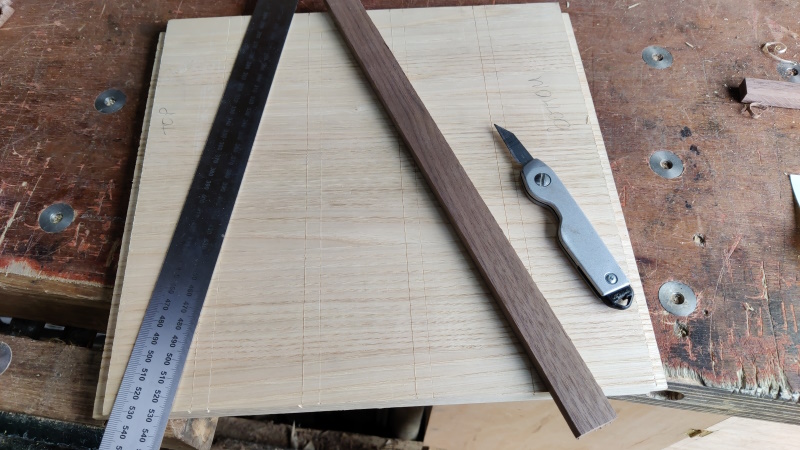
and I used one of the "thicknessed" pieces of walnut as a reference to mark the bottoms of the housing joints:
A similar method was used for the two outside side pieces, but marking them as stopped housings, with the distance from the back gauged with one of the tenoned uprights and the distance from the front gauged from the back with one of the tenoned uprights and the middle support piece.
These housing joints could be open at the back, but I thought it would look slightly better to have them end at the same point that the middle support housings will end. I obviously need to think about wood movement here and leave a bit of a gap when fitting the runners.
After a little bit of chiselling to start the cuts, I then used two router planes again: the Veritas one with a 6 mm cutter to get rid of most of the waste and the Stanley one with a 5 mm cutter to remove the last little bit. This combination seems to work well. The Veritas one has the excellent depth stop which makes it easy to work gradually down to an approximate depth, but the Stanley one has a much, much, much better clamp so once you've locked a depth in, it doesn't move. At some point I'll probably machine a new clamp screw for the Veritas one as it seems far too prone to loosening in use.
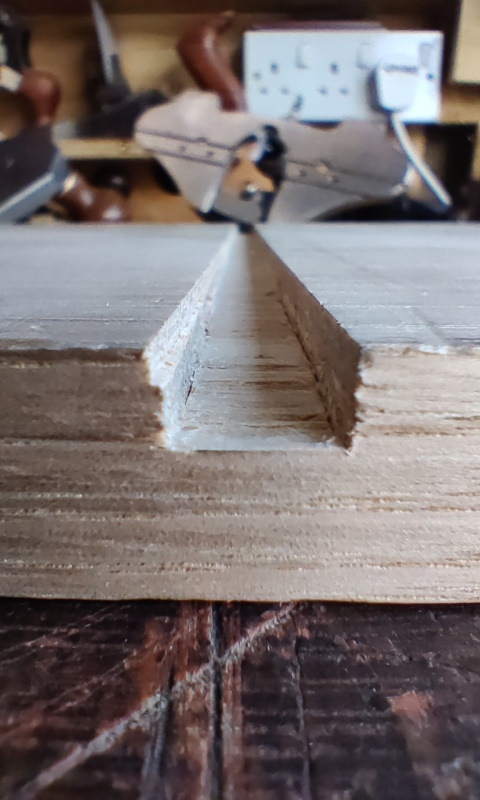
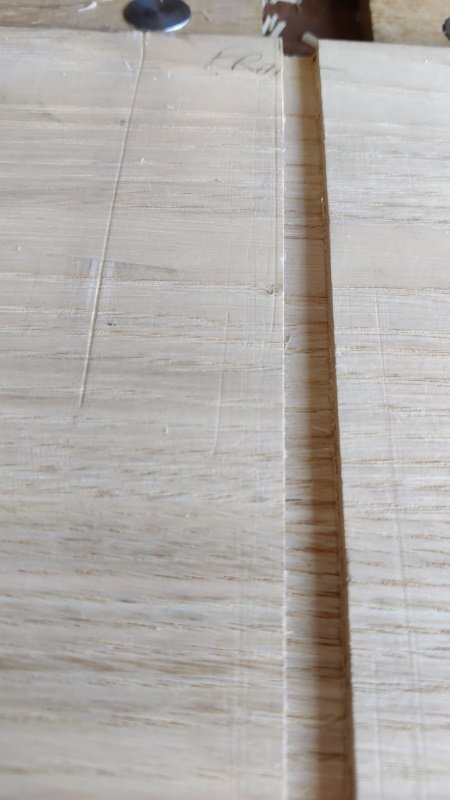
This first housing didn't go perfectly. After cutting down a millimetre or so, I did a test fit and found that the runner was a really good fit at the front edge of the support but very loose at the back. I don't know how this happened, but I re-marked the width of the housing (essentially a tapering knife cut at the bottom of the housing-joint-to-be) and carried on. That left a bit of a step at the back:
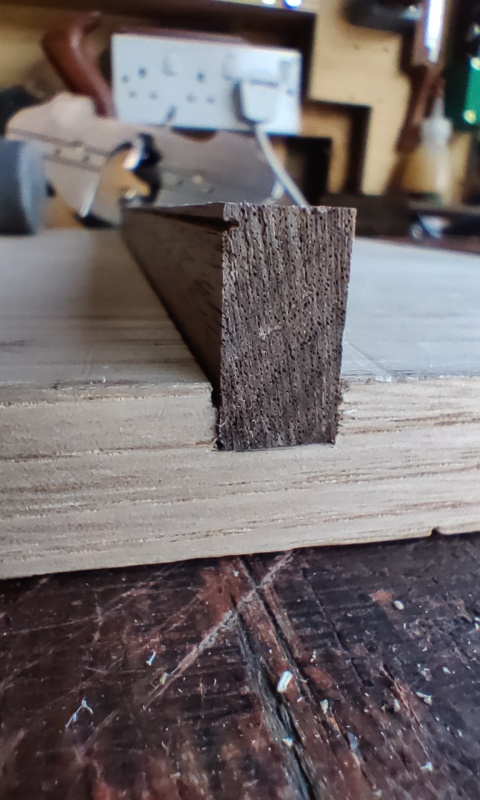
It's now a tight fit with the drawer runner, but with a gap underneath the back of the drawer runner:
That gap only goes 60 mm or thereabouts along the rear end of the housing joint (which will be hidden by one of the back upright pieces), so I'll probably just live with it. I'll double check all the other housing widths before cutting them ("measure twice" and all that!). I'm pleased I started with that one as it's the only one where the back of the joint will be completely invisible.
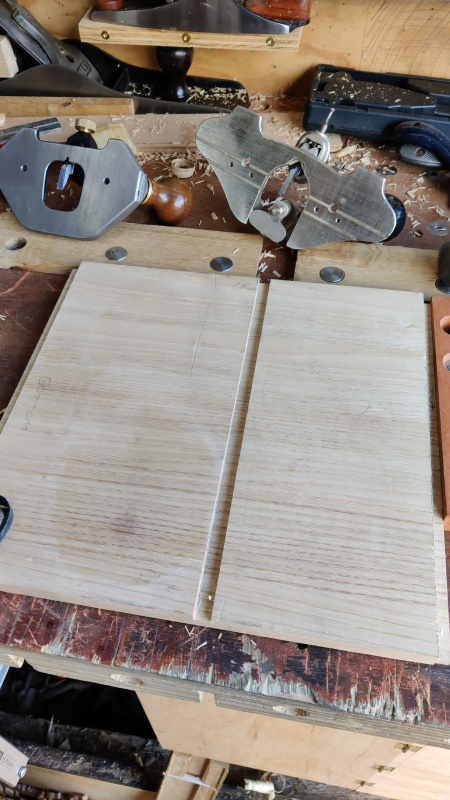
Somewhere in the process, something obviously got caught under the router plane and ploughed an extra little groove in the surface of the upright:
It's not especially deep, so I'll first try a damp towel and an iron and see what that does. Failing that I can just thin the side down slightly with a smoothing plane.
Hopefully the other housings will go more smoothly...
Page 47 of 144
This website is free and ad-free, but costs me money to run. If you'd like to support this site, please consider making a small donation or sending me a message to let me know what you liked or found useful.

 Return to main project page