Travel Tool Chest & Workbench Build Process
Page 52 of 144
Posted 23rd April 2023
Right everyone, psyche yourself up for yet more photos of bits of sweet chestnut with planes sitting on top of them!
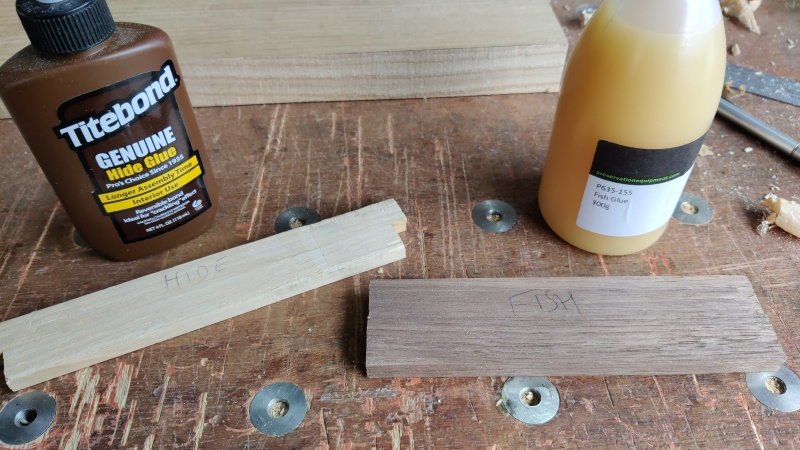
However, before we get onto that, I thought I'd do a quick test of some protein glues. I like the idea of using "traditional" (ish) glue on this project, partly because I've never used them before and this project is partly about practising new techniques, but also partly because they're supposedly reversible and that might be useful if I mess something up later!
Having never used them before, I thought I'd do a very simple first test just to see what they were like. I got a few offcuts, cut them up into short strips and glued them together, one pair with TB hide glue and one pair with fish glue.
Both seem to have stuck very well and cleaned up nicely. The fish glue was much nicer to spread: the TB hide glue was very gloopy. I might do another test with them both after dunking the bottles in some warm water for a bit to see if that makes them a bit more spreadable.
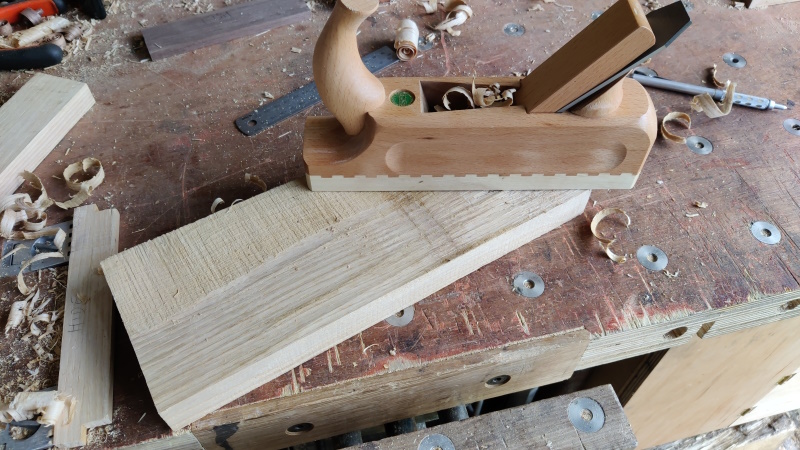
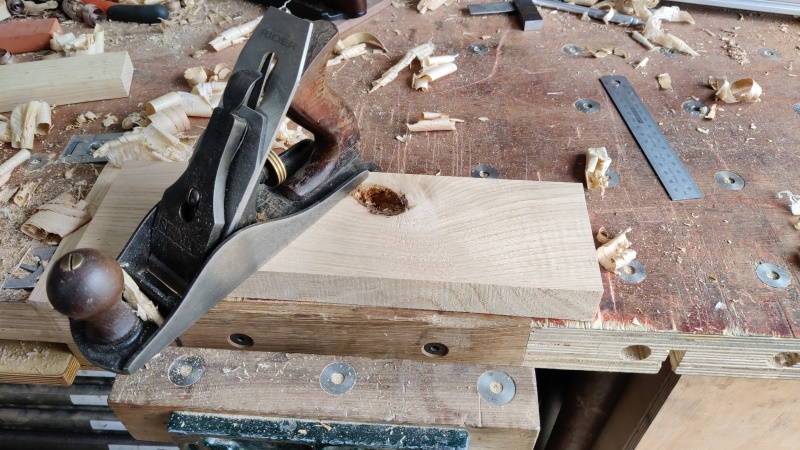
Anyway, back to the chestnut. The pieces I sawed up yesterday had one (machine) planed (by Wentwood timber) side and one very rough sawn side. For the rough sawn side I decided to do a quick pass with a (relatively) lightly set scrub plane. I'm not sure this saved any time, but it's quite fun and the scrub plane is nice to use as it's so much lighter than my metal planes.
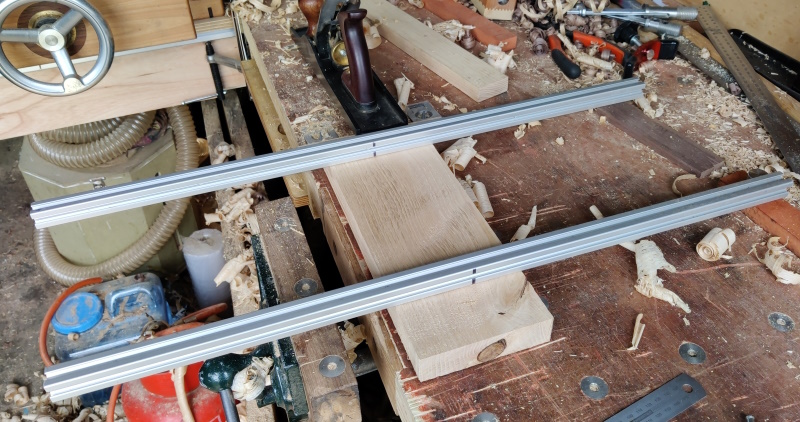
After that, it was back to old faithful (my Axminster #5) to plane the faces until they were flat and twist free (using a couple of bits of skip-found aluminium extrusion as winding sticks as usual):
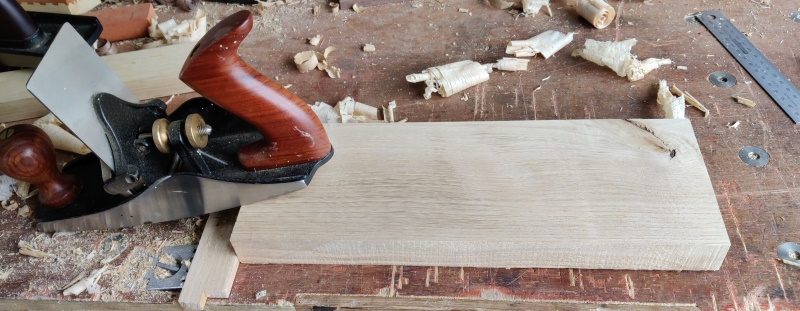
For most of the faces of most of the pieces, that was it. However, a few of the faces had some reversing grain, so I treated them either to a skim with a 40° bevelled (so 52° cutting angle) BU smoothing plane...
... or to a pass with a #4 with a back bevel of some angle I can't remember:
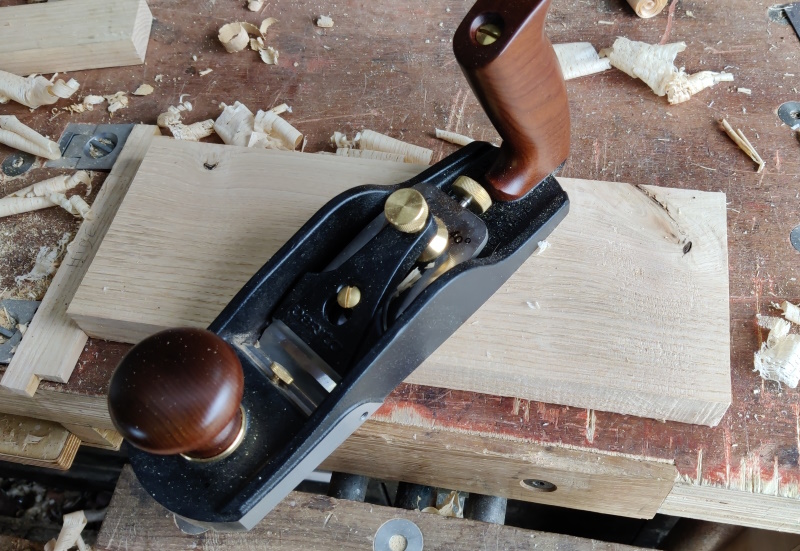
There were also a couple of faces that were really gnarly (I'm not sure whether these will make it into drawers yet given how messy the grain was) and they were treated to the wonderful get-out-of-jail-free card that is the scraper plane I bought second-hand from a member of a woodworking forum I frequent:
Since I bought that, I've hardly touched the #80 cabinet scraper: the scraper plane is so easy to adjust for depth of cut and produces beautiful shavings and a lovely finish on pretty much anything I've thrown at it.
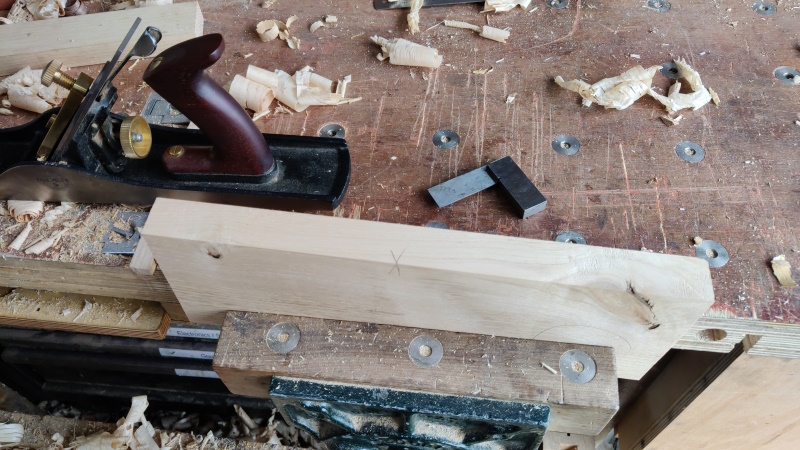
Once the two faces were flat and free of twist, I squared up one or both edges. The approach I took was to get one edge flat and square to one of the faces, then see whether it was also square to the other face. In some cases it was, in most cases it wasn't. On the ones where the edge wasn't square to the second face, I flipped the board over and planed the second edge square to the second face.
Everything was marked accordingly so that when a face goes against the bandsaw fence, the edge that is square to that face can go against the bandsaw table. I'm sure I could just push hard against the fence and not worry too much about the edge on the table, but it felt like this would make things easier / safer.
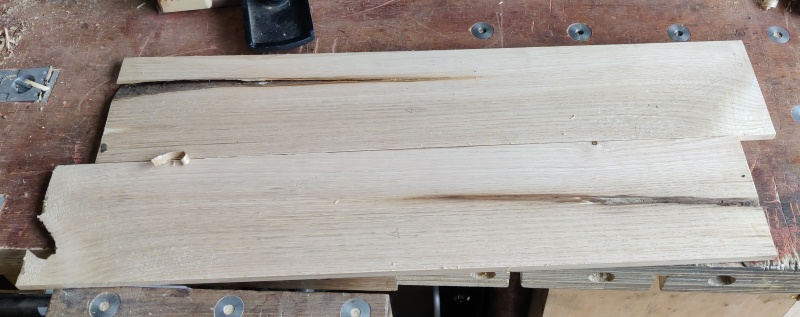
With that done, the last thing to do is mark thickness and then plane the sawn sides of each piece to thickness. I've done one plank's worth so far (the one with the big crack in it), so that leaves me 14 more pieces to plane to thickness. Once that's done, I'll figure out whether I've made enough pieces to do all the drawer sides and backs and then perhaps start planing the (thicker) pieces that will form the drawer fronts.
Page 52 of 144
This website is free and ad-free, but costs me money to run. If you'd like to support this site, please consider making a small donation or sending me a message to let me know what you liked or found useful.

 Return to main project page