Travel Tool Chest & Workbench Build Process
Page 57 of 144
Posted 1st May 2023
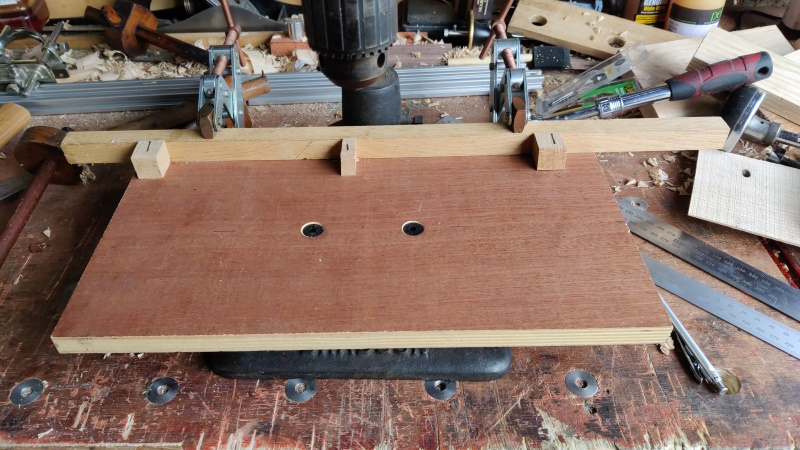
The drill got a little work-out this morning making the holes for the handles. I started by screwing a bit of plywood to the drill and clamping on a fence (so the holes can be made parallel to the bottom nice and easily). I also cut a few bits off an offcut of oak to use as spacers:
The spacers allow me to reference the base of the dovetails against the fence rather than the end of the board:
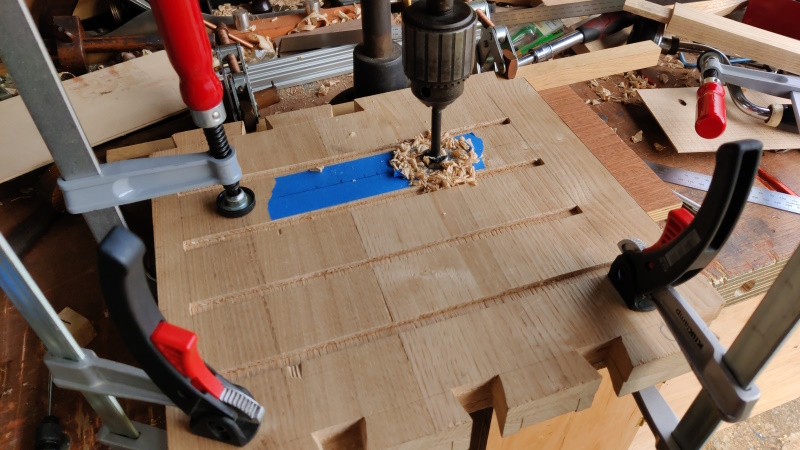
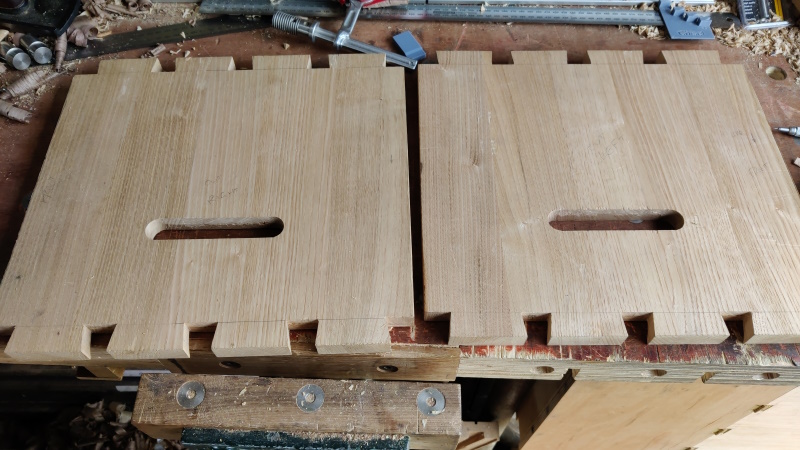
With the two sides clamped together, I drilled a 22 mm hole at each end of the slot:
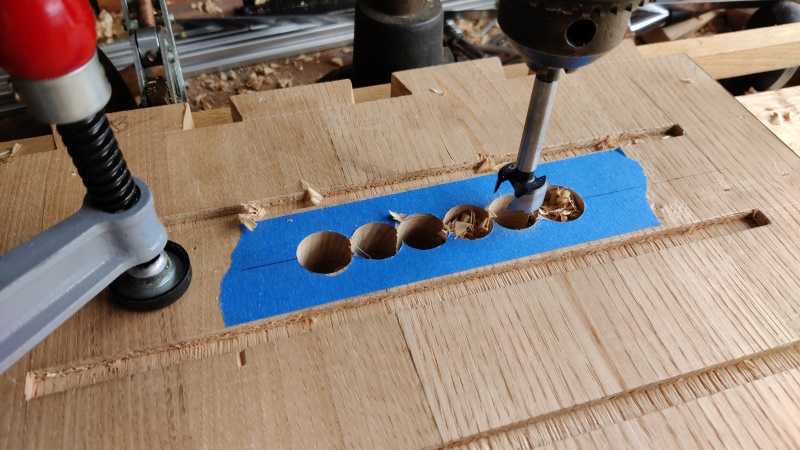
... and then some 20 mm holes in between to get rid of most of the waste:
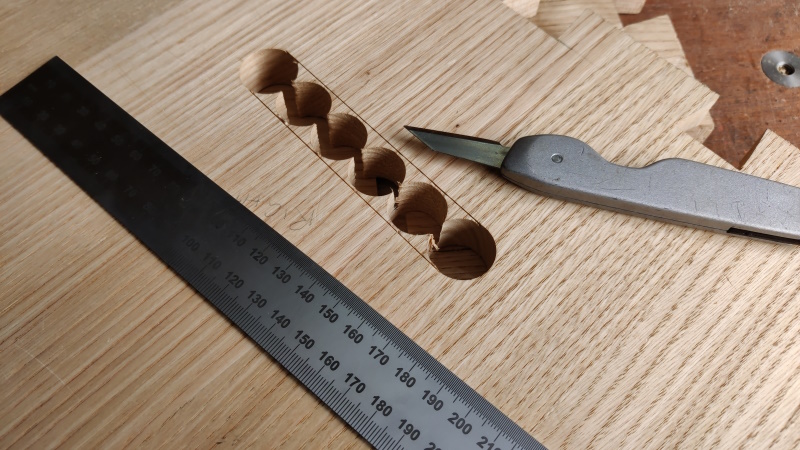
A knife mark was drawn on each side of the slot and on each face of each board:
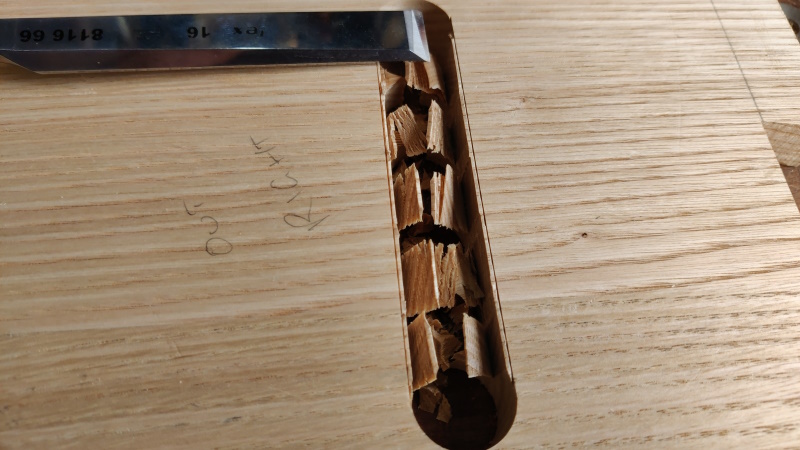
... and then I used a 16 mm chisel to rough out the waste, cutting from each face and leaving a small sliver on each side of the slot:
A freshly sharpened 18 mm chisel was then used to take the last bit of waste out, leaving two nice clean slots:
I need to figure out how to round the arrises of these slots to make them more comfortable to hold. The easy way would be to get a round-over bit in an electric router, but I'd like to try to do it by hand, even if it looks a bit shabbier. The straight edges can probably be done with some careful chiselling, but I can see myself resorting to sandpaper to sort the curves out. I'd welcome any alternative suggestions.
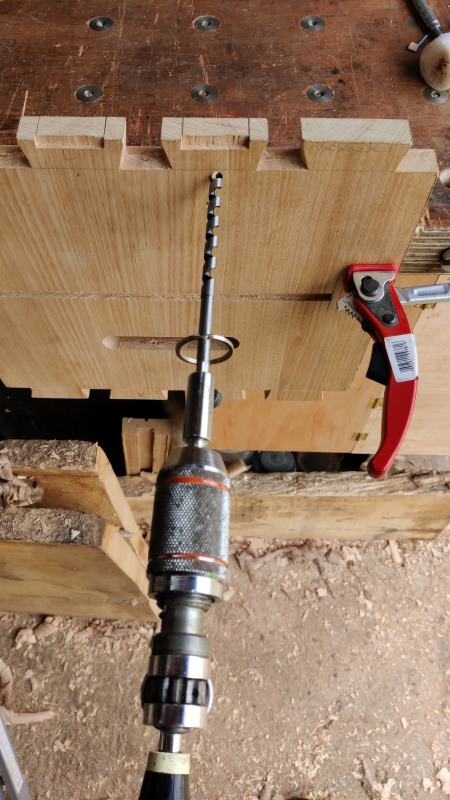
While I was in drilling mode, I thought I'd drill the holes for the M6 screws that will hold the planing stops in place. I did that with a brace. I drilled from one side until the tip protruded from t'other, then spun the board round and came back from the other side. This was probably unnecessary as the outer face is going to get cut away to set the planing stop flush, but I thought it was a good habit to get into.
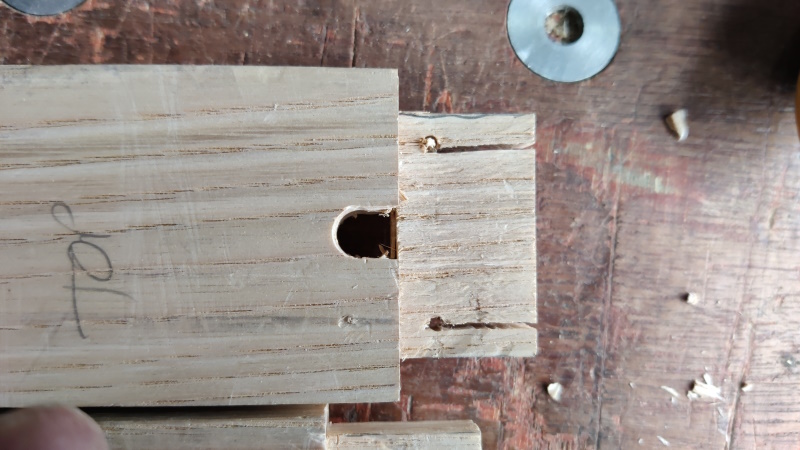
I then drilled some similar holes in three of the back slats. These holes (and the threaded bits that will be attached to the top on the inside) will allow me to clamp a fence or something similar to the back. I haven't quite figured all that out, but it'll be easier to do it now than after the chest is assembled.
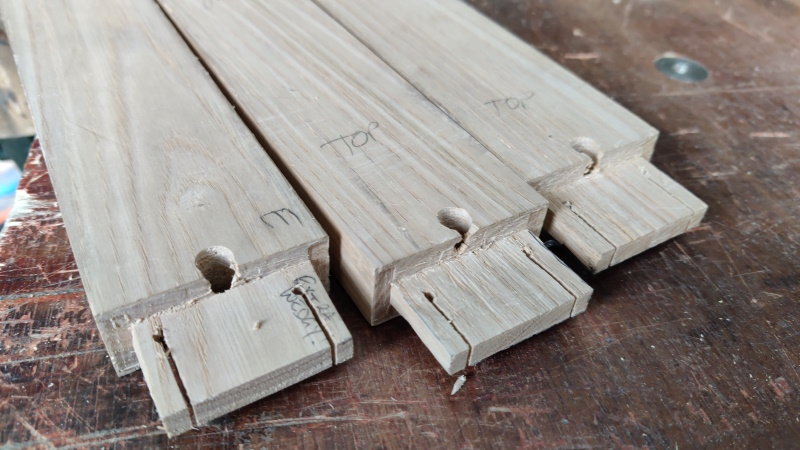
Unfortunately, when I was drilling these holes, they broke out into the tenon (it's an 8 mm hole, 5 mm from the edge, so it's not that surprising with hindsight, but I'd hoped it would stay clear):
I decided that the best thing to do about that break-out was just to double-down and turn it into a slot and hence make it look intentional!
That will have weakened the tenon slightly, but I don't think it's a problem. The slats are mainly there to (a) give something to clamp to on the back and (b) resist compressive forces when chiselling, so the tenons shouldn't be under much stress.
Page 57 of 144
This website is free and ad-free, but costs me money to run. If you'd like to support this site, please consider making a small donation or sending me a message to let me know what you liked or found useful.

 Return to main project page