Travel Tool Chest & Workbench Build Process
Page 82 of 144
Posted 3rd June 2023
WARNING: This post contains lots of scraggy wood and bodgery, along with a bit of power tool usage
Part of the reason I've been putting off thinking about the front of the chest is that the final front of the chest is going to be quite complicated to make. I want it to double as a shooting board (preferably along the lines of my large one, which is one of my favourite tools).
However, making that in a way that looks pretty when the chest is closed is going to be quite complicated. It'll need to be about the right thickness (so it is robust but sits slightly sub-flush with the front) and will need to have all the various rebates or whatever that are required to make it work as a shooting board. It'll also need to be made in such a way it won't warp too much with humidity variation.
All in all, I need a bit more time to ponder on it and I decided that the best thing to do for now is a temporary bodge to keep the drawers shut without worrying about looks or shooting-board-ability (for this trip, I'll just take my big shooting board).
With that decided, I started on said bodge!
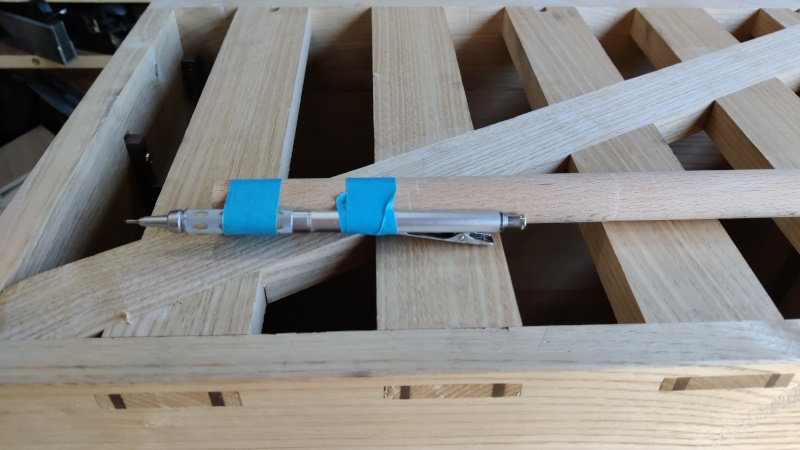
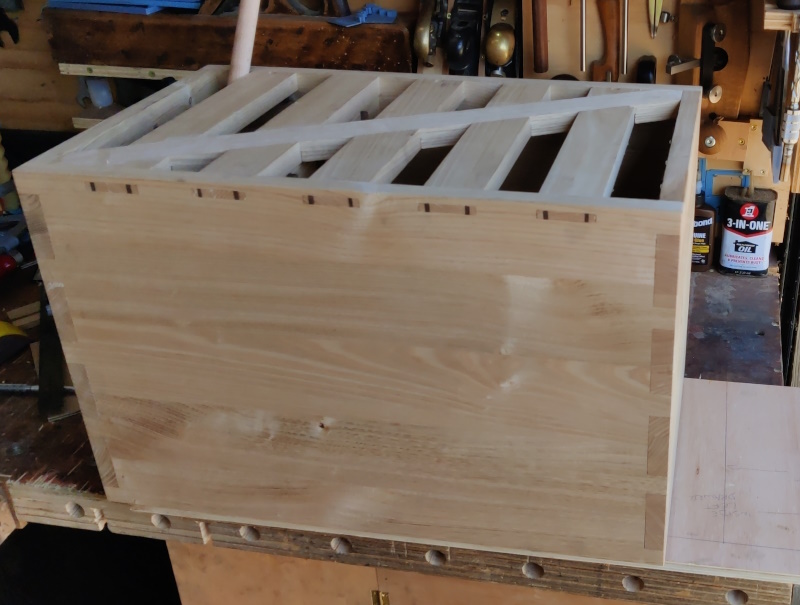
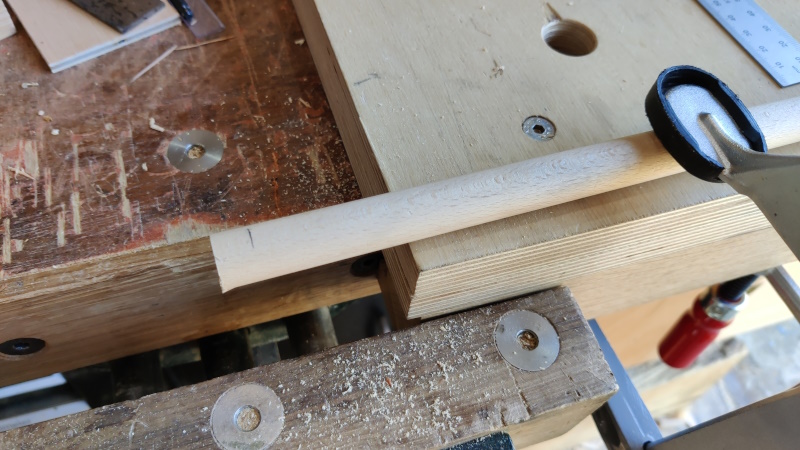
I had a conveniently sized but rather shabby bit of 12 mm plywood, so I laid it on the bench and plonked the chest, front-size down, on top of it. I then used a pencil taped to the end of a dowel:
to mark round the edge of the chest:
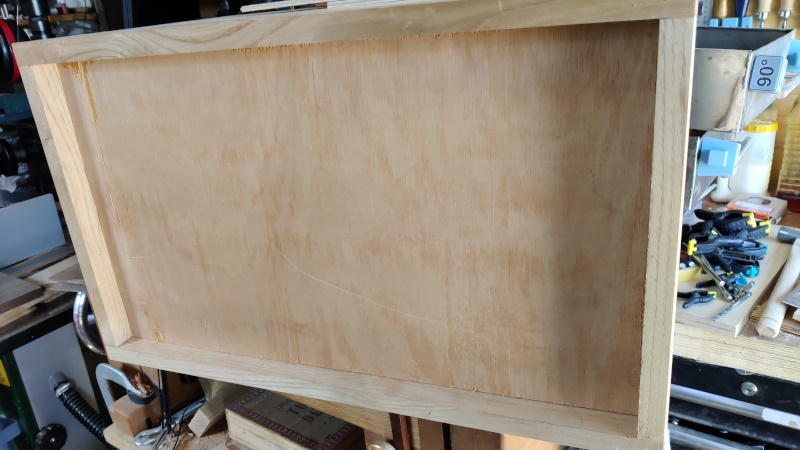
I then sawed it to the line and tweaked with a plane until it was an easy fit:
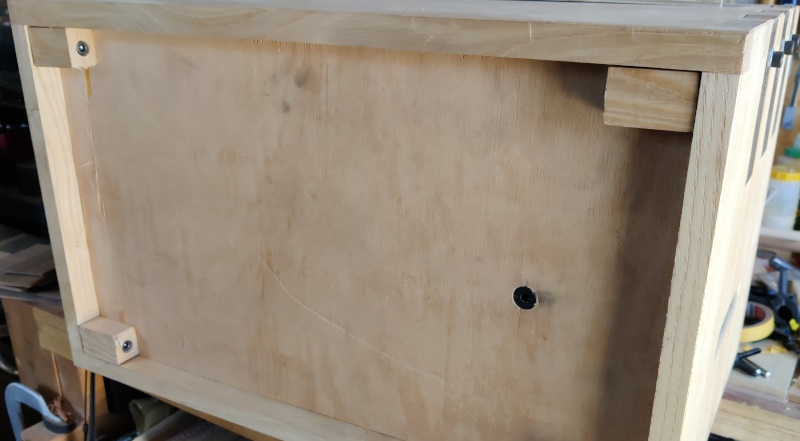
While it was there, I used the pencil-on-a-dowel to mark along the underside of the right-hand drawer divider; more on that later...
I had some offcuts of sweet chestnut that were about 25 mm thick, so I planed them smooth and cut some 30 mm slices off:
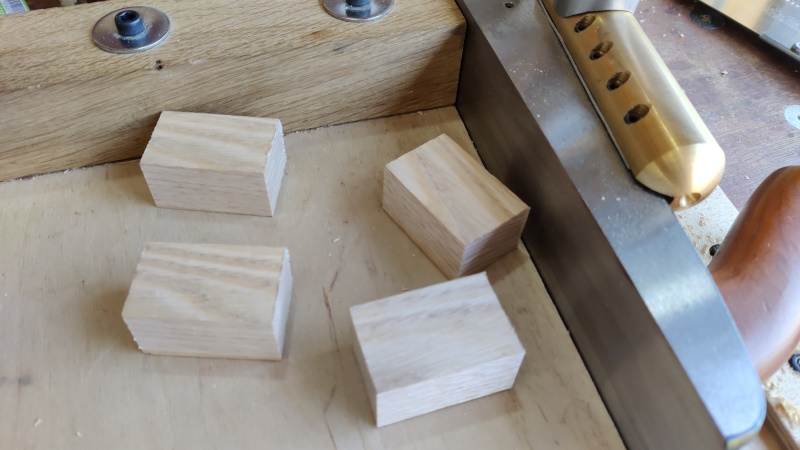
I then chopped off a few 45 mm lengths and shot them square:
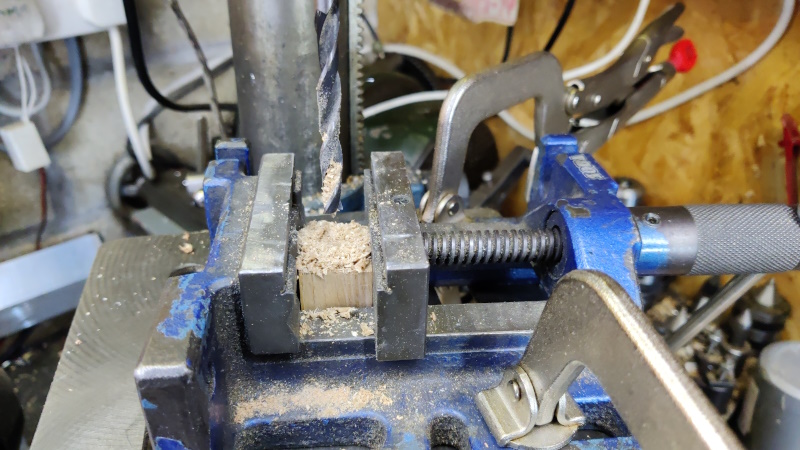
As this isn't part of the "real" chest and as I wanted to get this job done quickly, I used the electric pillar drill to make some holes: 7 mm through, then 8.8 mm (if memory serves correctly) 25 mm deep, followed by a 16 mm Fortsner bit down to 12 mm deep. I then flipped it over and counterbored it 12 mm to about 8 mm deep.
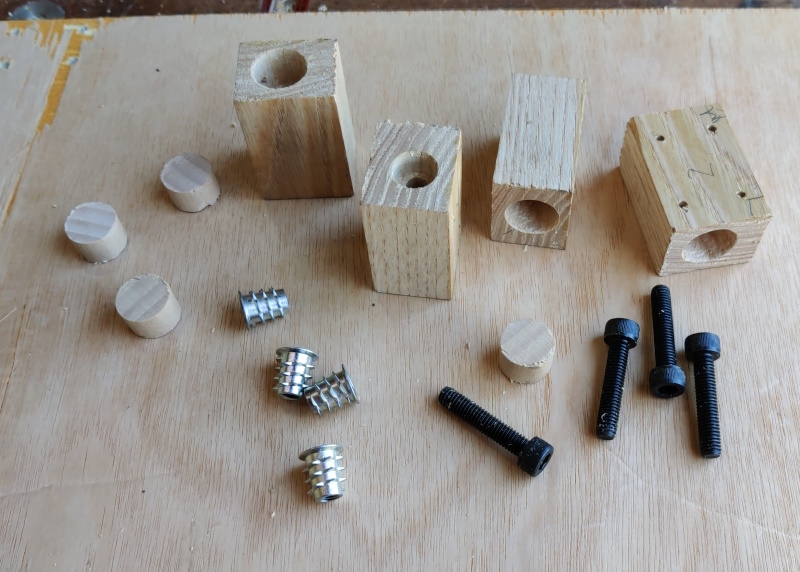
A bit of 16 mm dowel was shot square on the end and then a 10 mm slice cut off. I repeated that four times:
That gave me this little pile of bits:
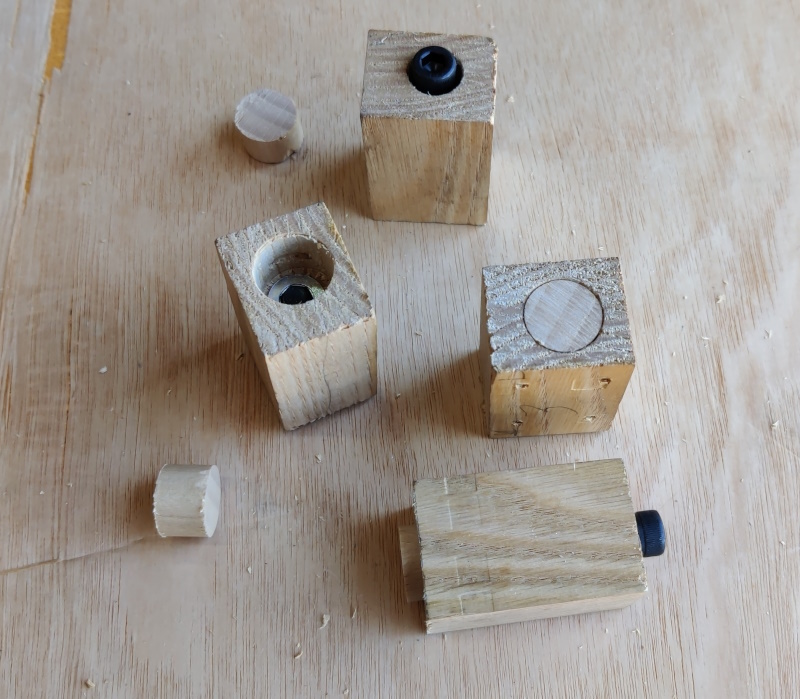
Assembled thus:
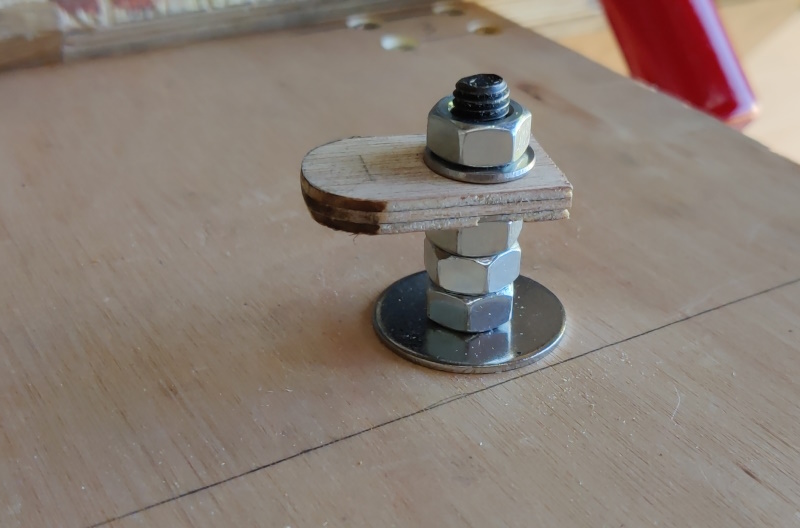
That's probably good enough to hold the front in place, but as a belt-and-braces sort of thing, I added an M8 countersunk screw (which has the same hex socket size as the M6 cap screws used in the threaded inserts), some nuts and washers and a bit of plywood:
It turns reasonably easily with a 5 mm hex key and the plywood latch thing pops up behind the drawer divider on the right-hand side.
With that, the scruffy and temporary front thingamebob is fitted:
As a test, I undid the plywood latch thing and pushed on the drawers from the back; it didn't move at all. I then undid the beech dowel corner pressy things (if you'll forgive the technical terminology) and closed the plywood latch thing: again the front was held reasonably firmly in place.
That should do to keep the drawers shut for this trip away. As long as I remember to leave the 5 mm Allen key outside of the chest, I should be able to open it too.
With that done, I can put off worrying about how to make the chest-front-cum-shooting-board until after the holiday.
Page 82 of 144
This website is free and ad-free, but costs me money to run. If you'd like to support this site, please consider making a small donation or sending me a message to let me know what you liked or found useful.

 Return to main project page