Travel Tool Chest & Workbench Build Process
Page 86 of 144
Posted 25th June 2023
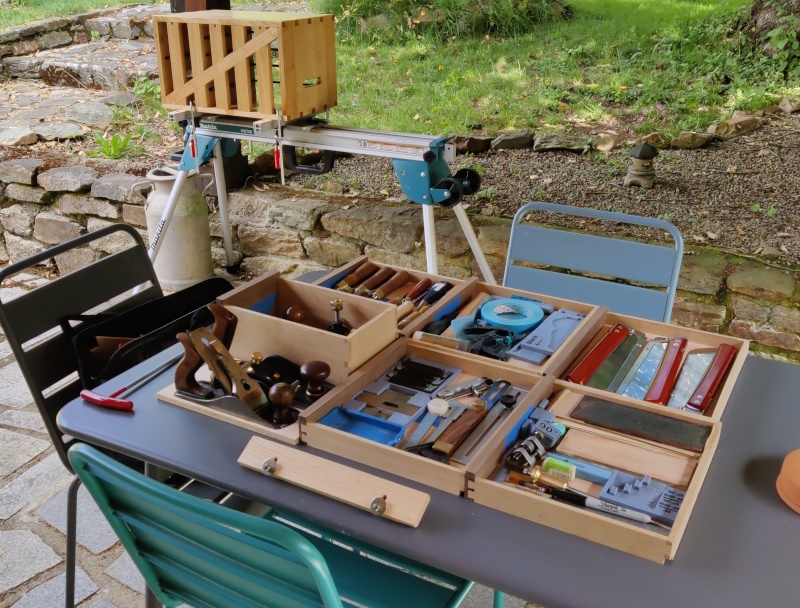
Well, I'm back from my travels and I'm happy to report that the chest worked.
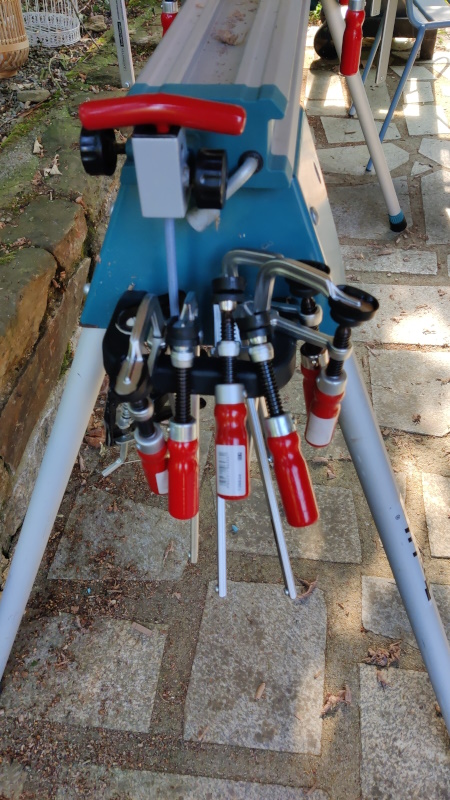
The mitre stand provides some very handy storage for clamps too.
It was a pretty idyllic spot: the cottage had a lovely covered patio area so I could (mostly) stay out of the sun (I'm very much a shade hugger). We didn't use the lounge of the cottage at all: we spent all the time on the patio. Only one day with any rain in two weeks and it was rather nice sitting outside under the cover and watching the rain come down around us.
Anyway, that's a bit of a digression. The chest has gained a few knocks (which was inevitable), but nothing too bad really. The main one is some indentations from the clamp that came with my lamp:
... but I'm fairly sure they'll get better with the application of an iron and a damp towel.
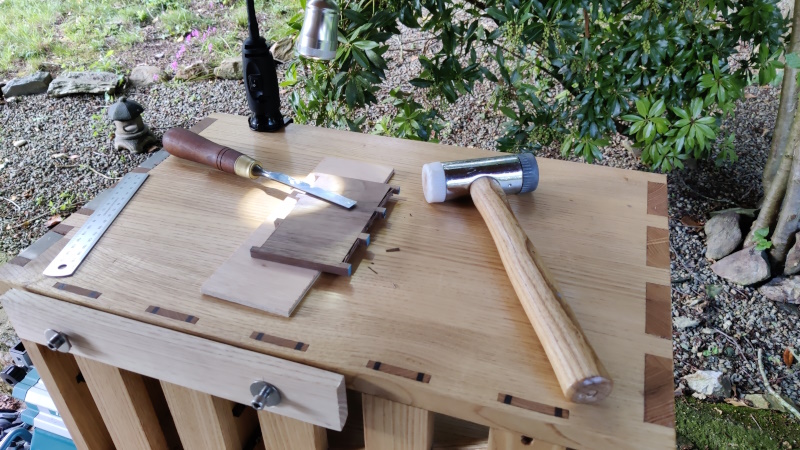
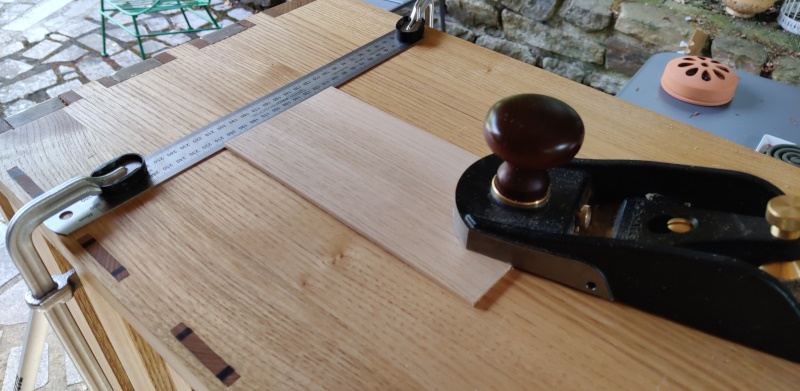
To tide me over for the rest of the trip, I mostly just used an offcut underneath the clamp to stop it from marking the surface further (seen in the background of this rather blurry photo):
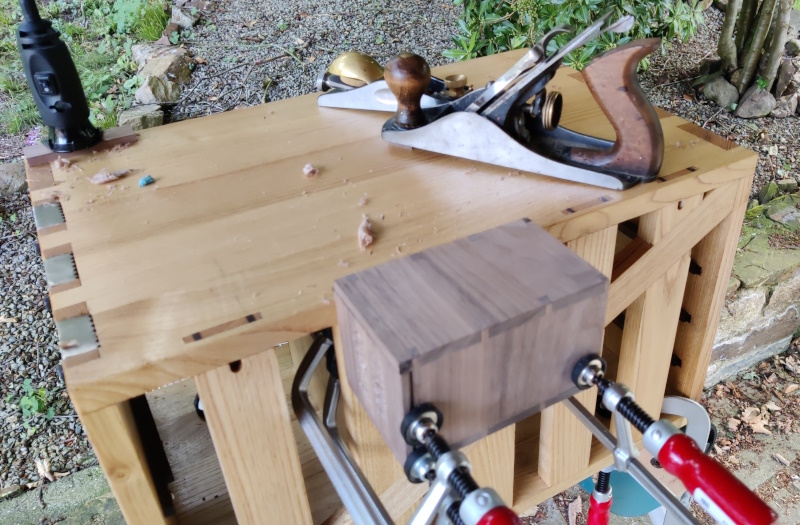
When I was feeling more lazy, I also just stuck the #4 on the side and used the magnetic base:
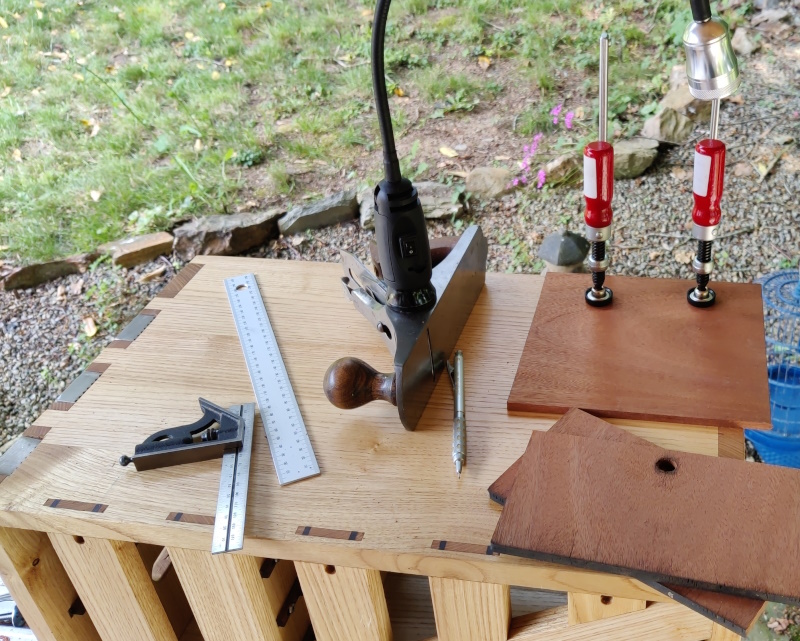
Anyway, generally the box worked really well. Planing worked well (and much better when I slid the chest to the right-hand end of the stand rather than the left), although not quite as well as when I'd tried it in the garden. I think this was just because of the slope in my home garden, which made it less likely for the mitre stand to lift off the ground. This was only really a problem under heavy planing and with a bit of practice I found a technique where I could hook one foot up against a leg of the mitre stand and the problem went away.
The other issue with planing was preparing material for a box base, which was only 3 mm thick. The planing stops in cross-section look like this:
That angle is there so that the stop tends to push the work down onto the chest. However, it means that if the stop is high enough to plane thin material, the plane blade is likely to come across some stainless steel at the back of the stop and that's not going to end well.
It should be easy to solve, by removing this bit (or some of it at least):
I obviously wasn't equipped to deal with that while I was in France, so an alternative was found, which worked fine:
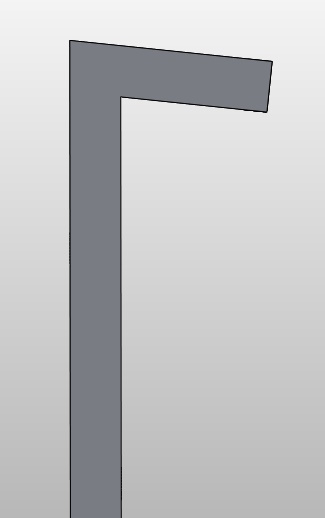
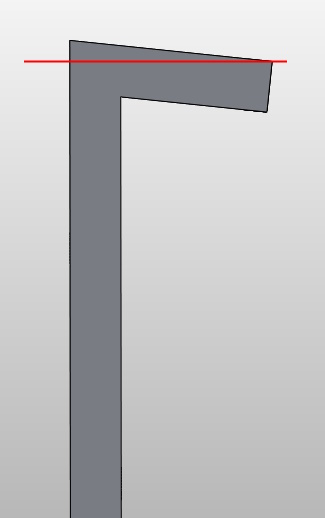
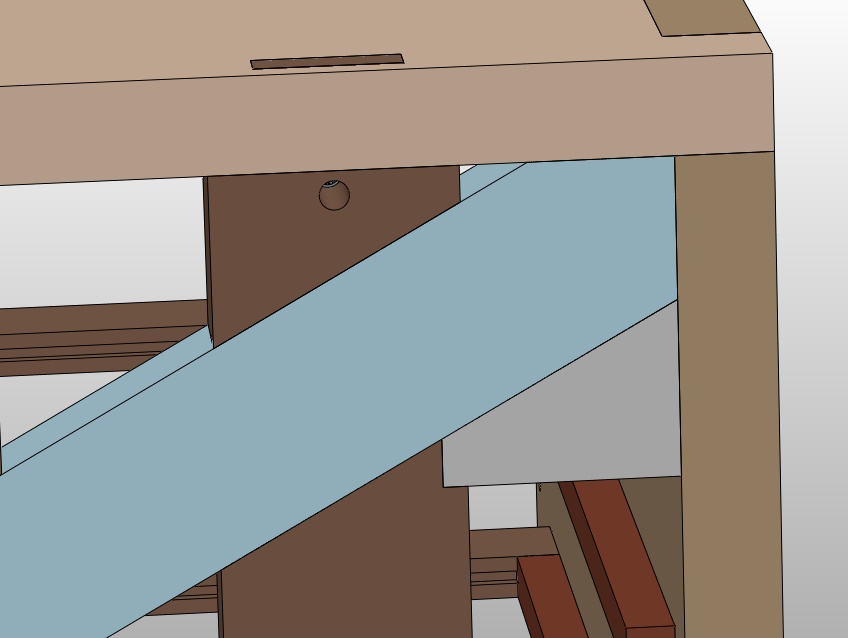
The other main tweak I want to make is to the top right of the anti-rack piece. There were a few times I wanted to clamp something in that corner, but the angled side of the anti-rack piece made it difficult. To tide me over, I made a little triangle of walnut and held it up against the bottom of the anti-rack thing when clamping, but it's awkward having to hold an extra piece in place while getting a clamp on, so I'm going to do something more permanent. I'll probably key it into the upright: that way it'll also serve the purpose of covering up the bit of chipped off wood that happens to be right there. Probably something like the grey bit in this model, but I might think a bit more about the shape so that it looks a bit better than that:
Oh, the other thing that needs work is shooting (although I was expecting that to be the case). I took my big shooting board with me as I haven't made the one that will become the front of the chest yet. I also took my LA jack plane + shooting handle but vowed to myself I would only use it if I got desperate.
I used the block plane for all the shooting (and never quite got desperate enough to get the LA jack plane out), but it wasn't great. I doesn't work as well as the bigger plane, but I think with shooting board design tweaks I can probably make it work. There were a few problems:
Firstly, it's far less comfortable to hold than the LA jack plane, but that's not surprising and I doubt it's resolvable. It's not too much of an issue, so I'll just live with it.
Secondly, for some reason it didn't sit that well in the 3D-printed insert I'd made and was able to rock back and forth a bit (left-and-right as you look at the shooting board), so I had to be very careful not to tilt the plane and end up with a non-square edge.
I did some experimentation without the 3D-printed insert and the rocking issue went away but then there wasn't anything stopping the plane moving to the right during the cut and ending up with a non-square (in the other axis) edge.
On heavy-ish cuts, I found the workpiece would sometimes move to the left during the cut, suggesting I wasn't holding the workpiece firmly enough in place. I suspect that the reason I haven't seen that before is the momentum of the LA jack plane means that it just forces its way through before the workpiece has a chance to budge. This is probably not an issue; I just need to be careful to hold the piece rigidly.
Finally, the tall fence on my big shooting board is much higher than the little block plane, so if I wasn't careful I could see myself bashing the hand pushing the plane against the fence. That shouldn't be an issue on the new one as it'll have a much lower fence.
Page 86 of 144
This website is free and ad-free, but costs me money to run. If you'd like to support this site, please consider making a small donation or sending me a message to let me know what you liked or found useful.

 Return to main project page