Woodturning Lathe Build Process
Page 15 of 65
Posted 25th February 2024
We've had visitors staying this weekend, so I haven't had a lot of workshop time. However, I managed to make some progress on the tailstock before they arrived and after they left.
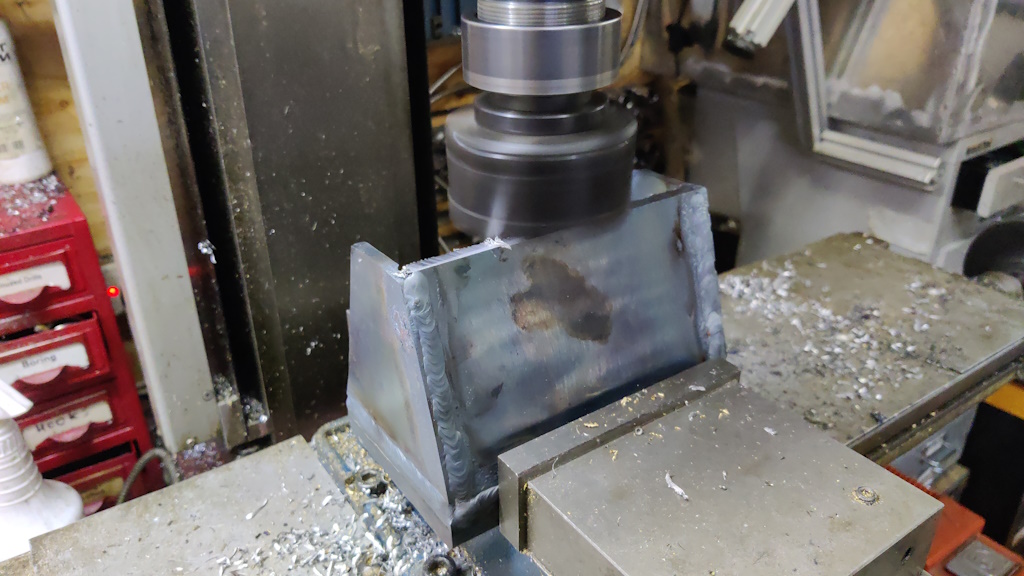
The next job on the tailstock base was to clamp it in the mill vice and skim the top surface flat and level. I wasn't aiming for a particular height here, as long as it was higher than I would eventually want it to finish.
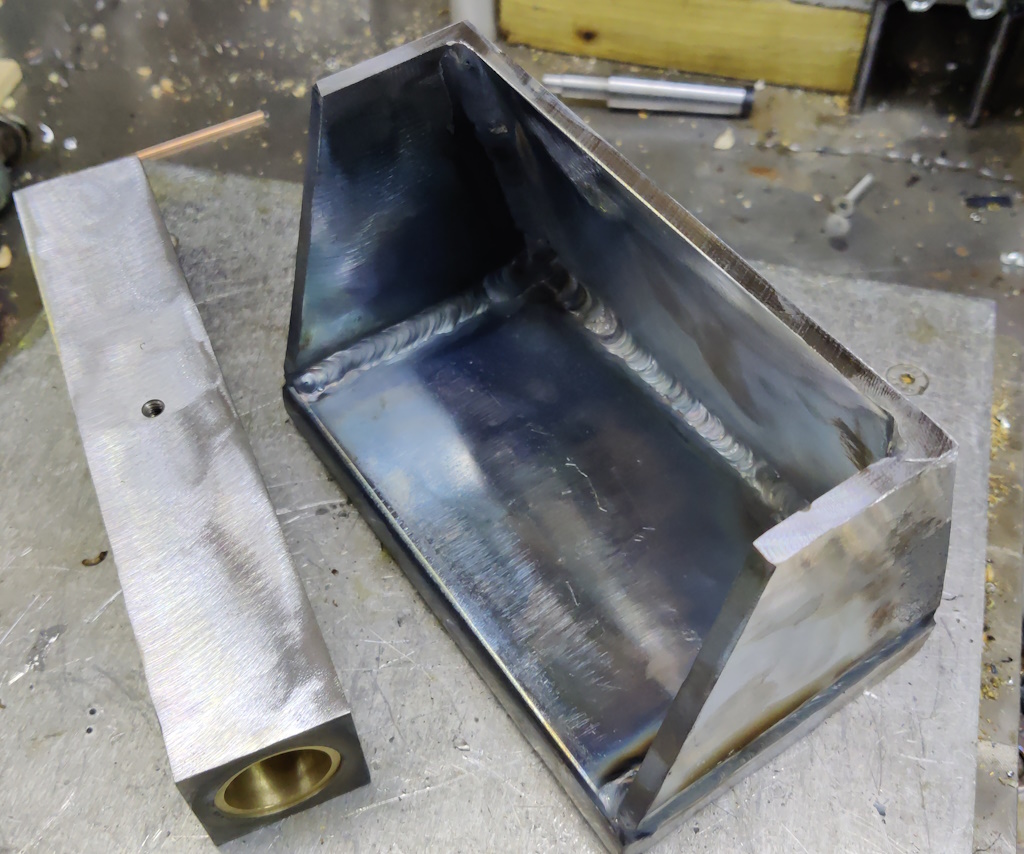
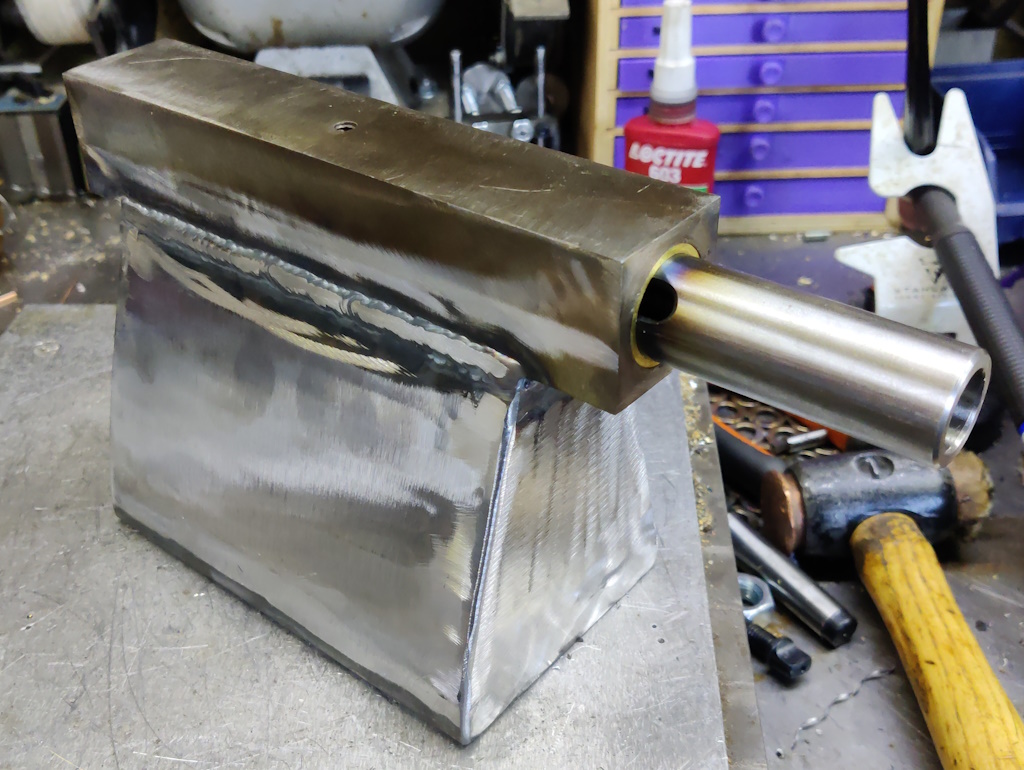
With that done, the top pieces were ready to glue together:
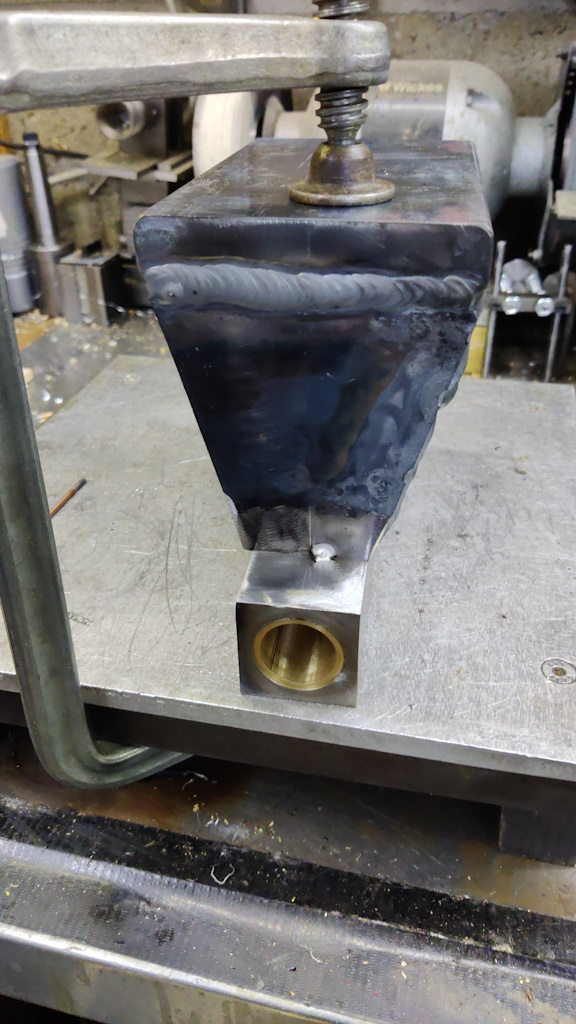
I clamped them firmly together, using some scribed centre lines to get the top of the tailstock roughly in line with the base and then tacked them in place:
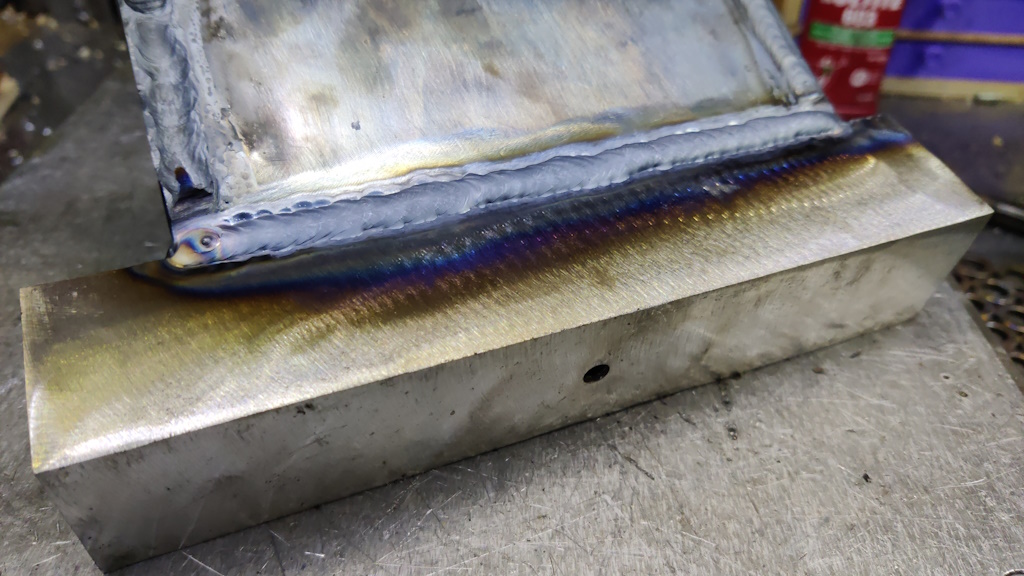
I could then weld around the more accessible areas of the join.
Once it had cooled down (and the visitors had left) I gave the welds a bit of attention with the angle grinder. It could probably do with a bit more, but it'll do for now:
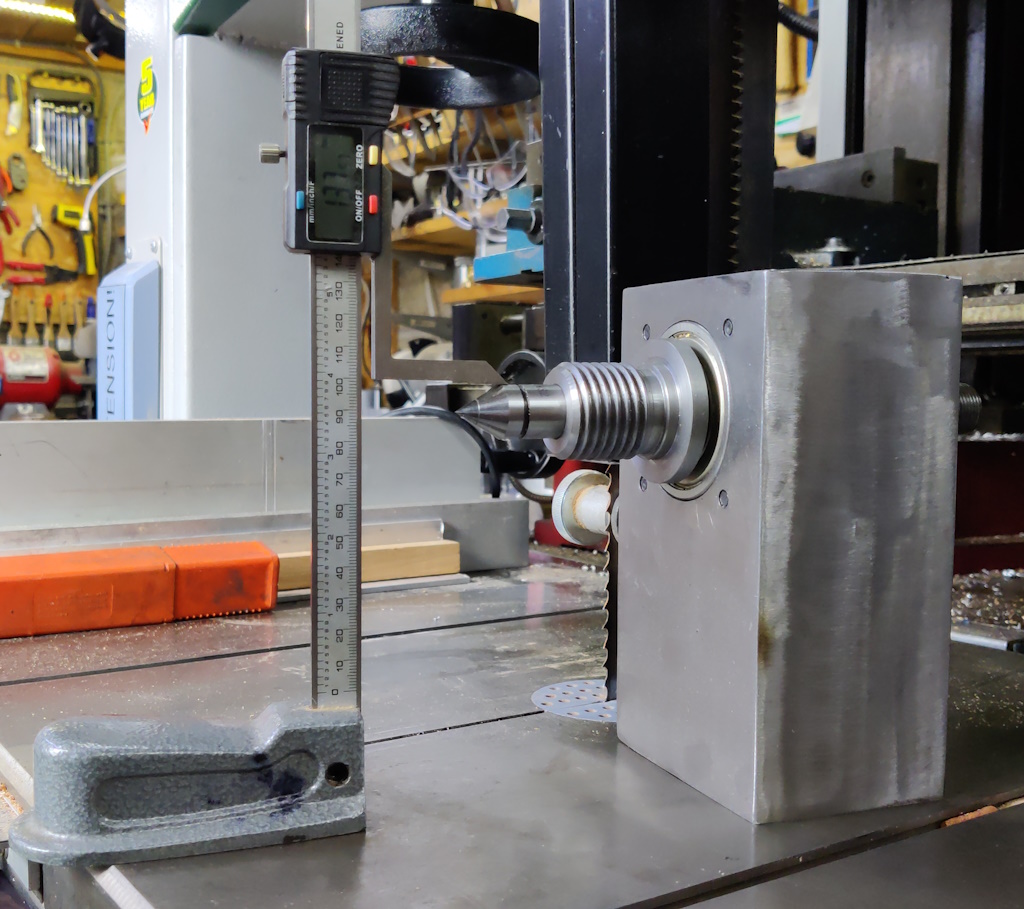
To work out the exact centre height of the spindle, I measured the largest diameter of a Morse taper 2 dead centre and shoved it in the spindle. I then used a height gauge to measure the height of the top of the dead centre (and subtracted half the diameter, giving a centre height of 128.6 mm):
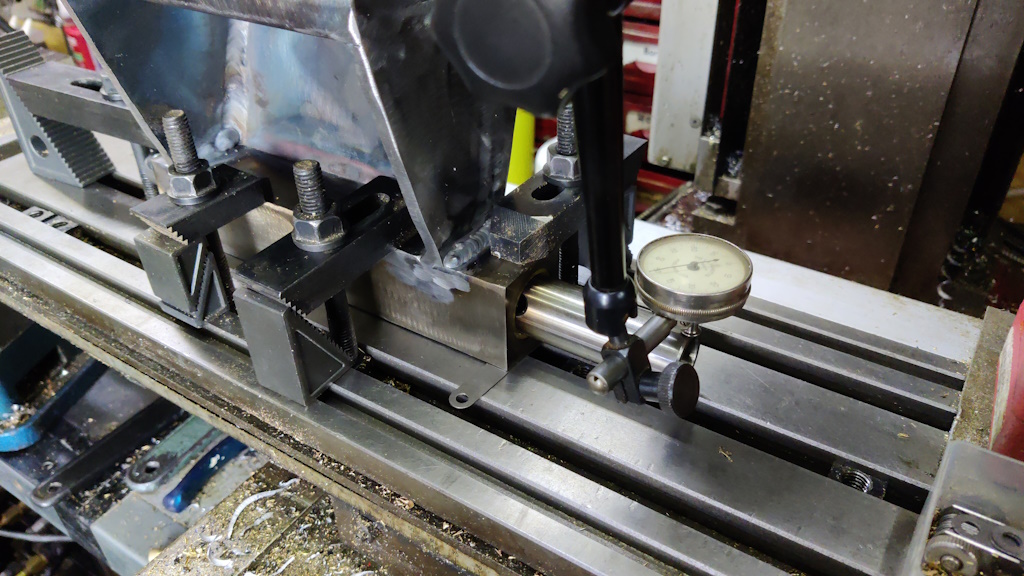
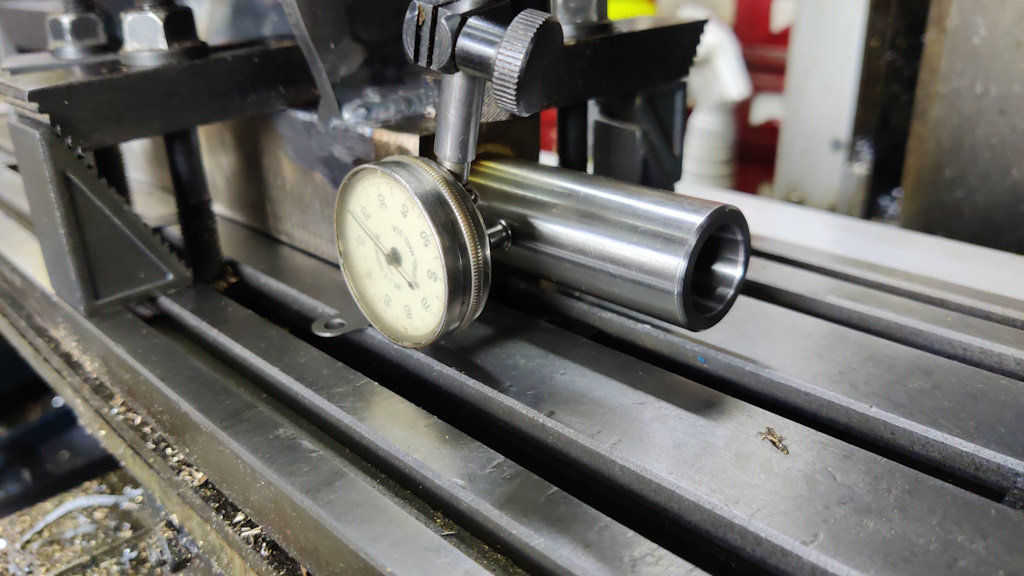
I then needed to bring the tailstock centre to the same height. I clamped the tailstock upside down on the table and used a dial gauge, running along the spindle, to check for level. I added some feeler gauge stock underneath the tailstock, tweaking the size of the shims until it the spindle was level with the travel of the bed. In the end I had a 0.6 mm feeler gauge piece at the end and a 0.3 mm piece in the middle (the middle piece was there so that clamping the tailstock down in the middle wouldn't bend the tailstock).
Once it was levelled on the table, I also aligned it with the X-axis of the table:
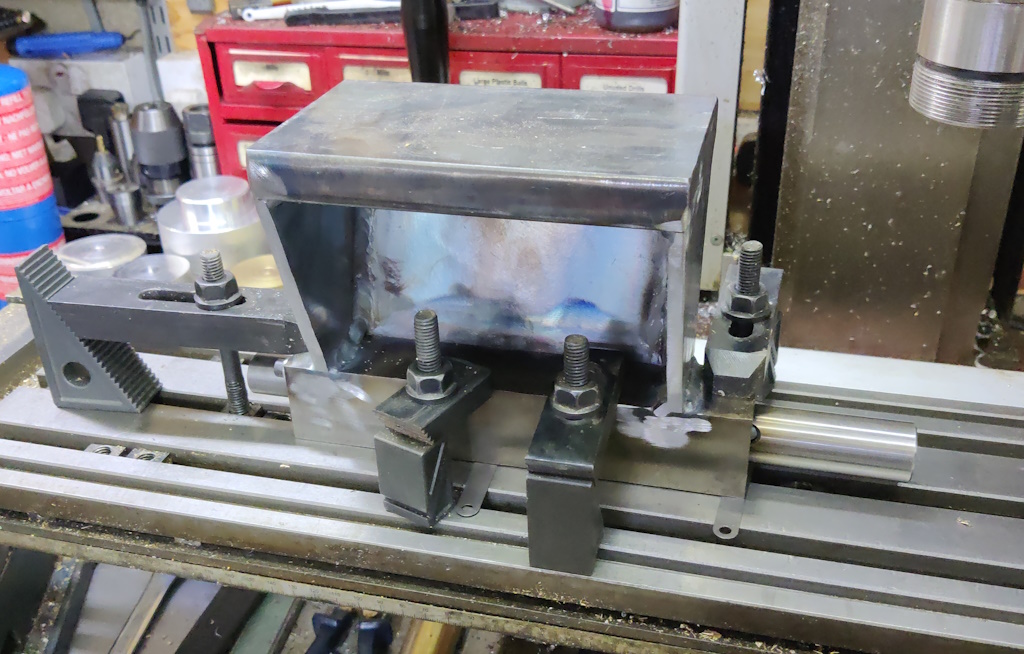
All clamped up and ready to mill:
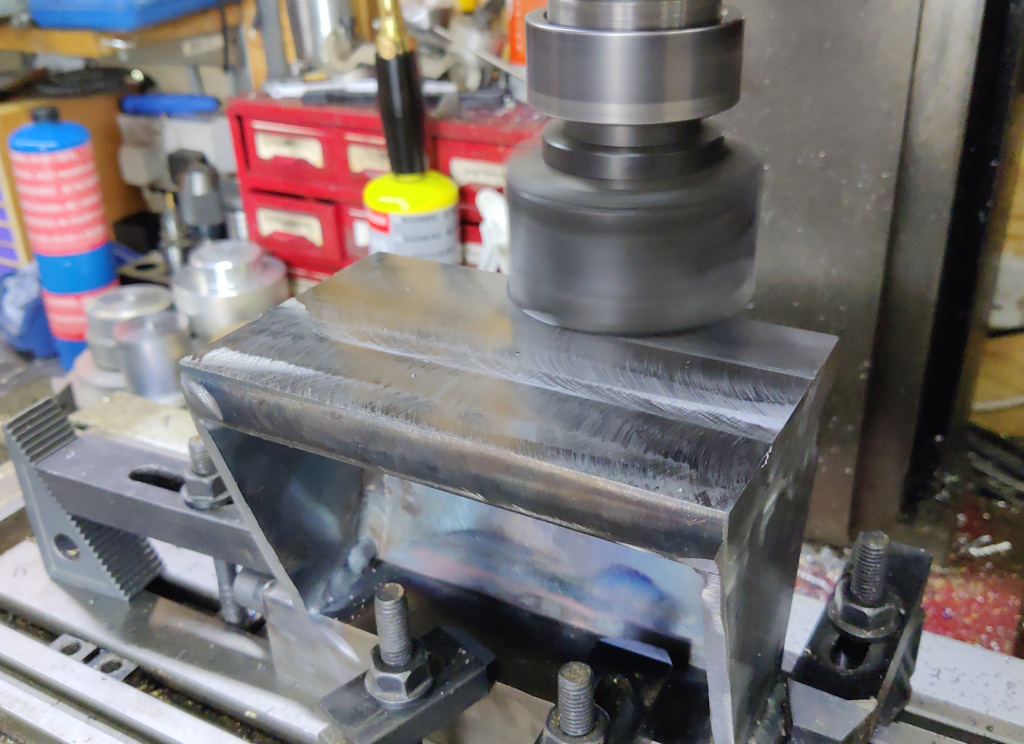
I used my big carbide face mill to mill the bottom of the tailstock. I had to take about 1.8 mm off the bottom to bring it down to the right height (which I measured by zeroing the height gauge on the top of the spindle, measuring the milled surface and then adding half the diameter of the spindle):
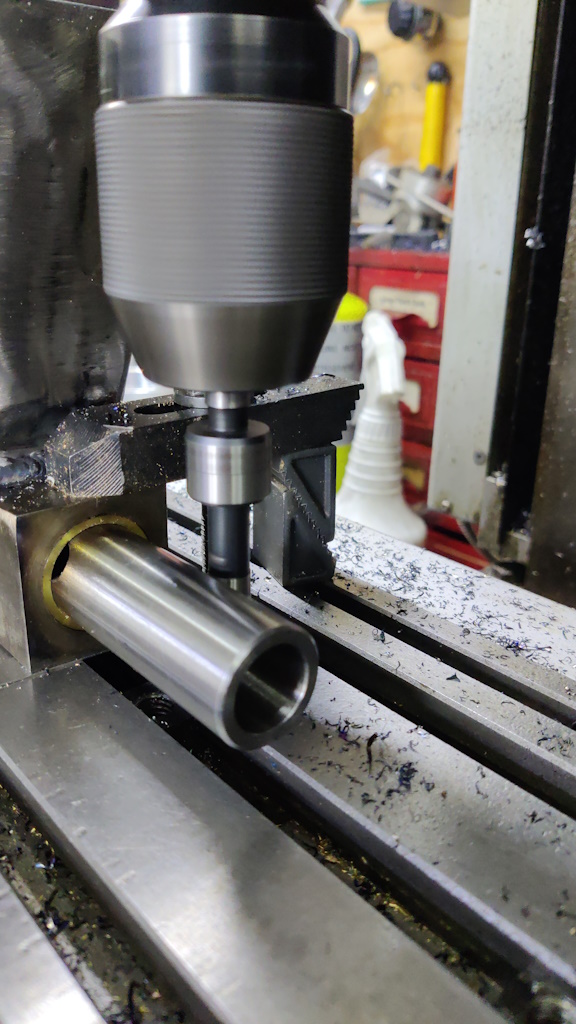
Once the base was milled, I used a edge finder to find the centre of the spindle in the Y axis...
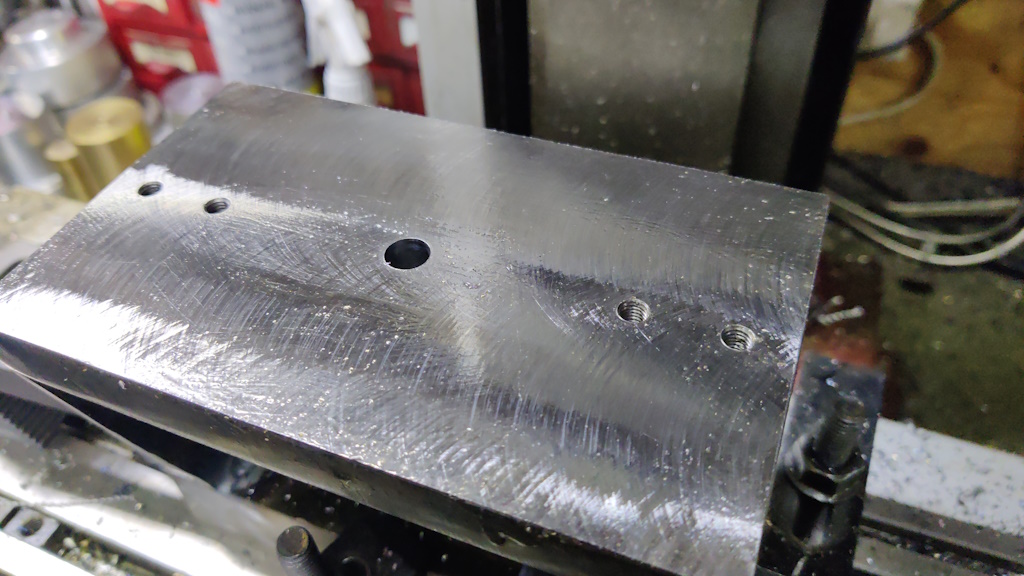
... and then drilled and tapped four M6 holes and drilled a central 10 mm hole. The 10 mm hole will be used for clamping the tailstock to the bed; the M6 holes will be used for some screwed-in pieces that will (hopefully) align it to the bed:
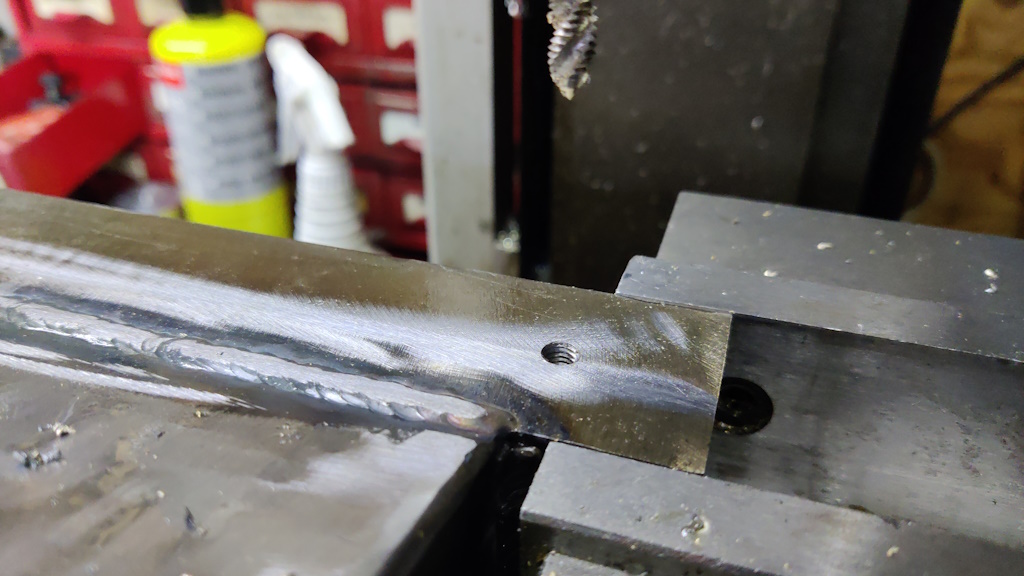
The last job on the tailstock was to add another tapped hole, this time in the back:
That'll be used (if necessary) for a brass screw that will hold the tailstock in place if I need to prevent it from moving while the lathe is running.
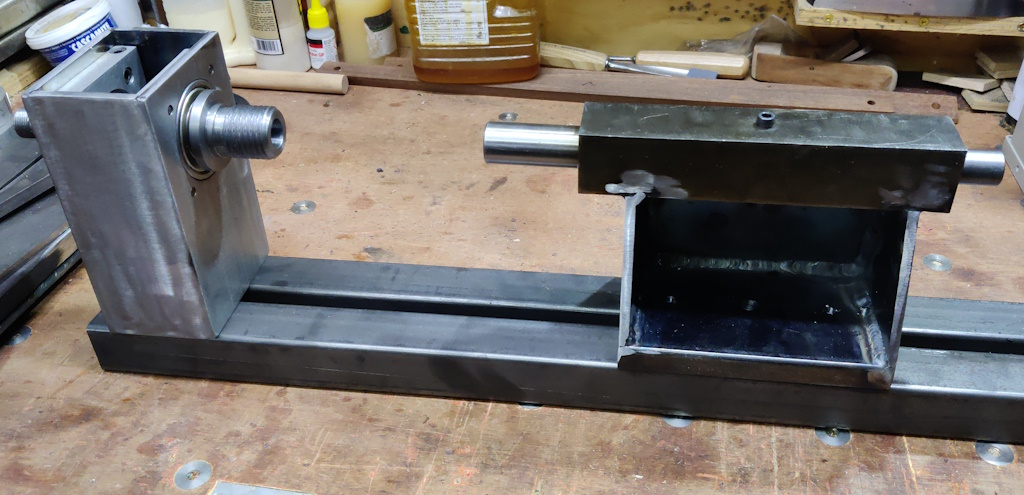
With that done and a couple of bits of box section plonked haphazardly on the bench, it's starting to look a bit like a lathe:
Page 15 of 65
This website is free and ad-free, but costs me money to run. If you'd like to support this site, please consider making a small donation or sending me a message to let me know what you liked or found useful.

 Return to main project page