Heat Treatment Oven Build Process
Page 29 of 35
Posted 9th February 2025
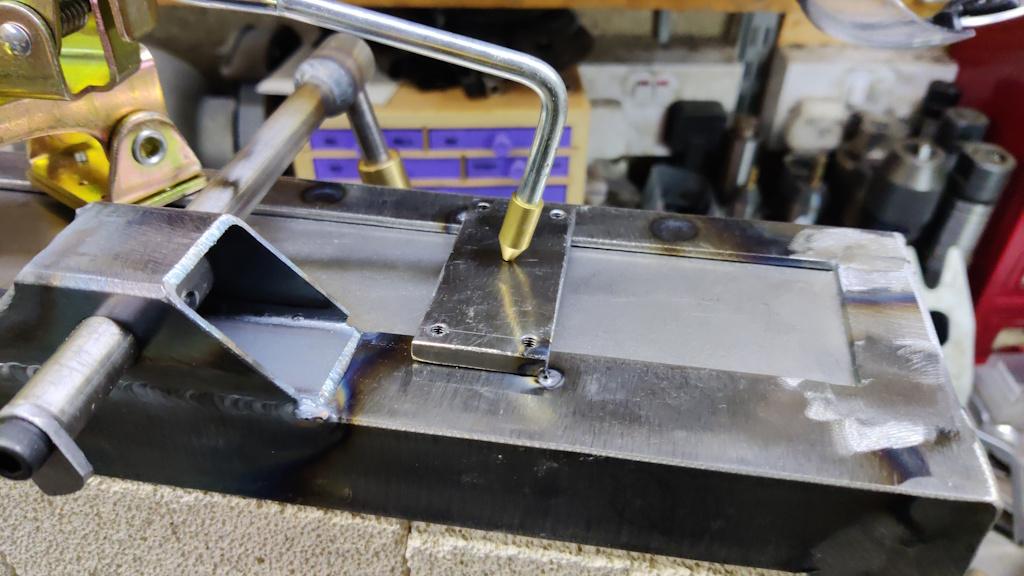
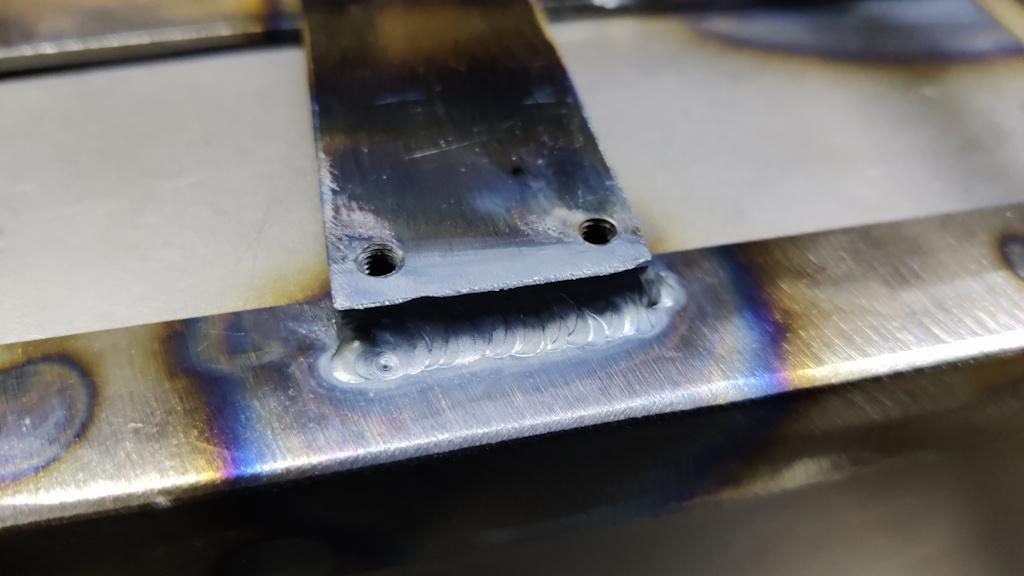
Fitting the door interlock was quite straightforward. The first job was to roughly saw a bit of 6 mm plate to size and then drill and tap four M4 holes in the corners. That got tacked to the side of the door...
... and then welded along each short edge:
For the other half, an off-cut of angle gained an M6 tapped hole and then got hacksawed to remove the sharp corners. That got welded onto the side of the chamber body:
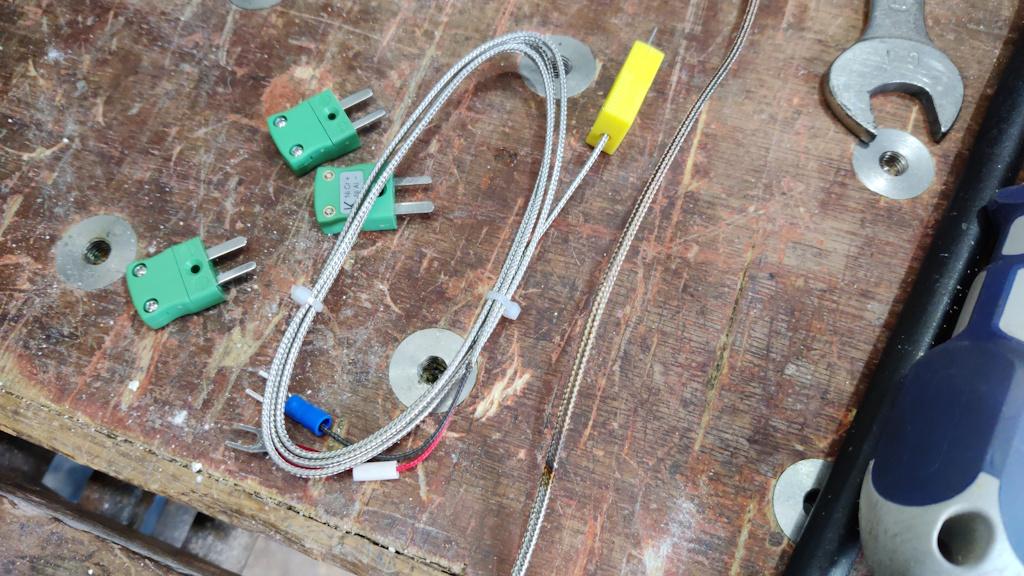
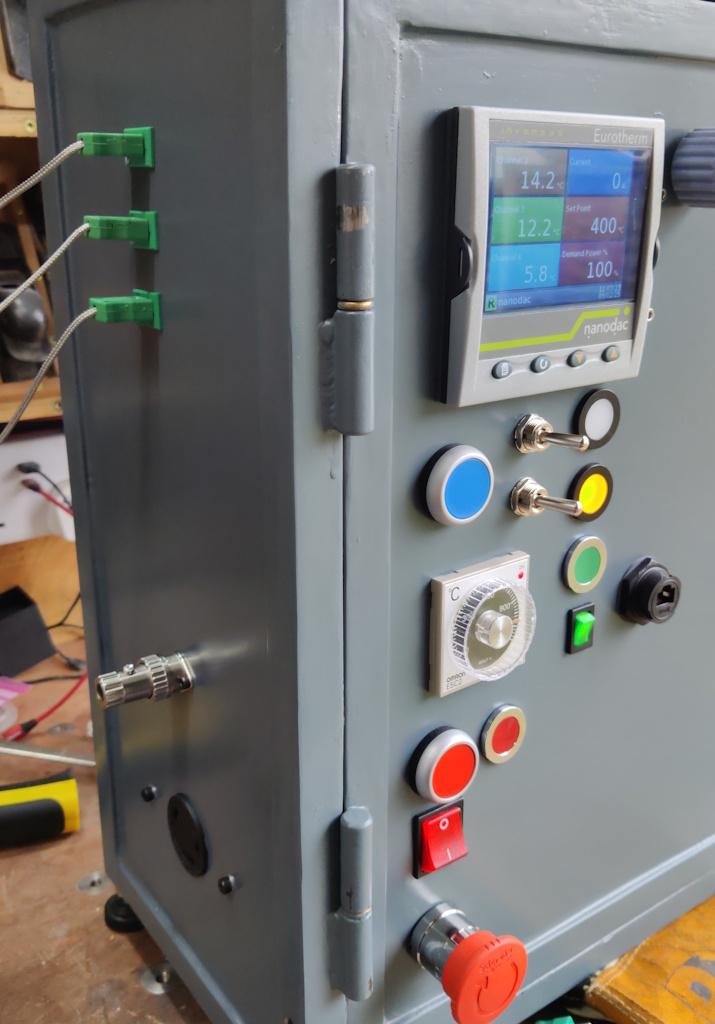
While the welded bits were cooling down I did a bit of investigation into the faulty thermocouple. The cable was a bit discoloured, so I suspect that I inadvertently laid it over something that I'd recently welded and that caused it to absorb some heat. Anyway, I had a spare thermocouple, so I nicked the cable off that one and, while I was at it, I replaced all the cheap American-coloured connectors with decent quality green ones:
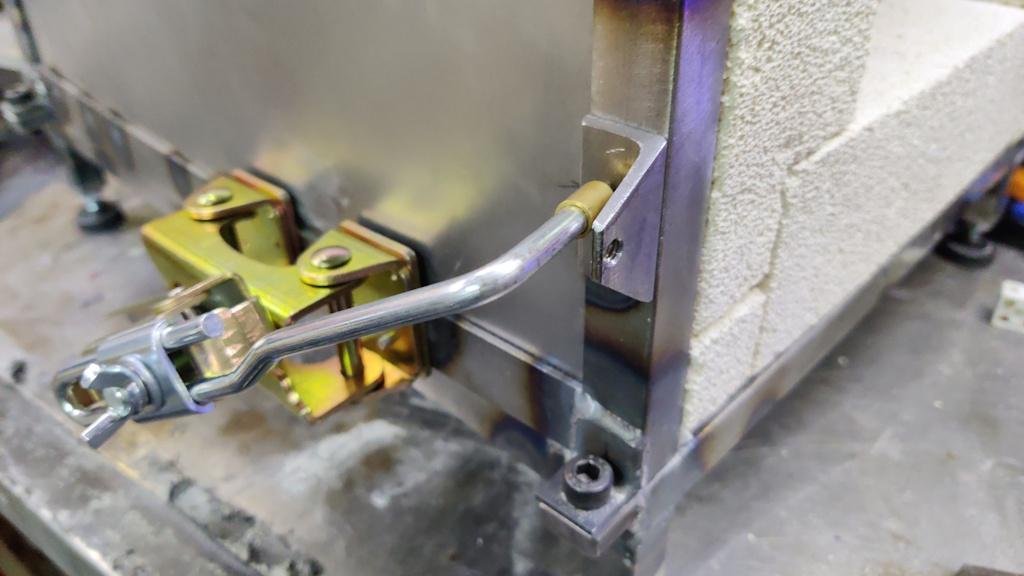
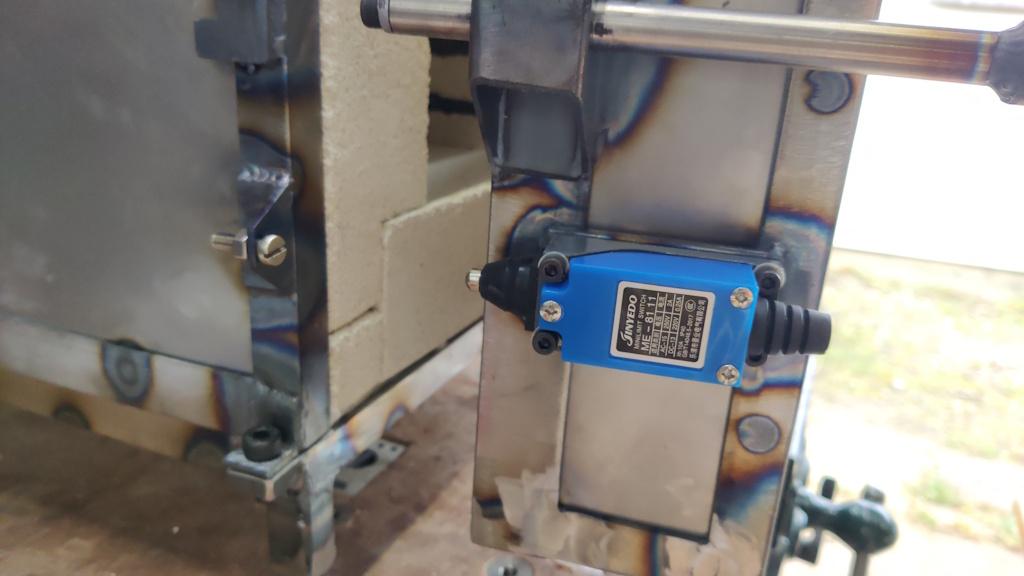
Once everything had cooled down, I could fit the interlock:
It's fitted to the door (rather than the body) so that the cable follows the same route as the door thermocouple, which seemed to make more sense to me: cables originate from the back and front of the chamber rather than having several cables from the back, a thermocouple cable from the front and the interlock cable from the far side.
I haven't wired it up yet as I don't have any suitable cable; I'll order some as soon as I get round to it.
Next up was another test with all the thermocouples connected:
The cable replacement seems to have done the trick: everything worked properly.
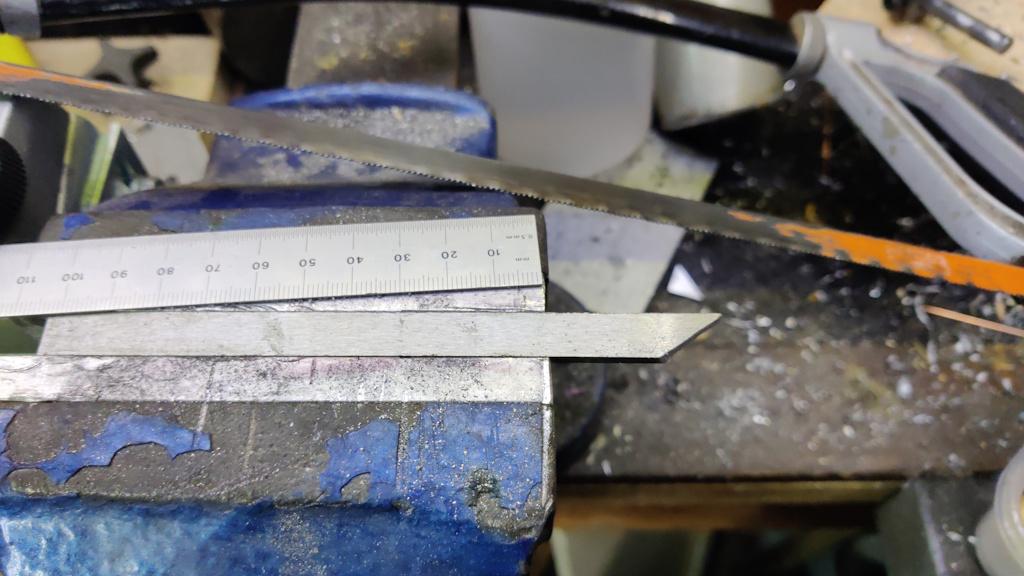
I wanted to time how long it would take for the chamber to get up to temperature and I figured that if I were doing that, I'd put something in it to heat treat. To that end, I grabbed a bit of 3 mm × 10 mm gauge plate out of the drawer and attacked it with a hacksaw...
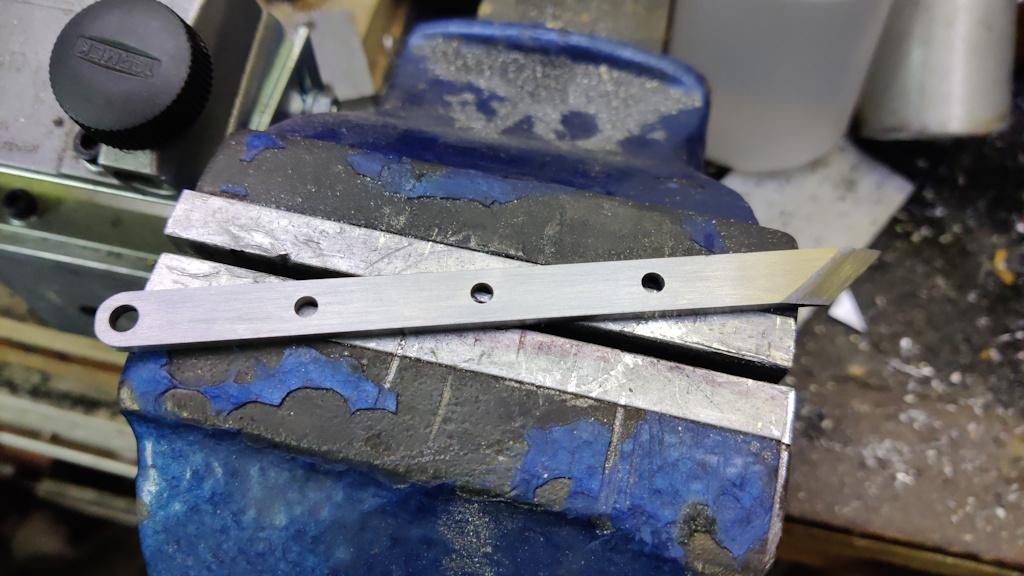
... and then with the pillar drill and a file:
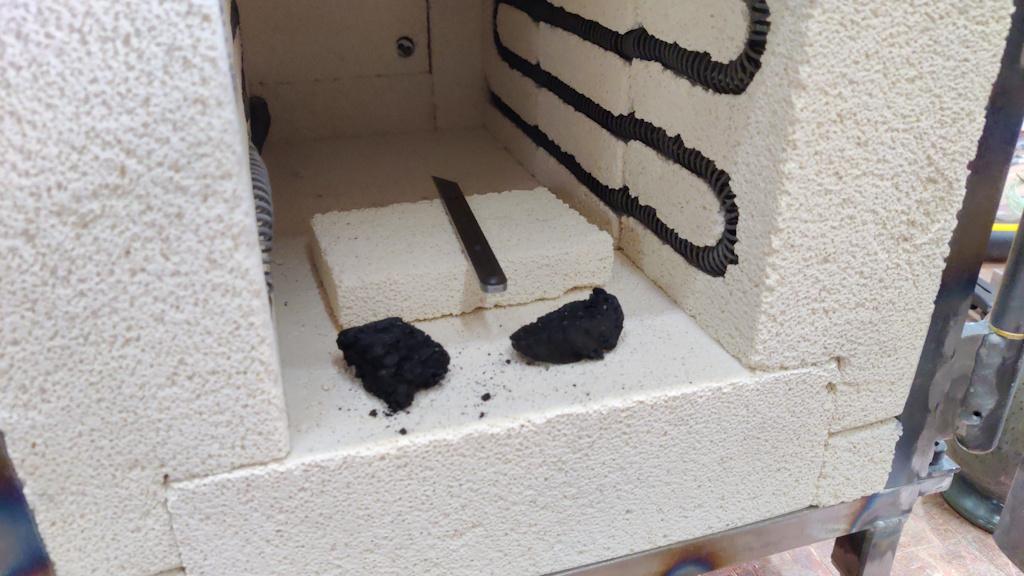
I put it in the chamber, along with a couple of bits of charcoal. The book I use as a reference for heat treatment suggests this as one possible way to reduce the build-up of scale during heat treatment. I usually use boric acid (or just accept the clean-up work), but I thought I'd try the charcoal.
This little blade is small enough that it would be quite easy to heat treat with a blow torch (especially having filed a rough bevel as the working end is very thin and doesn't need much of a "soak" at temperature), but it seemed as good a choice as any for something to use to test the chamber.
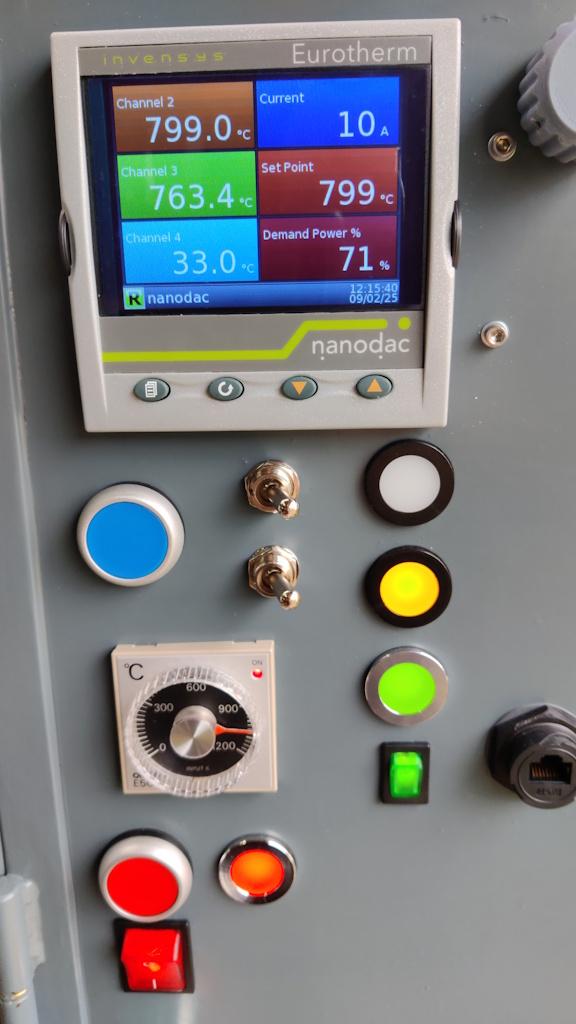
I started a timer and then started the chamber running. It took 7 minutes to get to 300°C (so it's considerably faster than our domestic oven, which is unsurprising given how much smaller the cavity is); it slowed down towards the end (as the control loop started to do its thing), finally settling at the target temperature after 28 minutes:
The label on the packet the gauge plate came in suggested to heat to between 780°C and 800°C, so I set the set-point to the upper end to account for the alleged temperature gradient across the oven. I decided to let it have a long (20 minutes) soak at temperature. The rule of thumb is an hour per 25 mm of thickness; this piece is only 3 mm thick, so only needs 7 minutes (and less than that at the tip of course), but I thought I'd make sure it had plenty of time. If I were heat treating it with a blow torch, I only would have given it a minute or so (out of impatience), but the chamber makes it easy to leave it a bit longer.
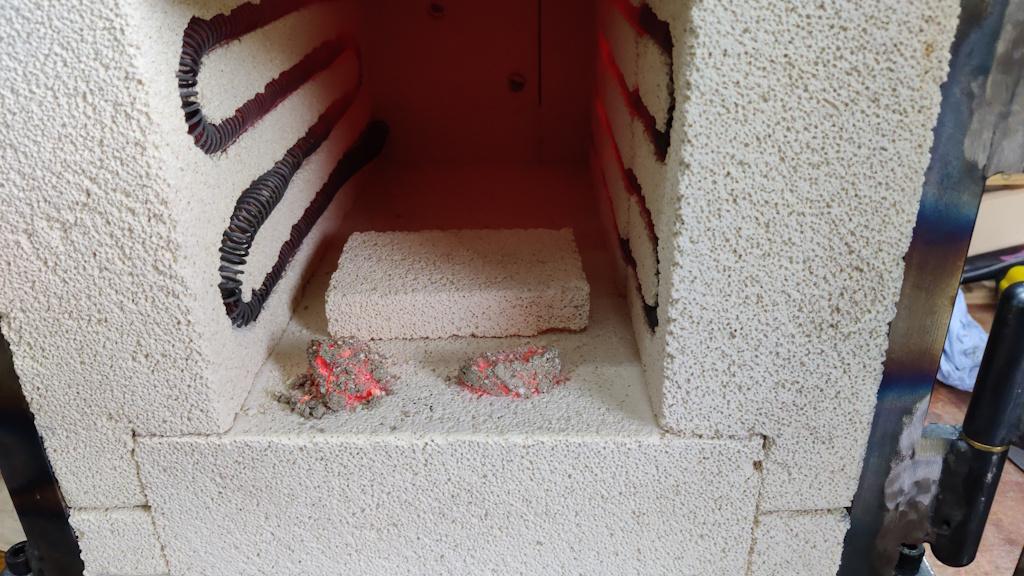
When it had completed the soak time, I opened the door, grabbed the part (with tongs, obviously!) and dunked it in vegetable oil. The oil container I have in the garage was too shallow to submerge the entire part (I'll get a replacement at some point), but the tip's the only important bit really. This is what the bits of charcoal looked like after the cycle:
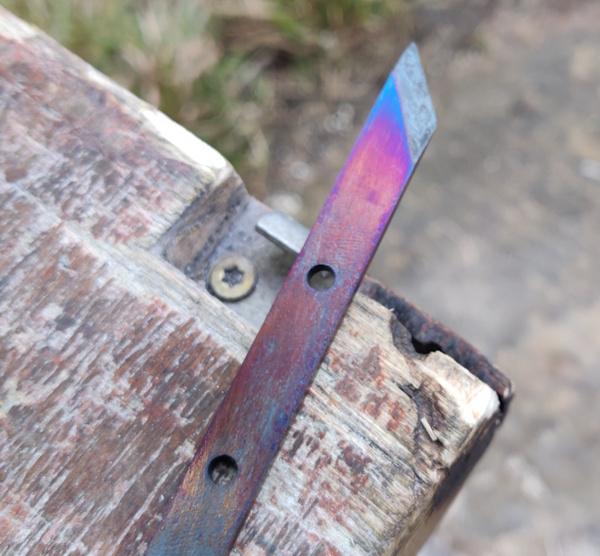
After cleaning all the scale off (the charcoal didn't really help), I then (somewhat optimistically, I'll admit) decided to use the chamber to temper the part. For that, it needs to be heated to about 200–220°C for the same 7 minute soak. I opened the chamber door and went had lunch, then closed the door and left it a bit longer until it was staying consistently below 220°C. I chucked the part in and left it for about quarter of an hour. When I opened the door and pulled it out, the part had gone a tasteful shade of blue:
That colour means that it was substantially overheated (probably to about 300°C instead of 220°C). It's possible that the thermocouples are dramatically mis-reading, but I suspect its more likely that the insulating fire bricks were quite a lot hotter than the air temperature (as they cooled slower); the thermocouples were reading the air temperature, but the part was sitting on the brick so would have conducted the heat directly from the brick.
The only way to deal with that is to re-harden and have another go, so I heated the chamber back up to 780°C, quenched in oil again and I've now left everything to cool down. By this time tomorrow it should be fully cool, so I can have another go at tempering. That should also give me a chance to see how good the temperature readings are (as it'll be cool enough that I can stick an oven thermometer in the chamber as well as being able to gauge temperature from the colour of the steel). I'll probably try with a few off-cuts of (unhardened) steel first so I don't have to go round the full hardening cycle again.
Page 29 of 35
This website is free and ad-free, but costs me money to run. If you'd like to support this site, please consider making a small donation or sending me a message to let me know what you liked or found useful.

 Return to main project page