Heat Treatment Oven Build Process
Page 6 of 35
Posted 14th December 2024
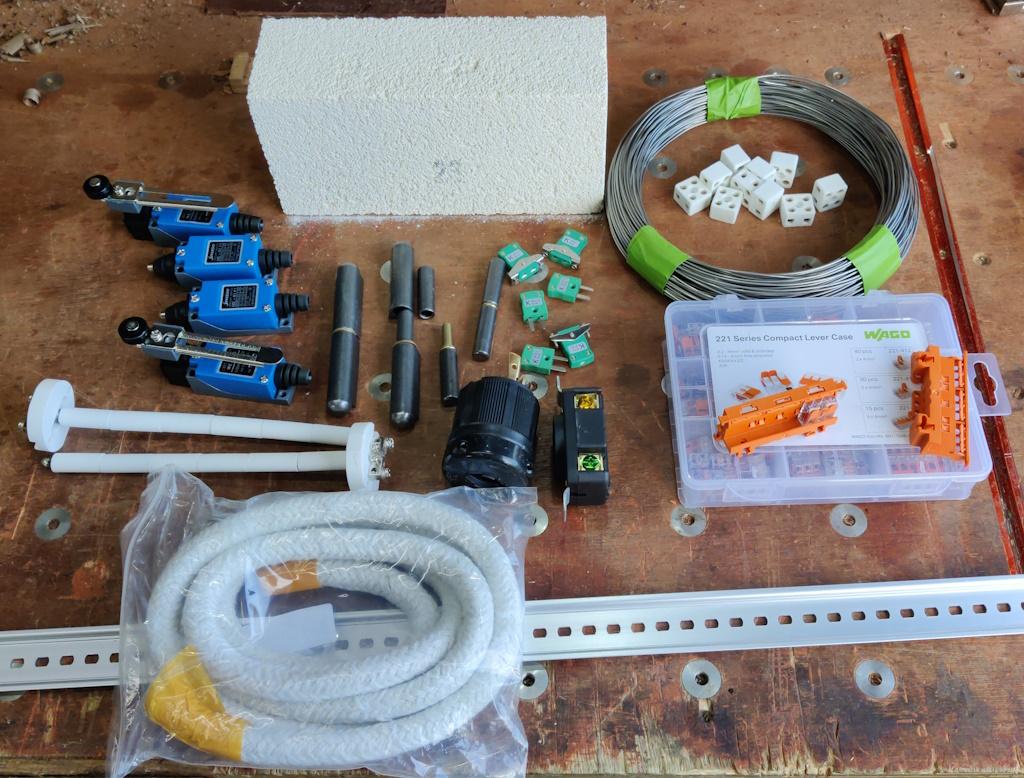
I've been gradually accumulating some of the stuff that will go into the heat treatment oven build. Most of this is shown above, although there are plenty of other things not shown, either because I've already got them buried in a drawer somewhere or because they're still to come (most of the remaining stuff is the control gear, which an exceptionally generous member of the MIG welding forum has offered to donate).
In the picture above, you can see:
- An insulating fire brick
- A selection of (blue) interlock switches for the door
- Some bullet hinges
- Some (white) thermocouples and (green) thermocouple connectors
- The heating element wire
- Some ceramic terminal blocks for connecting to the heating element
- Some Wago connectors and mounting blocks (orange)
- Some fire rope to seal the door
- Some DIN rail to mount control stuff on
- A heavy duty (black) connector pair to connect the heating element to the control cabinet
The last one is there so that I can have a separate control cabinet to the oven (rather than trying to integrate it into the unit). I explained the reasons for that in the last post, so I won't echo them again here.
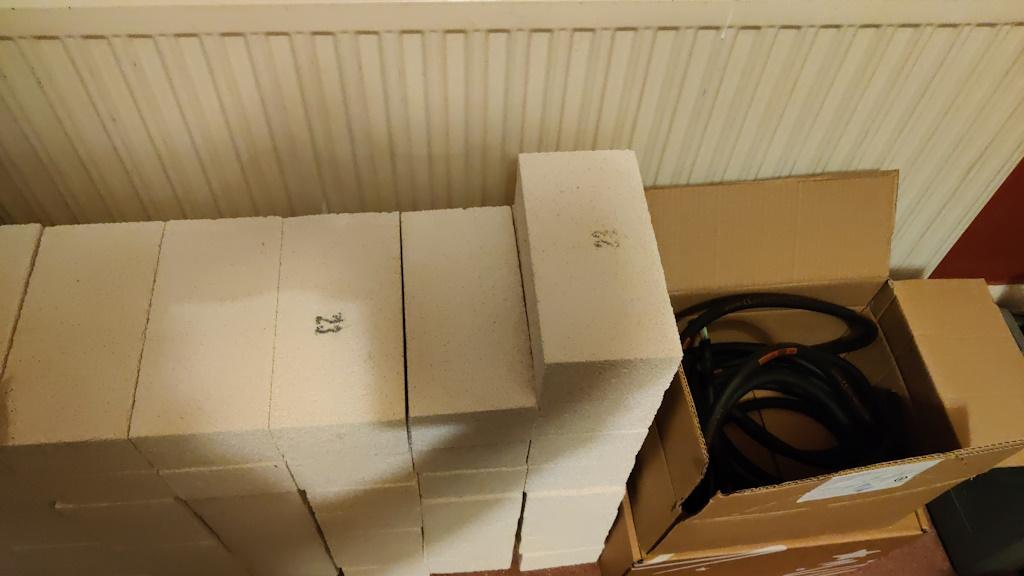
I only showed one insulating fire brick in the photo, but there's actually a rather large stack of them piled up in the dining room, along with a box with some thick 3-core wire:
I bought way more bricks than I'll need for the build. The delivery cost ended up being quite high and I really didn't want to pay it twice. I also like the idea of being able to make more than one chamber, so having excess bricks should make that possible. The extras also give me a bit of resilience to mistakes!
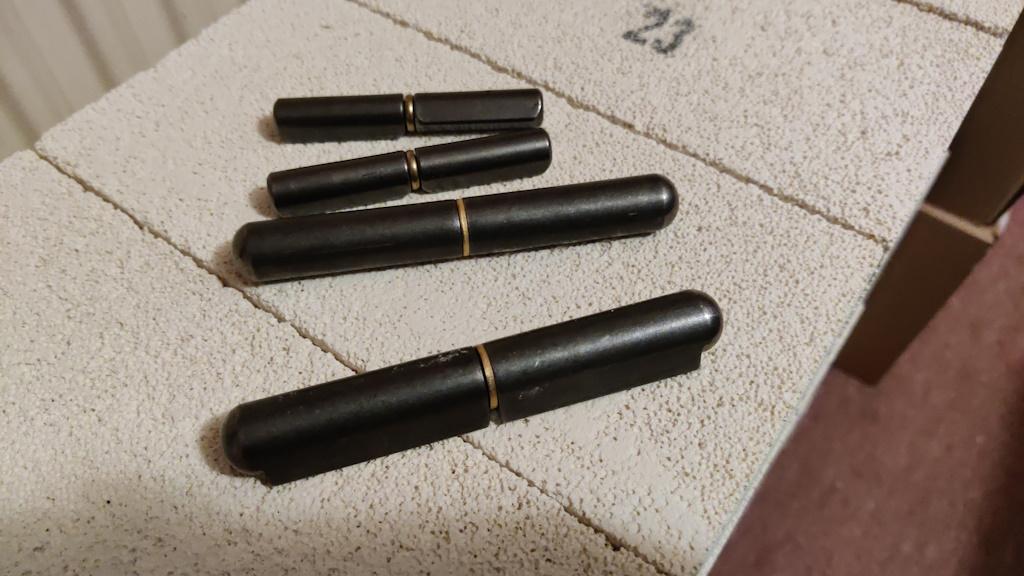
In the top photo, there were two different sizes of (weld-on) bullet hinges. You can see them a bit clearer in this photo:
I originally bought the smaller ones, having read the dimensions on a website and thought they sounded about right. When they arrived they looked a bit weedy. I could have returned them but I thought they'd be useful for the control cabinet (which I'm planning to make from scratch rather than doing the sensible thing and buying a project box). The bigger bullet hinges will be used for the chamber.
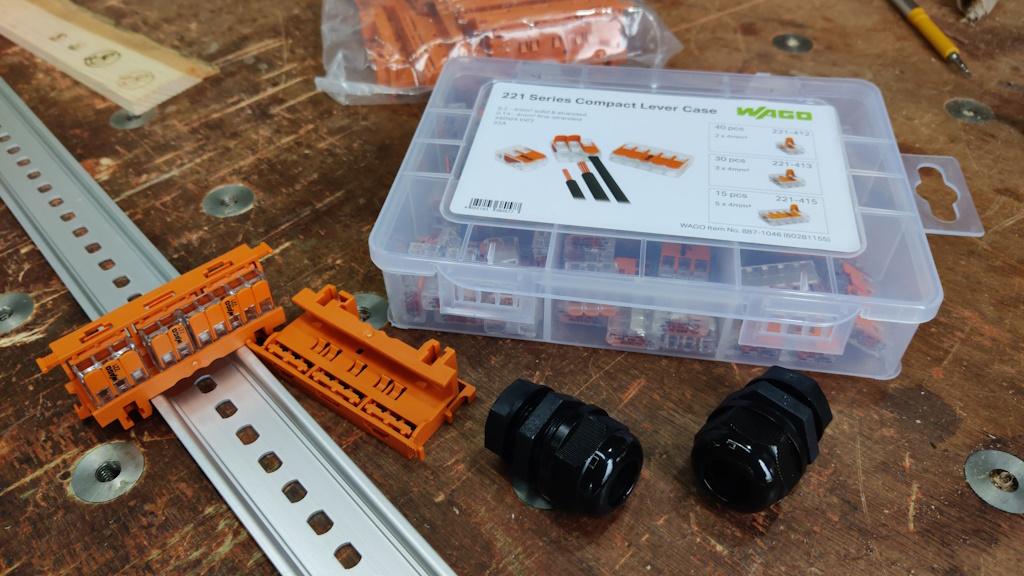
The little orange plastic pieces that are (in the top photo) sitting on top of the Wago connector set are used to allow mounting of Wago connectors on the DIN rail:
I suspect that the wiring of the control cabinet could be quite complex, so this will hopefully help with keeping things under control.
In the next post, I'll try to cover the control cabinet system implementation in a bit more detail. It has got a lot more complicated than originally envisaged as a result of the fancy control gear I've been offered, but more on that in due course...
Page 6 of 35
This website is free and ad-free, but costs me money to run. If you'd like to support this site, please consider making a small donation or sending me a message to let me know what you liked or found useful.

 Return to main project page


