First Ever Box
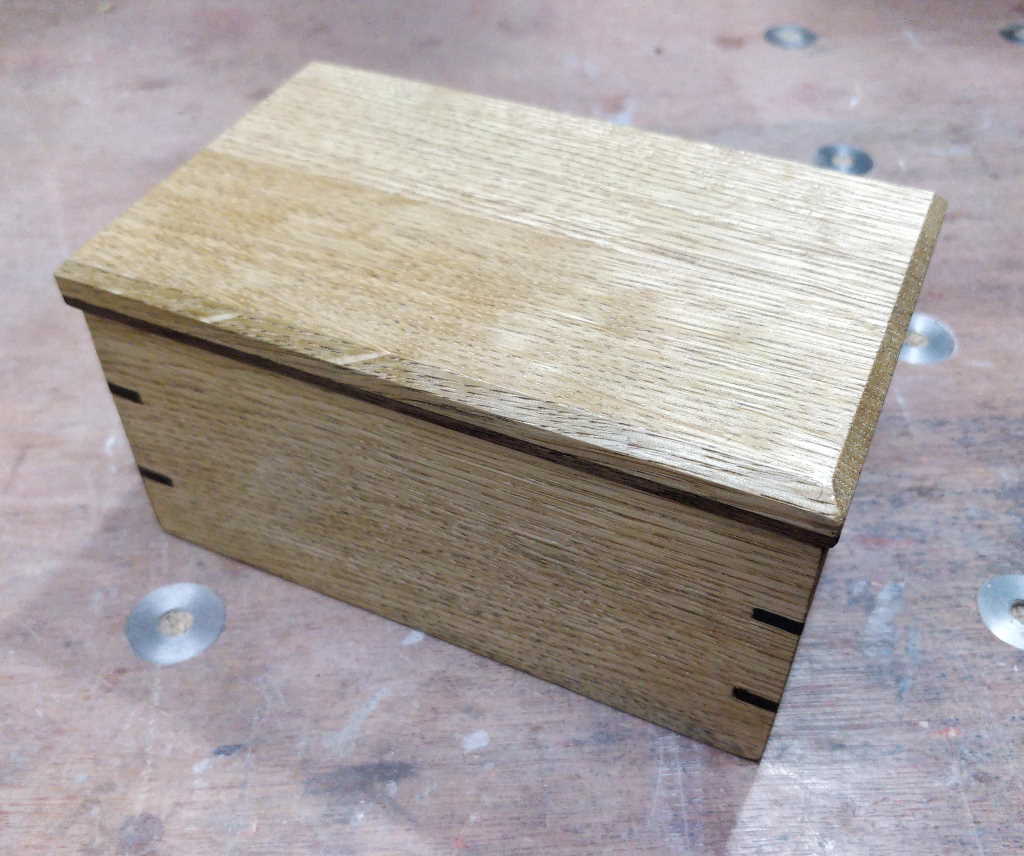
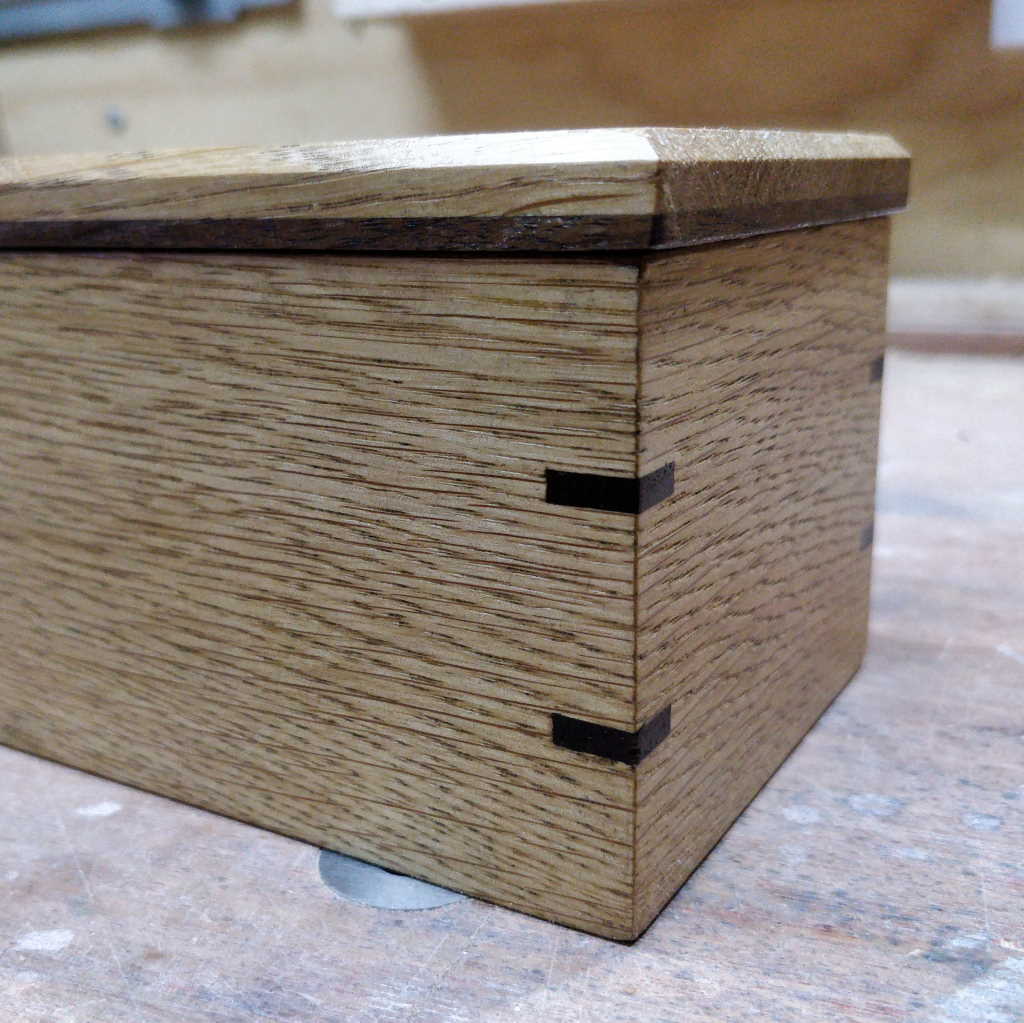
This was my first ever attempt at making a box. I had no particular purpose in mind, I just wanted to try making one and see if I could figure out how to make it work. Apart from using my thicknesser to prepare the initial material to a consistent thickness, everything was done with hand tools.
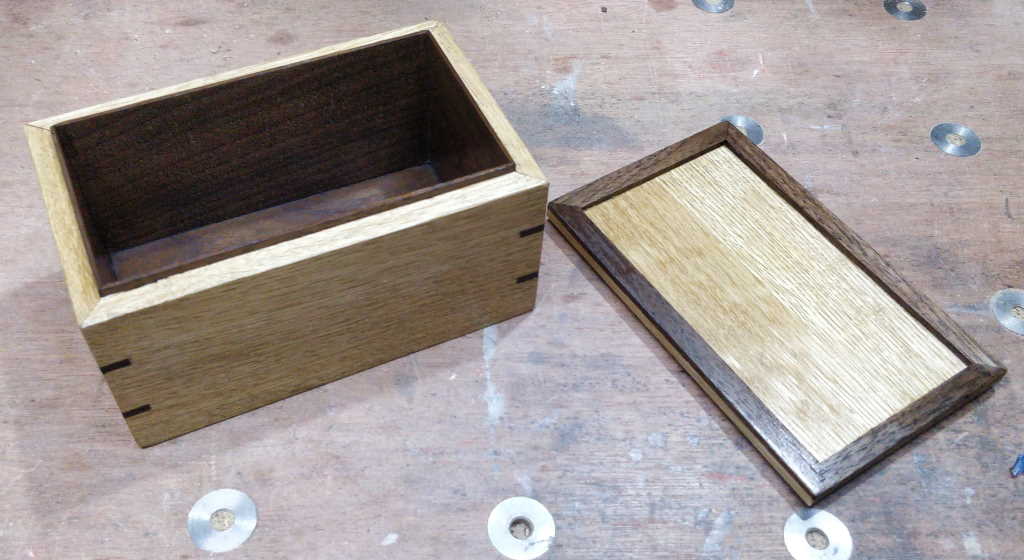
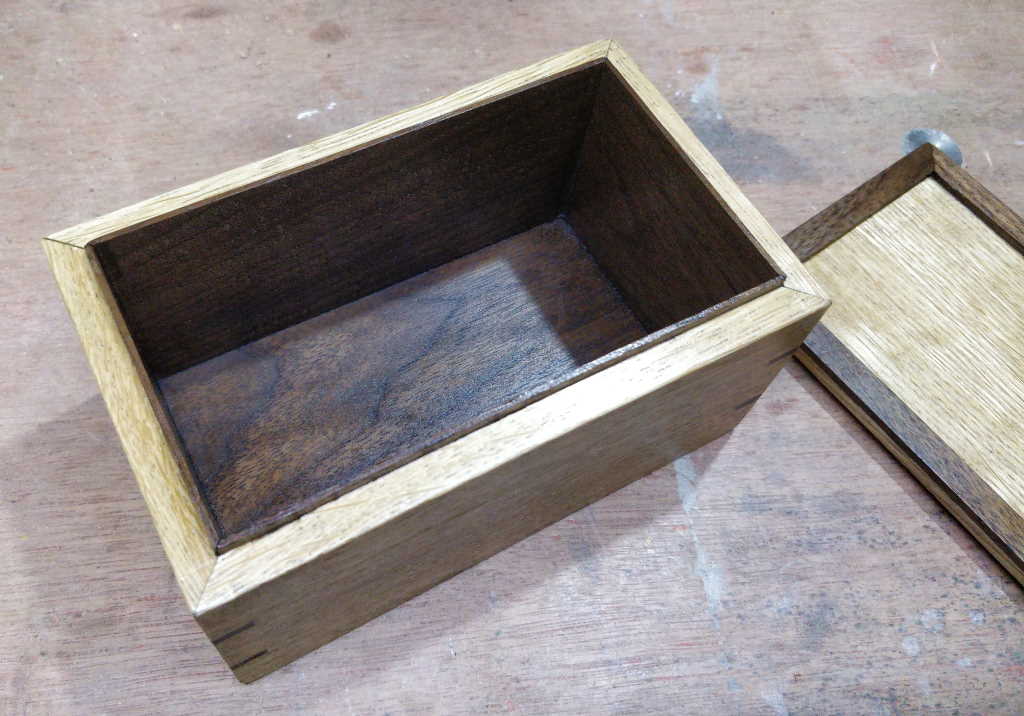
These photos show a couple of views of the inside of the box. The body of the box is made from oak, with an American Black Walnut (ABW) liner and ABW splines in the mitre joints. The ABW trim around the bottom of the lid holds the lid in place against the bit of the liner that's sticking up above the oak sides.
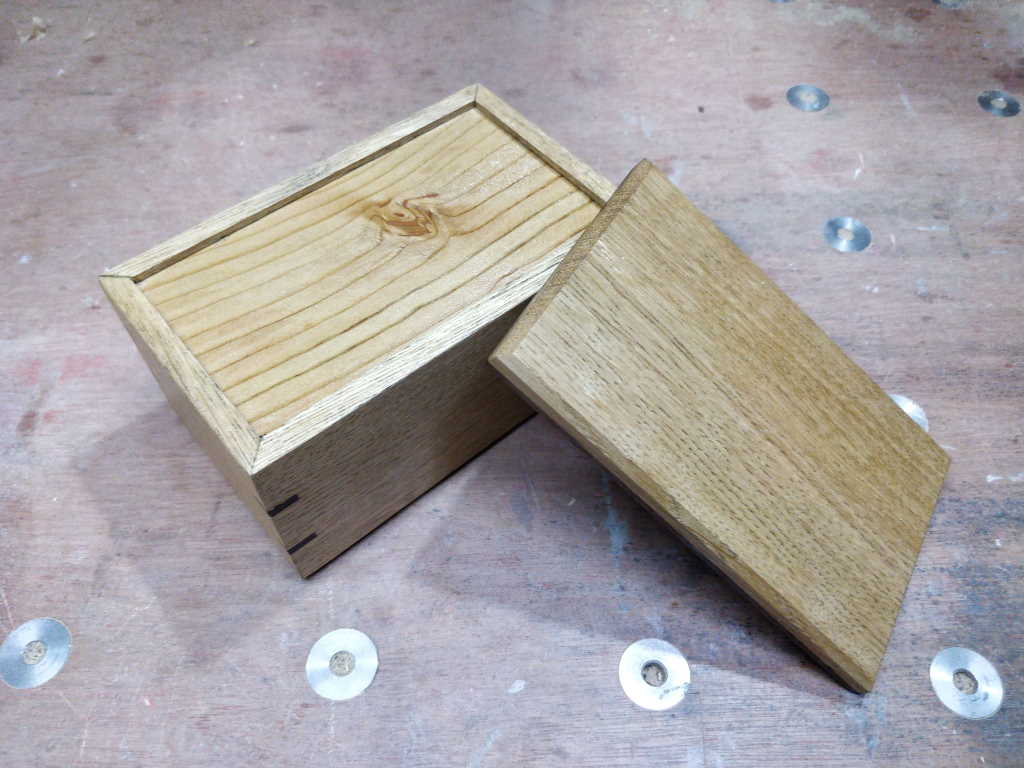
The base of the box is made from a piece of Cedar of Lebanon. When I was picking out material, I'd originally planned to leave the Cedar of Lebanon exposed, but after fitting the ABW side liners, I decided it would look better with an ABW base, so I added that as an afterthought.
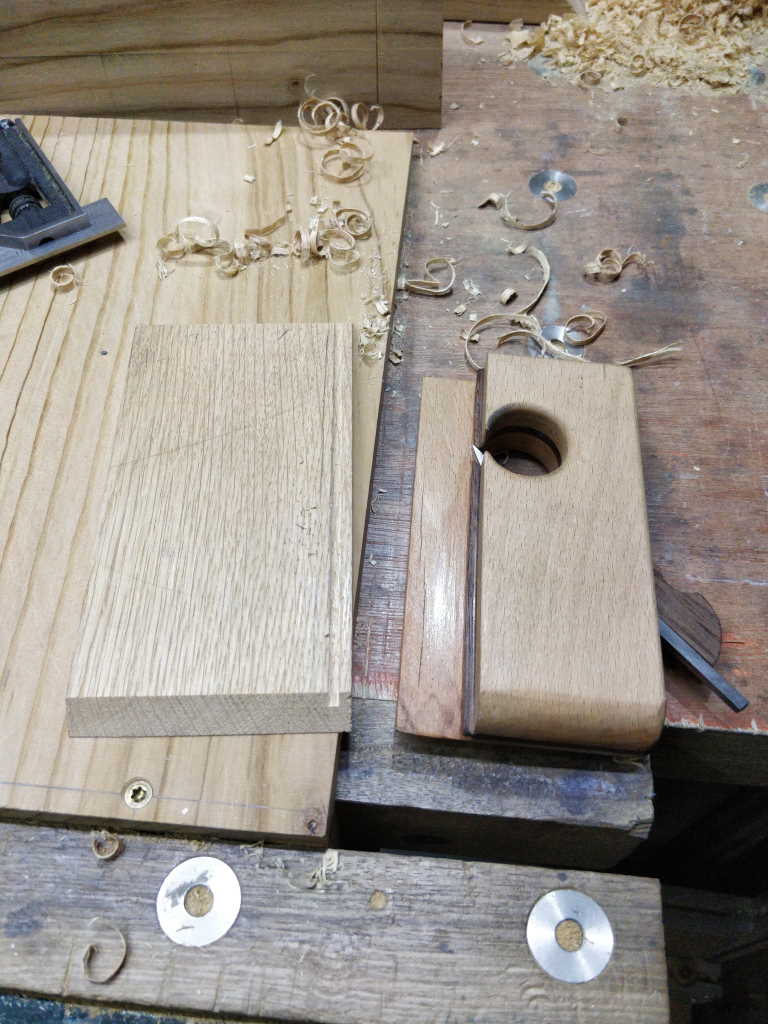
The boards were initially cut square with a hand saw and then the square cuts were turned into mitres using my shooting board. The grooves for the Cedar of Lebanon base were cut using my home-made grooving planes.
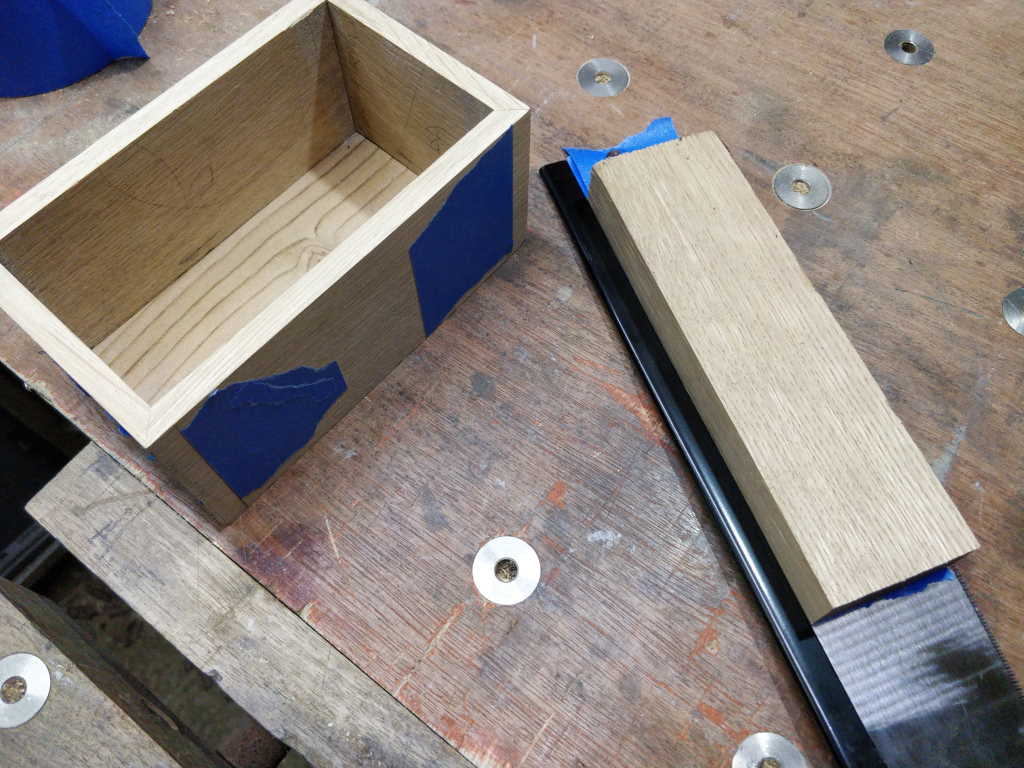
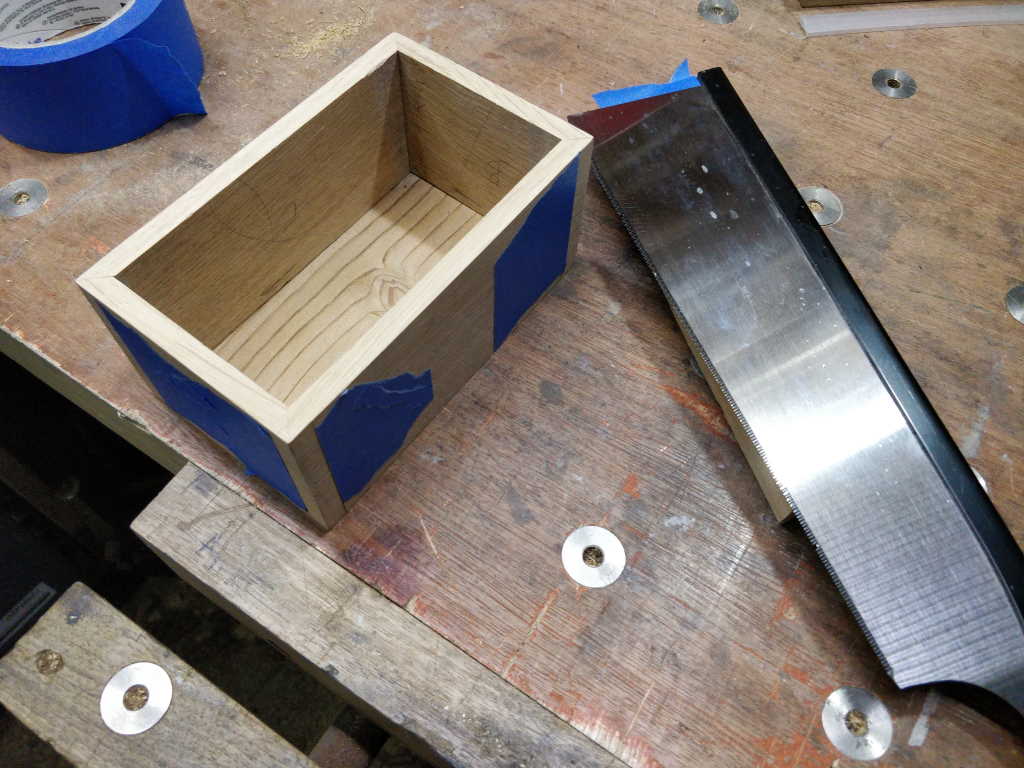
I spent a while thinking about how to cut clean and even splines in the corners. This is the method that I settled on and it worked really well. I attached a dovetail saw to a piece of wood using masking tape and super glue. I could then hold the wood against the bench and rub it back and forth to make the saw move in a level way against the corner of the box. I did this on all four corners, then flipped the box over and repeated the process for the upper splines.
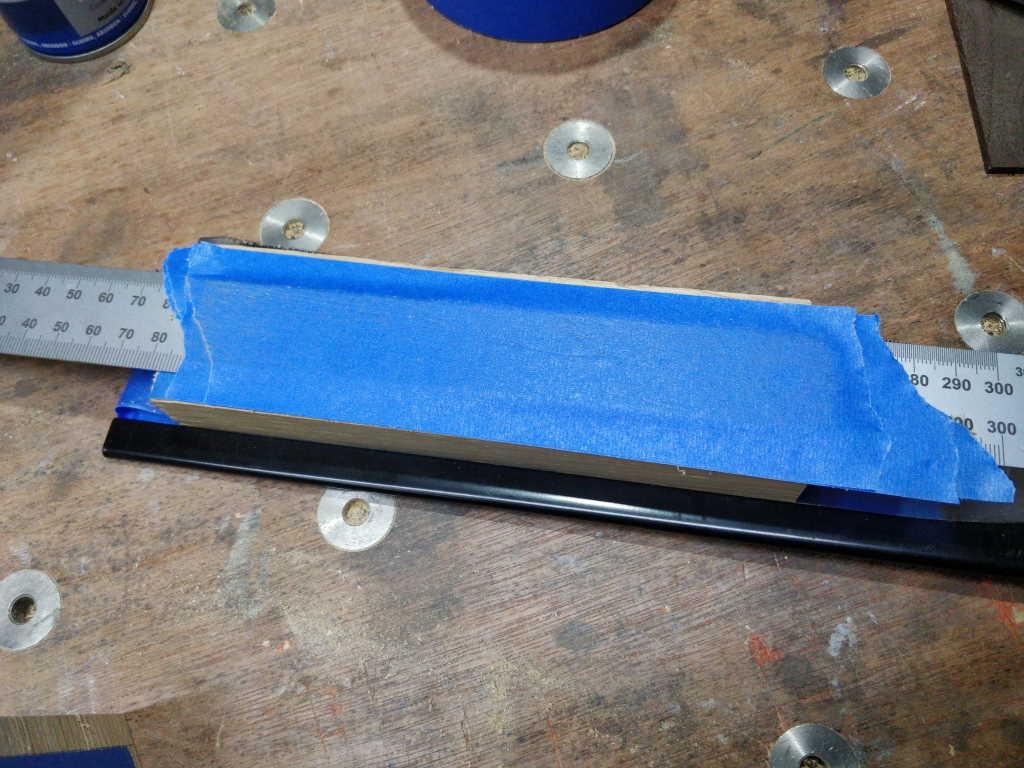
After a bit of testing, I then added a couple of rulers and some more masking tape to the wooden block to move the cut line by the right amount for the walnut pieces that I'd cut to use as splines. If I had a spare blade for the saw, an easier way would be to do the first cut with the assembly raised onto the spare saw blade, then the second cut with the spare saw blade removed and replaced with the material being used as a spline. The spare saw blade should account for the kerf of the saw.
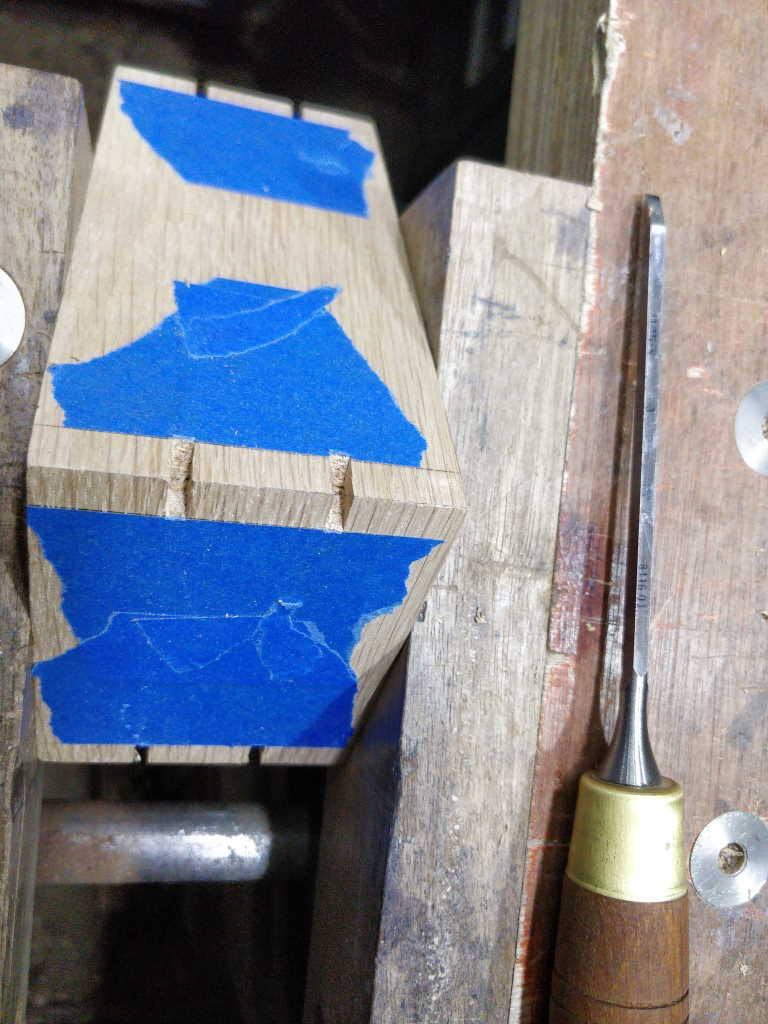
Once the edges of the splines had been cut, I could chisel out between the saw lines using my 3 mm chisel.
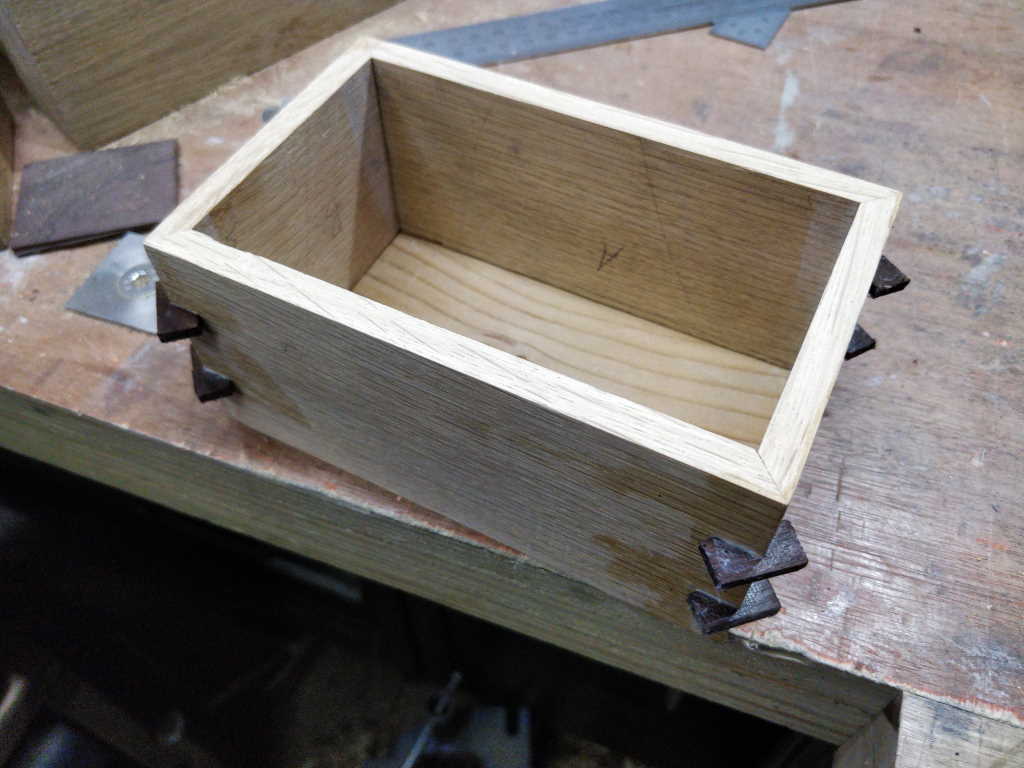
The spline pieces were then glued in place and allowed to dry, before trimming with a flush-cut saw and sanding flat.
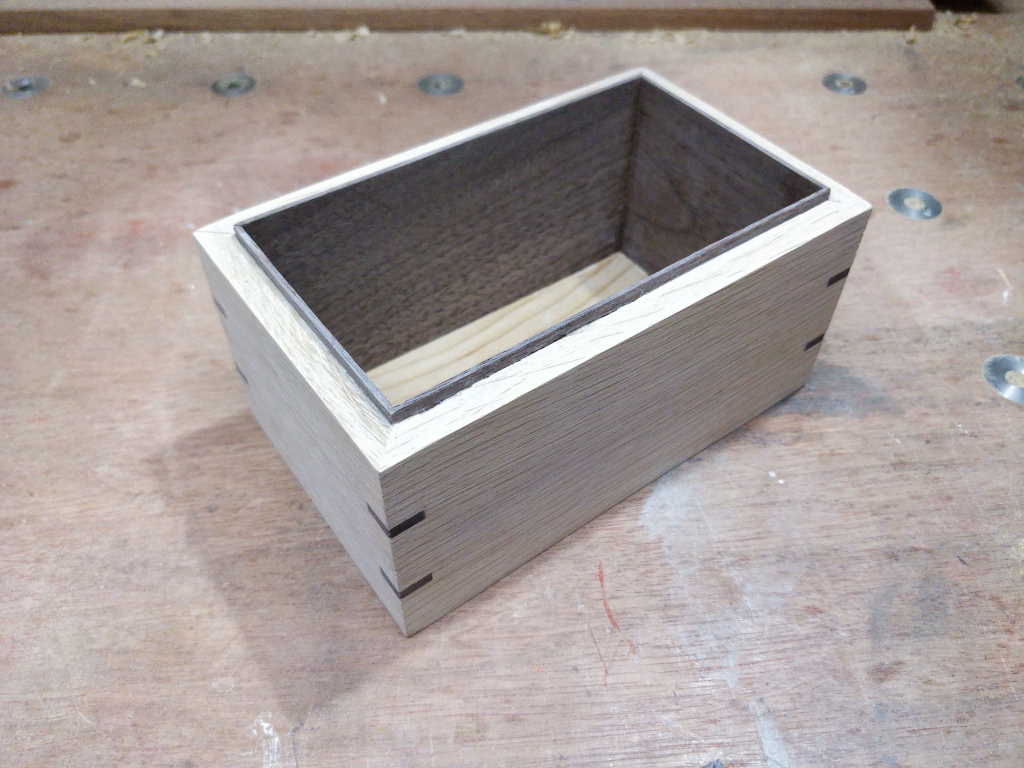
The liners were then carefully trimmed to length using my shooting board and fitted.
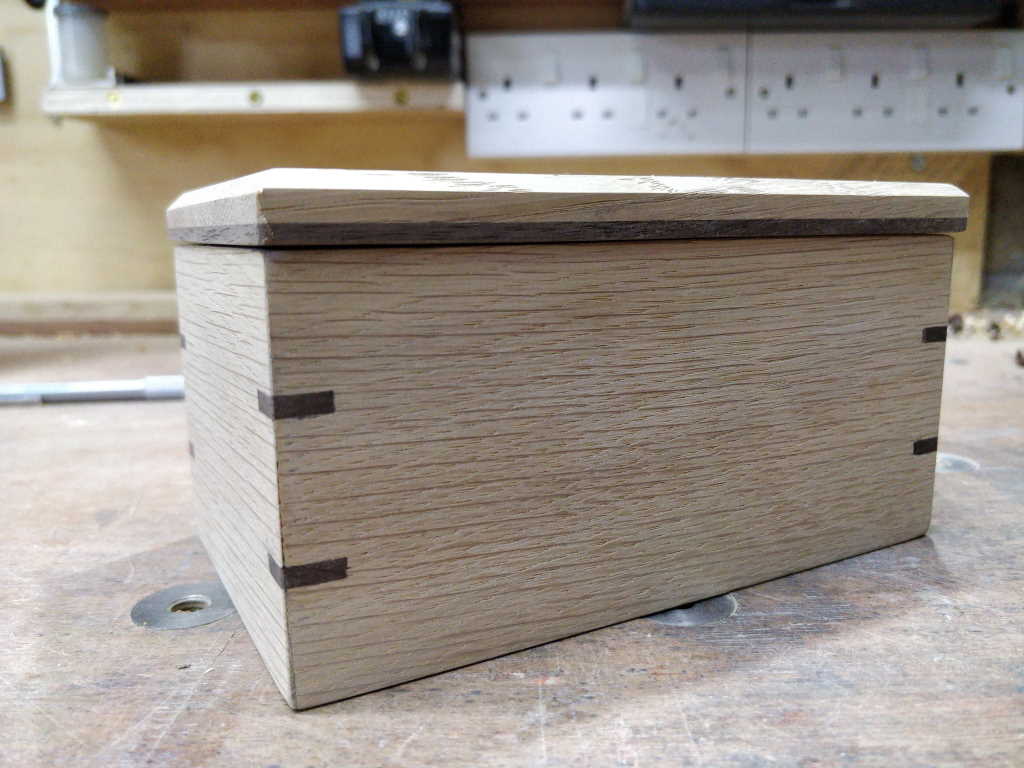
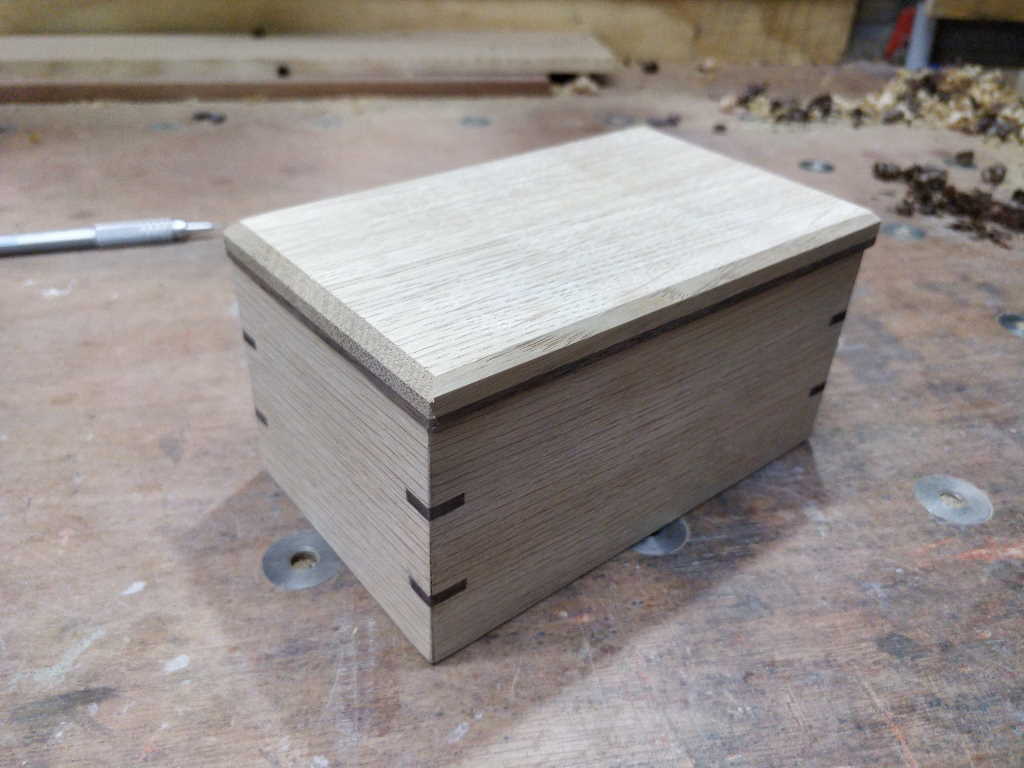
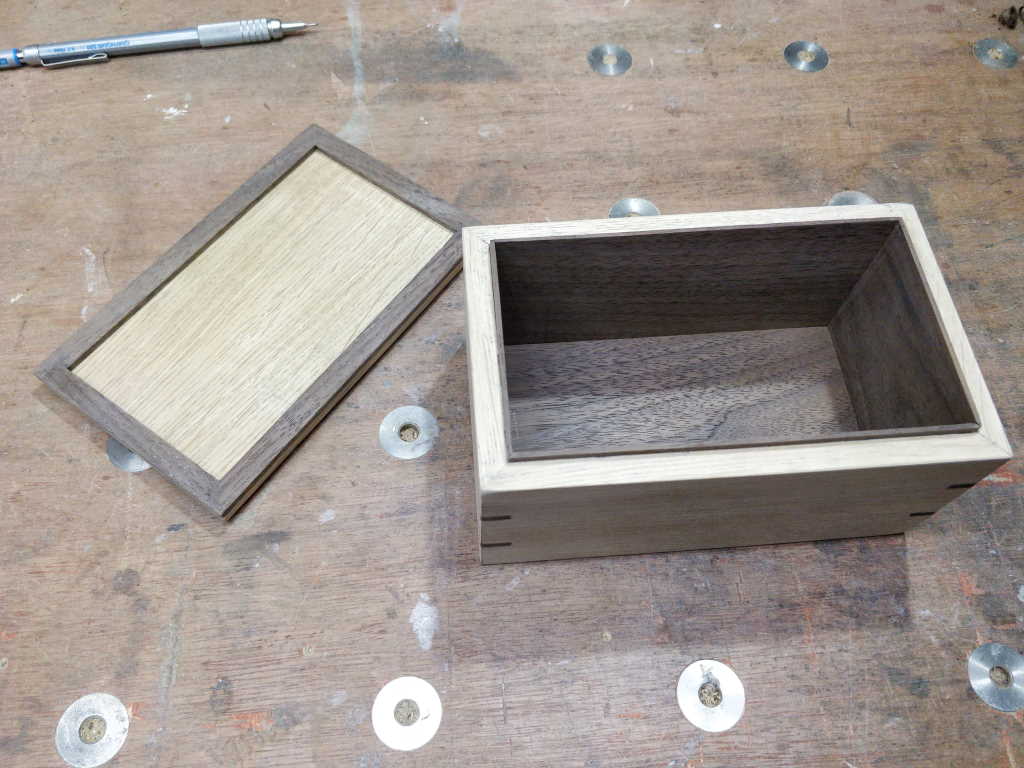
These photos show a few views of the box before applying the shellac finish.
This website is free and ad-free, but costs me money to run. If you'd like to support this site, please consider making a small donation or sending me a message to let me know what you liked or found useful.
