Shelf Unit Build Process
Page 9 of 11
Posted 11th May 2024
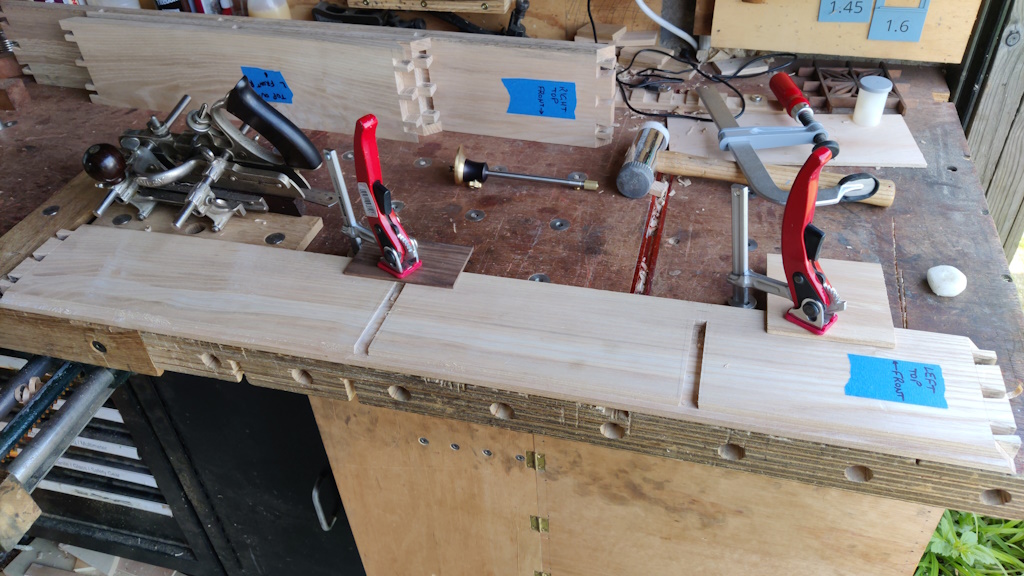
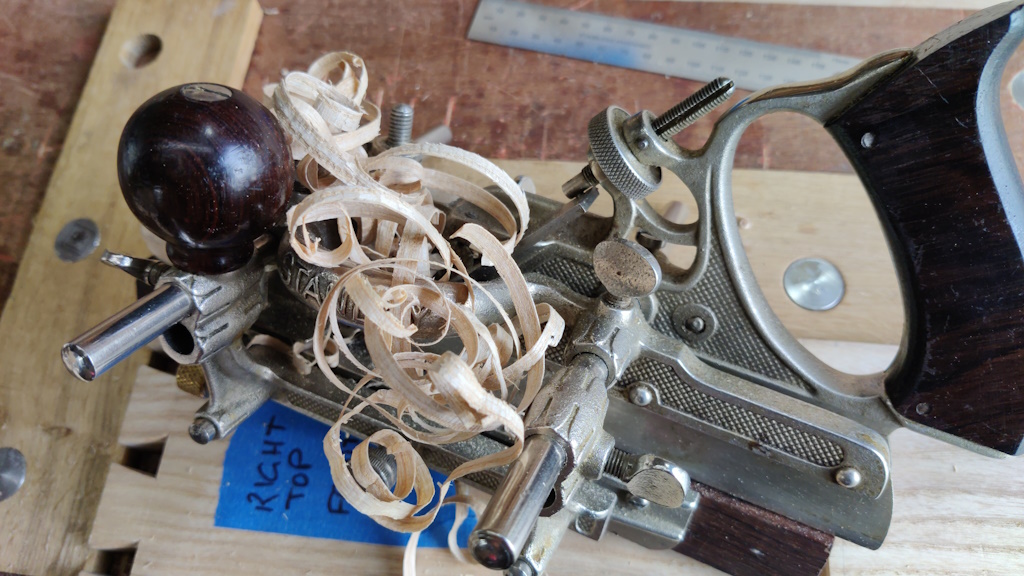
After a bit of a break and a short ride out on the motorbike, I got back to it, starting with setting up the #45 to plough the rebates in the back of the side panels.
I had quite a few options for planes to use for this, including the #45 combination plane, a #55 combination plane, a #78 rebate plane and various fence-less options like a #10½ carriage-maker's rebate plane or a #311 shoulder plane. The #45 seems to work very well once it's set up, so that was the one I chose. Like an electric router, it takes a little while to install the cutter and set up the fence and depth stop, but once it's set up it takes very little time to cut the rebate. Unlike an electric router, it's a quiet & enjoyable job involving no ear defenders or dust mask!
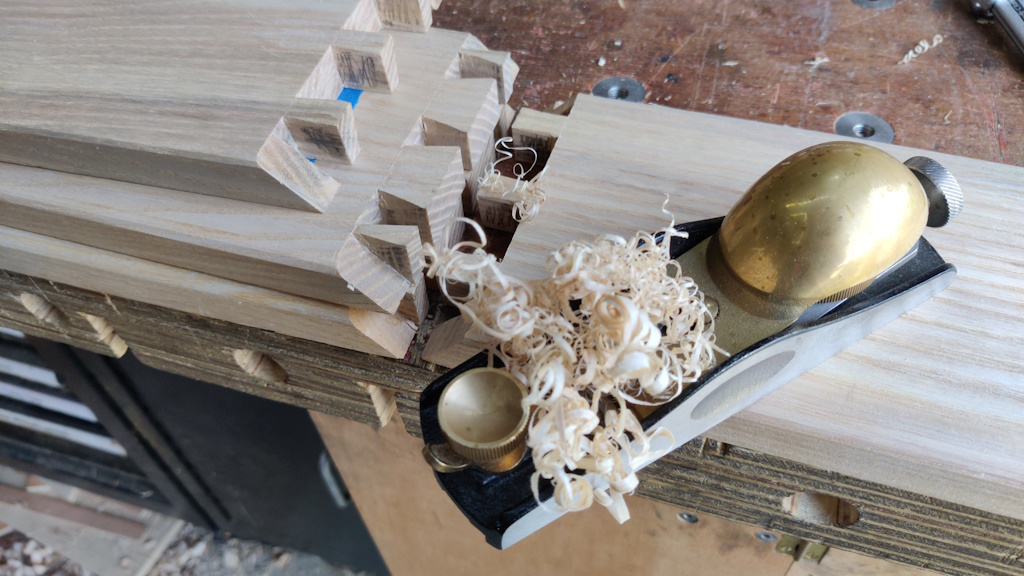
With that done, I needed to get the notch (that should have been removed by the rebate) sorted. I installed a 50° iron in my low-angle block plane (to give a high cutting angle as the ash's grain is all over the place) and attacked the inside corners. I doubt they're all exactly the same, but that's part of the charm of hand tool wood work, isn't it?!
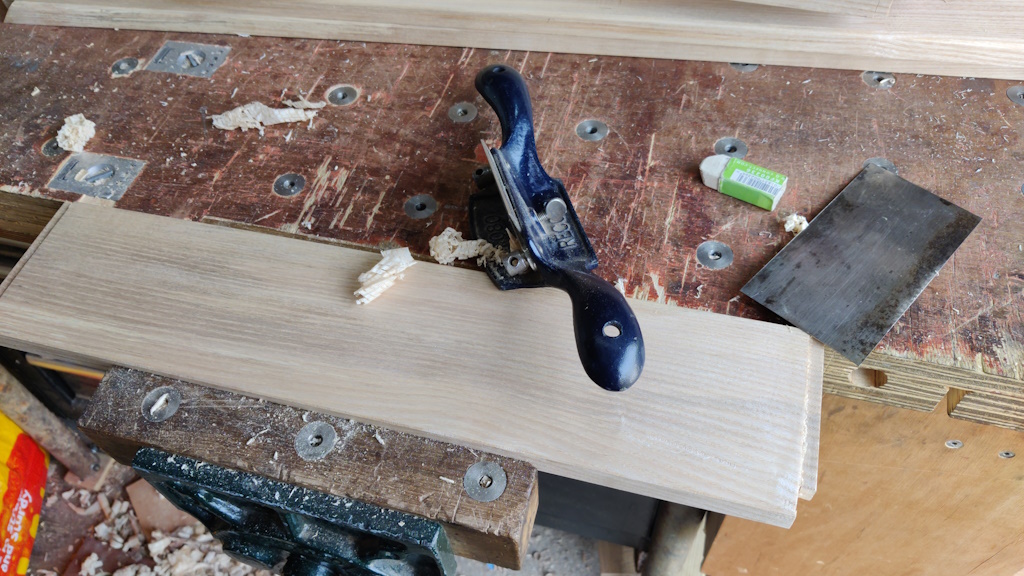
I also gave a very light rounding off of all the other corners that wouldn't be accessible when the unit is assembled and then I got a cabinet scraper and card scraper and gave the inside surfaces all a quick once-over:
That didn't take long at all and is infinitely preferable to using sandpaper in my book.
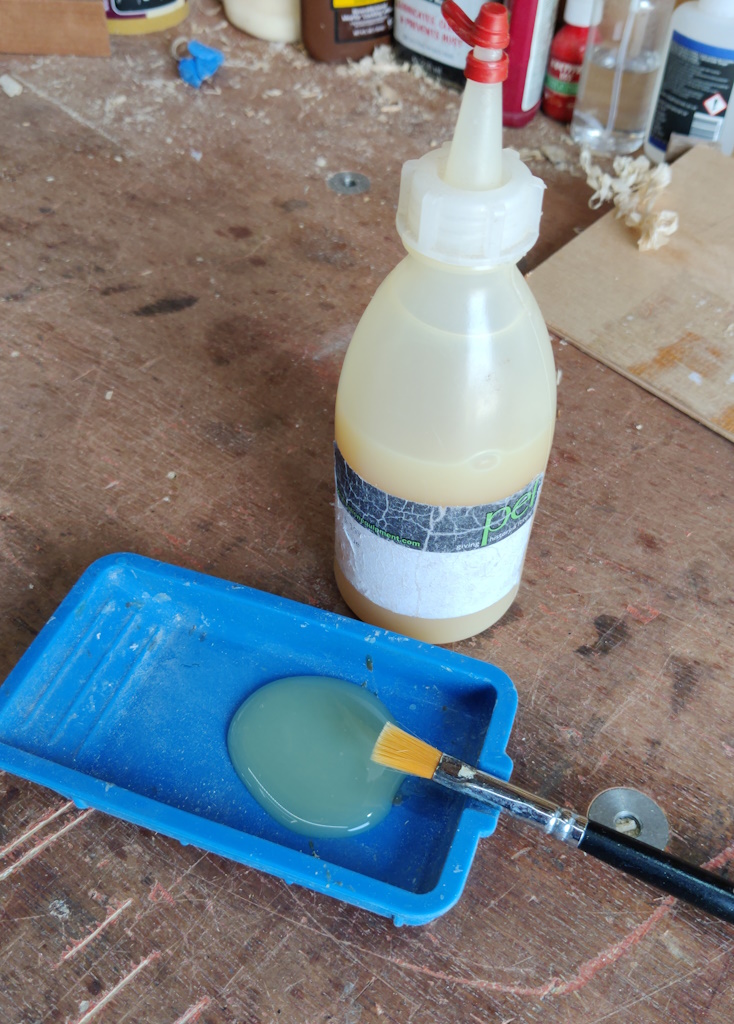
During the next stage I didn't take many photos, so you'll just have to imagine it. I started by pouring out some of my current favourite glue:
I learnt recently that liquid fish glue is typically made from fish scales (whereas the dry flakes that you treat like hide glue flakes are made from isinglass). Either way, it is similar to Titebond Liquid Hide glue in that it likes to be applied warm. It takes a long time to set, which is really nice when you're doing a fairly complex glue-up.
I started by gluing the dovetails, following the David Charlesworth approach: glue on the tapered sides of the tails and a thin coating of glue on the outer half to two-thirds of the sides of the pins (so that the glue on the pins gets pushed down to the inner half of the pins, rather than being squeezed out of the inside of the joint). The only other glue I put on the dovetail joints was on the faces of the mitres.
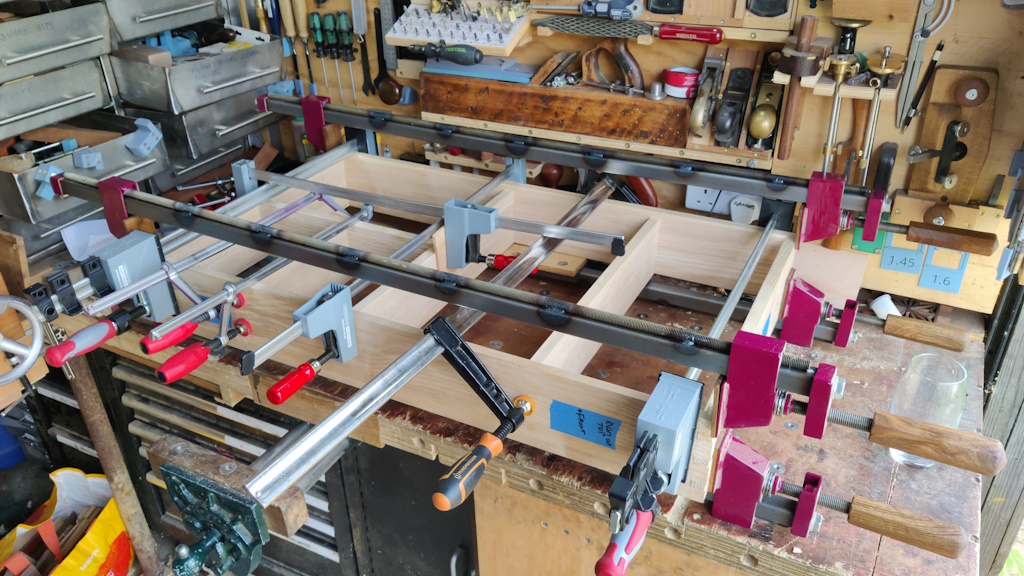
Once the frame was assembled, I added the shelves one-by-one, gluing the three sides of the tails and similar on the sockets. I put a bit on the ends of the housing tails as well, but I don't think it'll do much. It all went together fairly easily without too much stress and it felt structurally sound enough that it probably didn't need any clamps.
However, I figured they couldn't hurt:
Page 9 of 11
This website is free and ad-free, but costs me money to run. If you'd like to support this site, please consider making a small donation or sending me a message to let me know what you liked or found useful.

 Return to main project page